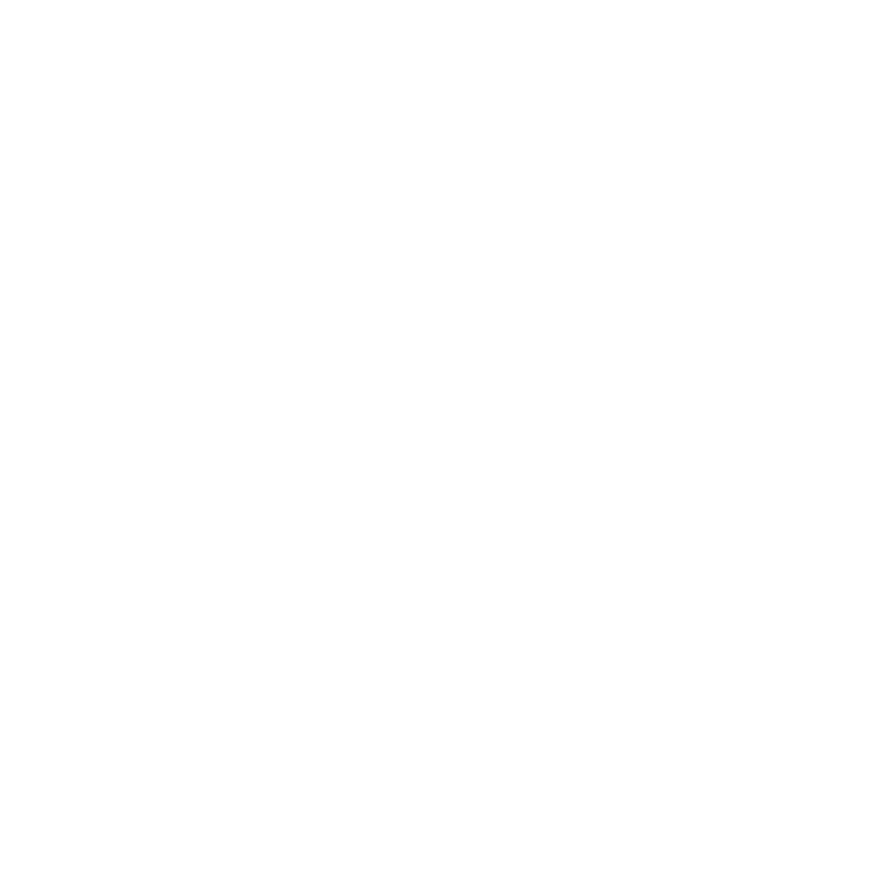
With the content mode you get a suggestion for a single deck. The suggestion includes a learning path made up of flashcards for the Discover or Practice section. The assistant knows several didactic structures for the content.

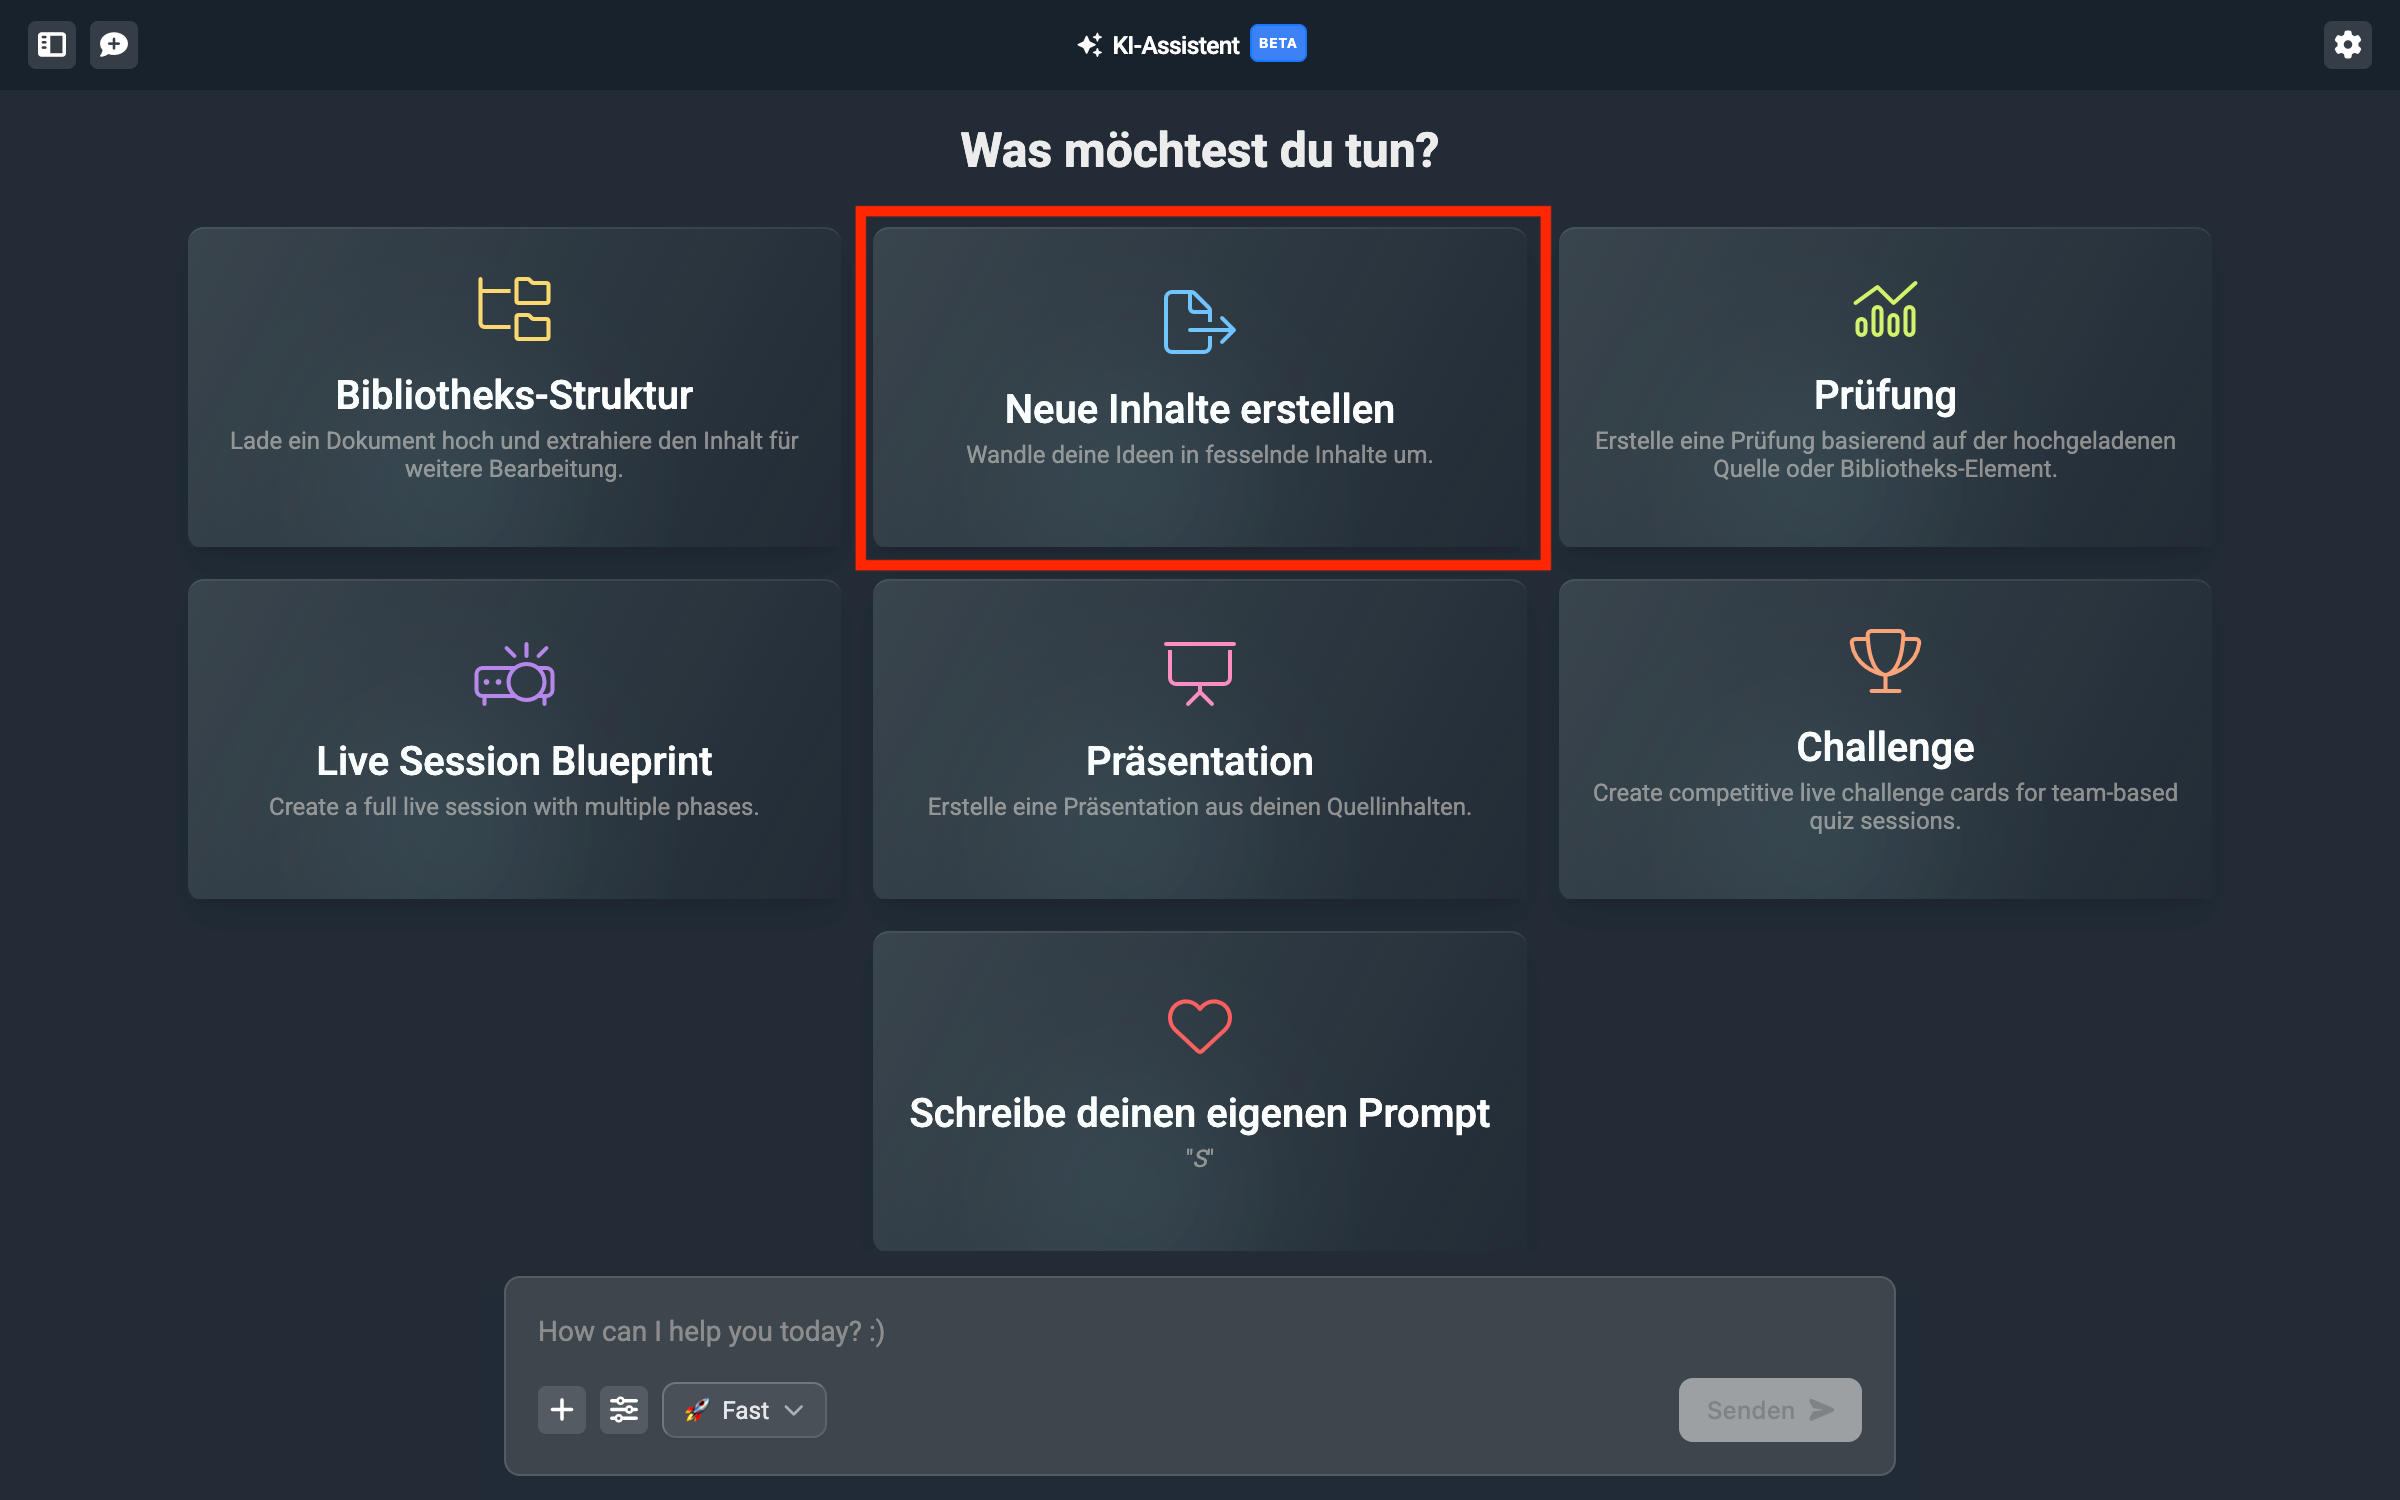
Give the assistant the necessary context to suggest a learning structure. These can be Word files, PDF documents, PowerPoint presentations, videos or images (e.g. diagrams). To do this, either click on File upload and select the file you want to add, or simply drag and drop the file into the assistant.
You can also do this step later; the sources you use are shown at the bottom in every step.
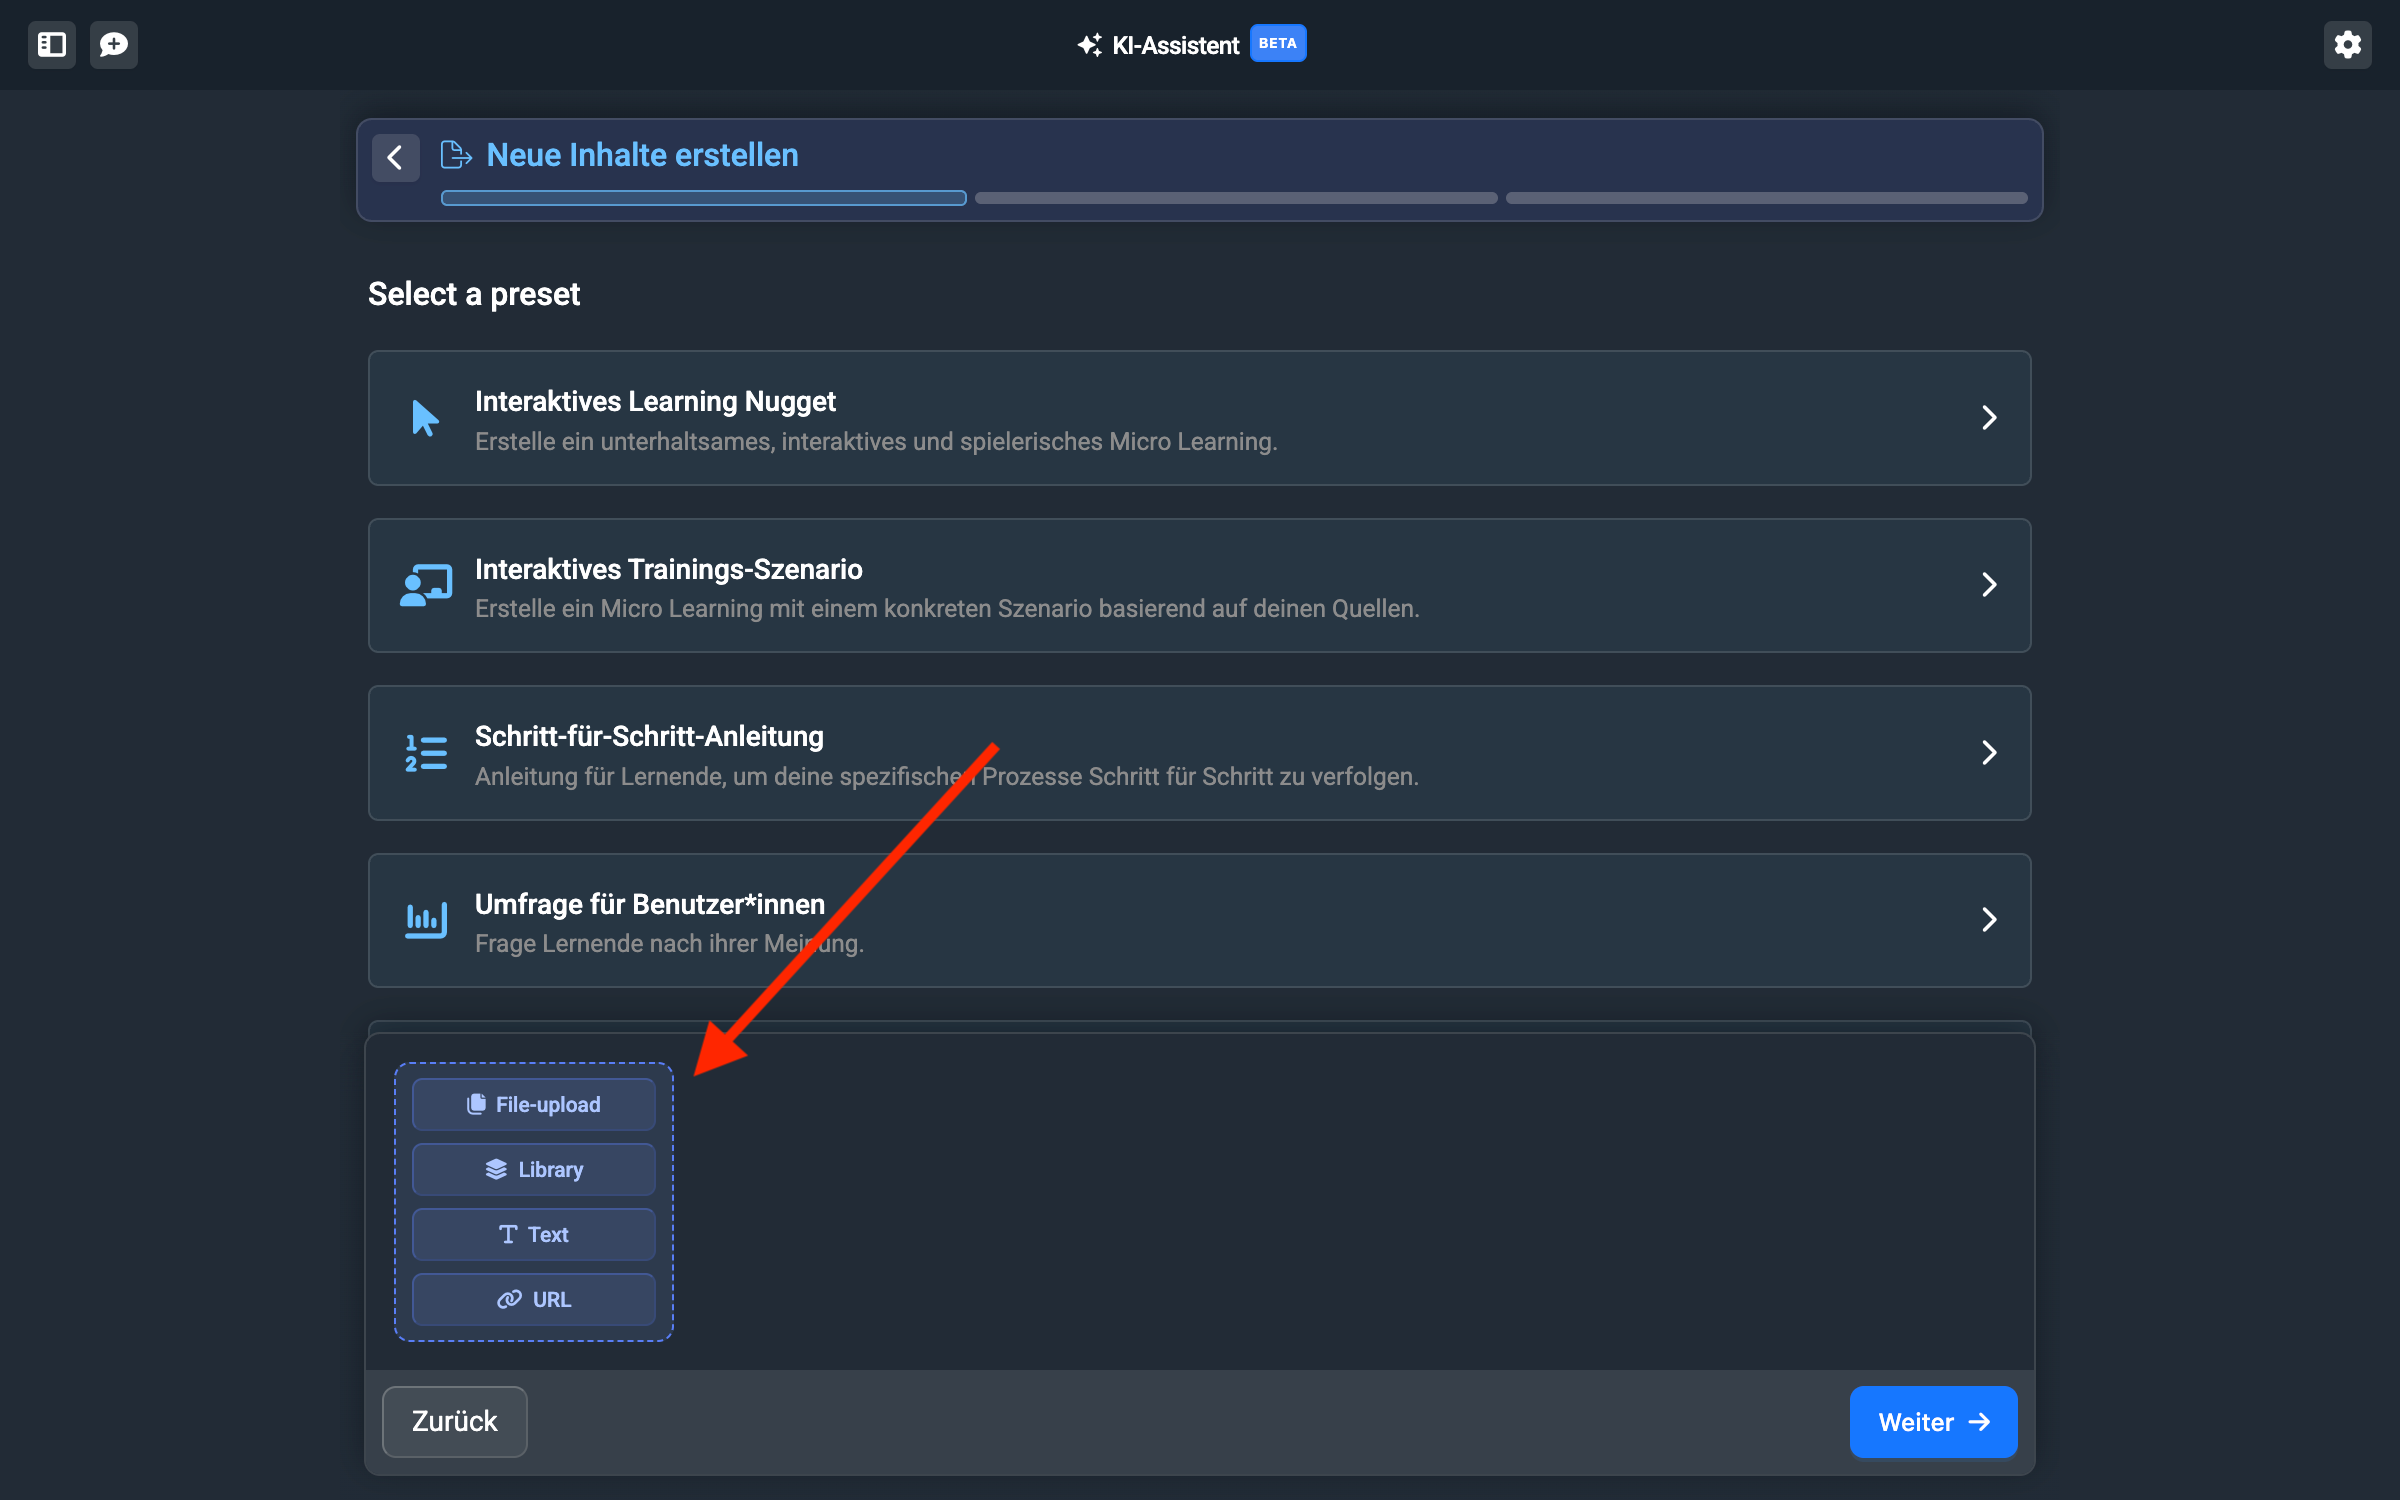
You also have the option to use existing library elements as sources. This can be helpful if you want to give existing content a new look or make it simpler. Click on “Library” and select the elements you want from the library.
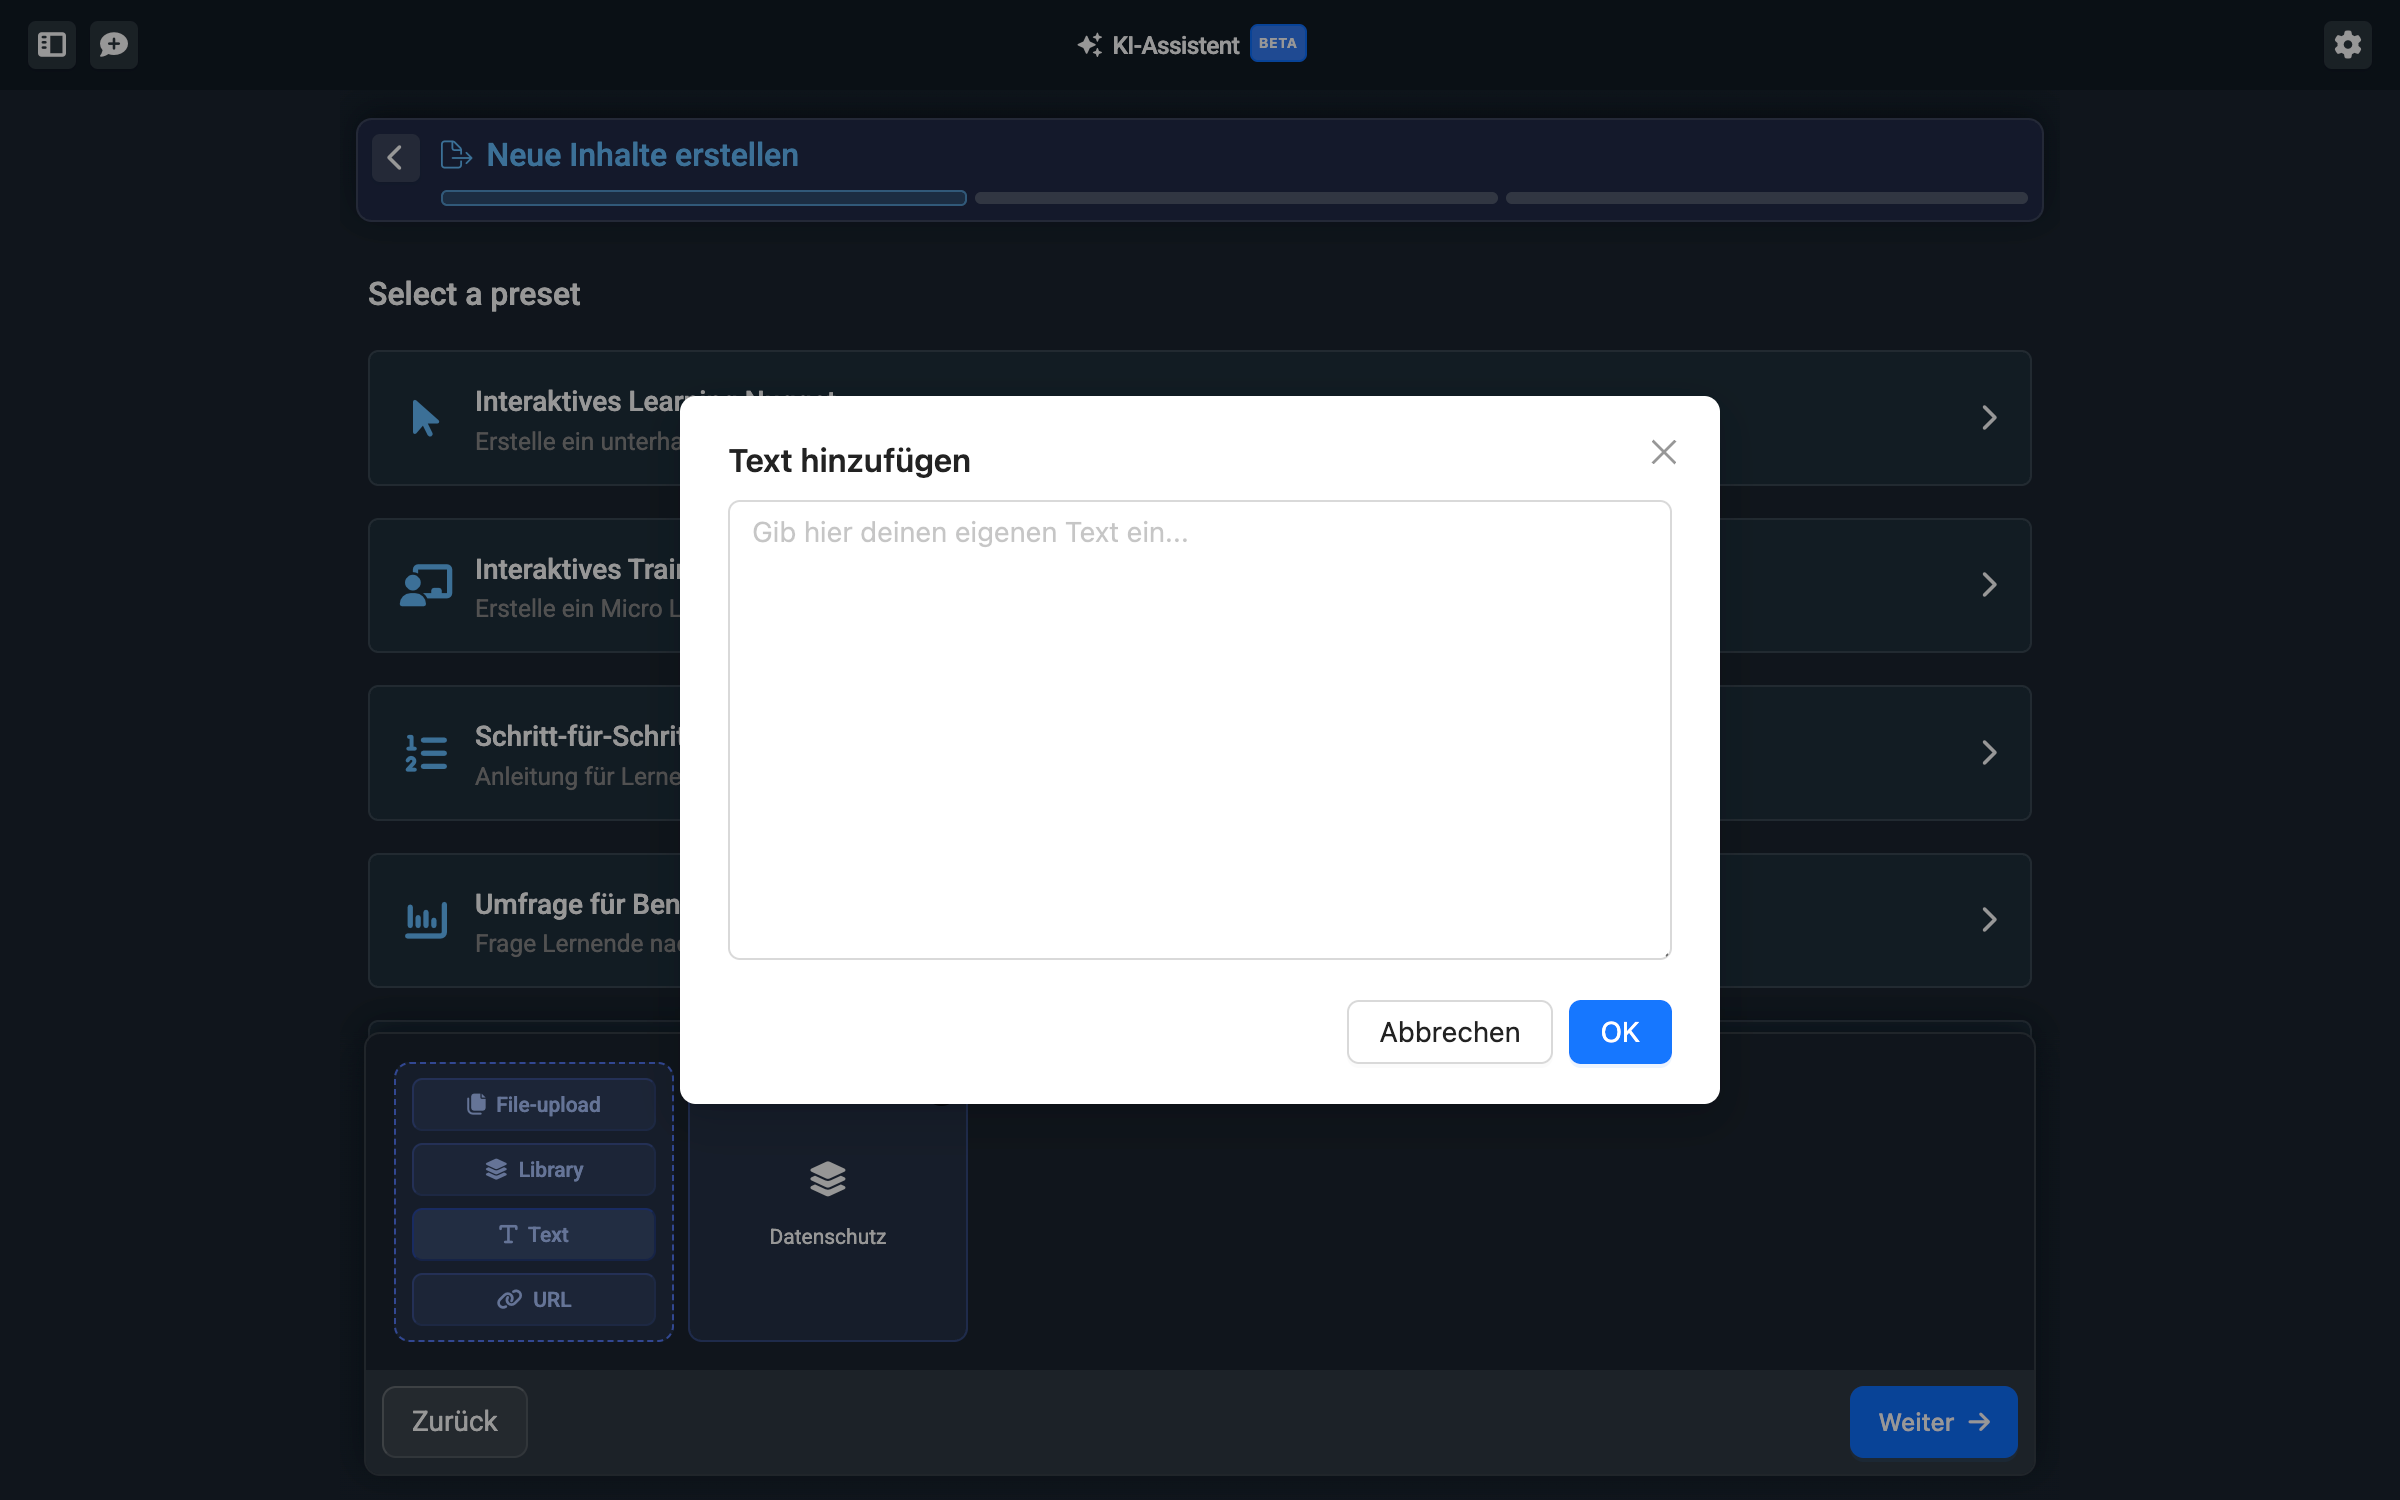
If you have your own sources without formatting or want to jot down your own ideas, you can also add a text. Click on “Add text” and write or paste your text into the text field.
You can also define a website as a source. Select “URL” and simply paste the web link into the input field. The AI will then look at the website and use the texts from the website.

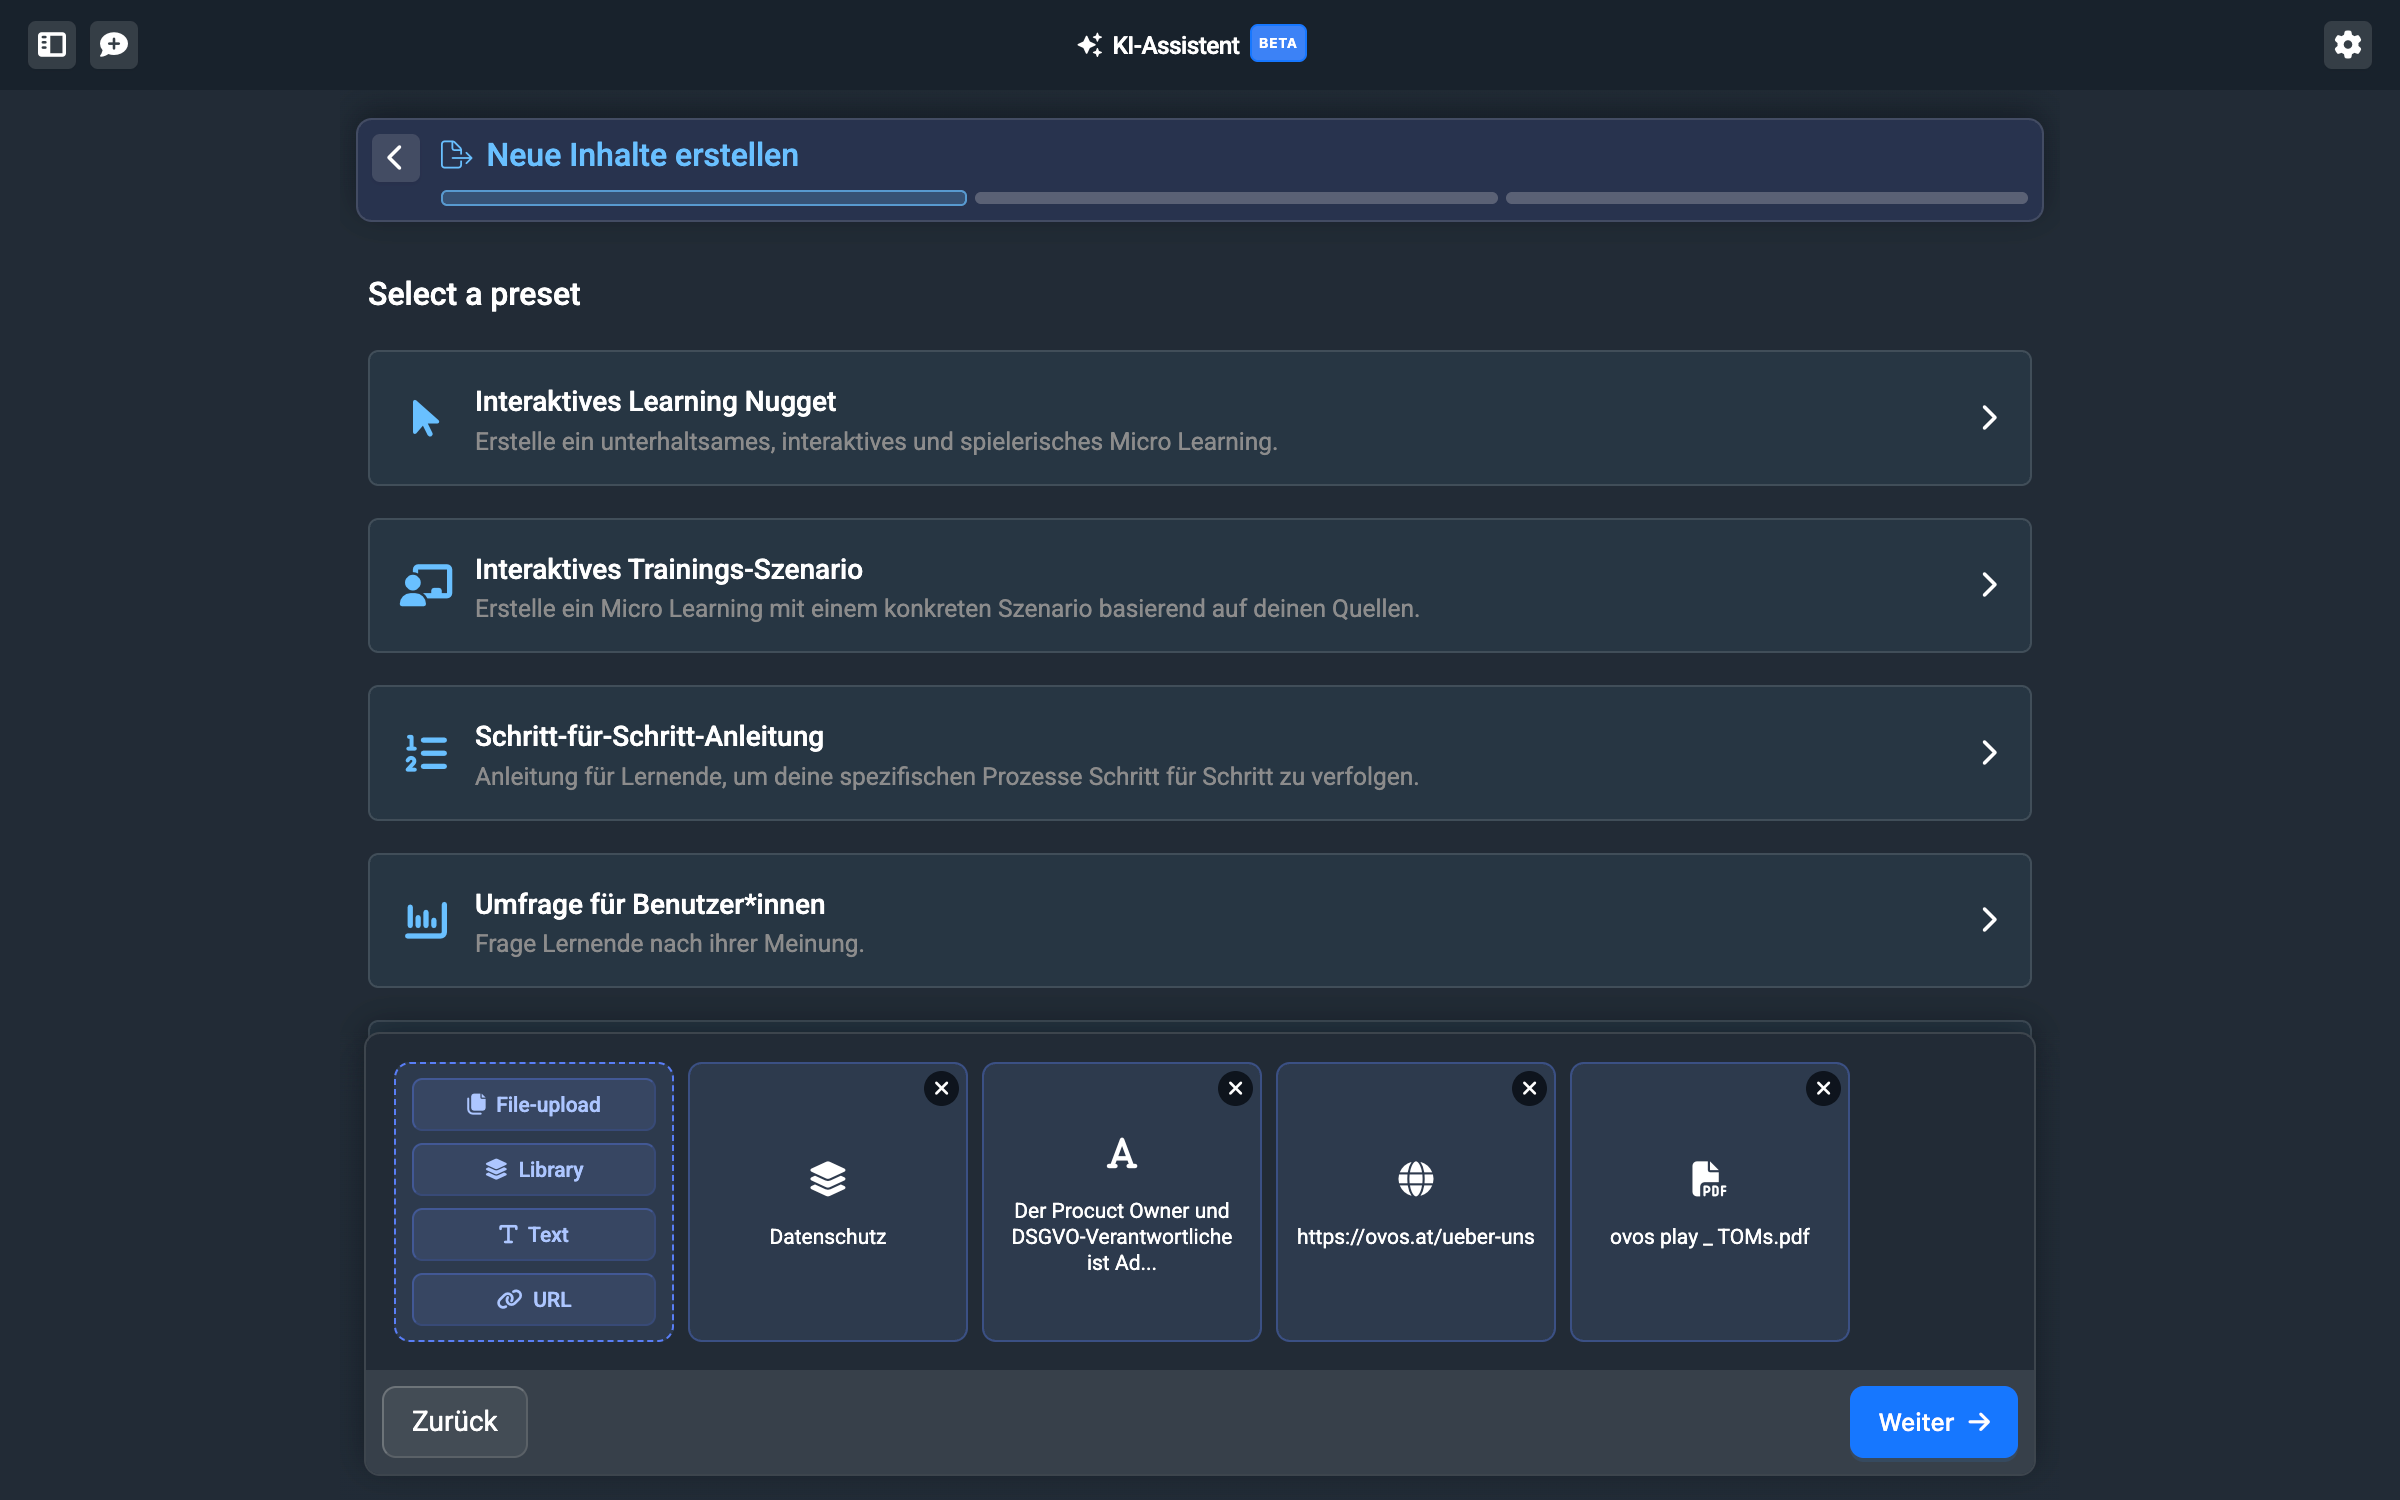
You can add multiple sources from all available types. This lets you, for example, enrich existing library content with additional PDFs. You can always see the sources you added at the bottom in every step:

A learning deck in ovos play can look different in many ways. The assistant has access to almost all available card templates and can use them to create different decks:
The best practice example in ovos play. The assistant generates an exciting and interactive learning experience.
The assistant creates a scenario for learners that lets them learn in a way that’s as close to real life as possible. For this template, we recommend you already have a specific everyday scenario from the learners’ lives in mind.
This template breaks down instructions into individual steps. Learners can then go through the guide step by step and won’t forget anything.
The assistant creates a survey that lets you gather learners’ opinions.
This template presents your content in a straightforward way – for clear information delivery. This is the simplest and lowest-barrier form of knowledge transfer.
For the guide we’ll use an example of a deck with an interactive learning nugget. In the next sub-step you can fine-tune the structure even more.
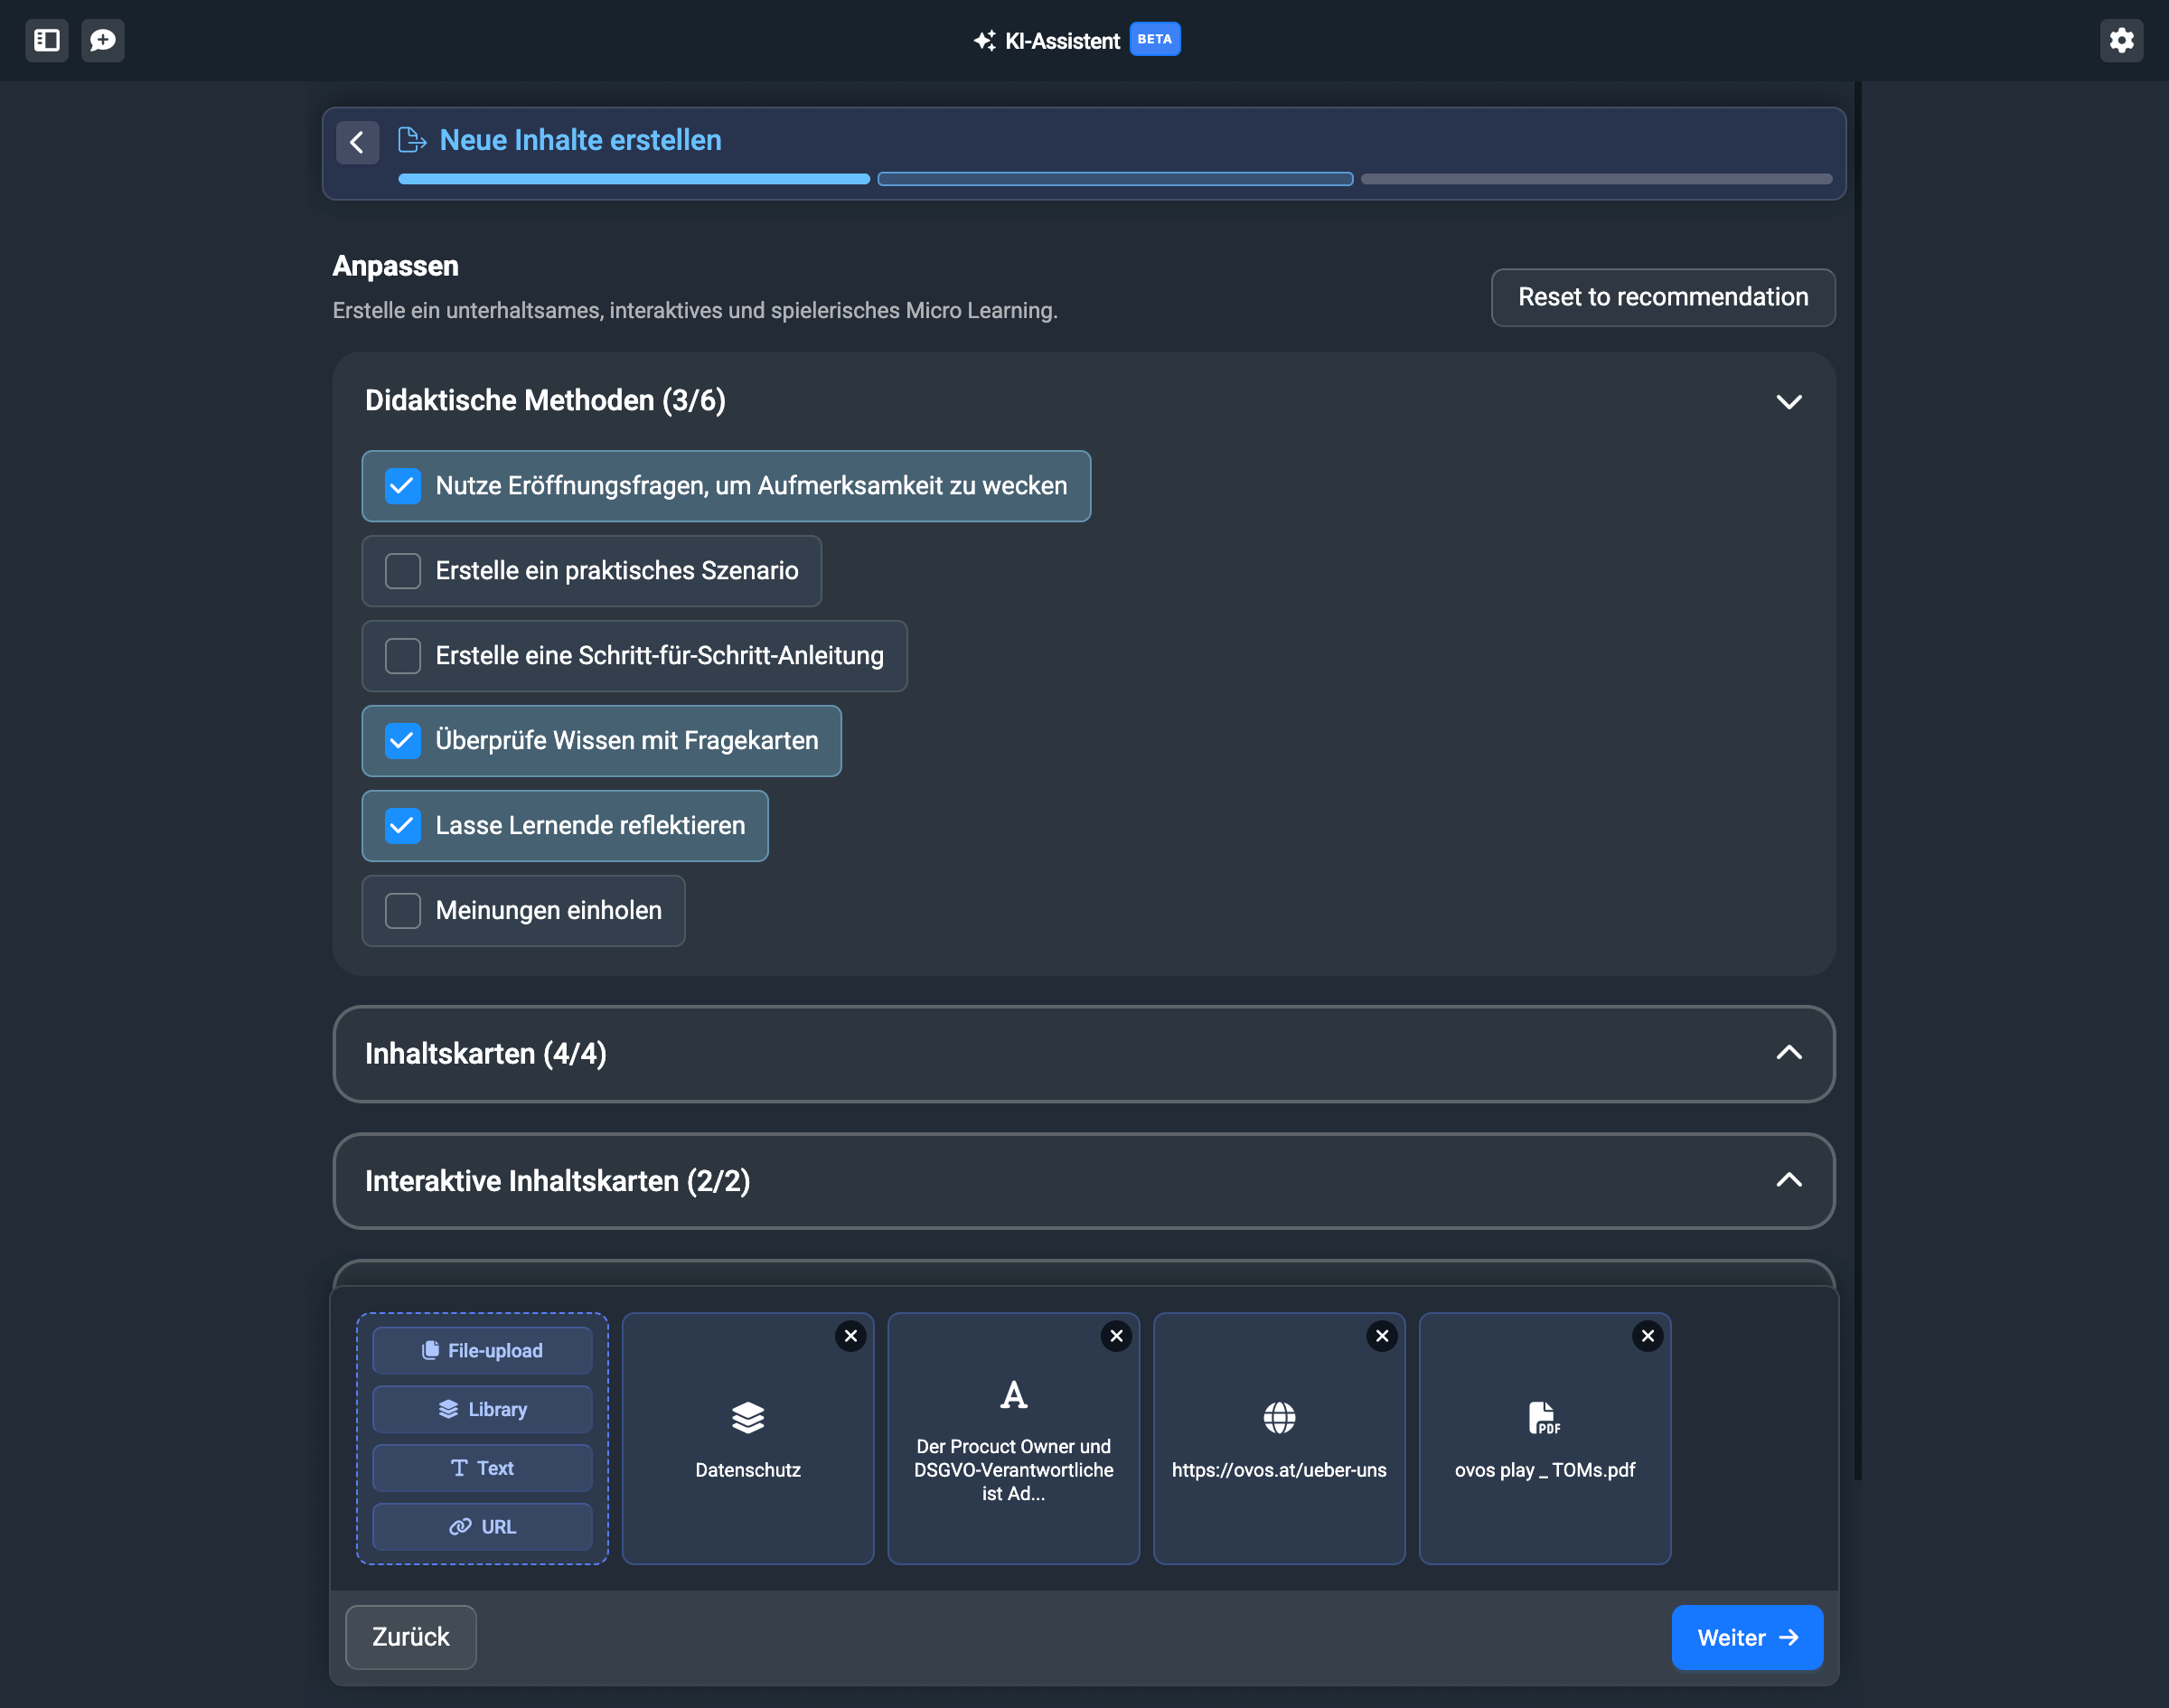
With the “content flow” you can choose from various didactic stylistic devices and combine them. Additionally, you can turn the card types to be used on and off.

If you’re happy with your configuration, click on Next.
In the next step, you define how the text of the output should be designed.
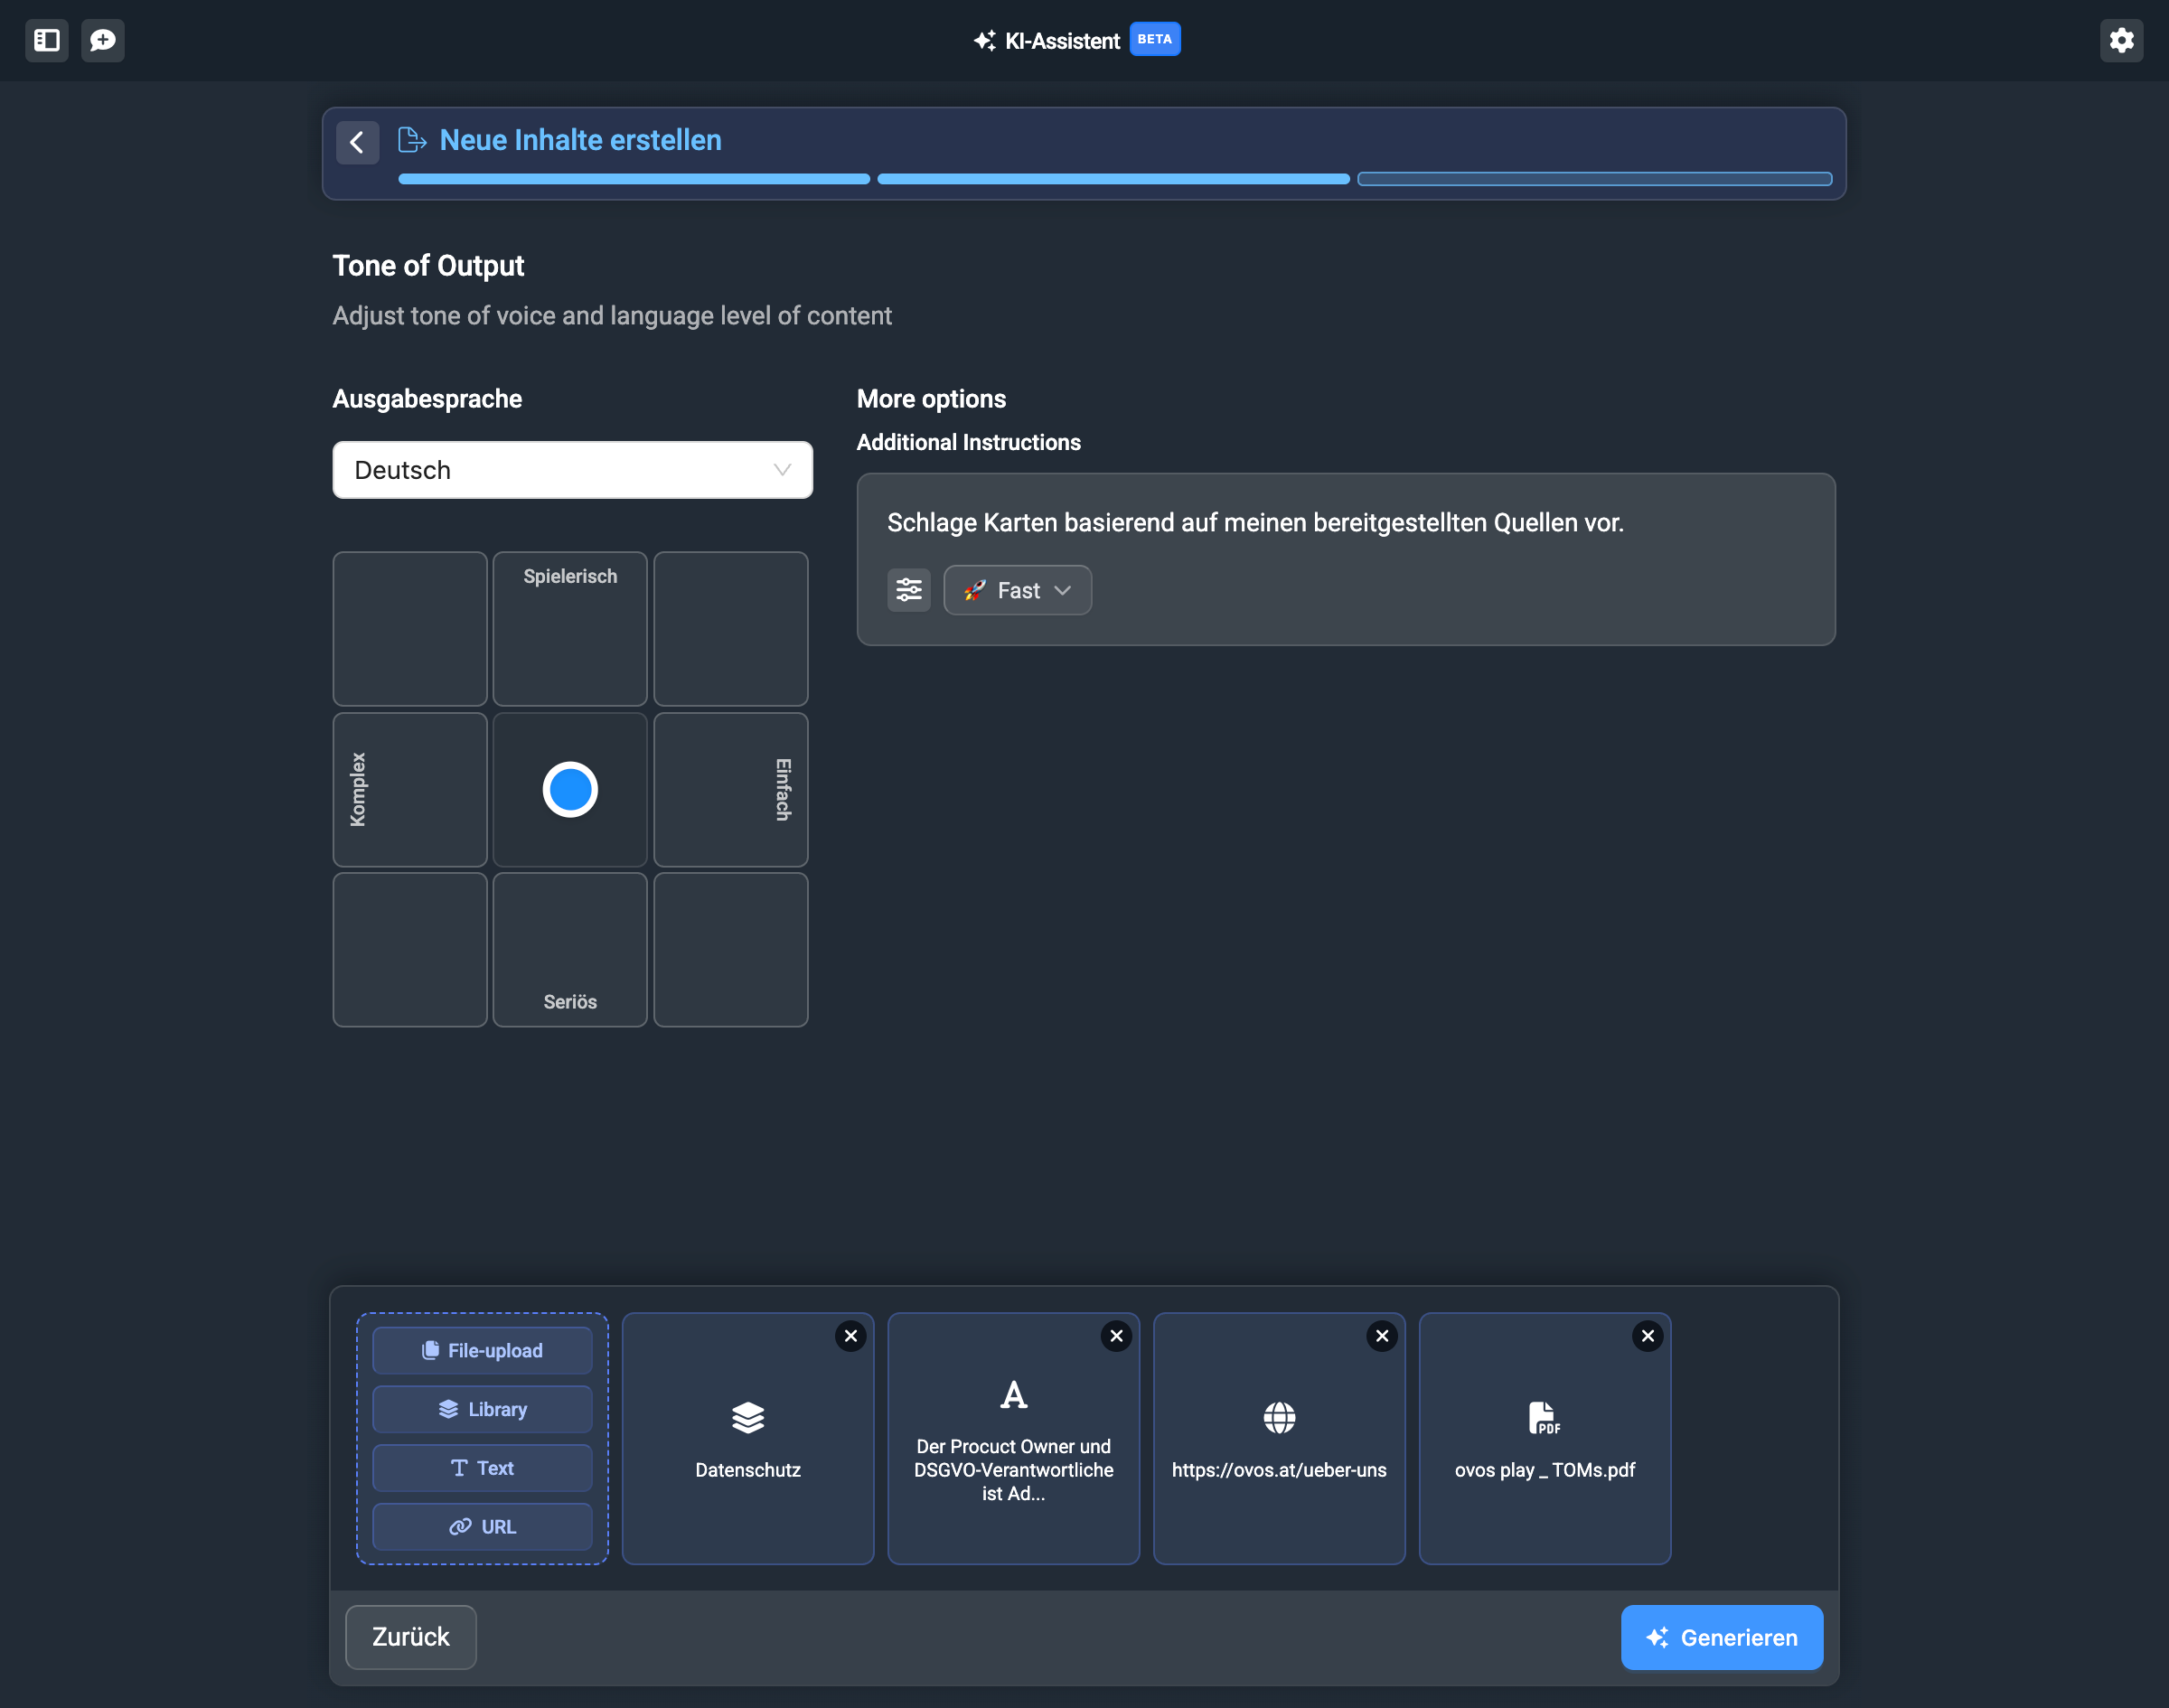
With the selection field on the left side, you define from left to right whether the content is formulated in a very complex or simple way. From bottom to top, you define whether the texts should be very serious or playful.

Additionally, you can select the output language in German or English. With the additional instructions, you can add further instructions for the AI if needed. This can be helpful if you have a clear idea of what the structure should look like.
Once you’ve adjusted your tone of voice, click on “Generate”.
The assistant now creates a suggestion for a learning path as an artifact. You can now review and edit this artifact.
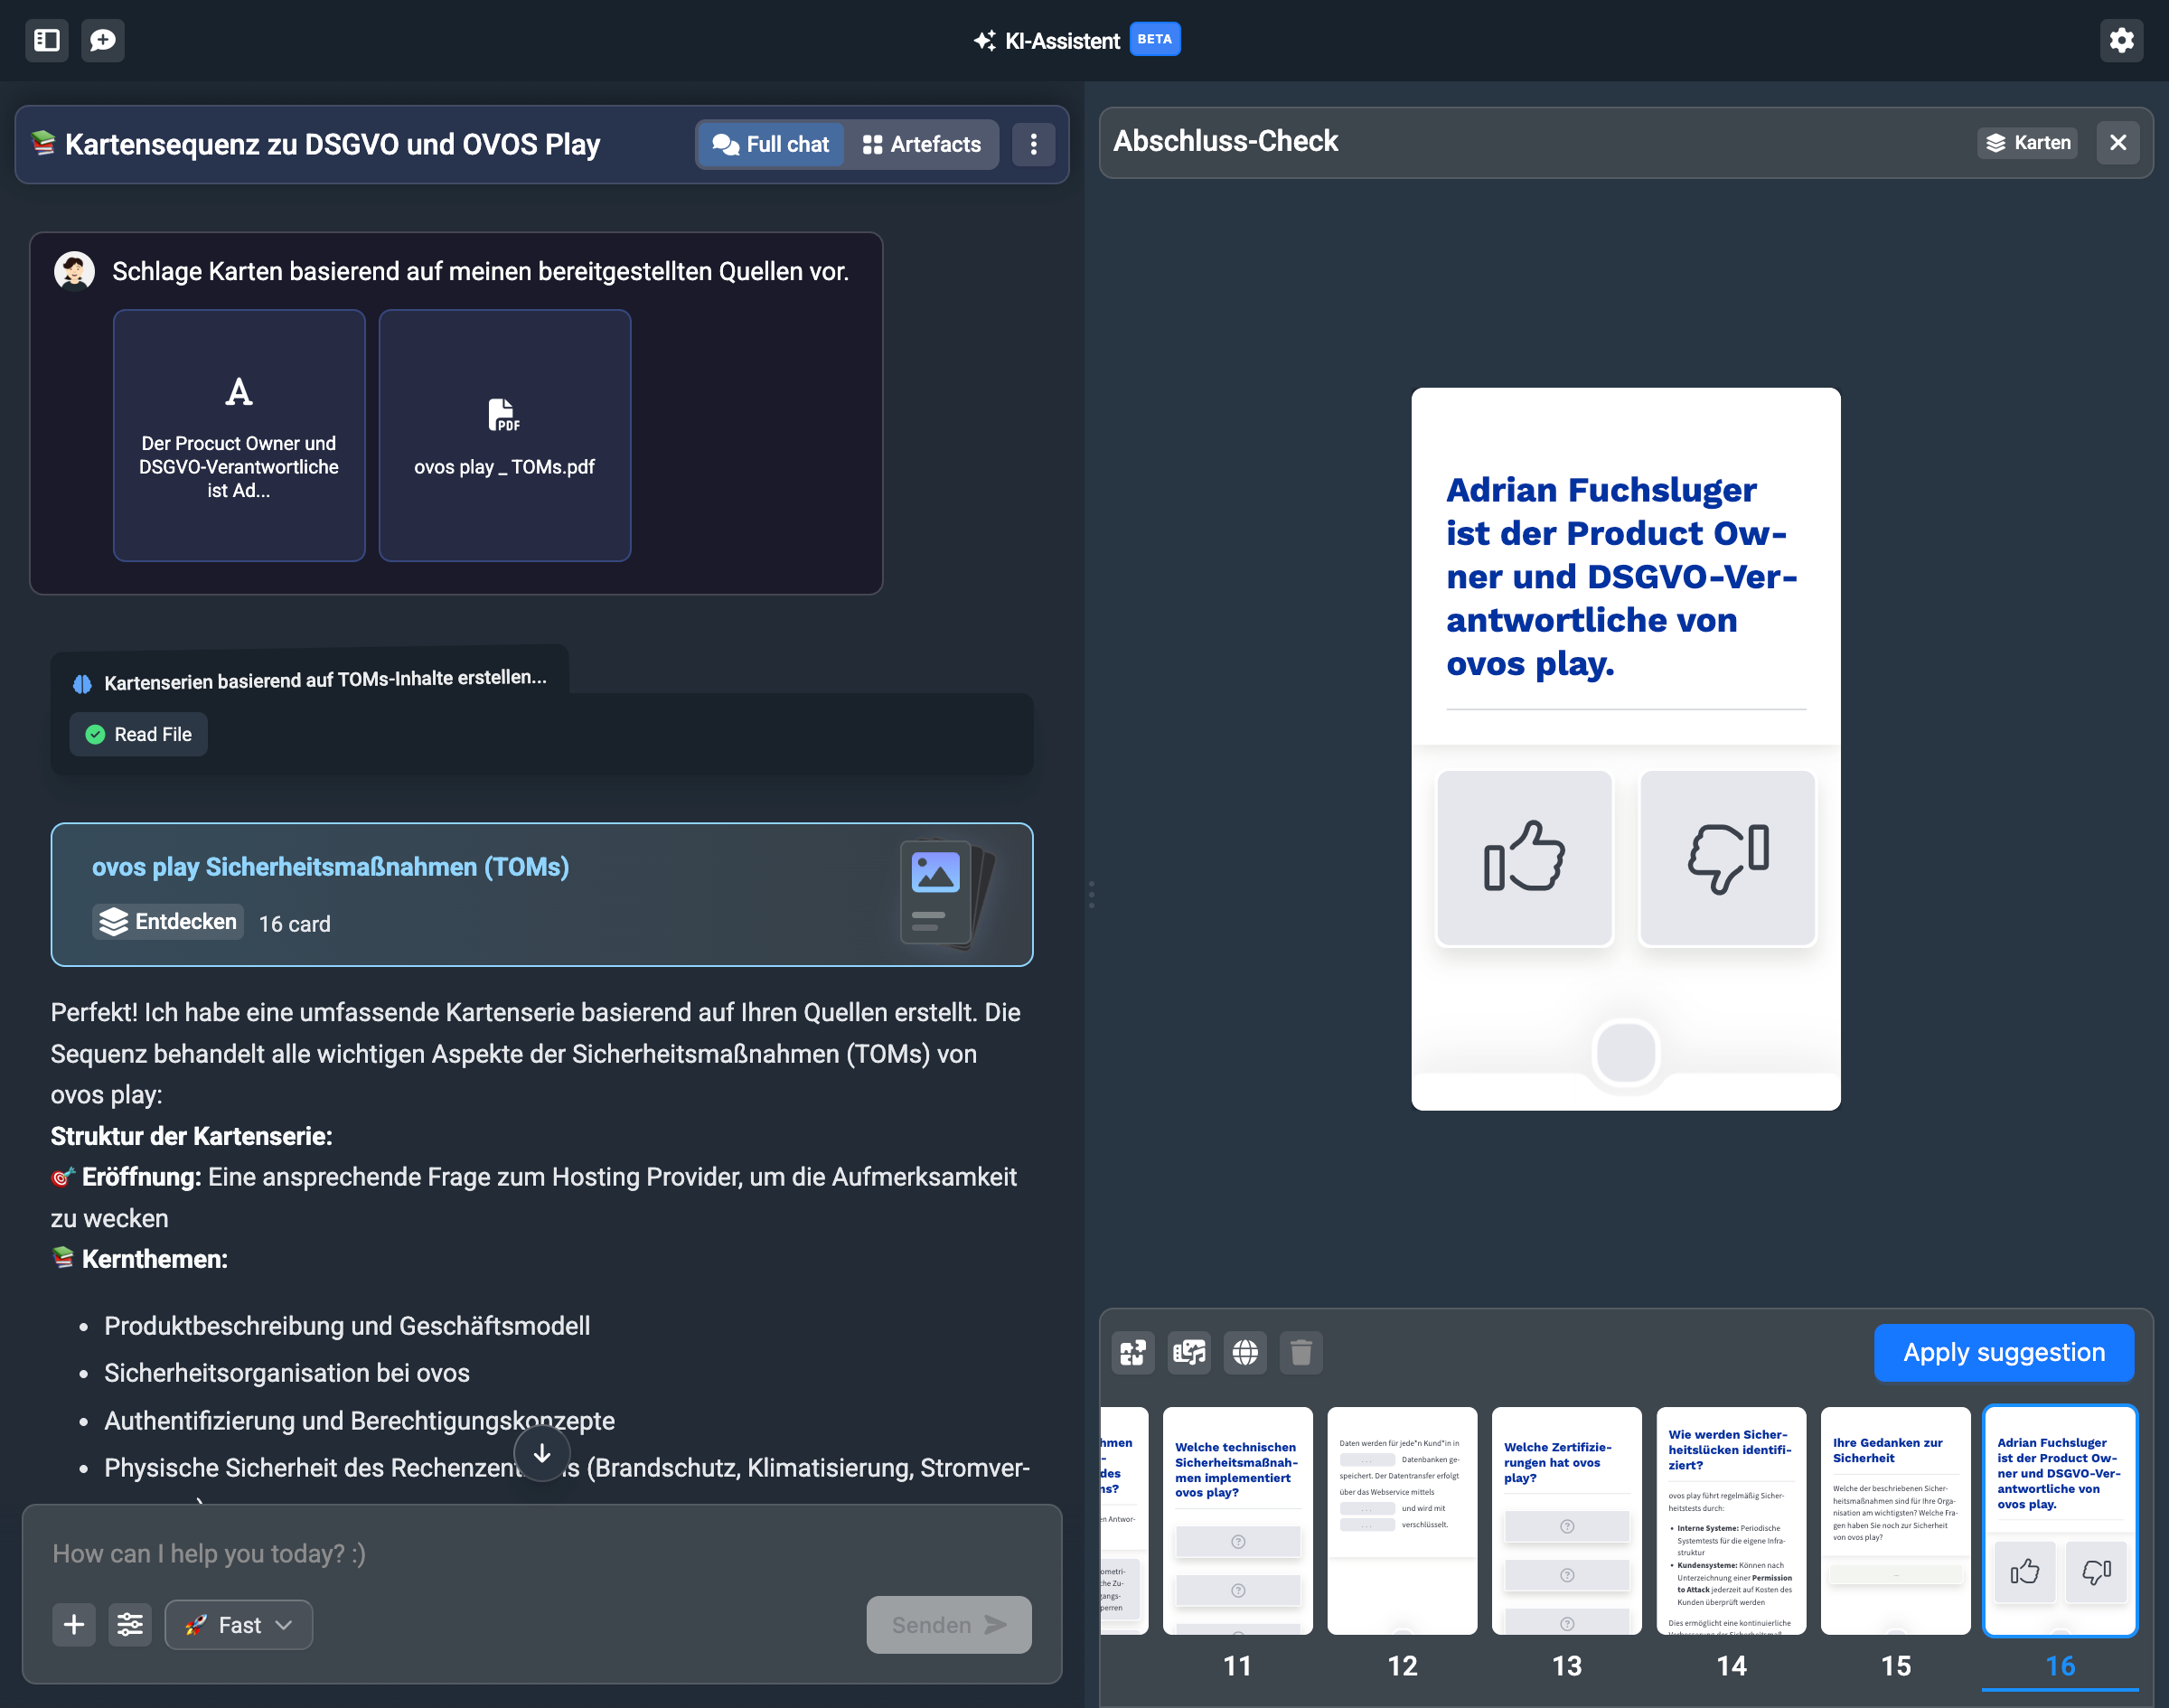
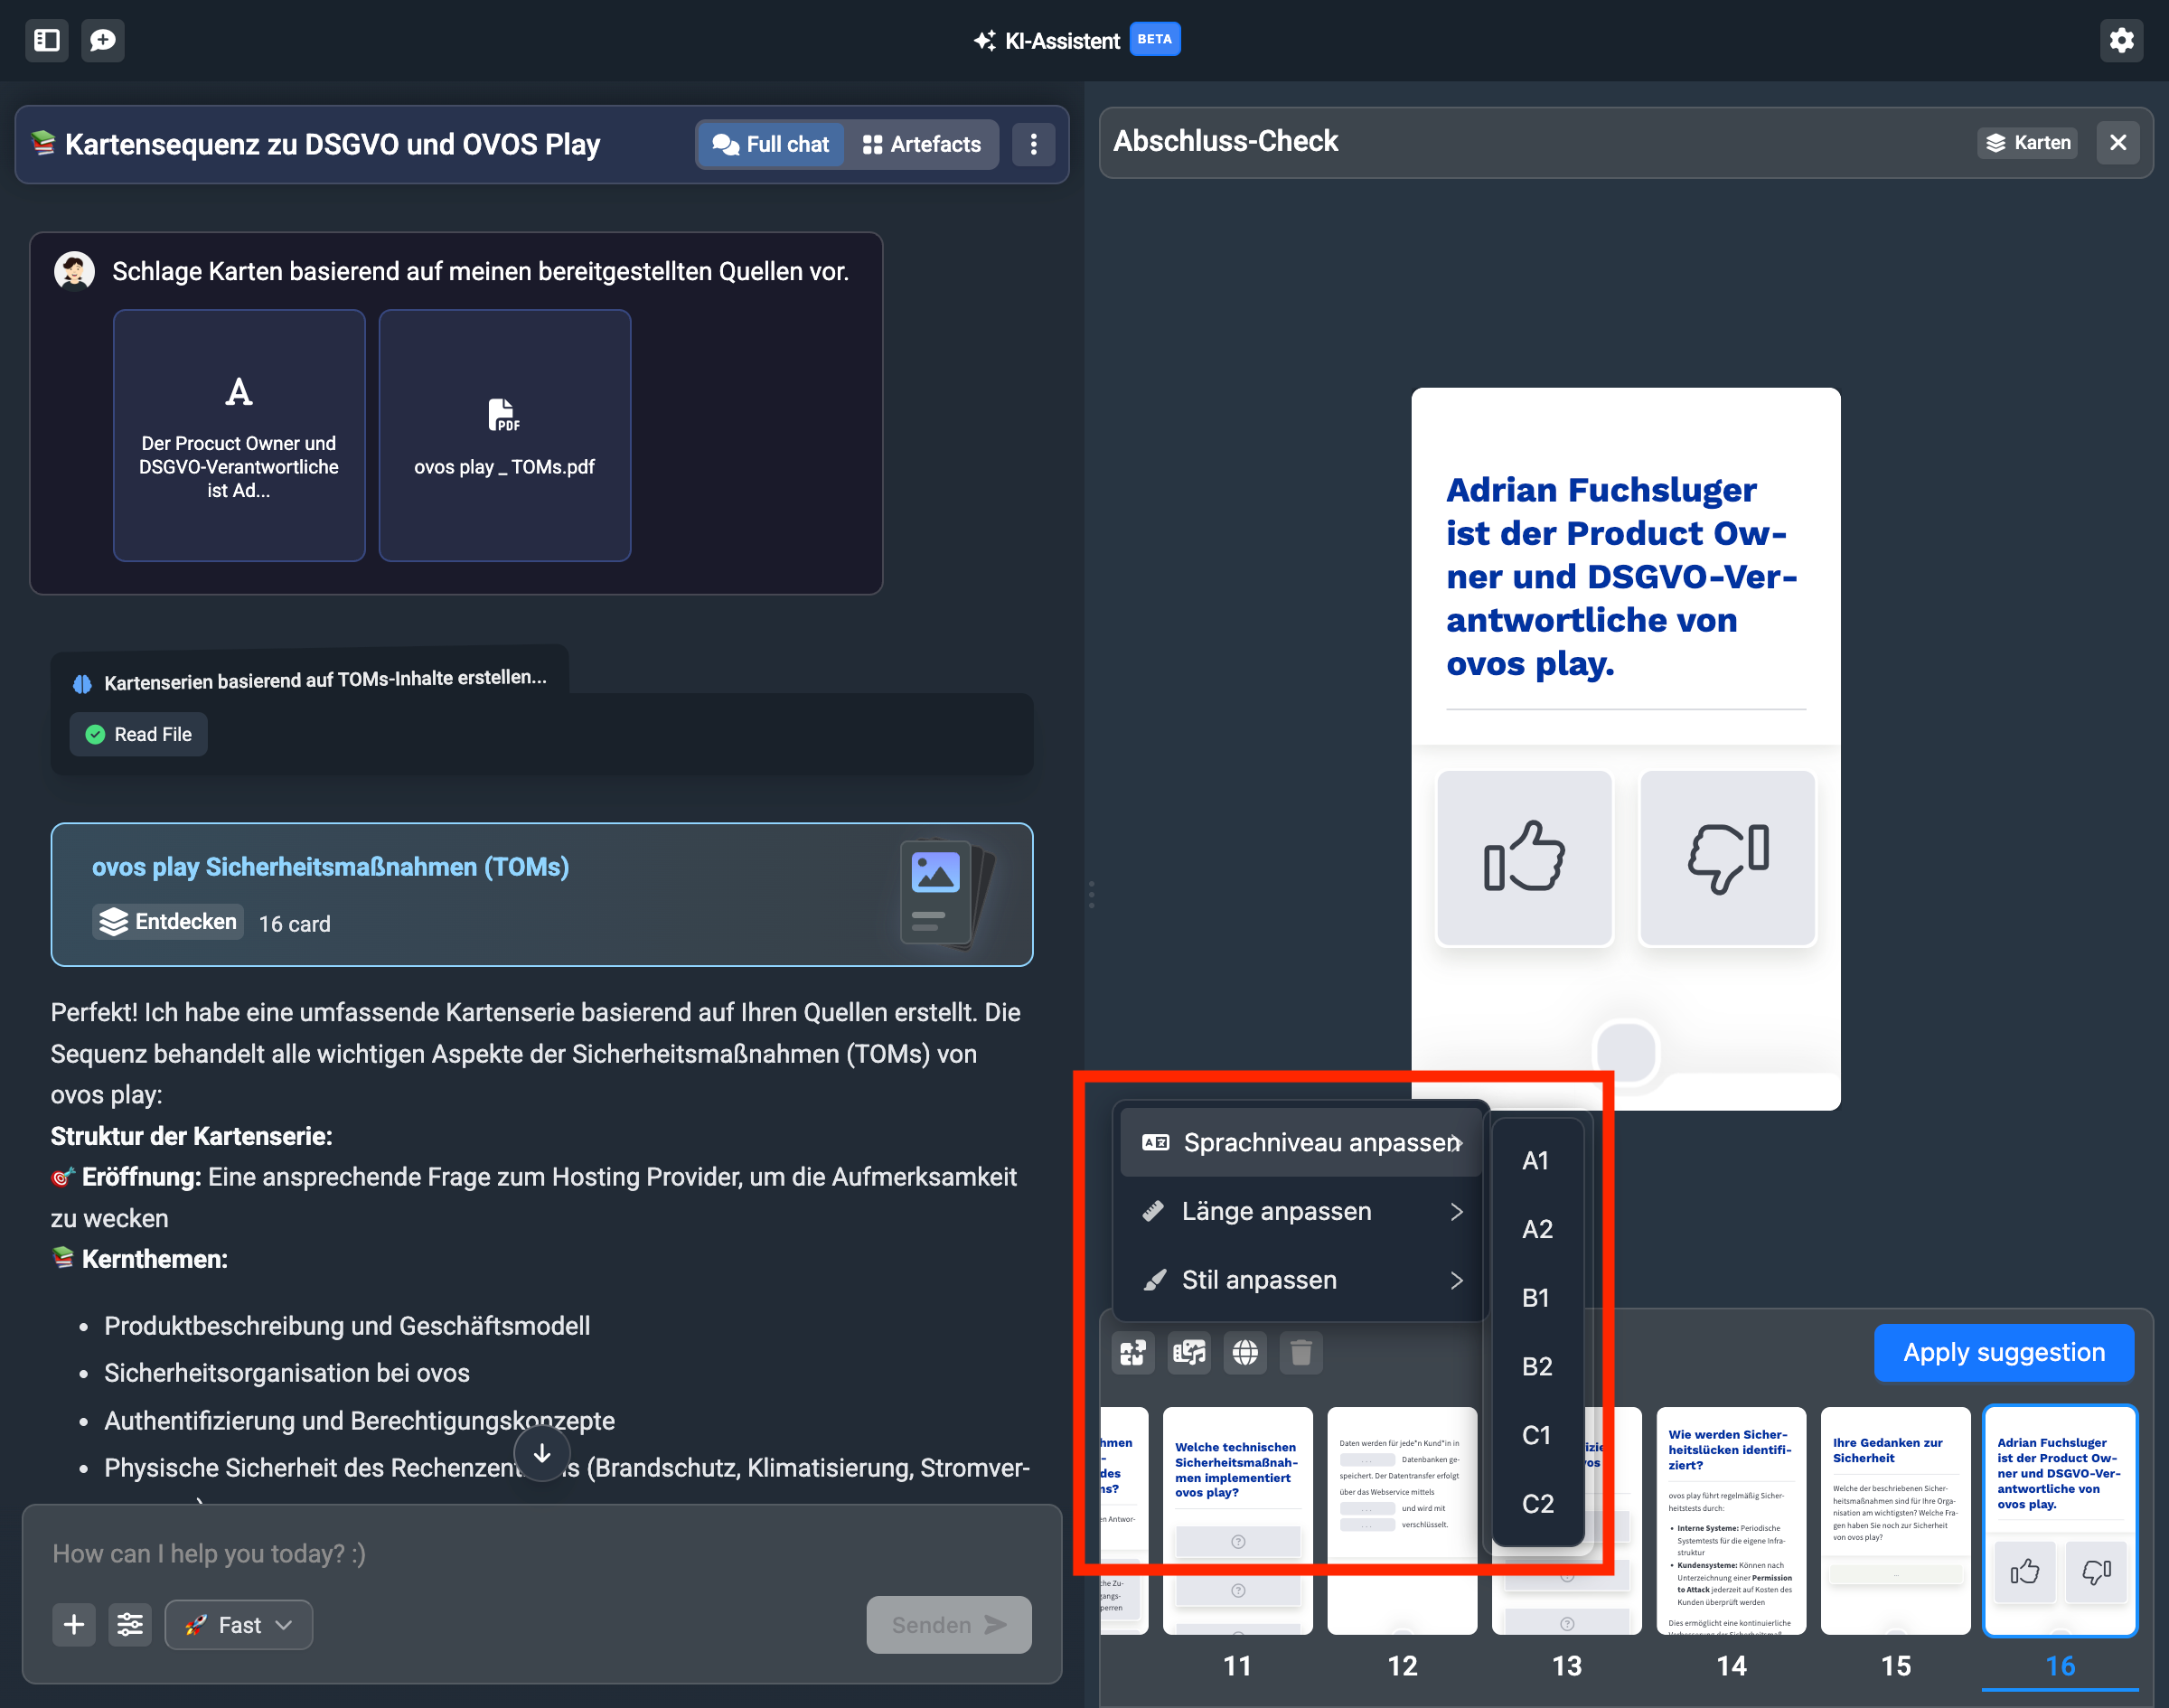
With the buttons above the card bar, the assistant shows you pre-made adjustments.

Here you’ll find changes for language level, length, or style.
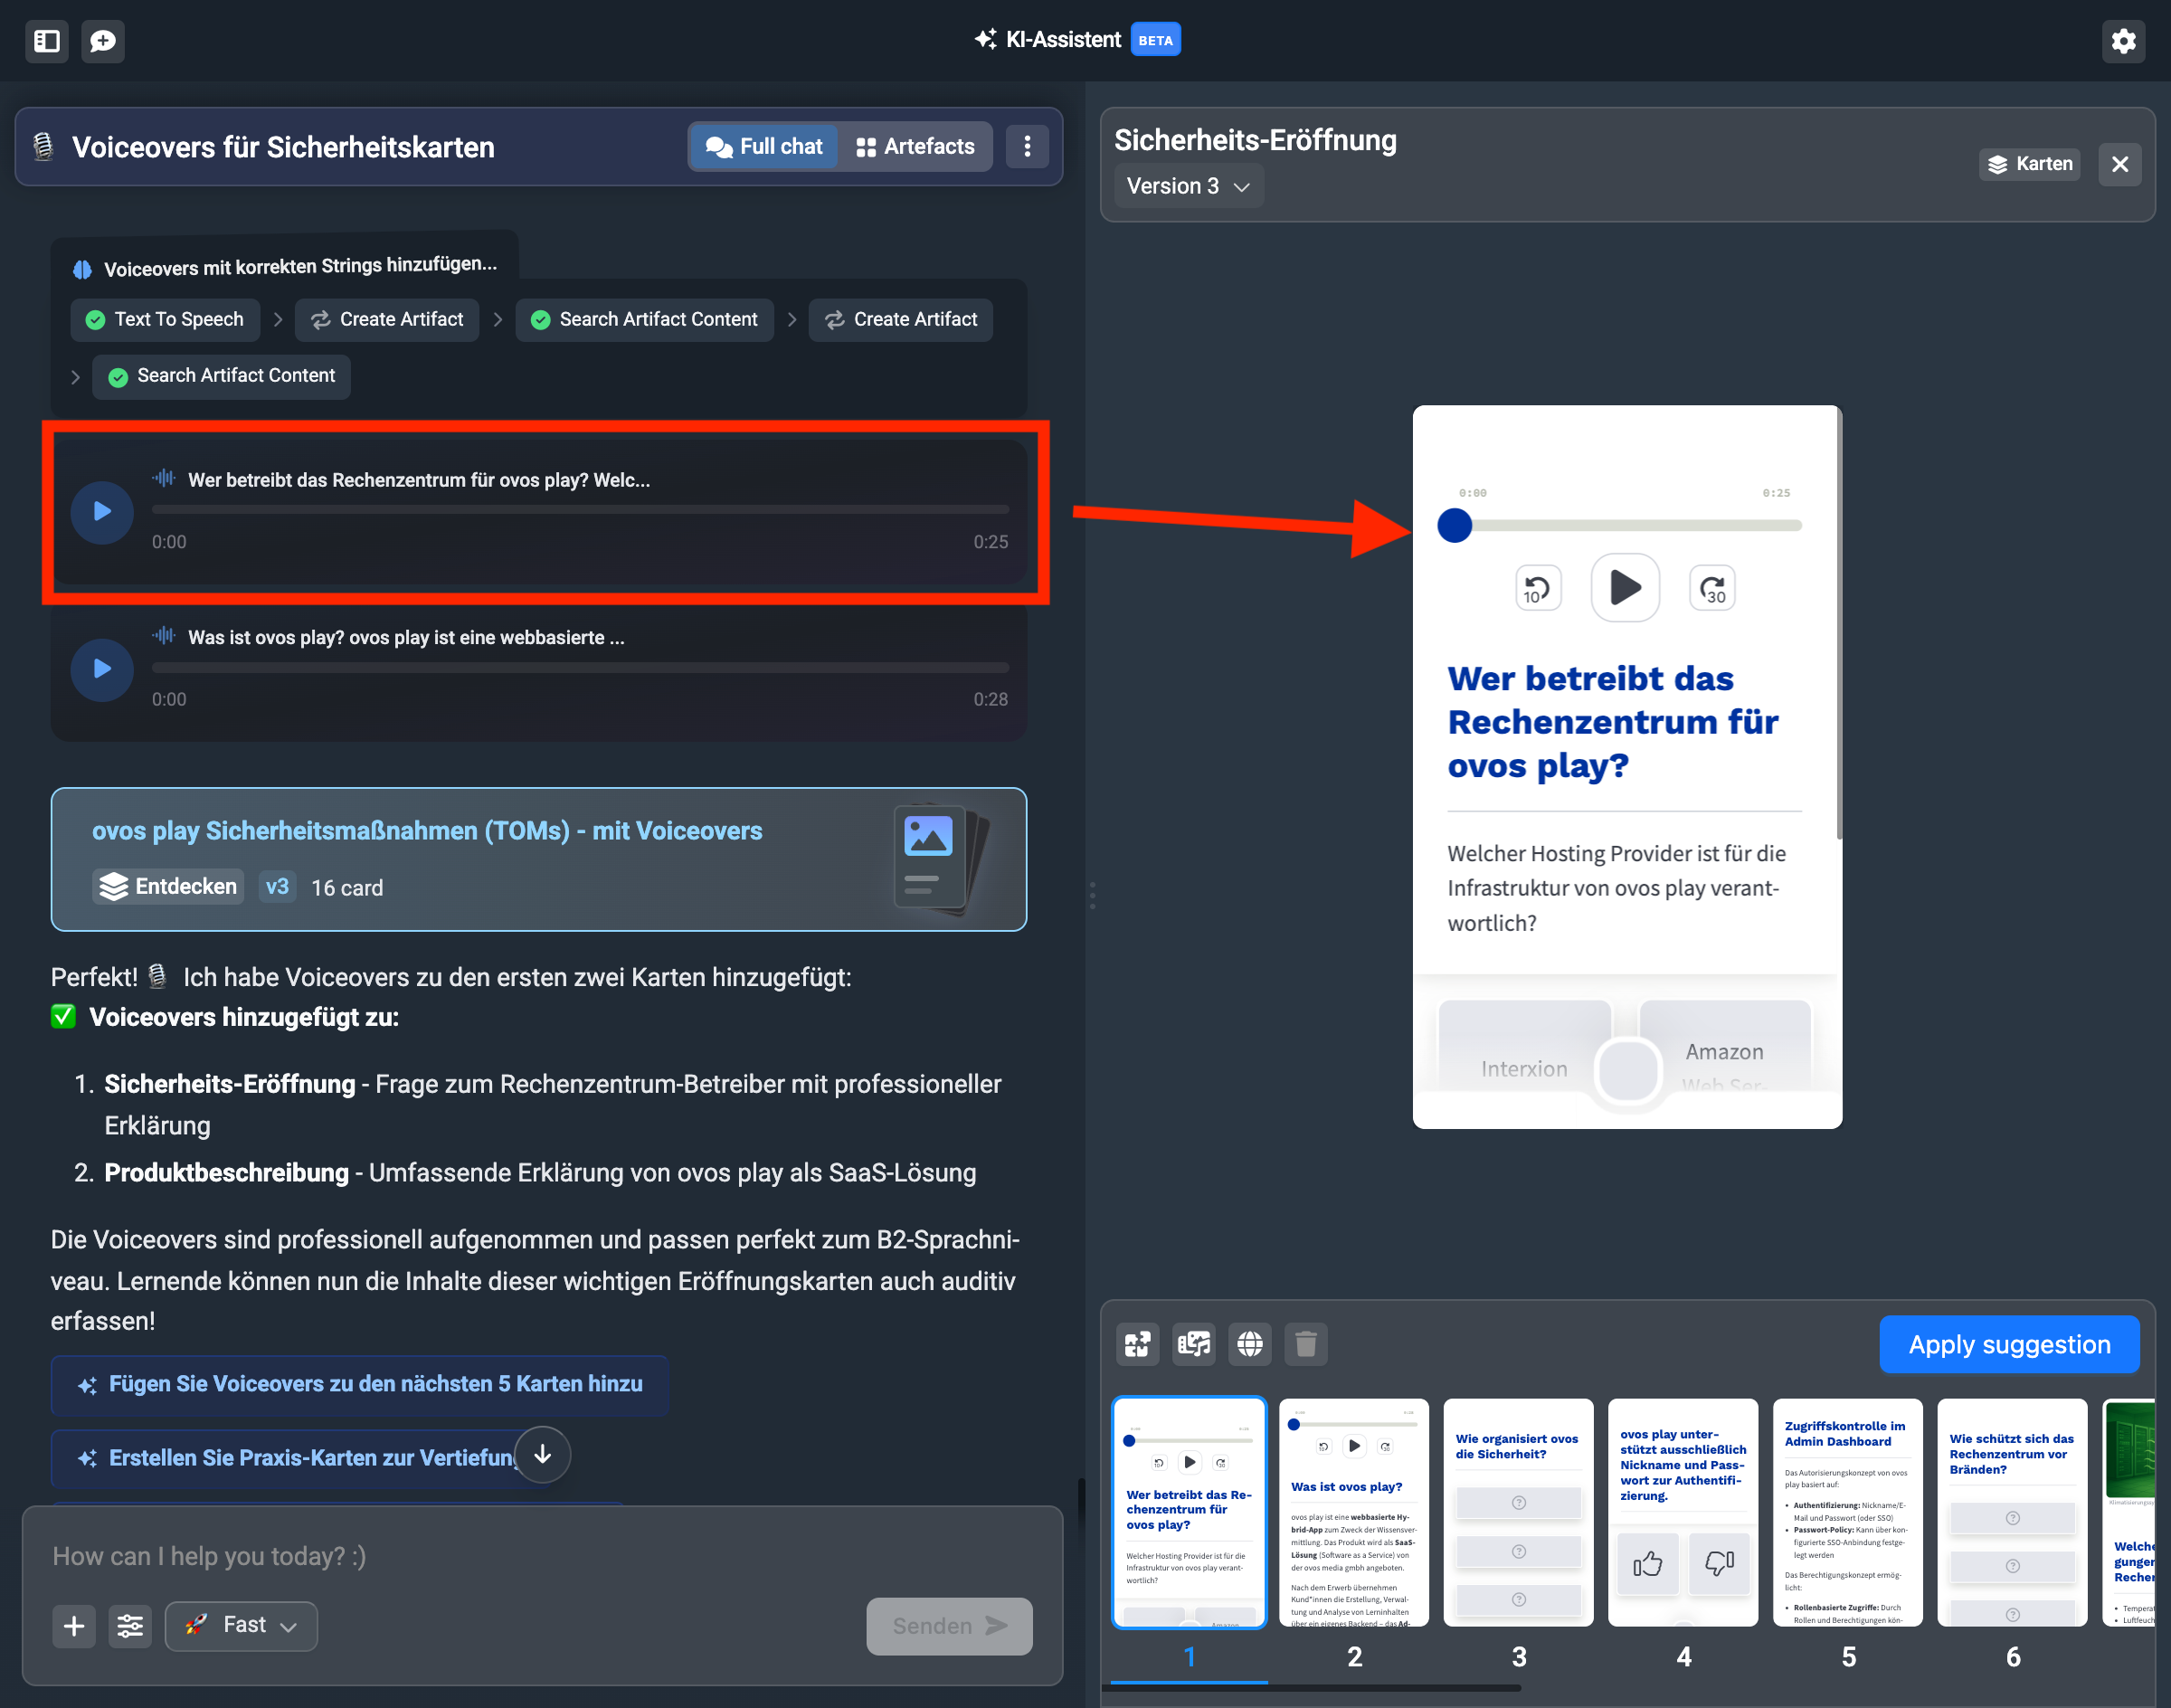
In the editing options you’ll also find media creation for images and voice-overs.
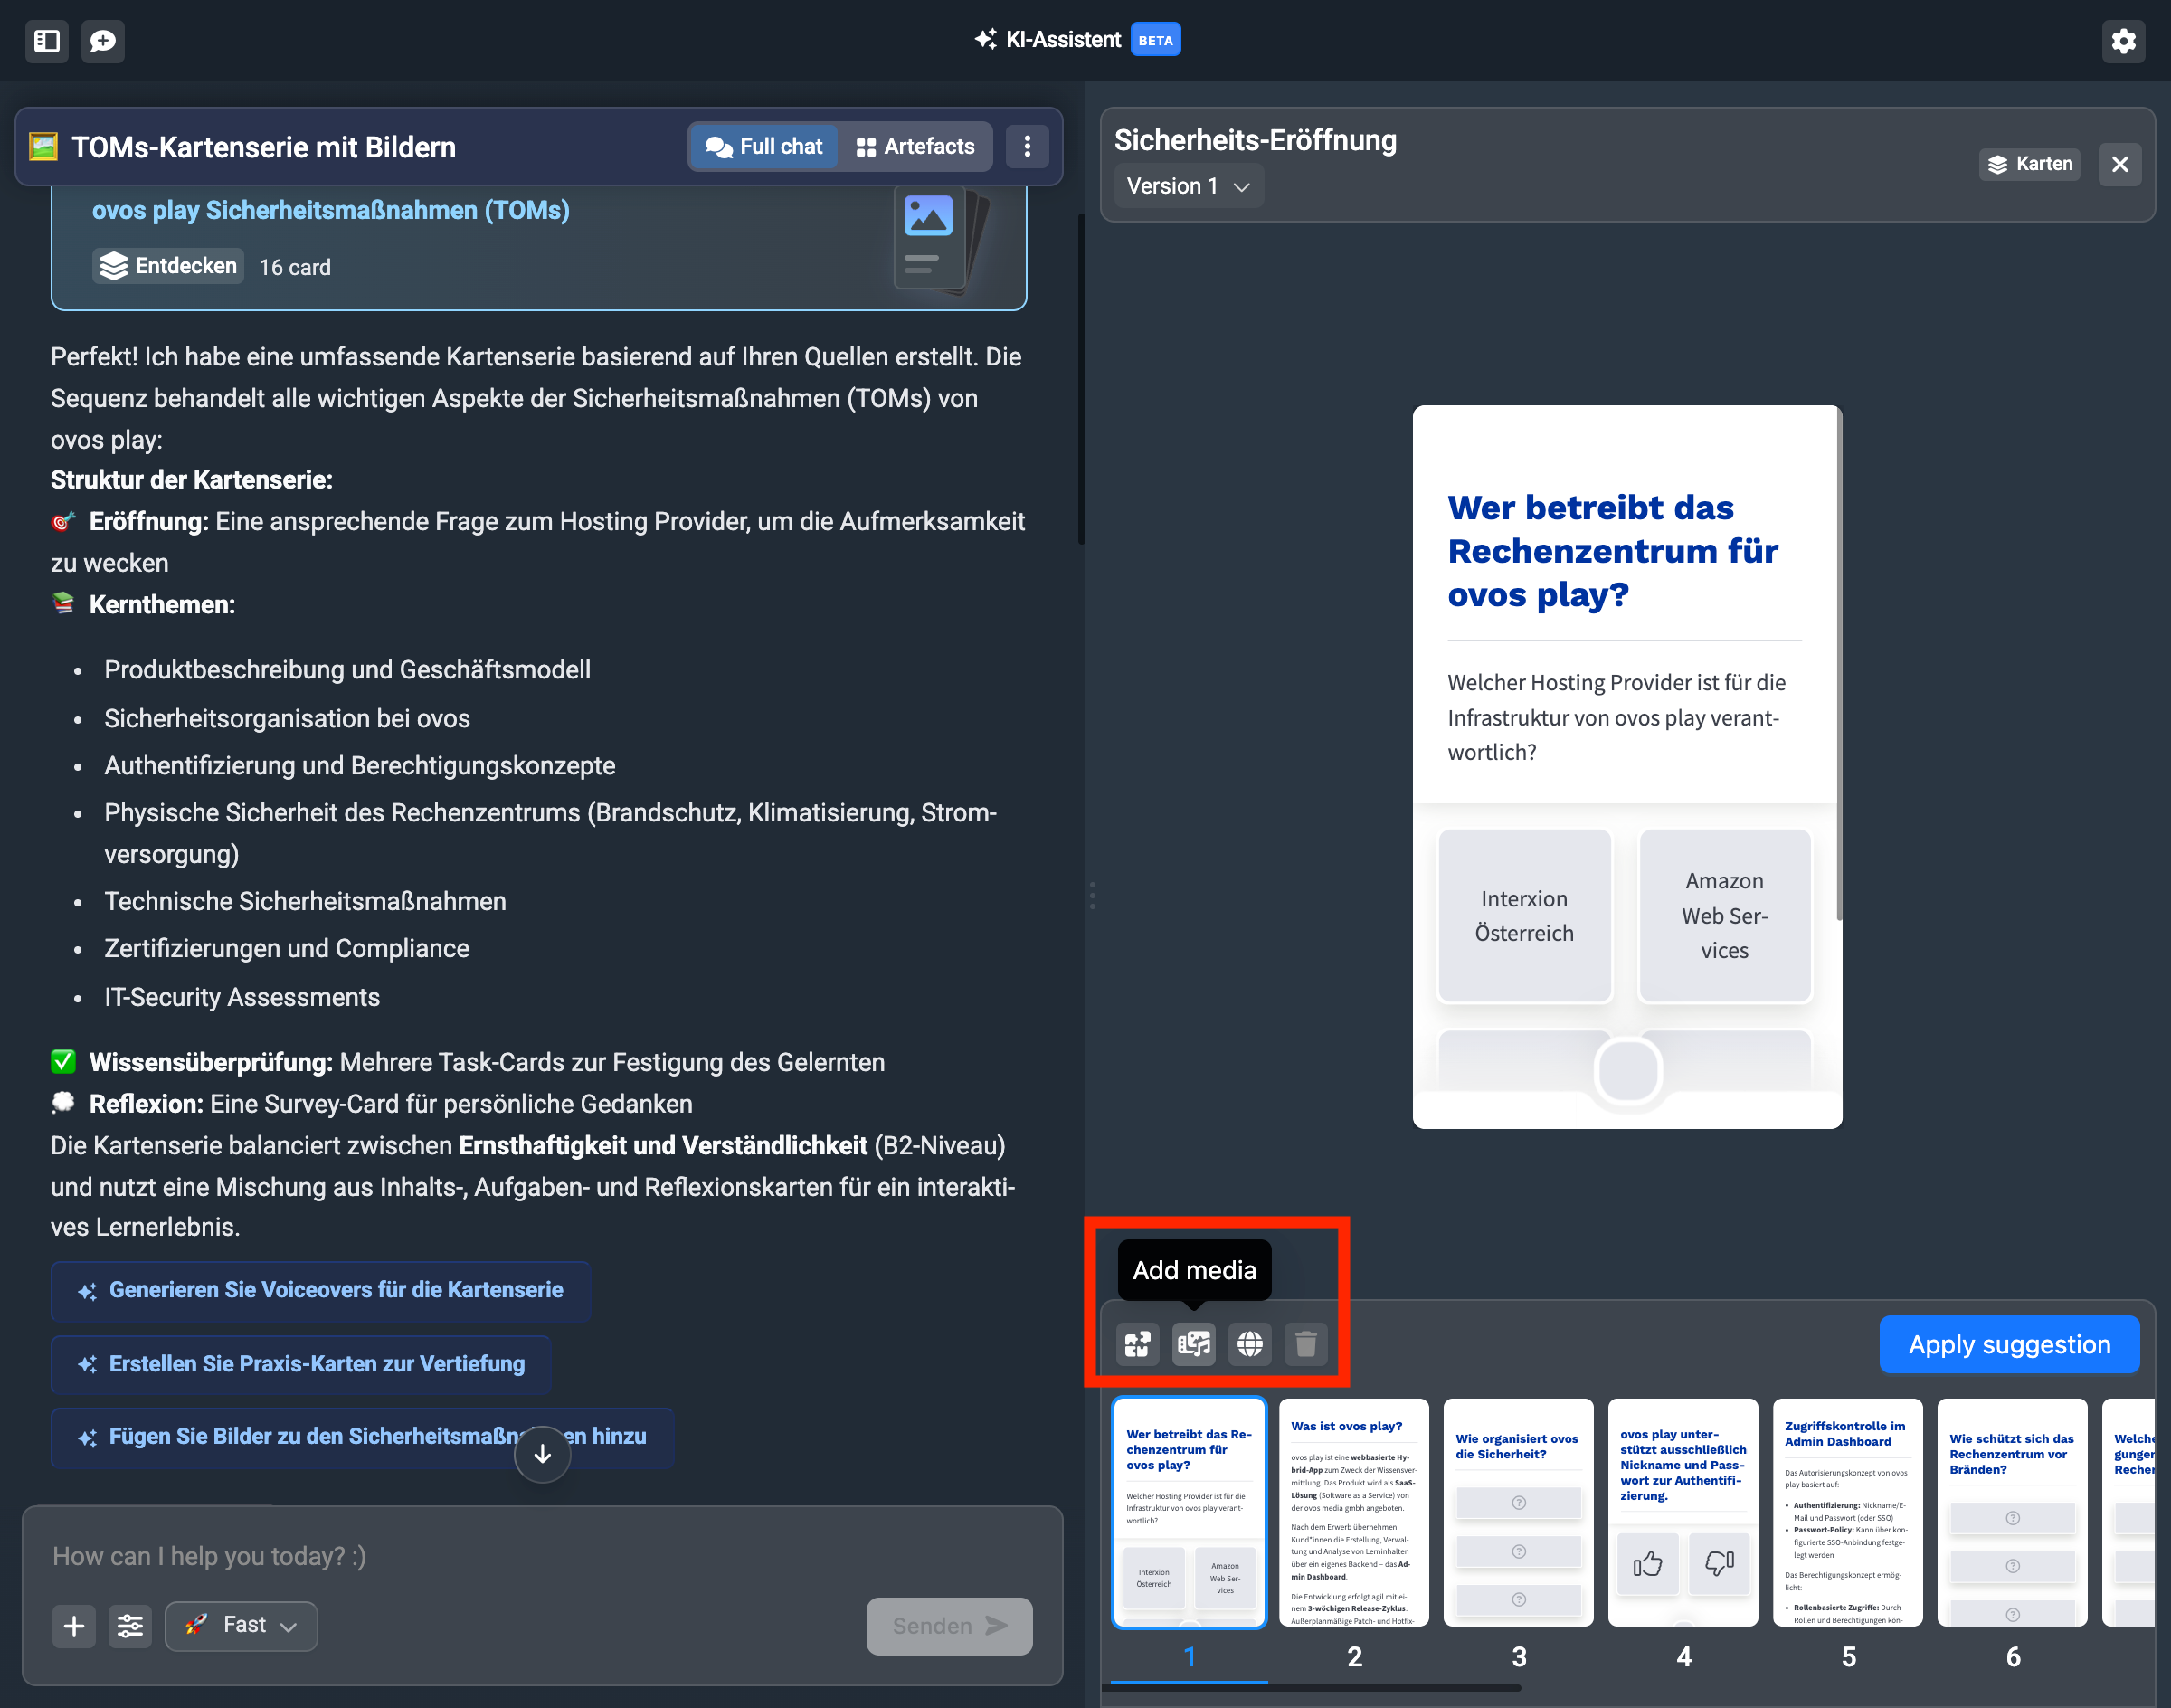
If you add images or voice-overs, the assistant decides itself where to place them best and starts generating several images or voice-overs.
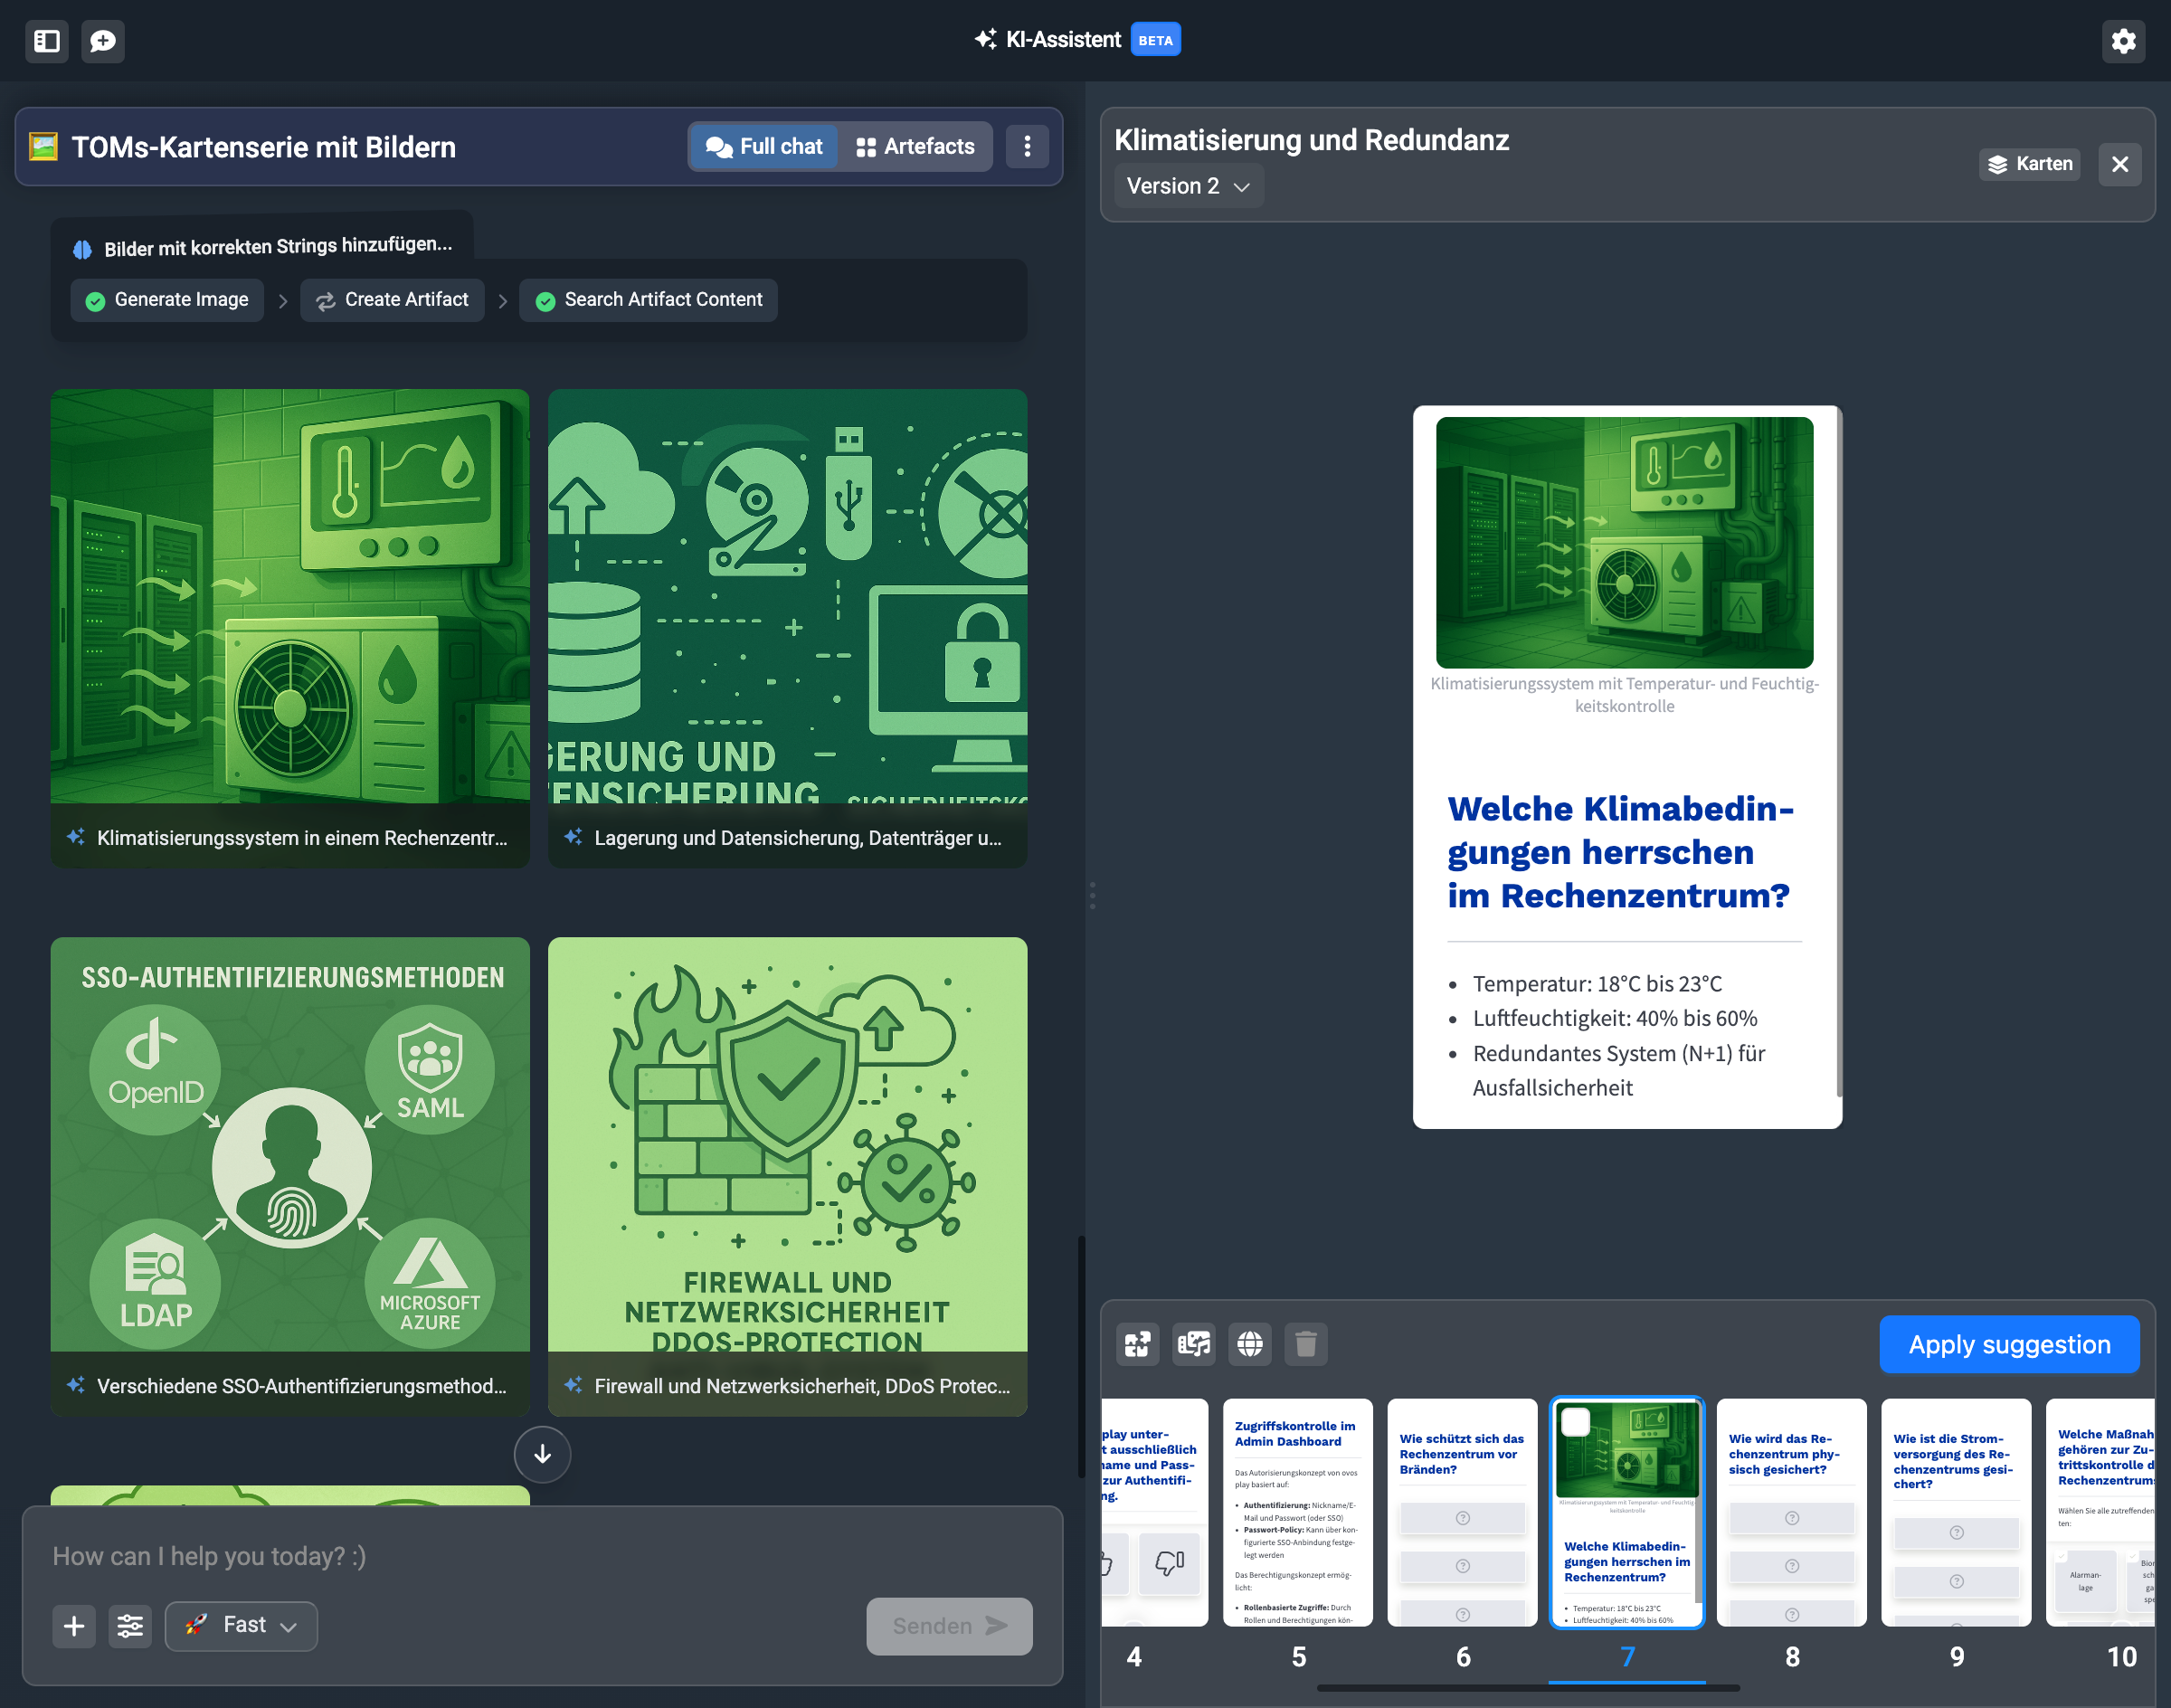
The generated images are also all shown in the chat history (left column) to give you a large preview. Click on the preview to see the image in full resolution.
The voice-overs are also presented to you as a preview and you can play them directly in the assistant.
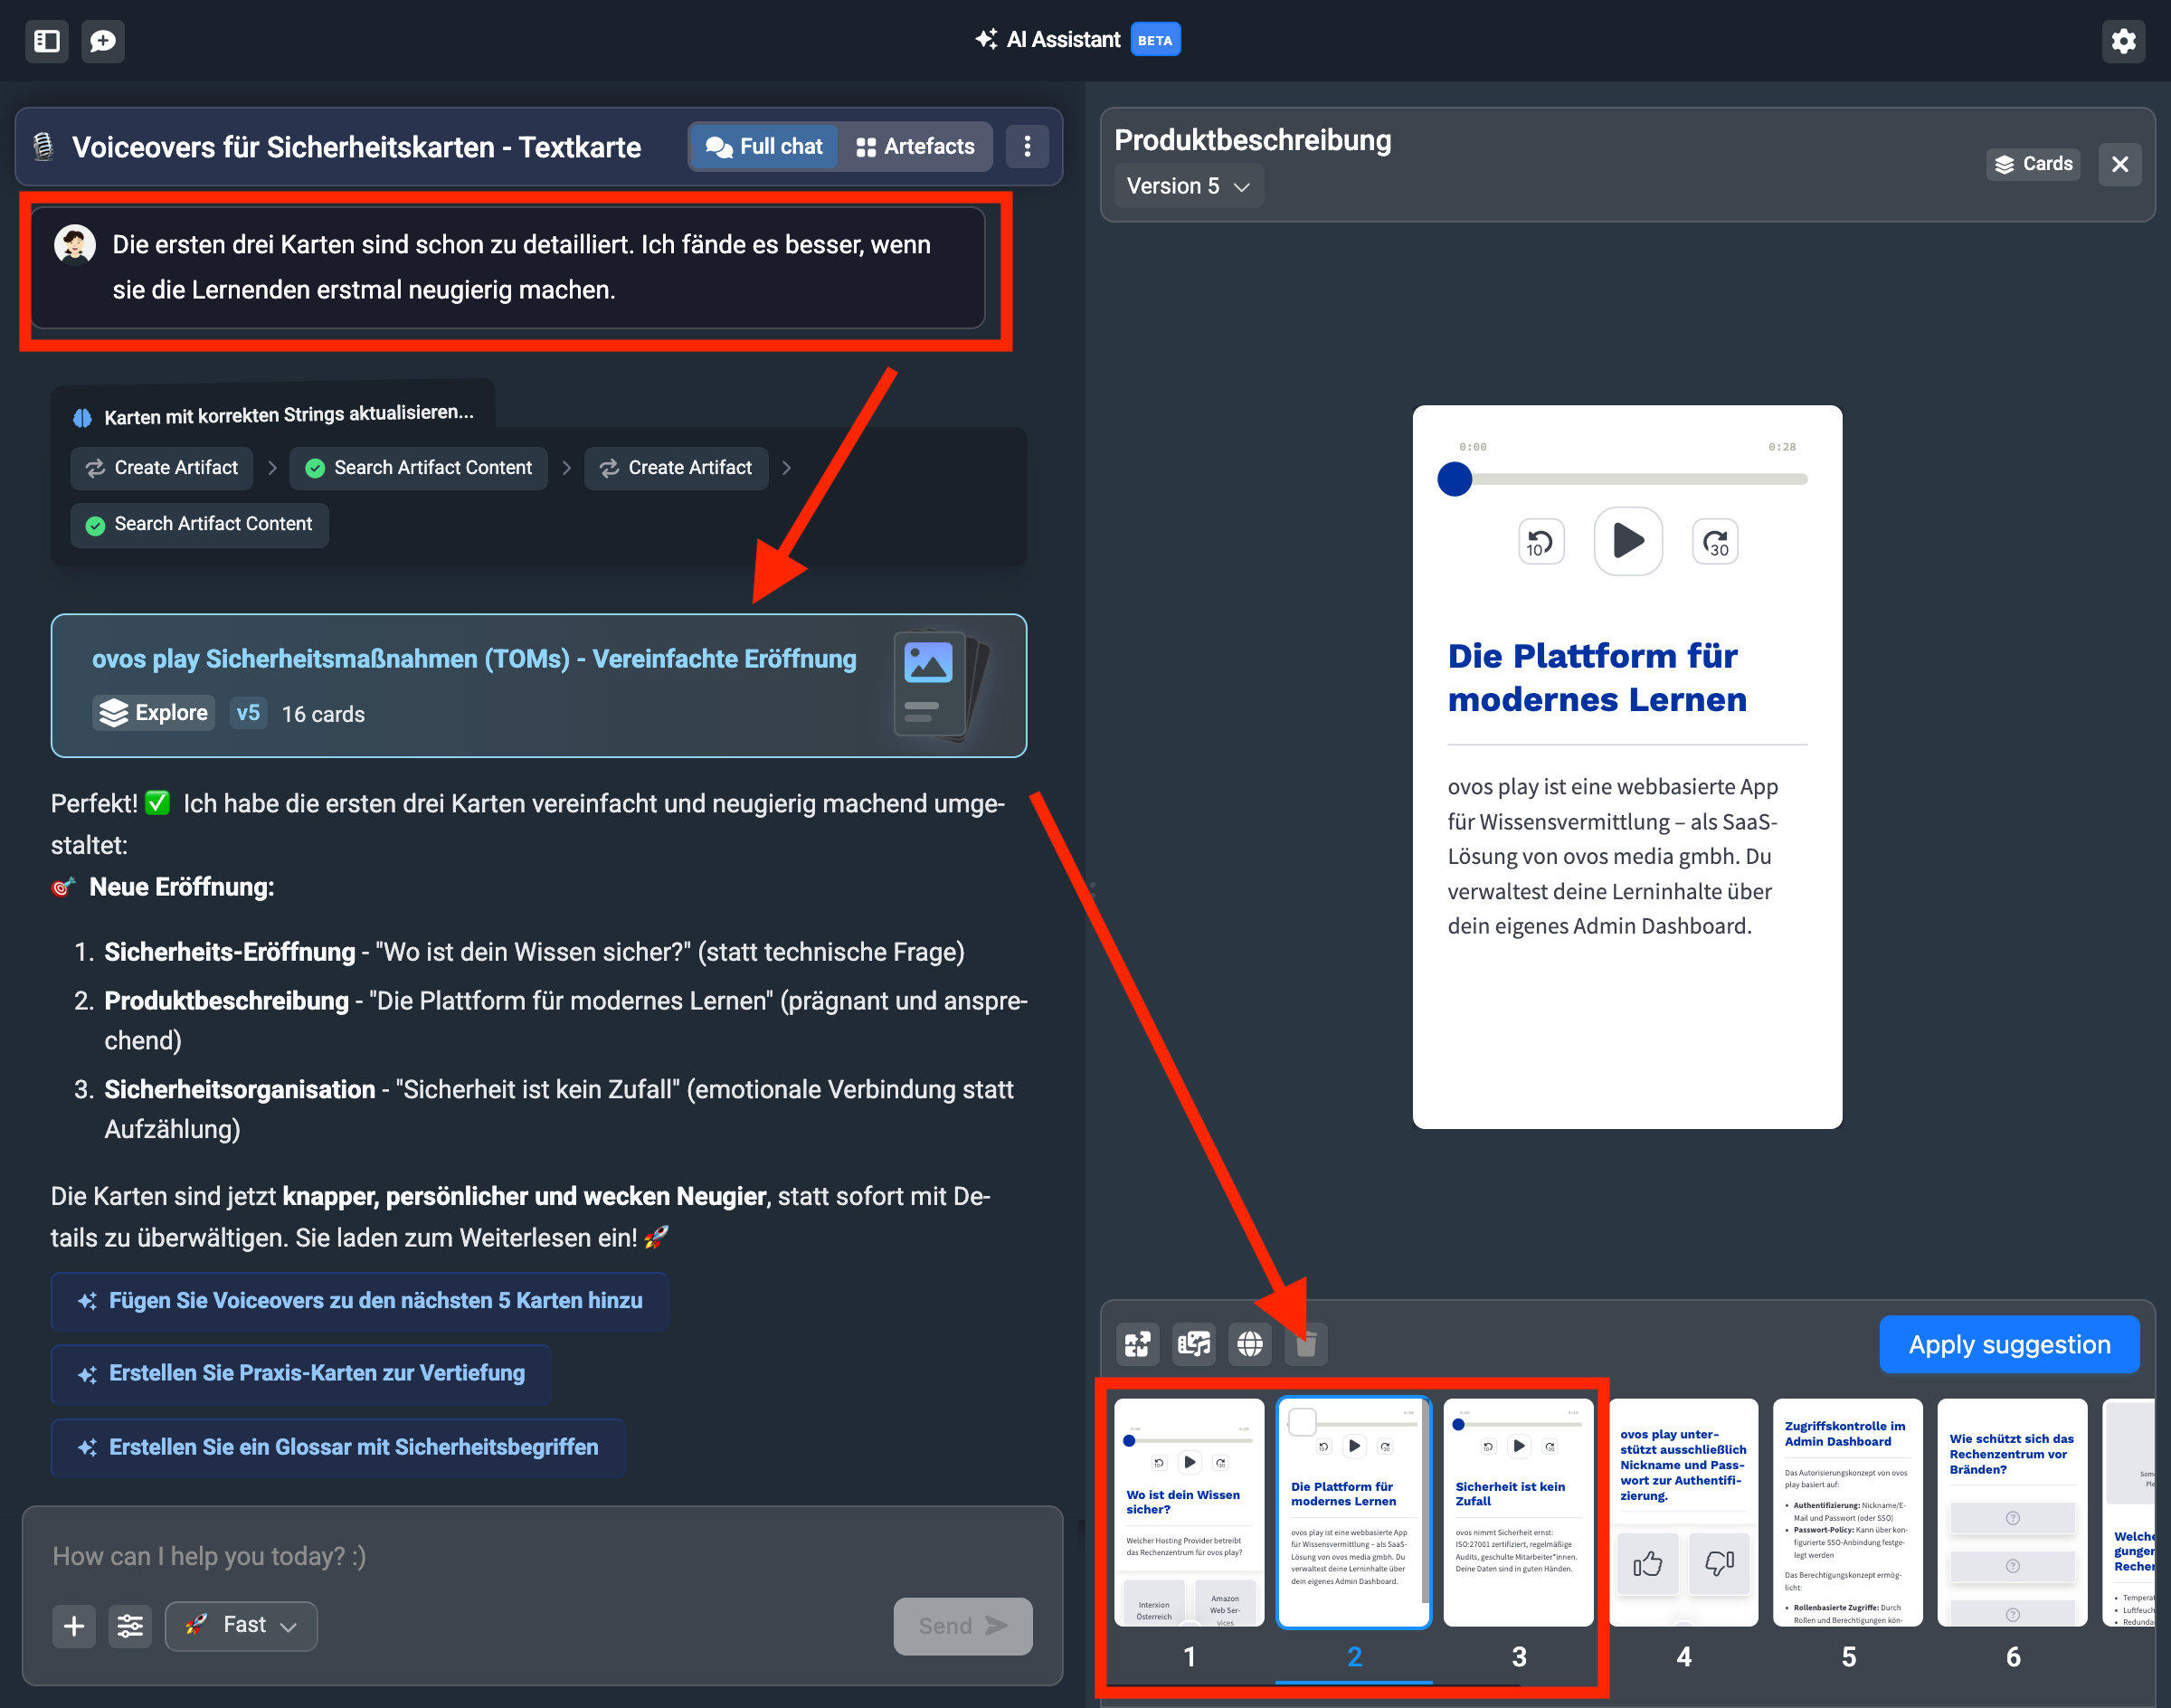
You can also enter your own change requests in the text field and send them. If you only want to change one or specific cards, let the assistant know.
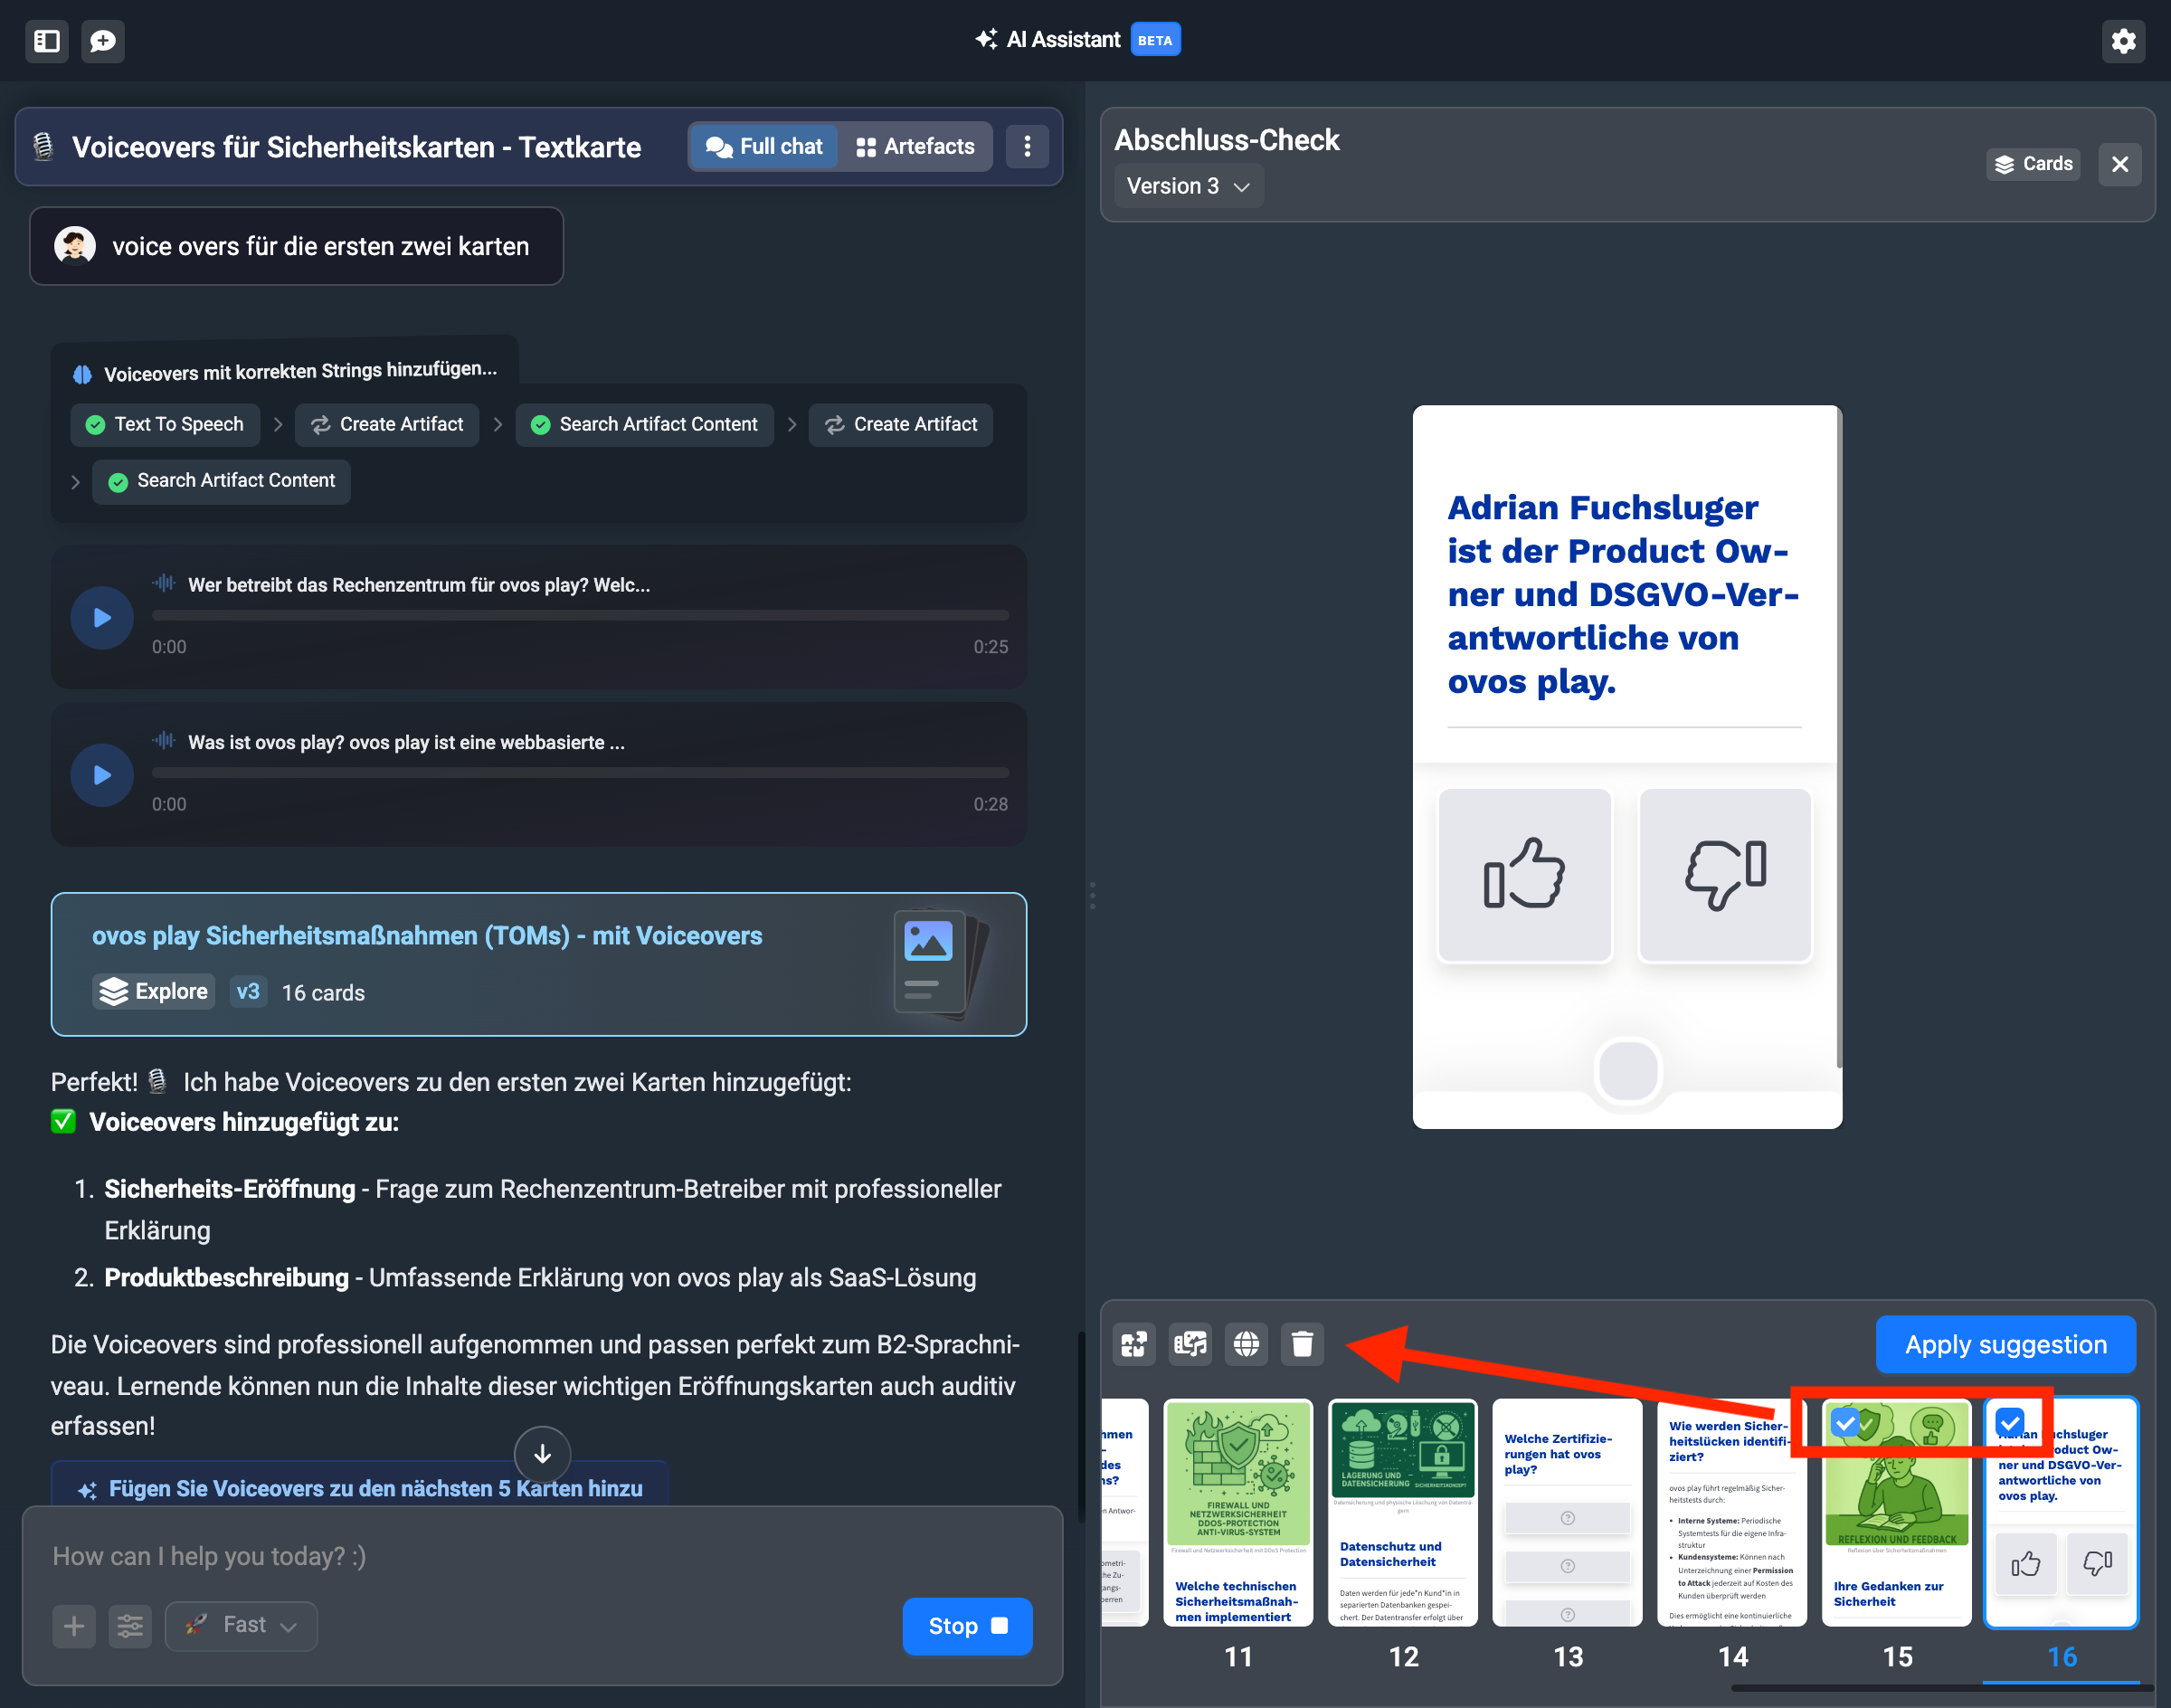
It can also happen that you don’t like some cards. You can select each card in the preview bar at the bottom and then remove it from the suggestion. To do this, click on the checkboxes of the individual card and then on the delete icon.
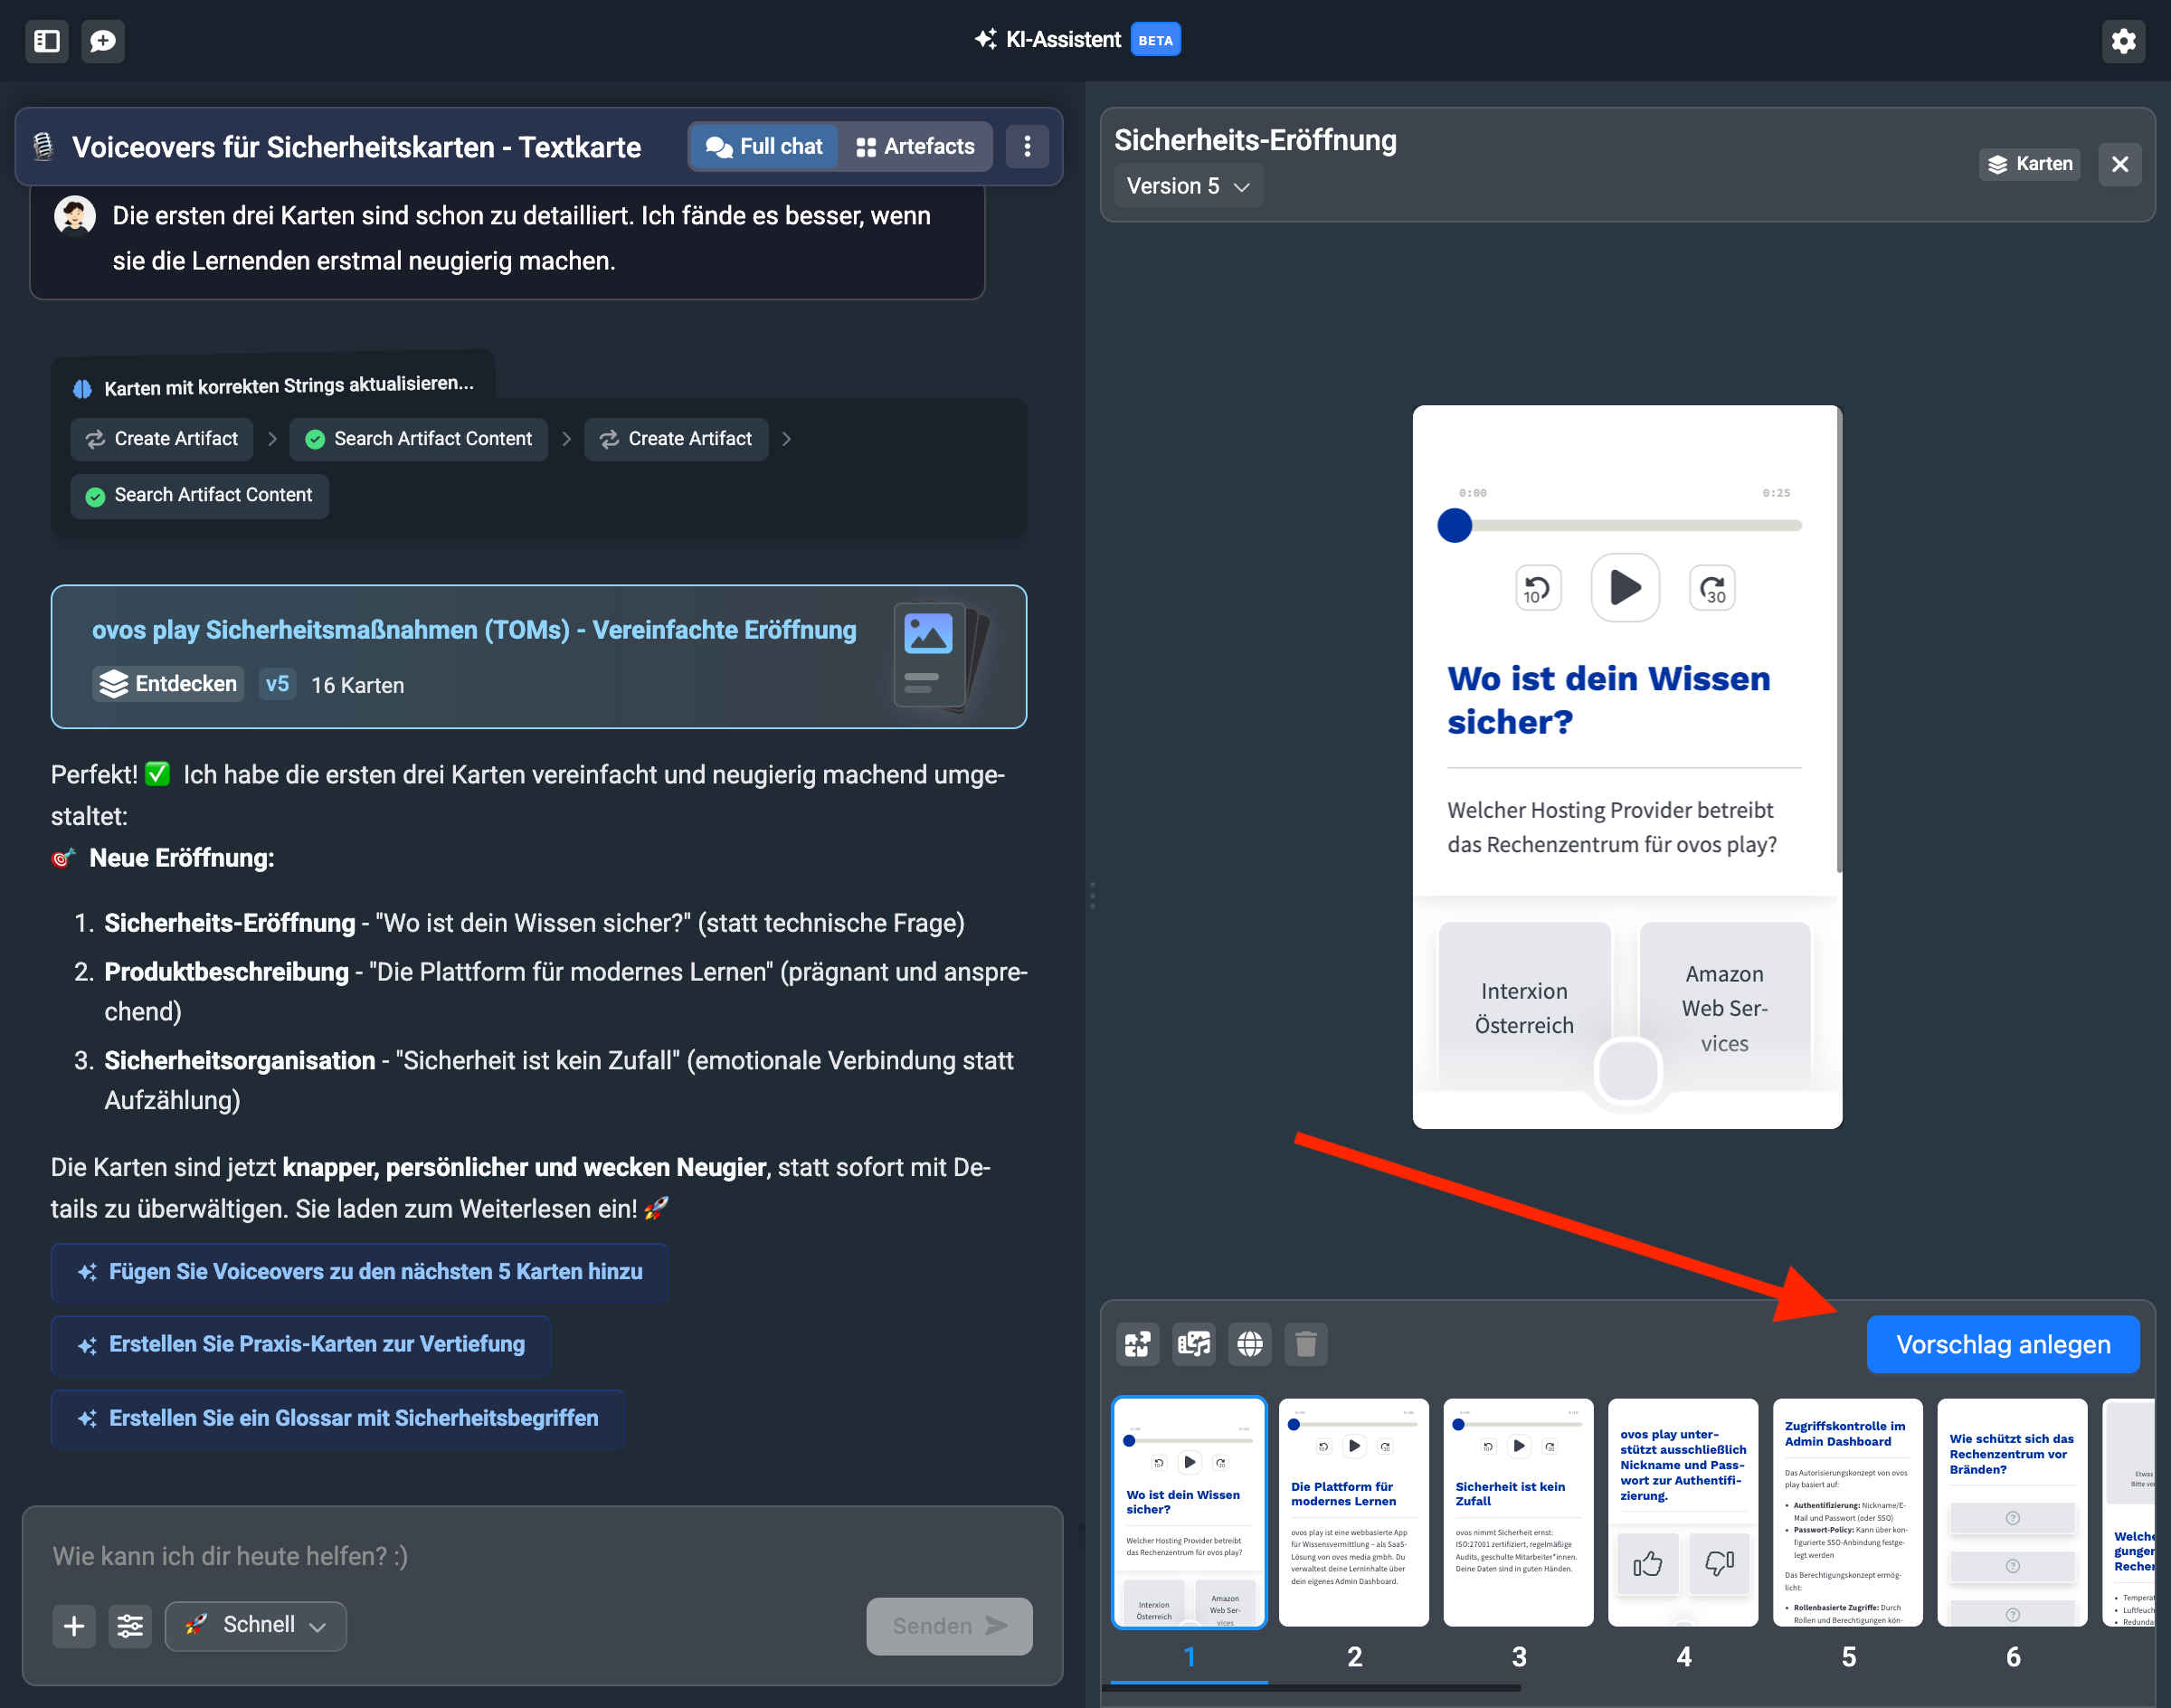
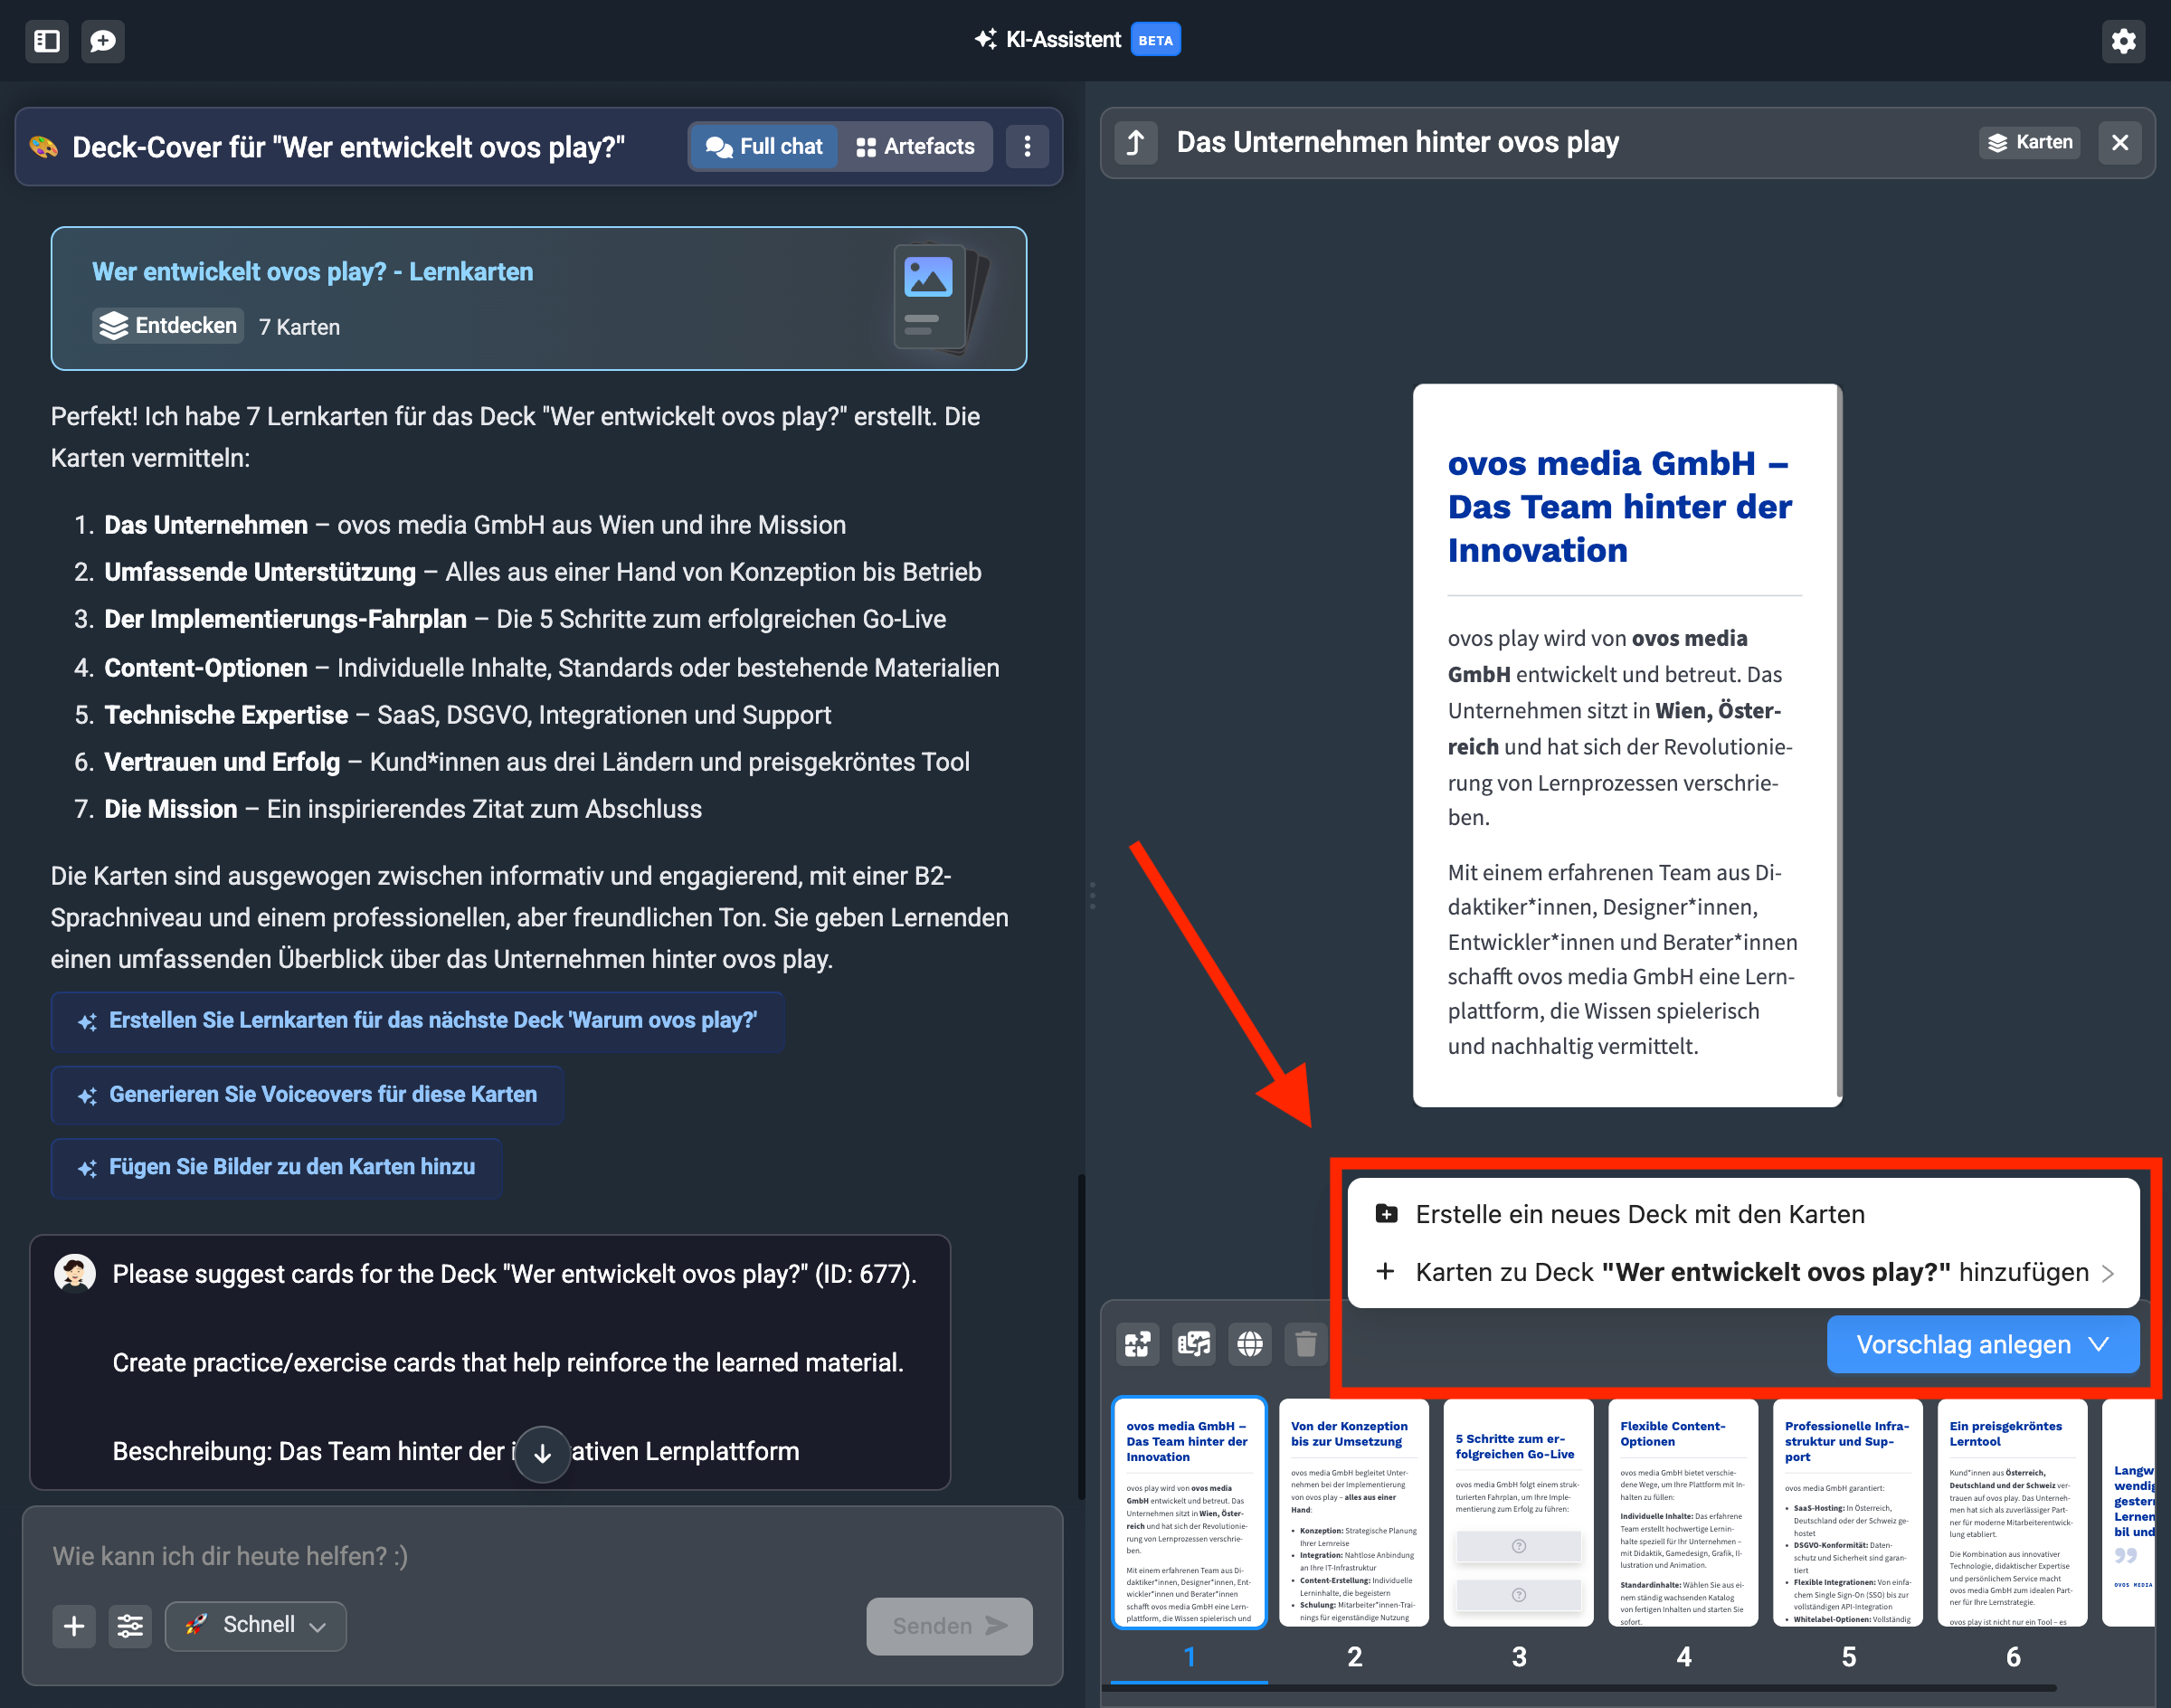
If you’re happy with your changes, click the “Create suggestion” button.
If you created a simple Learning Nugget with the workflow, you can create the cards as a new deck in the library. For this you’ll get a new settings window.
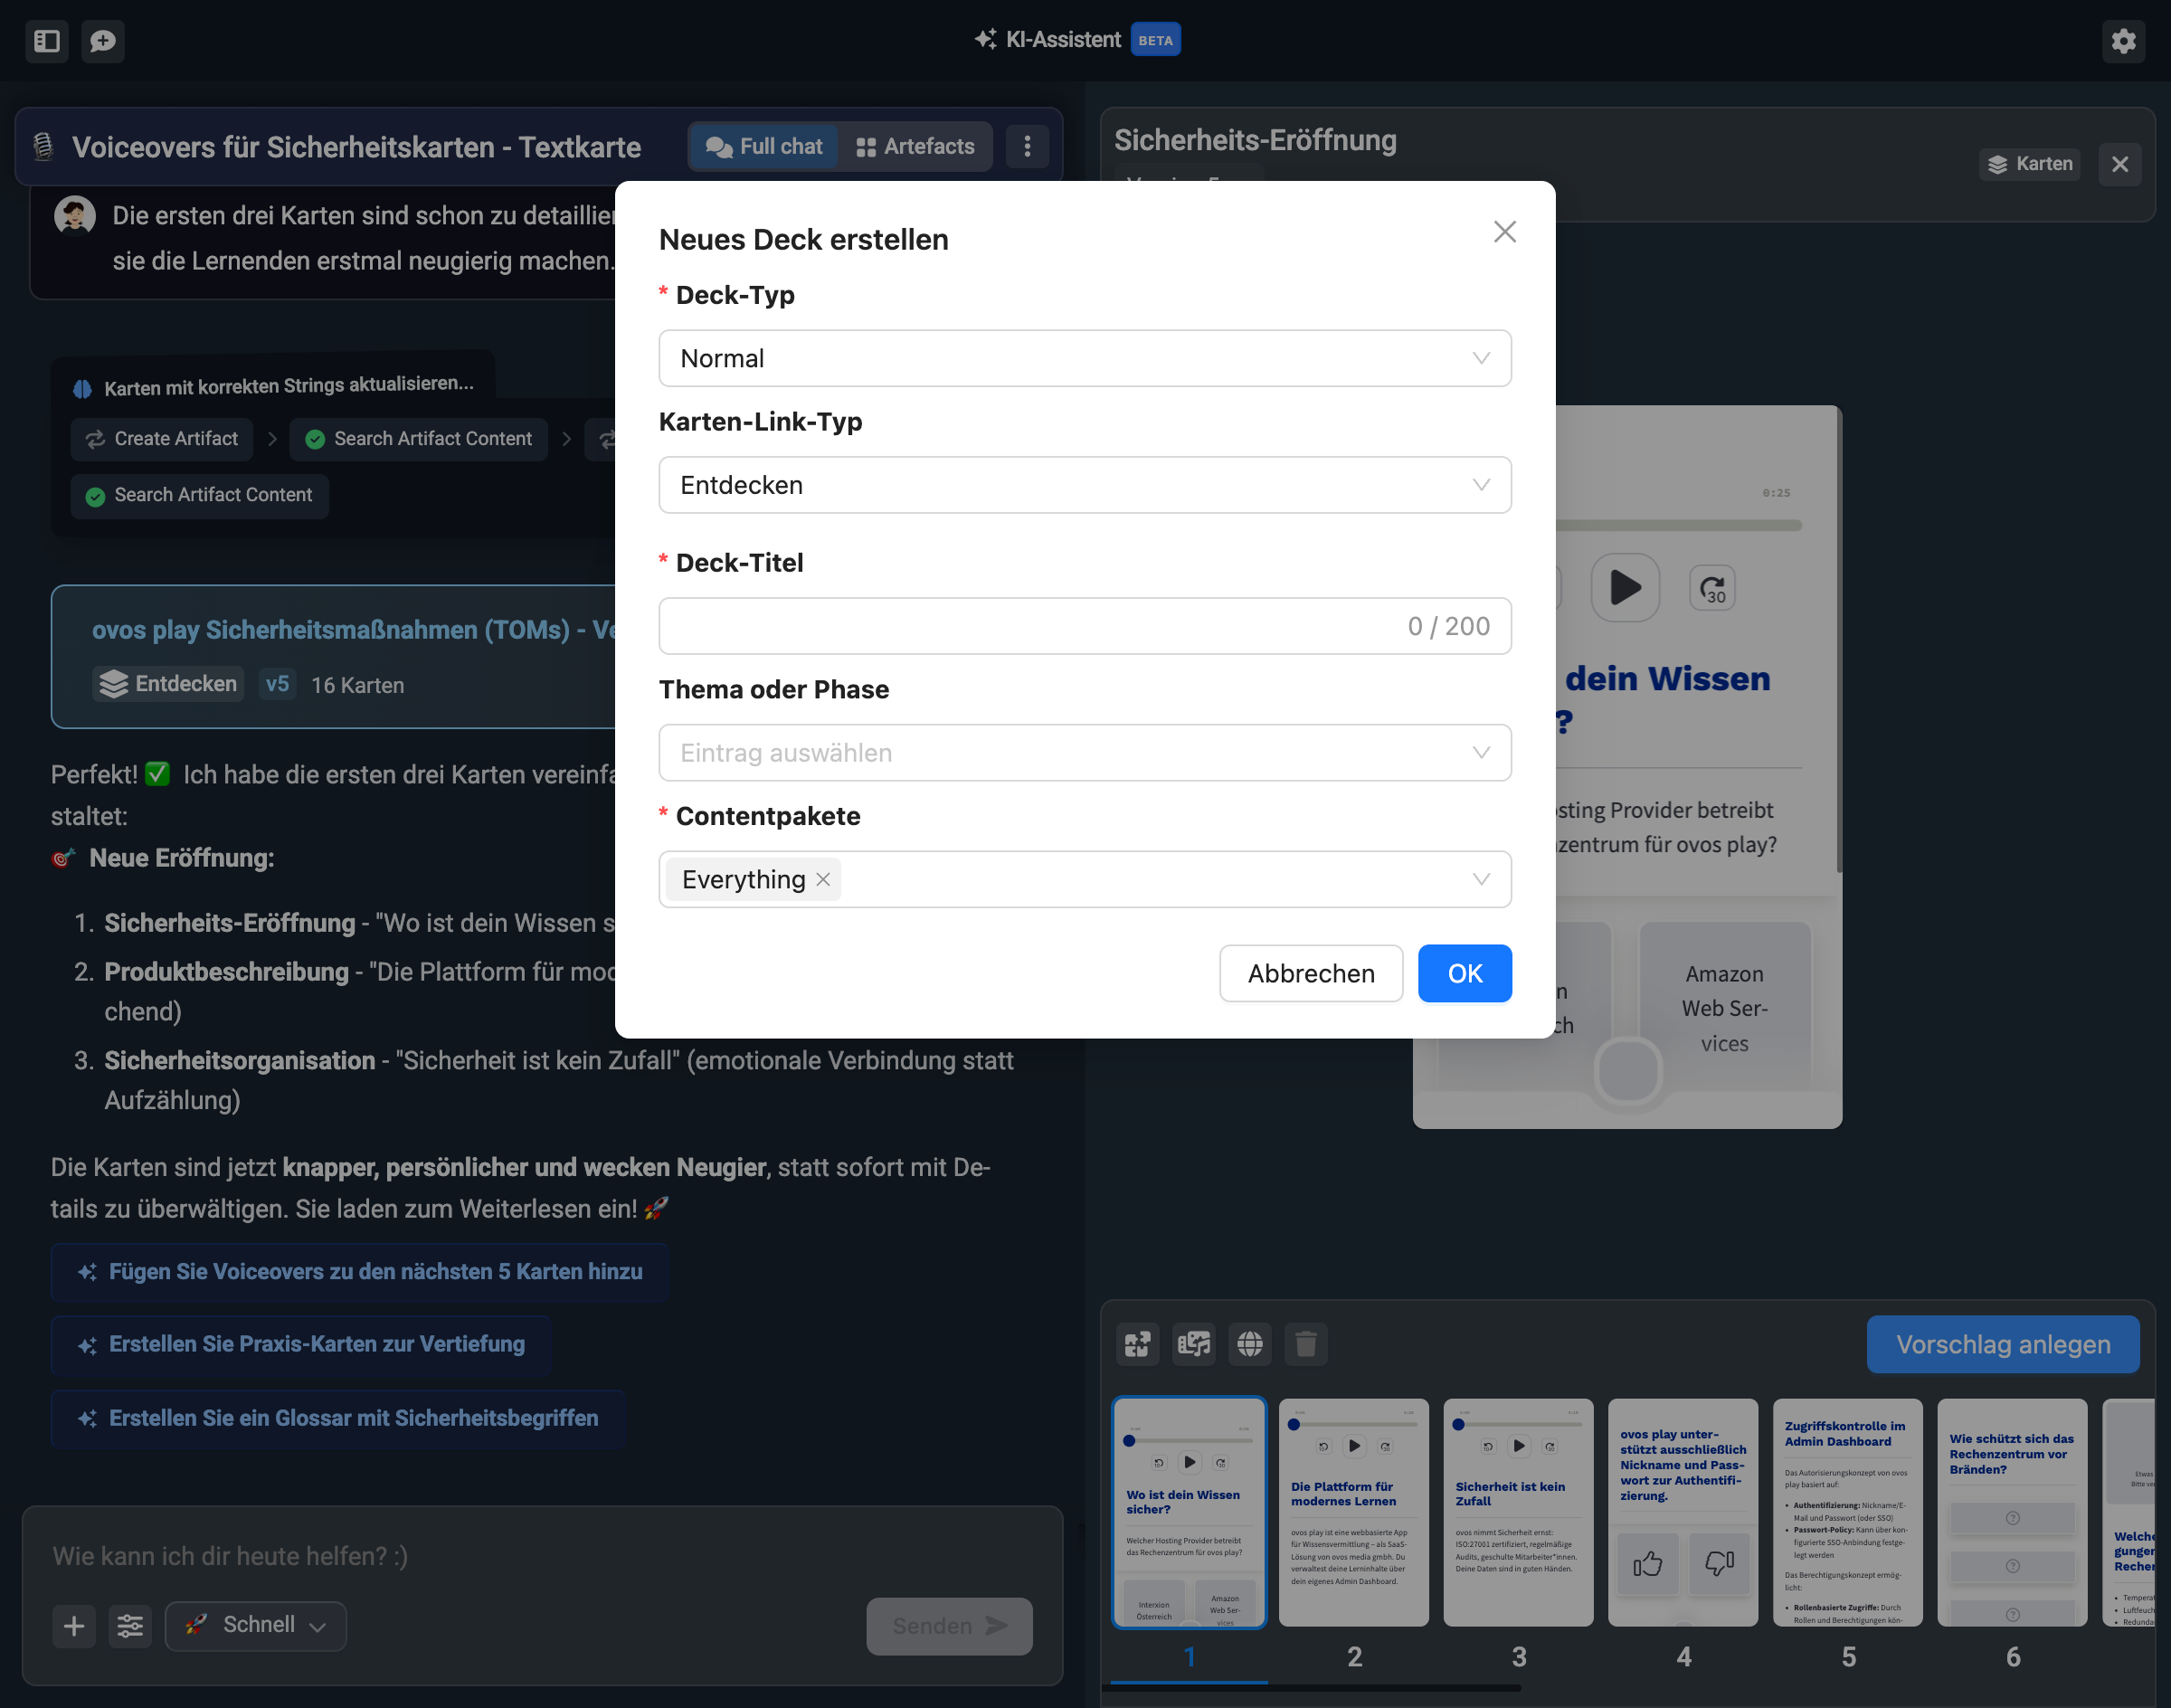
Here you assign the deck title and choose the topic you want to add the deck to. You can also already assign the content package in which the deck should be visible.
If you created your Learning Nugget from a structure that has already been added to the library, you can also add the learning cards to this already created deck. The assistant then lets you choose whether you want a new deck or want to add them to the already created deck.
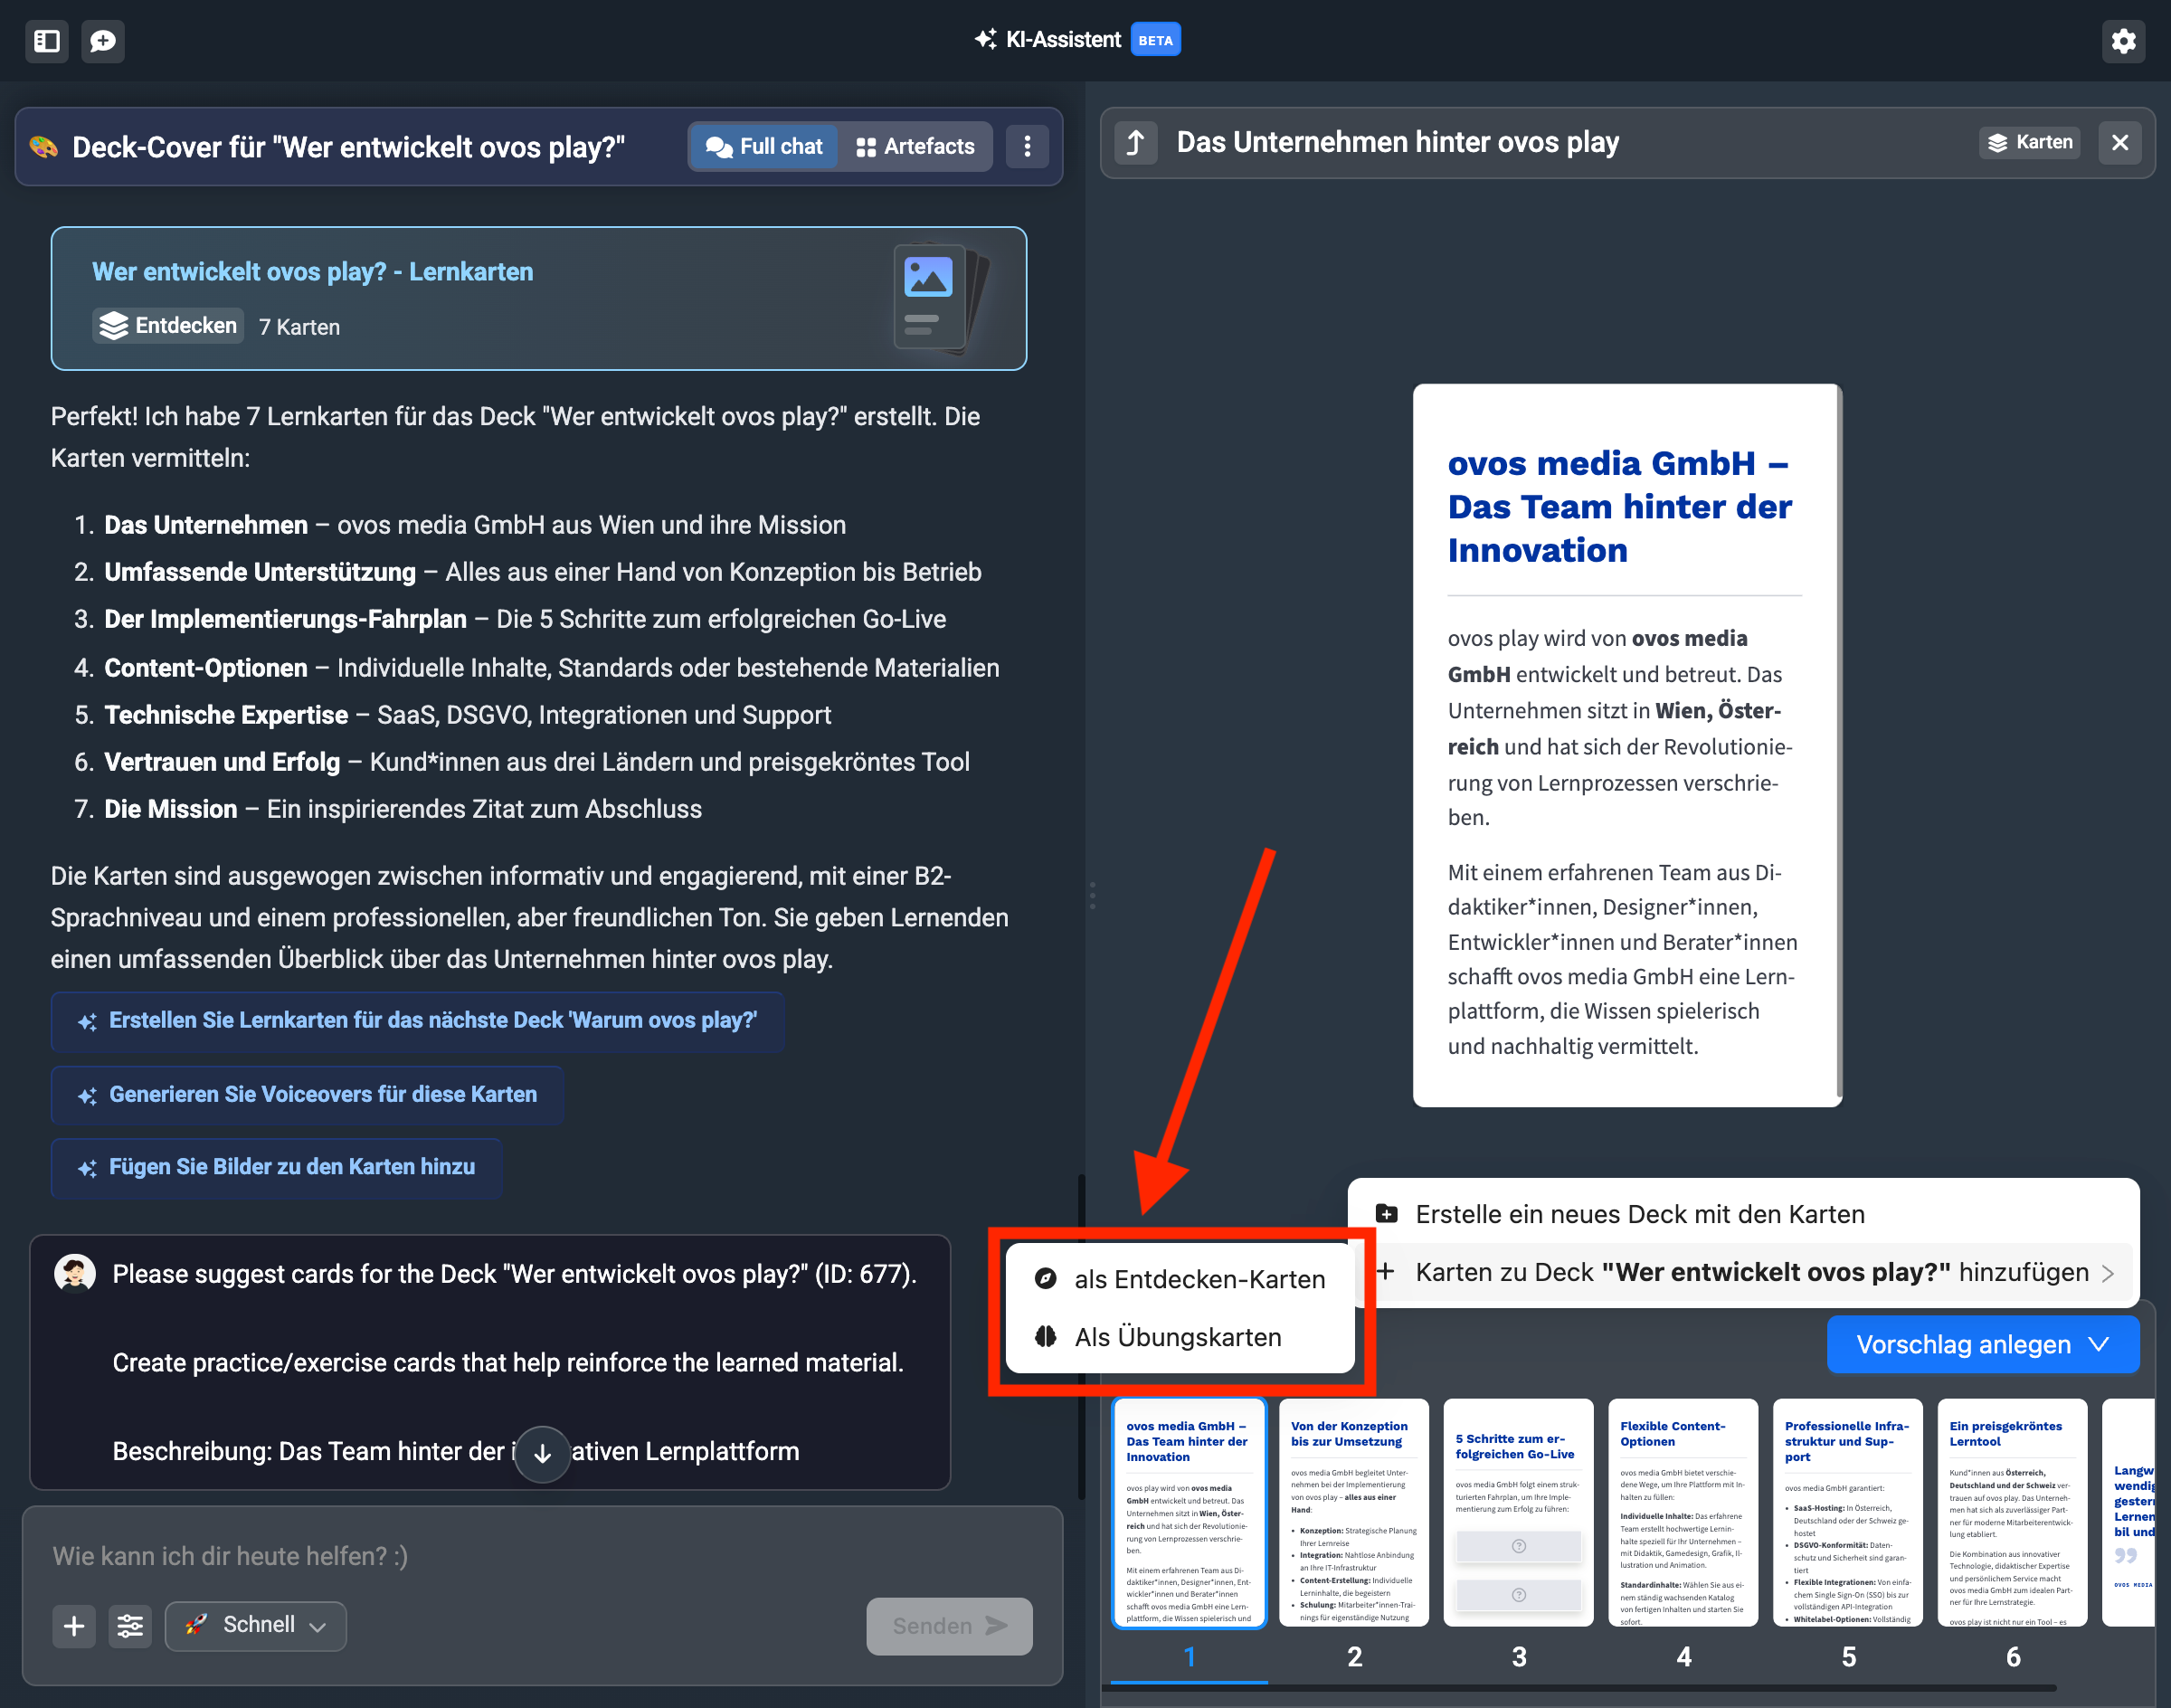
If you add the cards to an already created deck, you then choose whether the cards should be added as Discover cards or Practice cards.
Now your deck is ready and you can use content mode to create more decks.
When you’ve finished all your decks, you can think about doing a test to wrap up the topic.