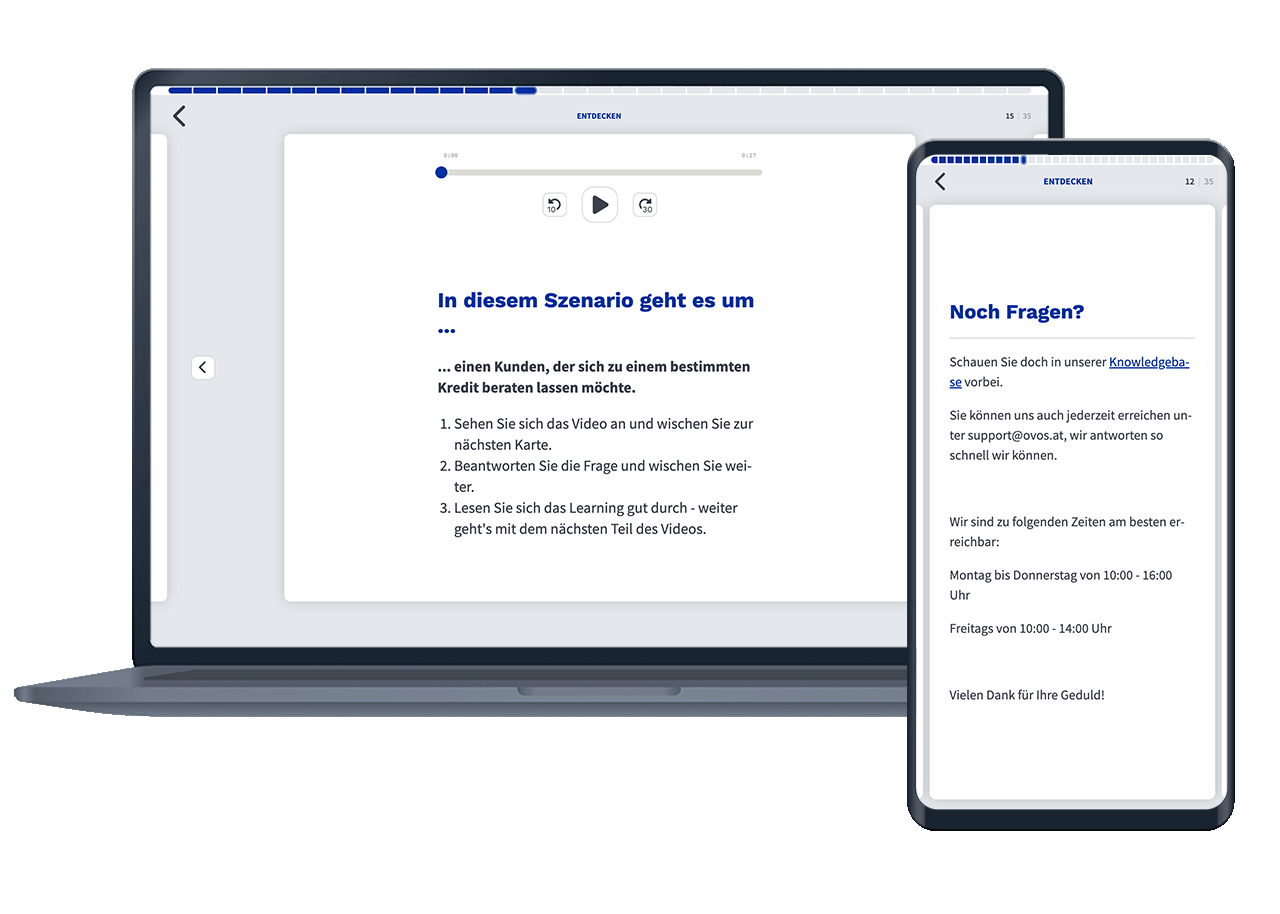
You can create text cards for simple texts in which you can use all text formats. In addition to headings, you can also use a quote block, lists and separators. Text cards can also contain an audio file.
To create a card from the "Text" template, click on the Add card button within a deck.
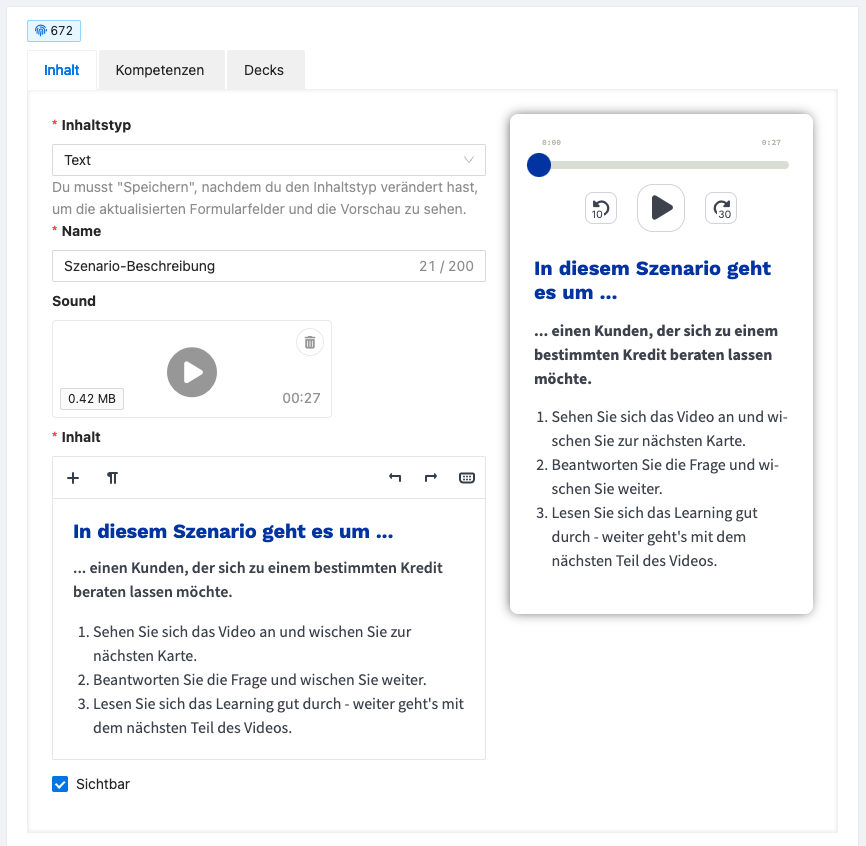
First assign a name for the card. The text card must also have text content. Optionally, you can upload an audio file.
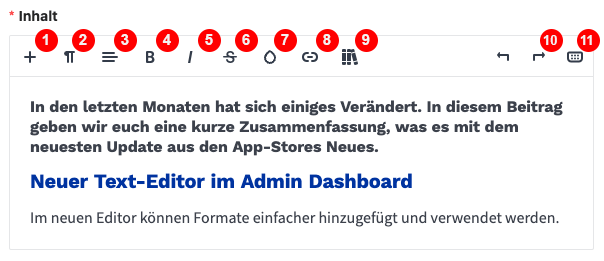
Various formats are available for the content of the text card.
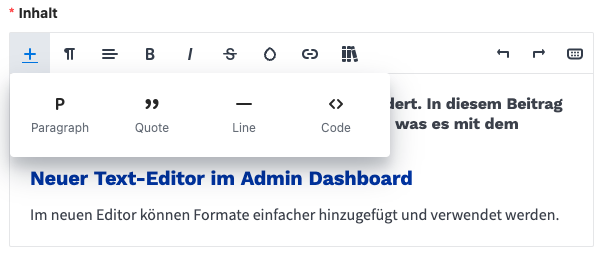
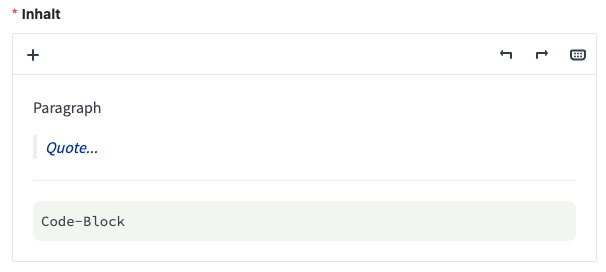
If you use the editor without formatting and start typing a text, a normally formatted paragraph is inserted. You can add new paragraph blocks using the Add button (plus symbol). You can select a paragraph (Paragraph), a quote (Quote), a dividing line (Line) and a code block (Code).
By default, a paragraph block is used in the editor without formatting. Press the Enter key to add a new paragraph as usual. If you have added a quote block, for example, you can remain in the quote block by pressing the Enter key until you add a regular paragraph again.
The individual formatting looks as follows:
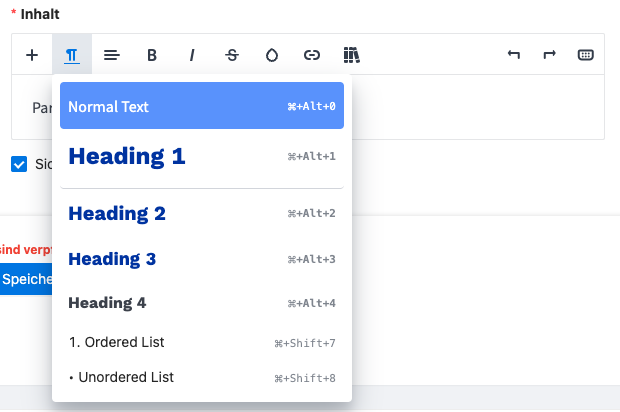
If you have added regular paragraphs, you can now add paragraph formats. You can choose from the 4 heading formats as well as the ordered and unordered enumeration.
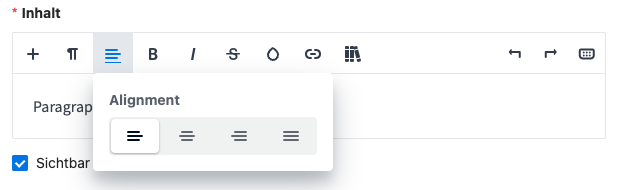
You can select the text alignment for each paragraph. You can choose between left-aligned, centered, right-aligned and now new: justified.
The most commonly used inline formatting options are available as large formatting options. Multiple formatting options can also be applied, such as bold and italic.
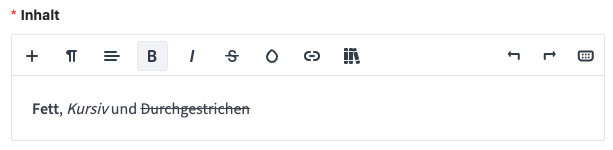
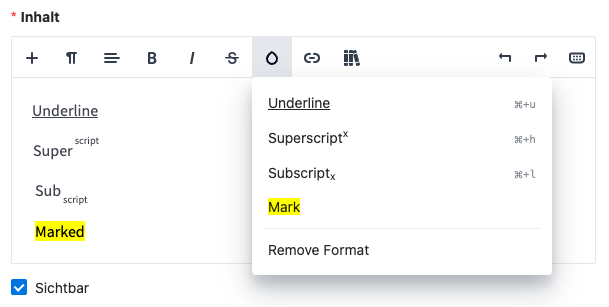
In addition to bold, italics and strikethrough, further inline formatting can be applied. The following are also possible: Underlined, Superscript, Subscript and Highlighted.
Note: The Marked format is not yet displayed in the app.
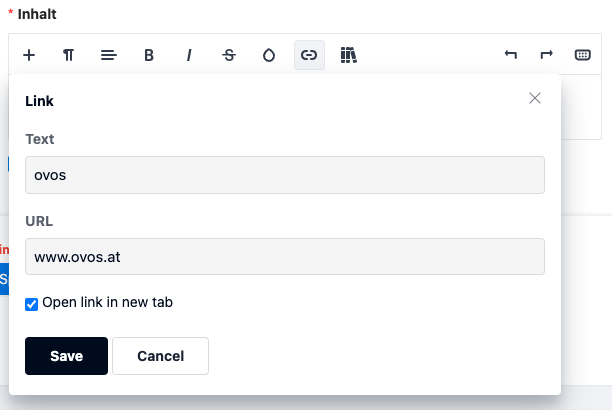
In the text editor, individual passages can contain a hyperlink. You can select any URL and decide whether the link should be opened in a new tab.
Note: The Internet browser always opens in the native app.
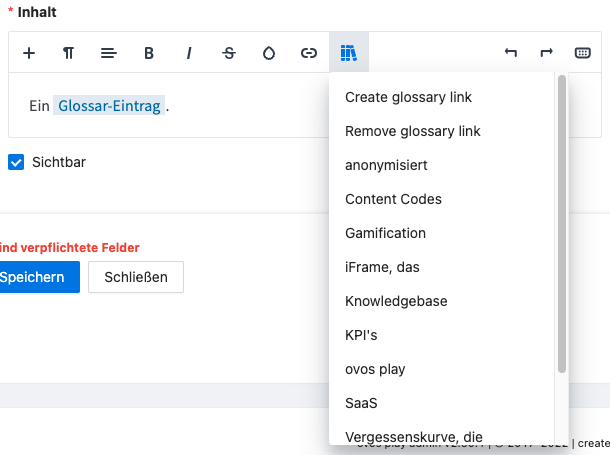
The glossary can be used within flashcards and question cards to explain technical terms. You can choose from all available glossary entries for the highlighted word. A new glossary entry can also be created from the editor.
You can use the two arrows to undo and redo your entries and formatting. Alternatively, you can use the keyboard shortcut Ctrl + Z or Ctrl + Shift + Z.
Behind this icon you will find all available keyboard shortcuts for working with the editor.
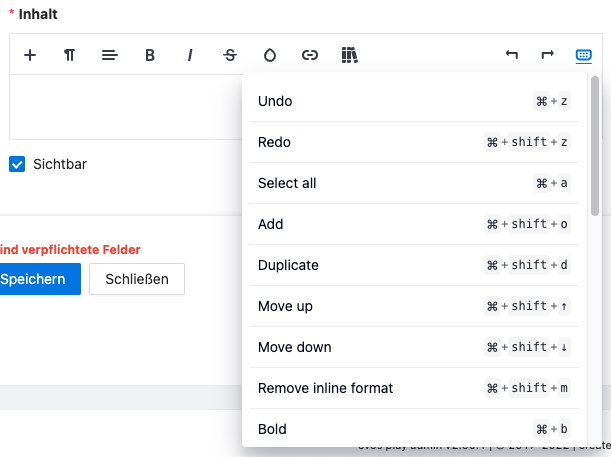
We have listed all the shortcuts again below:
Action | Shortcut Windows | Shortcut Mac |
Undo | Strg+z | ⌘+z |
Redo | Strg+shift+z | ⌘+shift+z |
Select all | Strg+a | ⌘+a |
Add | Strg+shift+o | ⌘+shift+o |
Duplicate | Strg+shift+d | ⌘+shift+d |
Move up | Strg+shift+↑ | ⌘+shift+↑ |
Move down | Strg+shift+↓ | ⌘+shift+↓ |
Remove inline format | Strg+shift+m | ⌘+shift+m |
Bold | Strg+b | ⌘+b |
Italic | Strg+i | ⌘+i |
Underline | Strg+u | ⌘+u |
Superscript | Strg+h | ⌘+h |
Subscript | Strg+l | ⌘+l |
Normal text | Strg+old+0 | ⌘+old+0 |
Heading 1 | Strg+old+1 | ⌘+old+1 |
Heading 2 | Strg+old+2 | ⌘+old+2 |
Heading 3 | Strg+old+3 | ⌘+old+3 |
Heading 4 | Strg+old+4 | ⌘+old+4 |
Ordered List | Strg+shift+7 | ⌘+shift+7 |
Unordered List | Strg+shift+8 | ⌘+shift+8 |
Indent | Strg+] | ⌘+] |
Outdent | Strg+[ | ⌘+[ |
Link | Strg+k | ⌘+k |
Each card can also be made visible or hidden individually. If the Visible checkbox is activated, the card is also displayed in the selected deck.