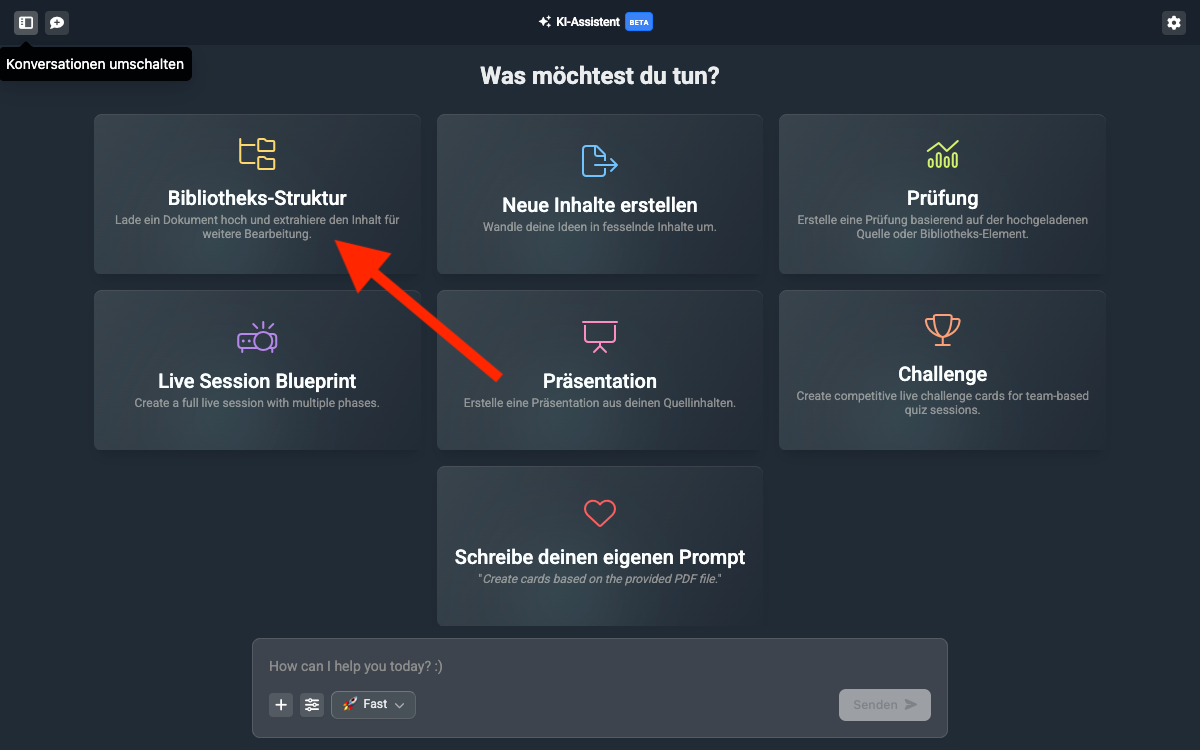
With structure mode, you get a suggested library structure that the AI assistant creates for you. The library structure can be based on your uploaded sources or on the knowledge of the AI model if you don’t specify a source.
But let’s do this step by step:
Give the assistant the necessary context to suggest a learning structure. These can be Word files, PDF documents, PowerPoint presentations, videos or even images (e.g. diagrams). To do this, either click on File upload and select the file you want to add, or simply drag and drop the file into the assistant.
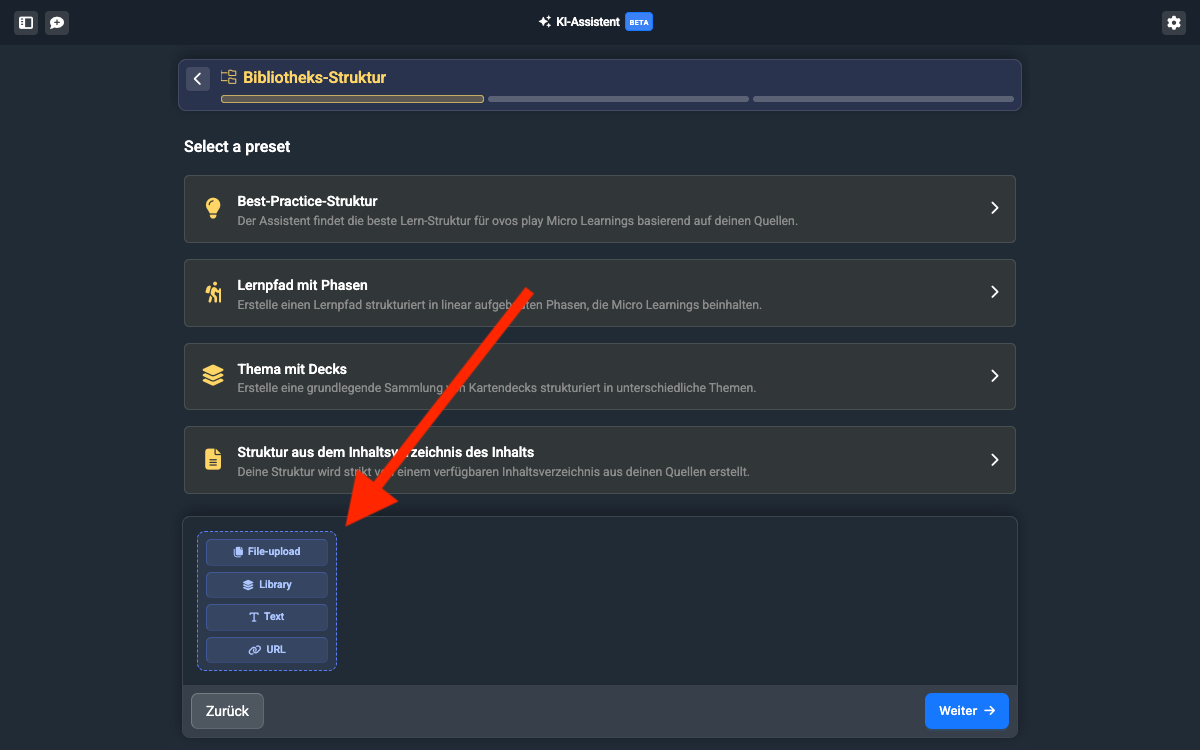

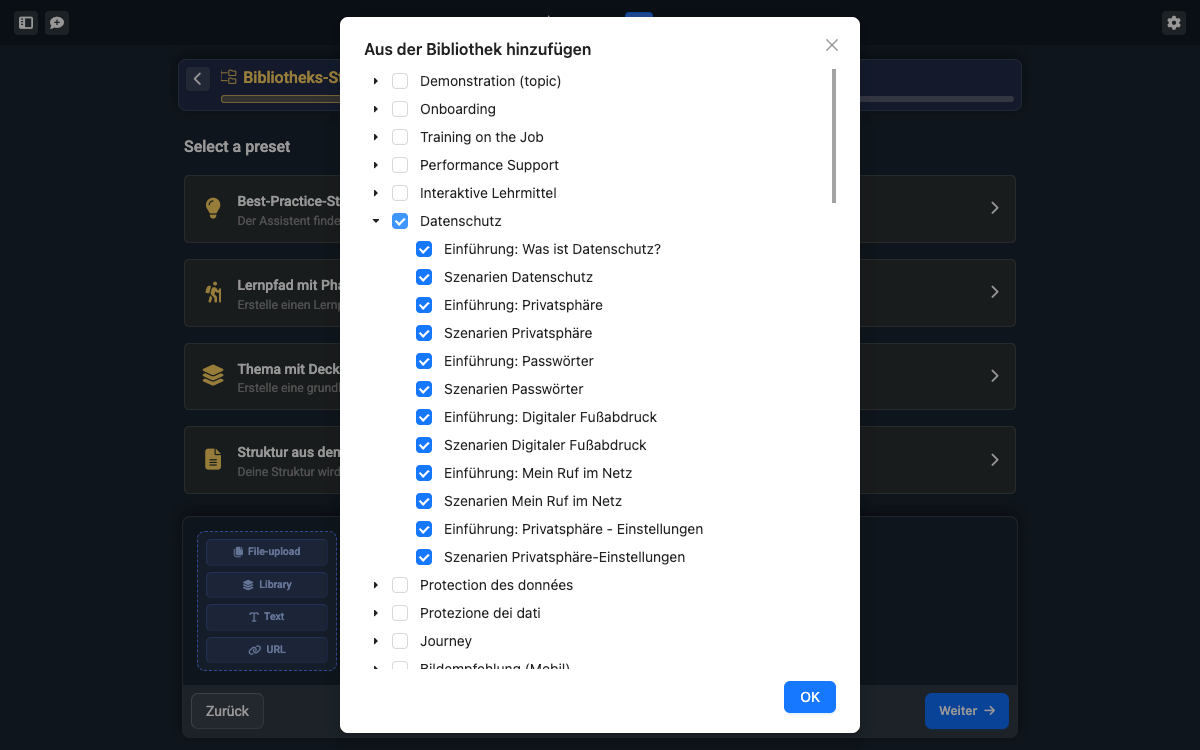
You also have the option to use existing library elements as sources. This can be helpful if you want to give existing content a new look or make it simpler. To do this, click on “Library” and select the desired elements from the library.
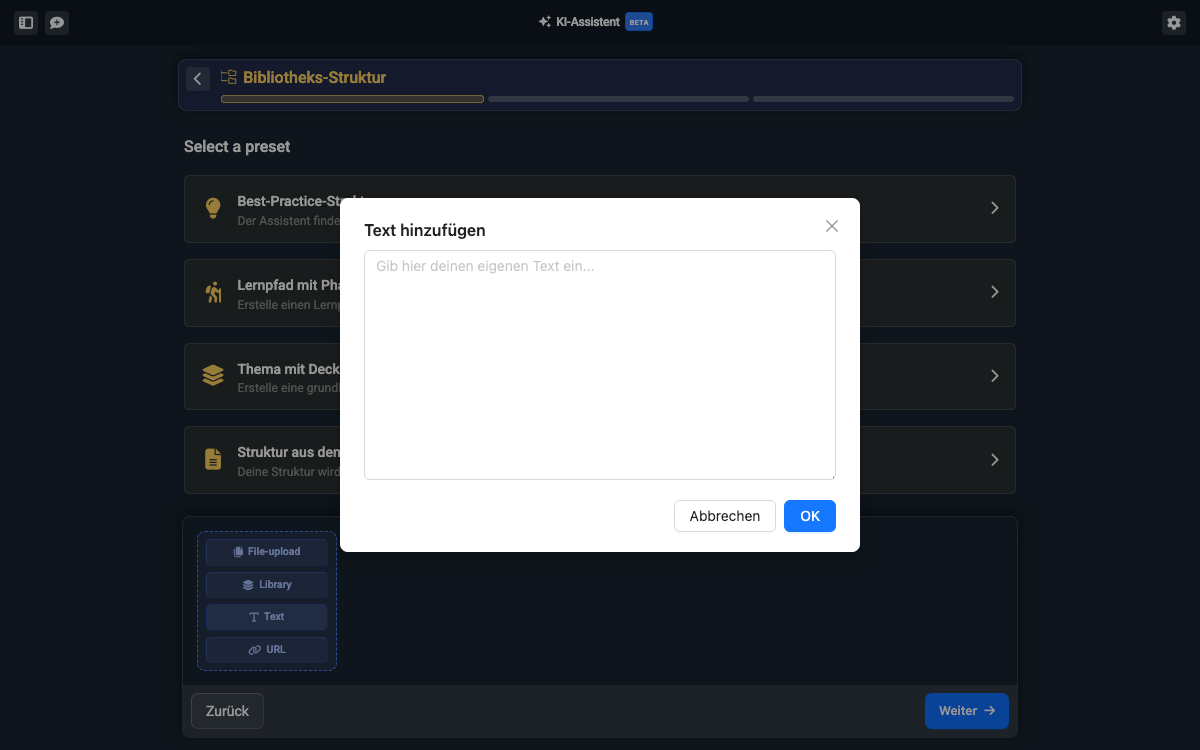
If you have your own unformatted sources or want to jot down your own ideas, you can also add a text. To do this, click on “Add text” and write or paste your text into the text field.
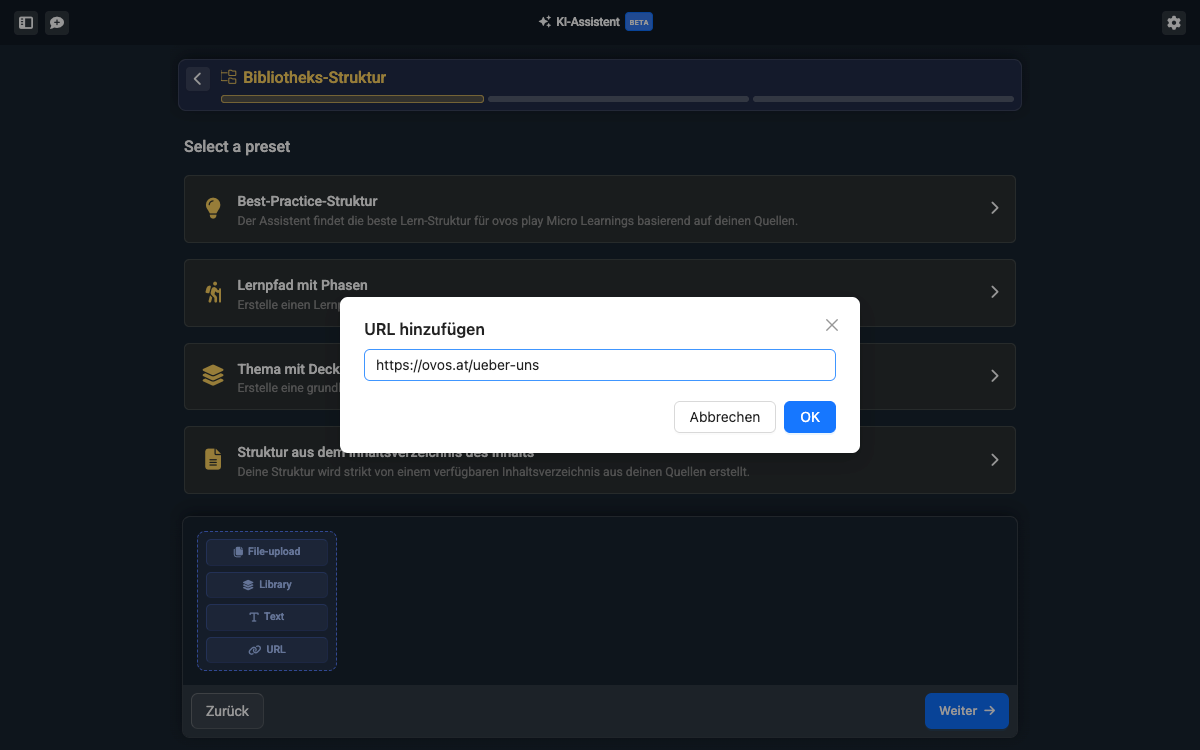
You can also define a website as a source. To do this, choose “URL” and simply paste the web link into the input field. The AI will then look at the website and use the texts from the website.
You can add multiple sources from all available types. This lets you, for example, enrich existing library content with additional PDFs. You can always see the sources you’ve added at the bottom in every step:
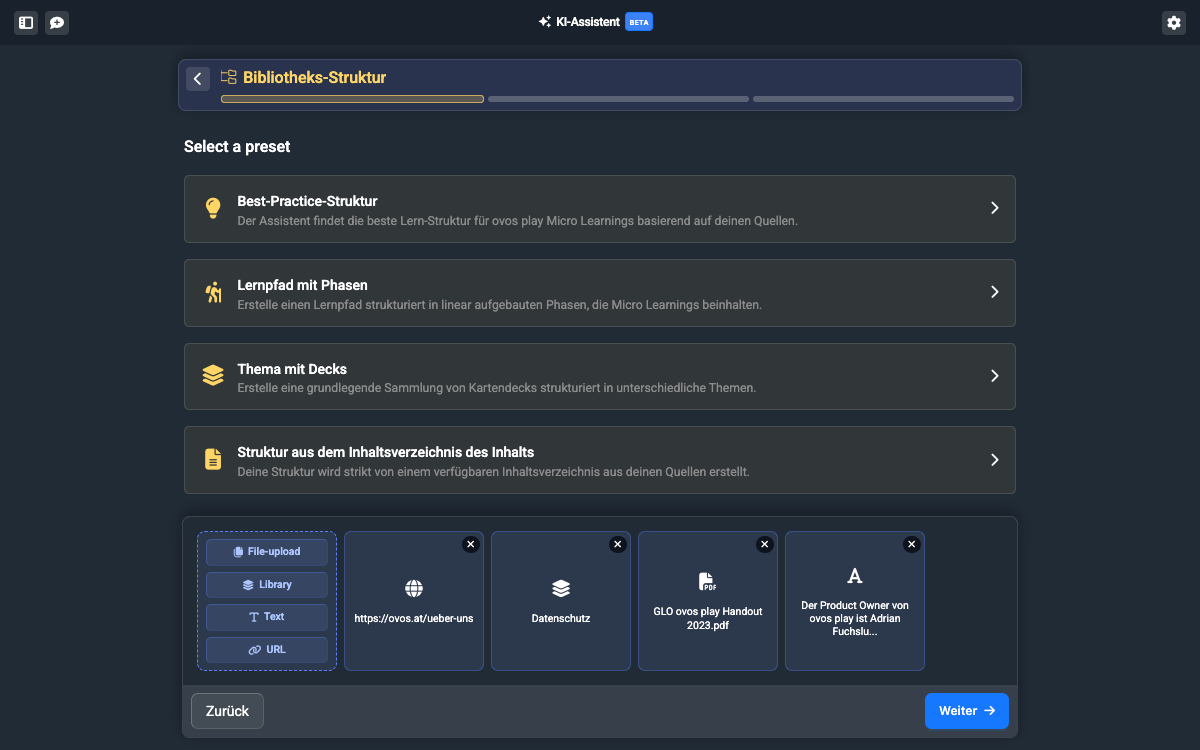
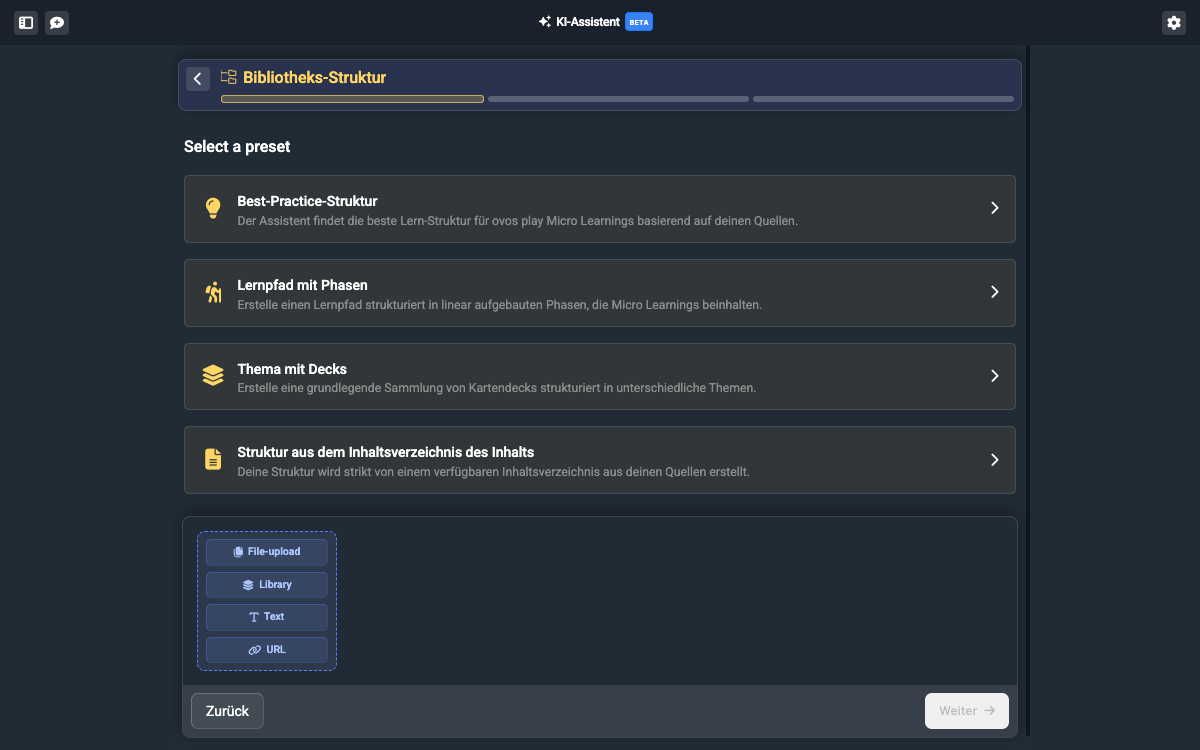
The AI assistant knows different ways of structuring content that are based on ovos’ didactic concept. The assistant briefly explains each template to you:
Sit back and relax, the AI assistant will take over the task of finding a perfect structure for your content. Use this template if you don’t yet have a clear idea of what the structure could look like.
Learning paths are especially useful when the topic is very extensive and can be better divided into linearly structured chapters to guide learners step by step through the topic.
Here, only one topic with a collection of decks is created. This works well if the individual learning contents don’t build on each other and are only related by topic.
The AI assistant checks the uploaded sources here and then uses the structure of the document’s table of contents. The structure is adopted 1:1 here. This template is best suited when the creation of the learning content should not show any changes compared to the original source.
For the instructions, we’ll create an example of a structure using a best-practice structure. In the next sub-step you can adapt the structure in more detail.
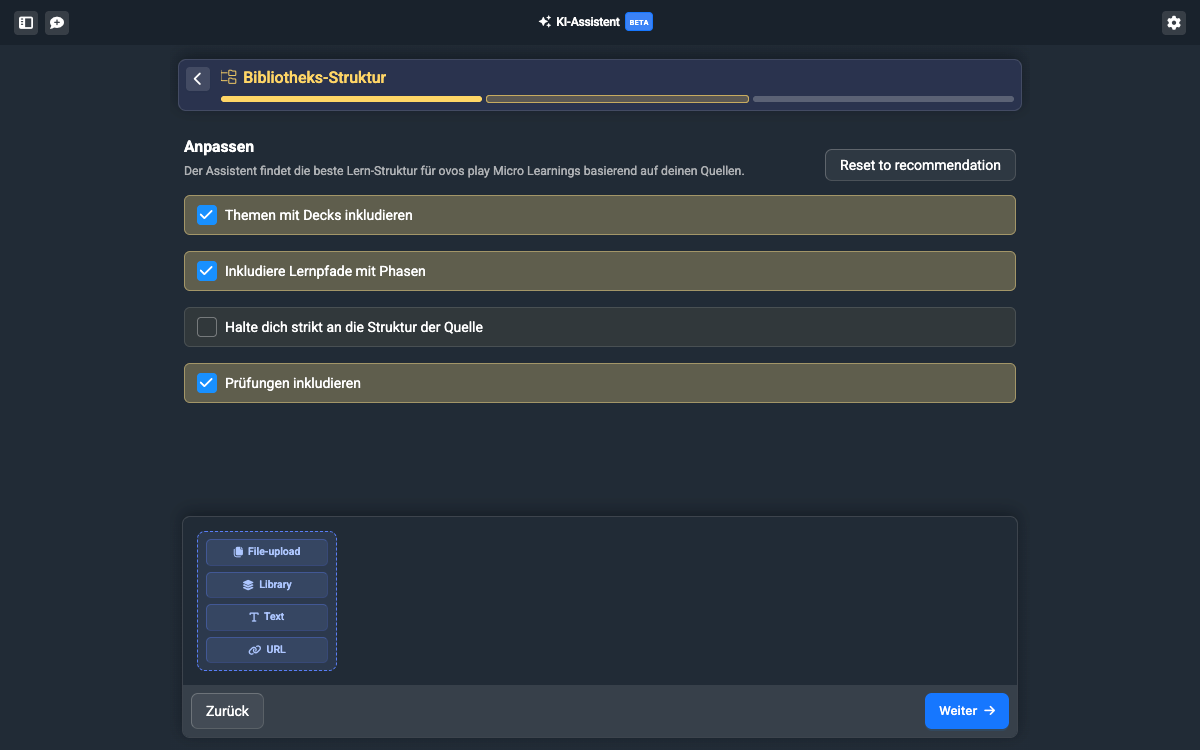
If you’re happy with the configuration, click on Next.
In the next step, you decide how the text of the output should be designed.
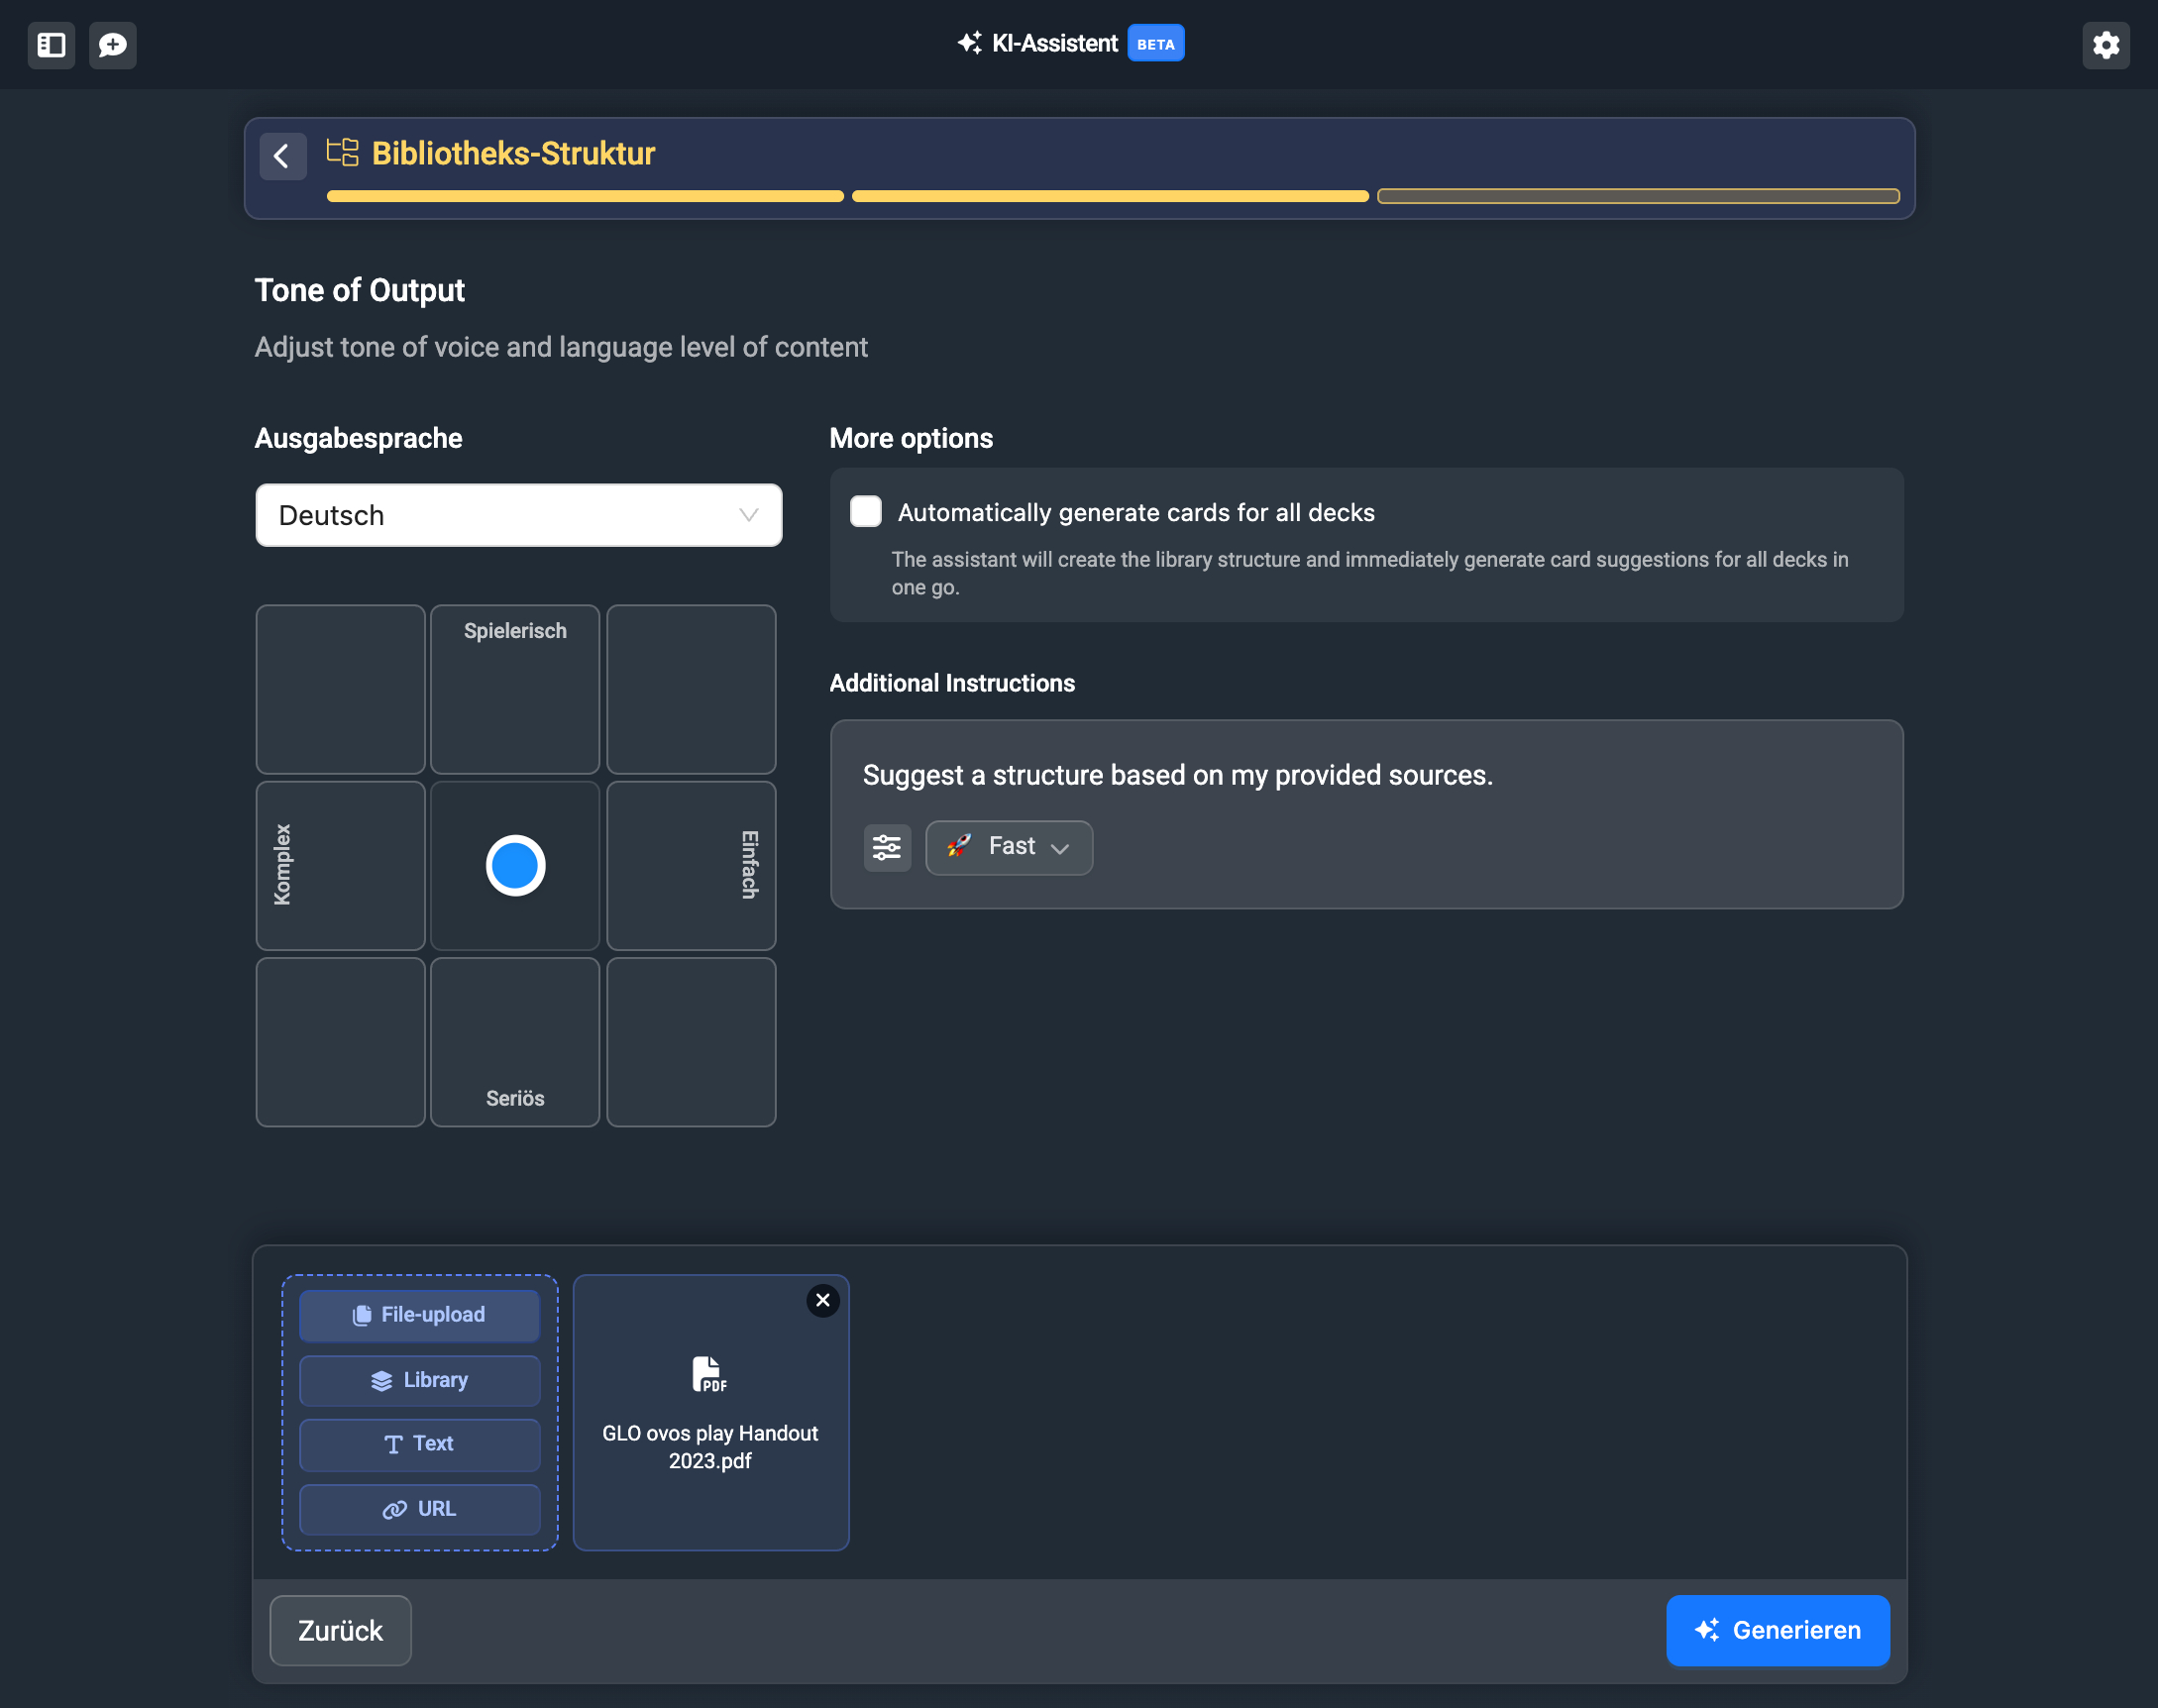
With the selection field on the left, you decide from left to right whether the content is phrased very complex or simple. From bottom to top, you decide whether the text should be very serious or playful.

Additionally, you can choose the output language in German or English. With the additional instructions, you can add more instructions for the AI if needed. This can be helpful if you have a clear idea of what the structure should look like.
With the “Generate cards for all decks automatically” option, you can tell the AI that it should already create all flashcards for the structure as well.
Once you’ve adjusted your tone of voice, click on “Generate”.
The assistant now creates a proposed structure and shows you the topic structure with the suggested decks. You can now check and edit the proposal.
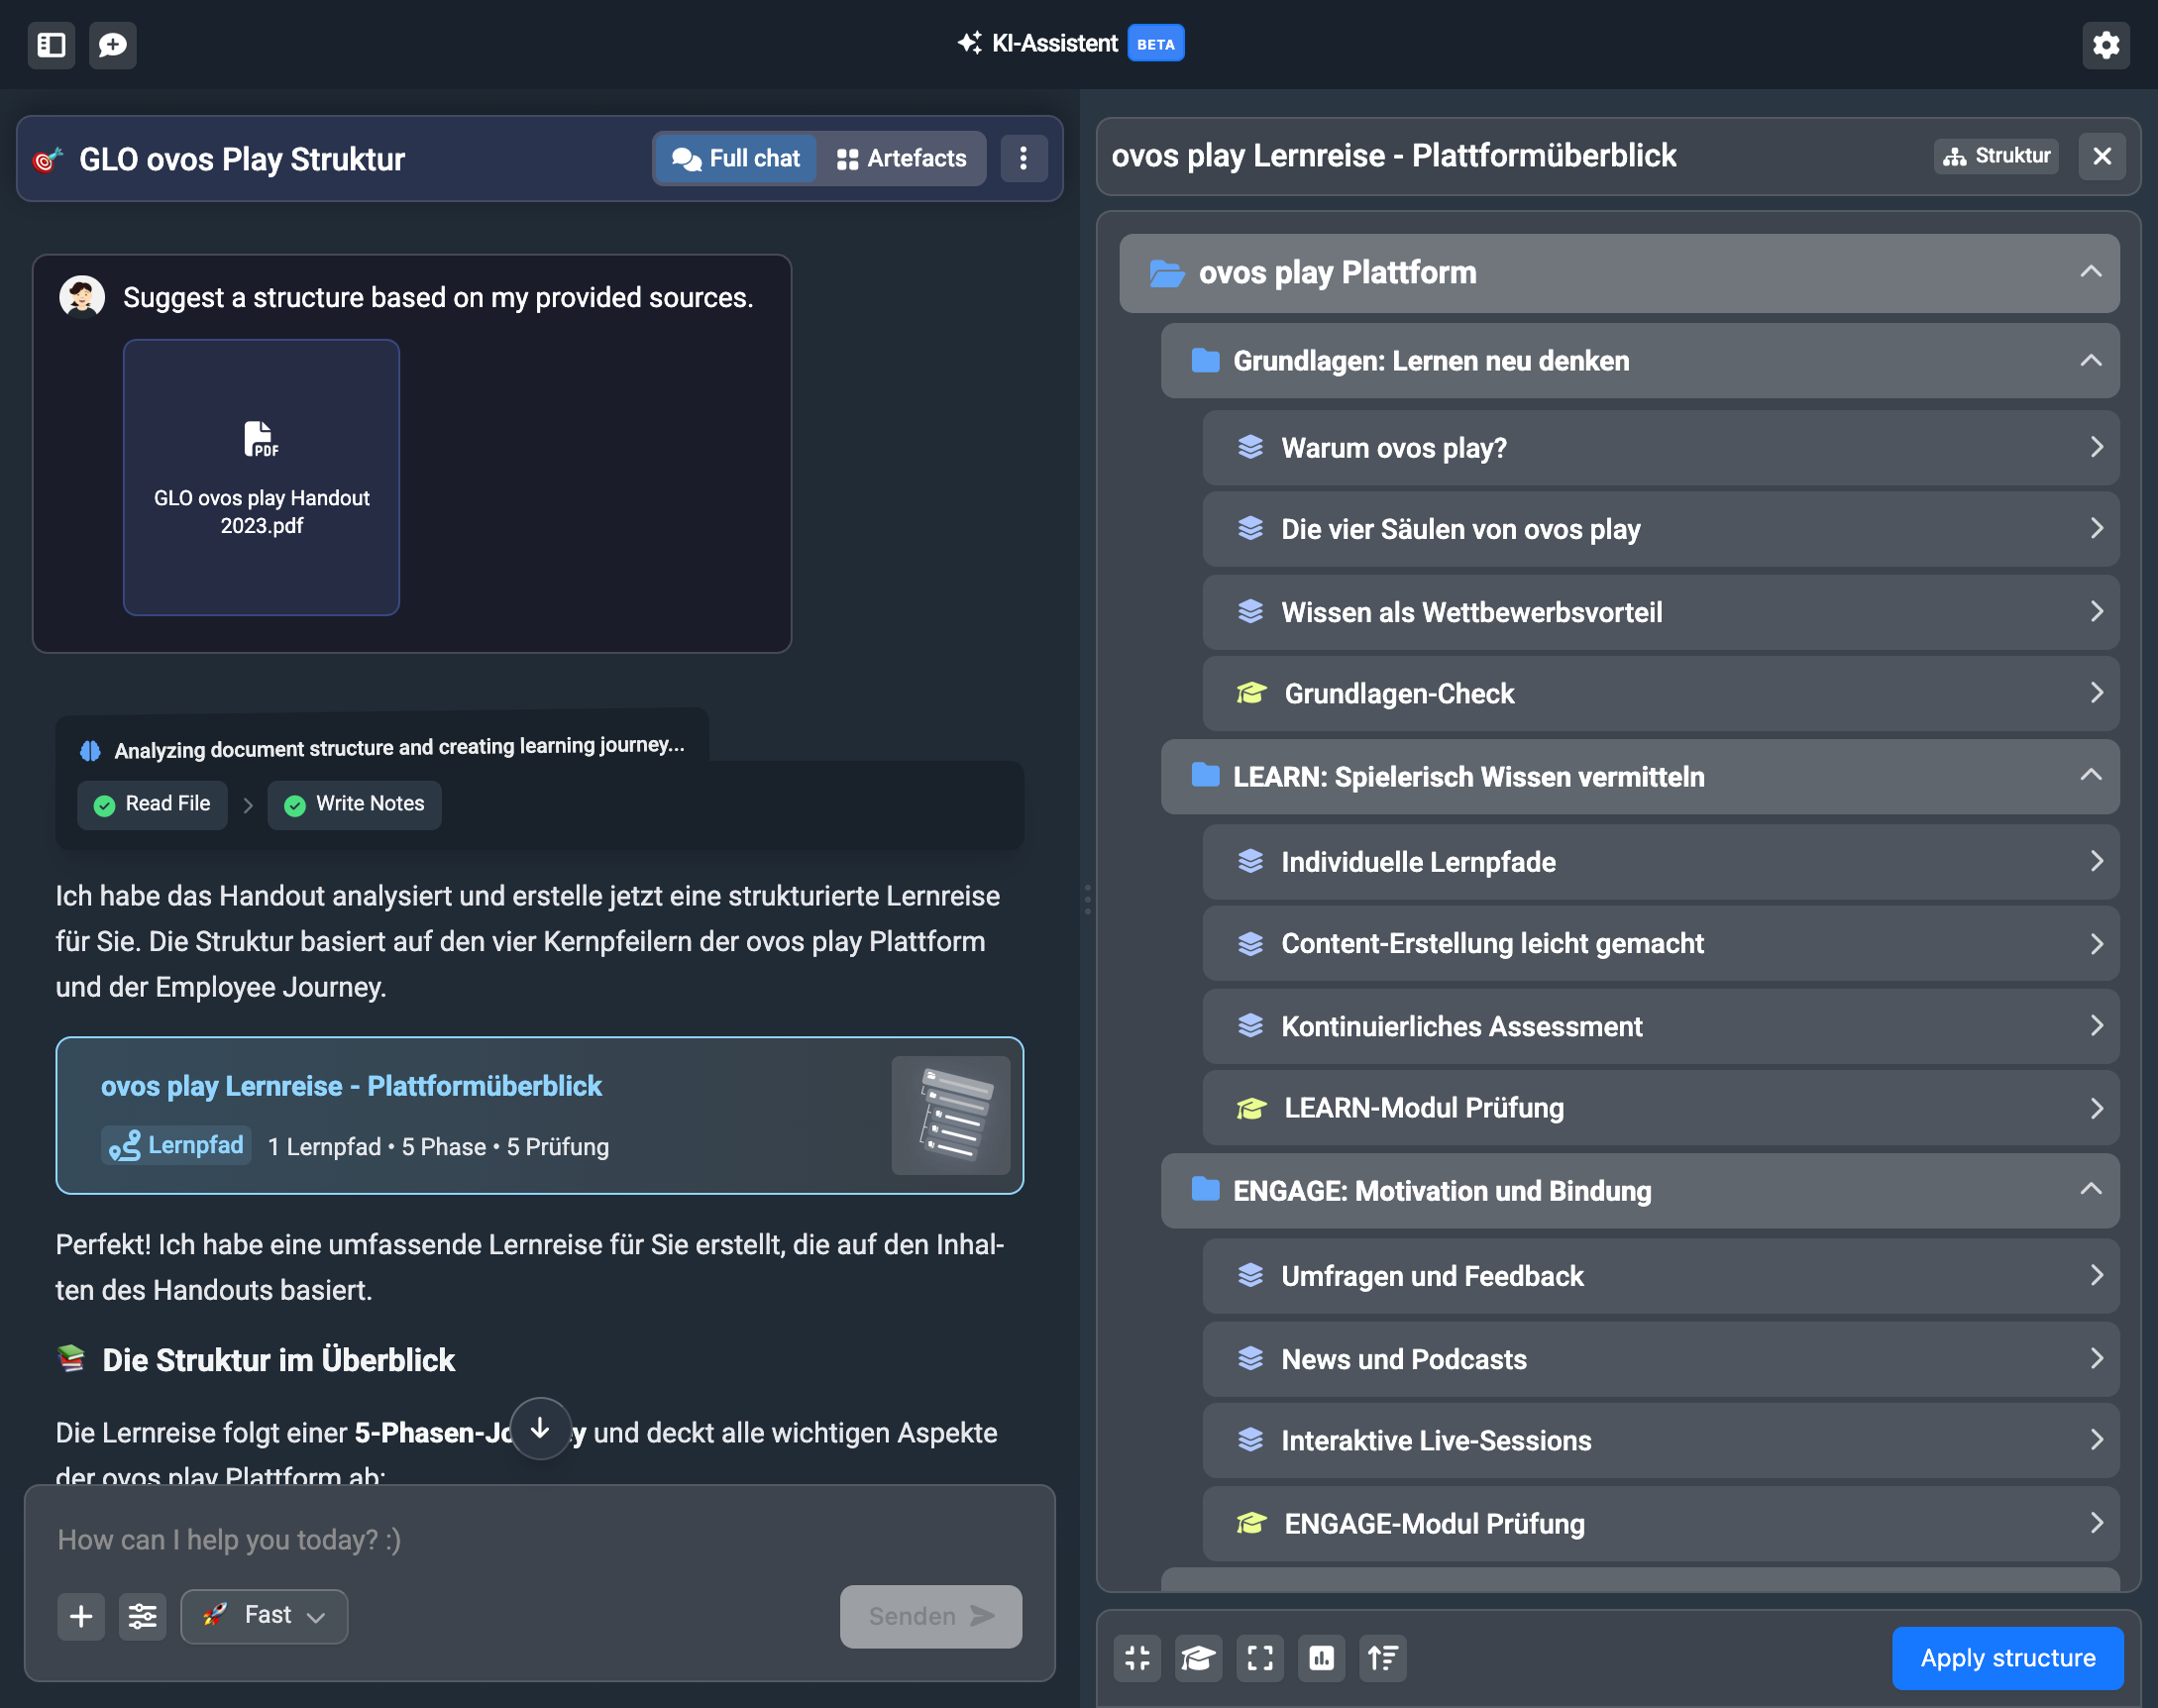
For more details about the content, click on the respective entries and the assistant will show you a content summary with the key contents.
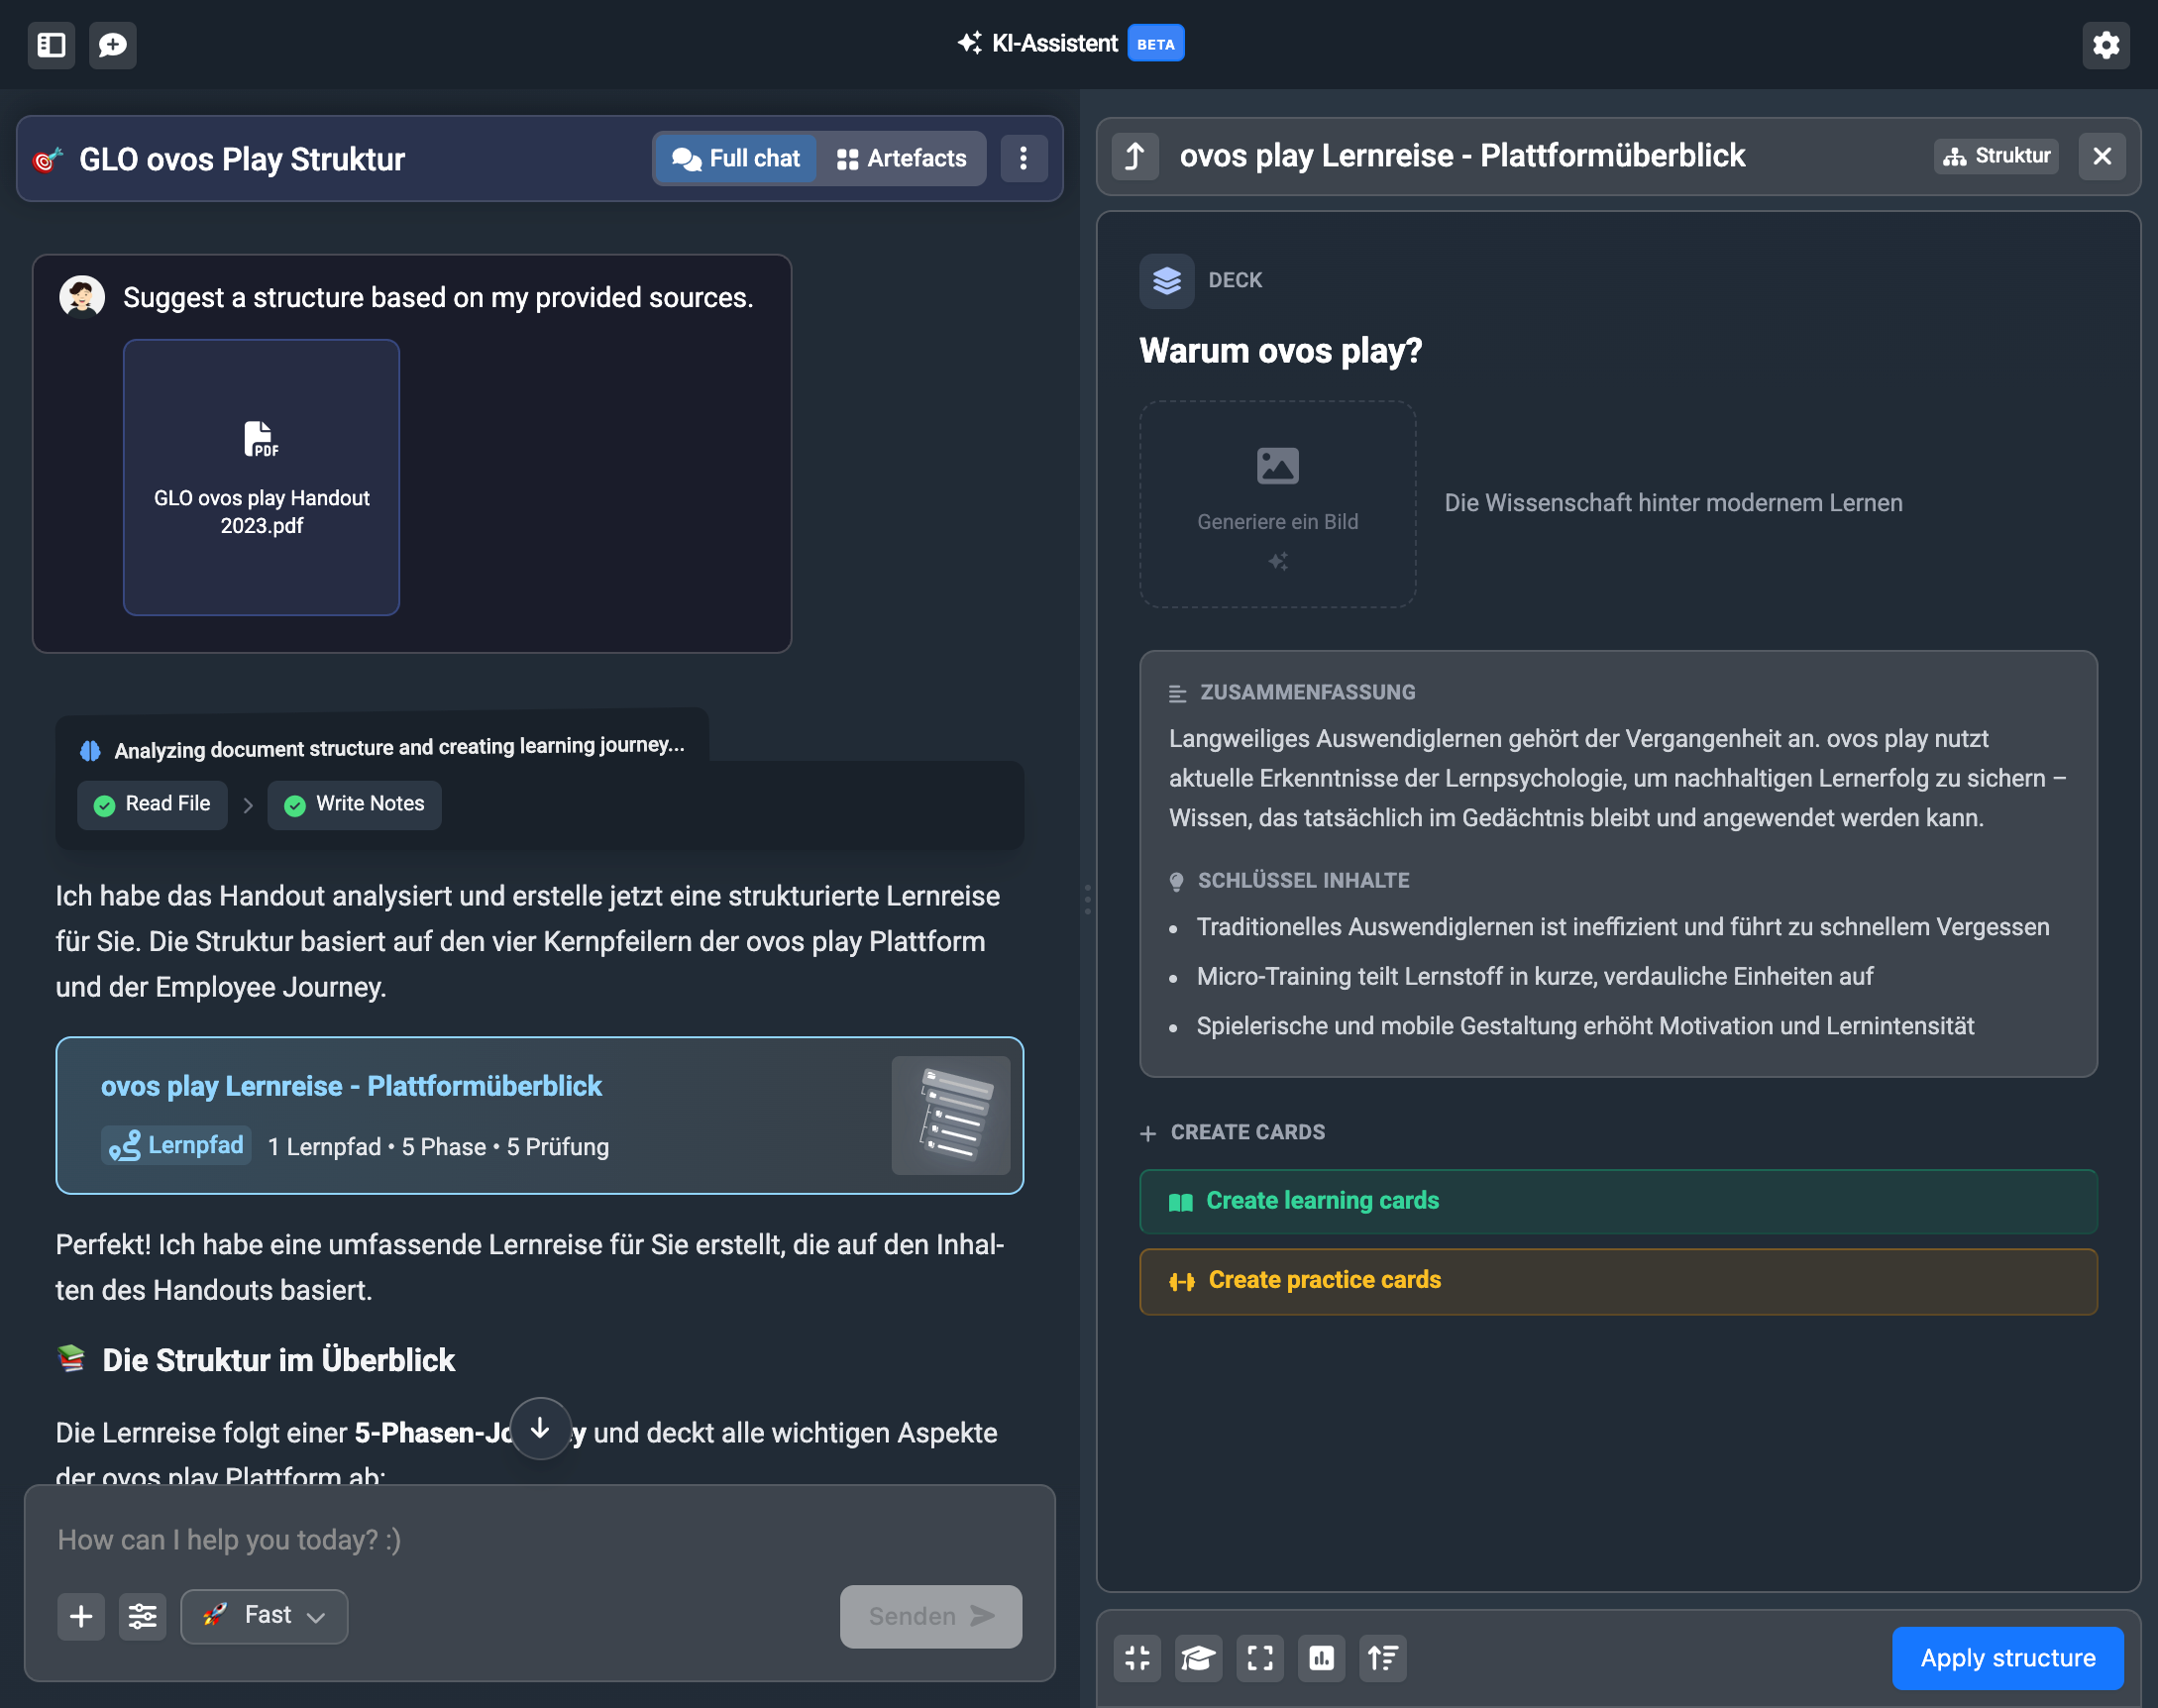
Here you’ll also find further steps, like creating flashcards or practice cards. We’ll also look at this in the next article Creating Learning Nuggets.
In this suggestion you can also directly generate a cover image for the deck, just click on the image field:
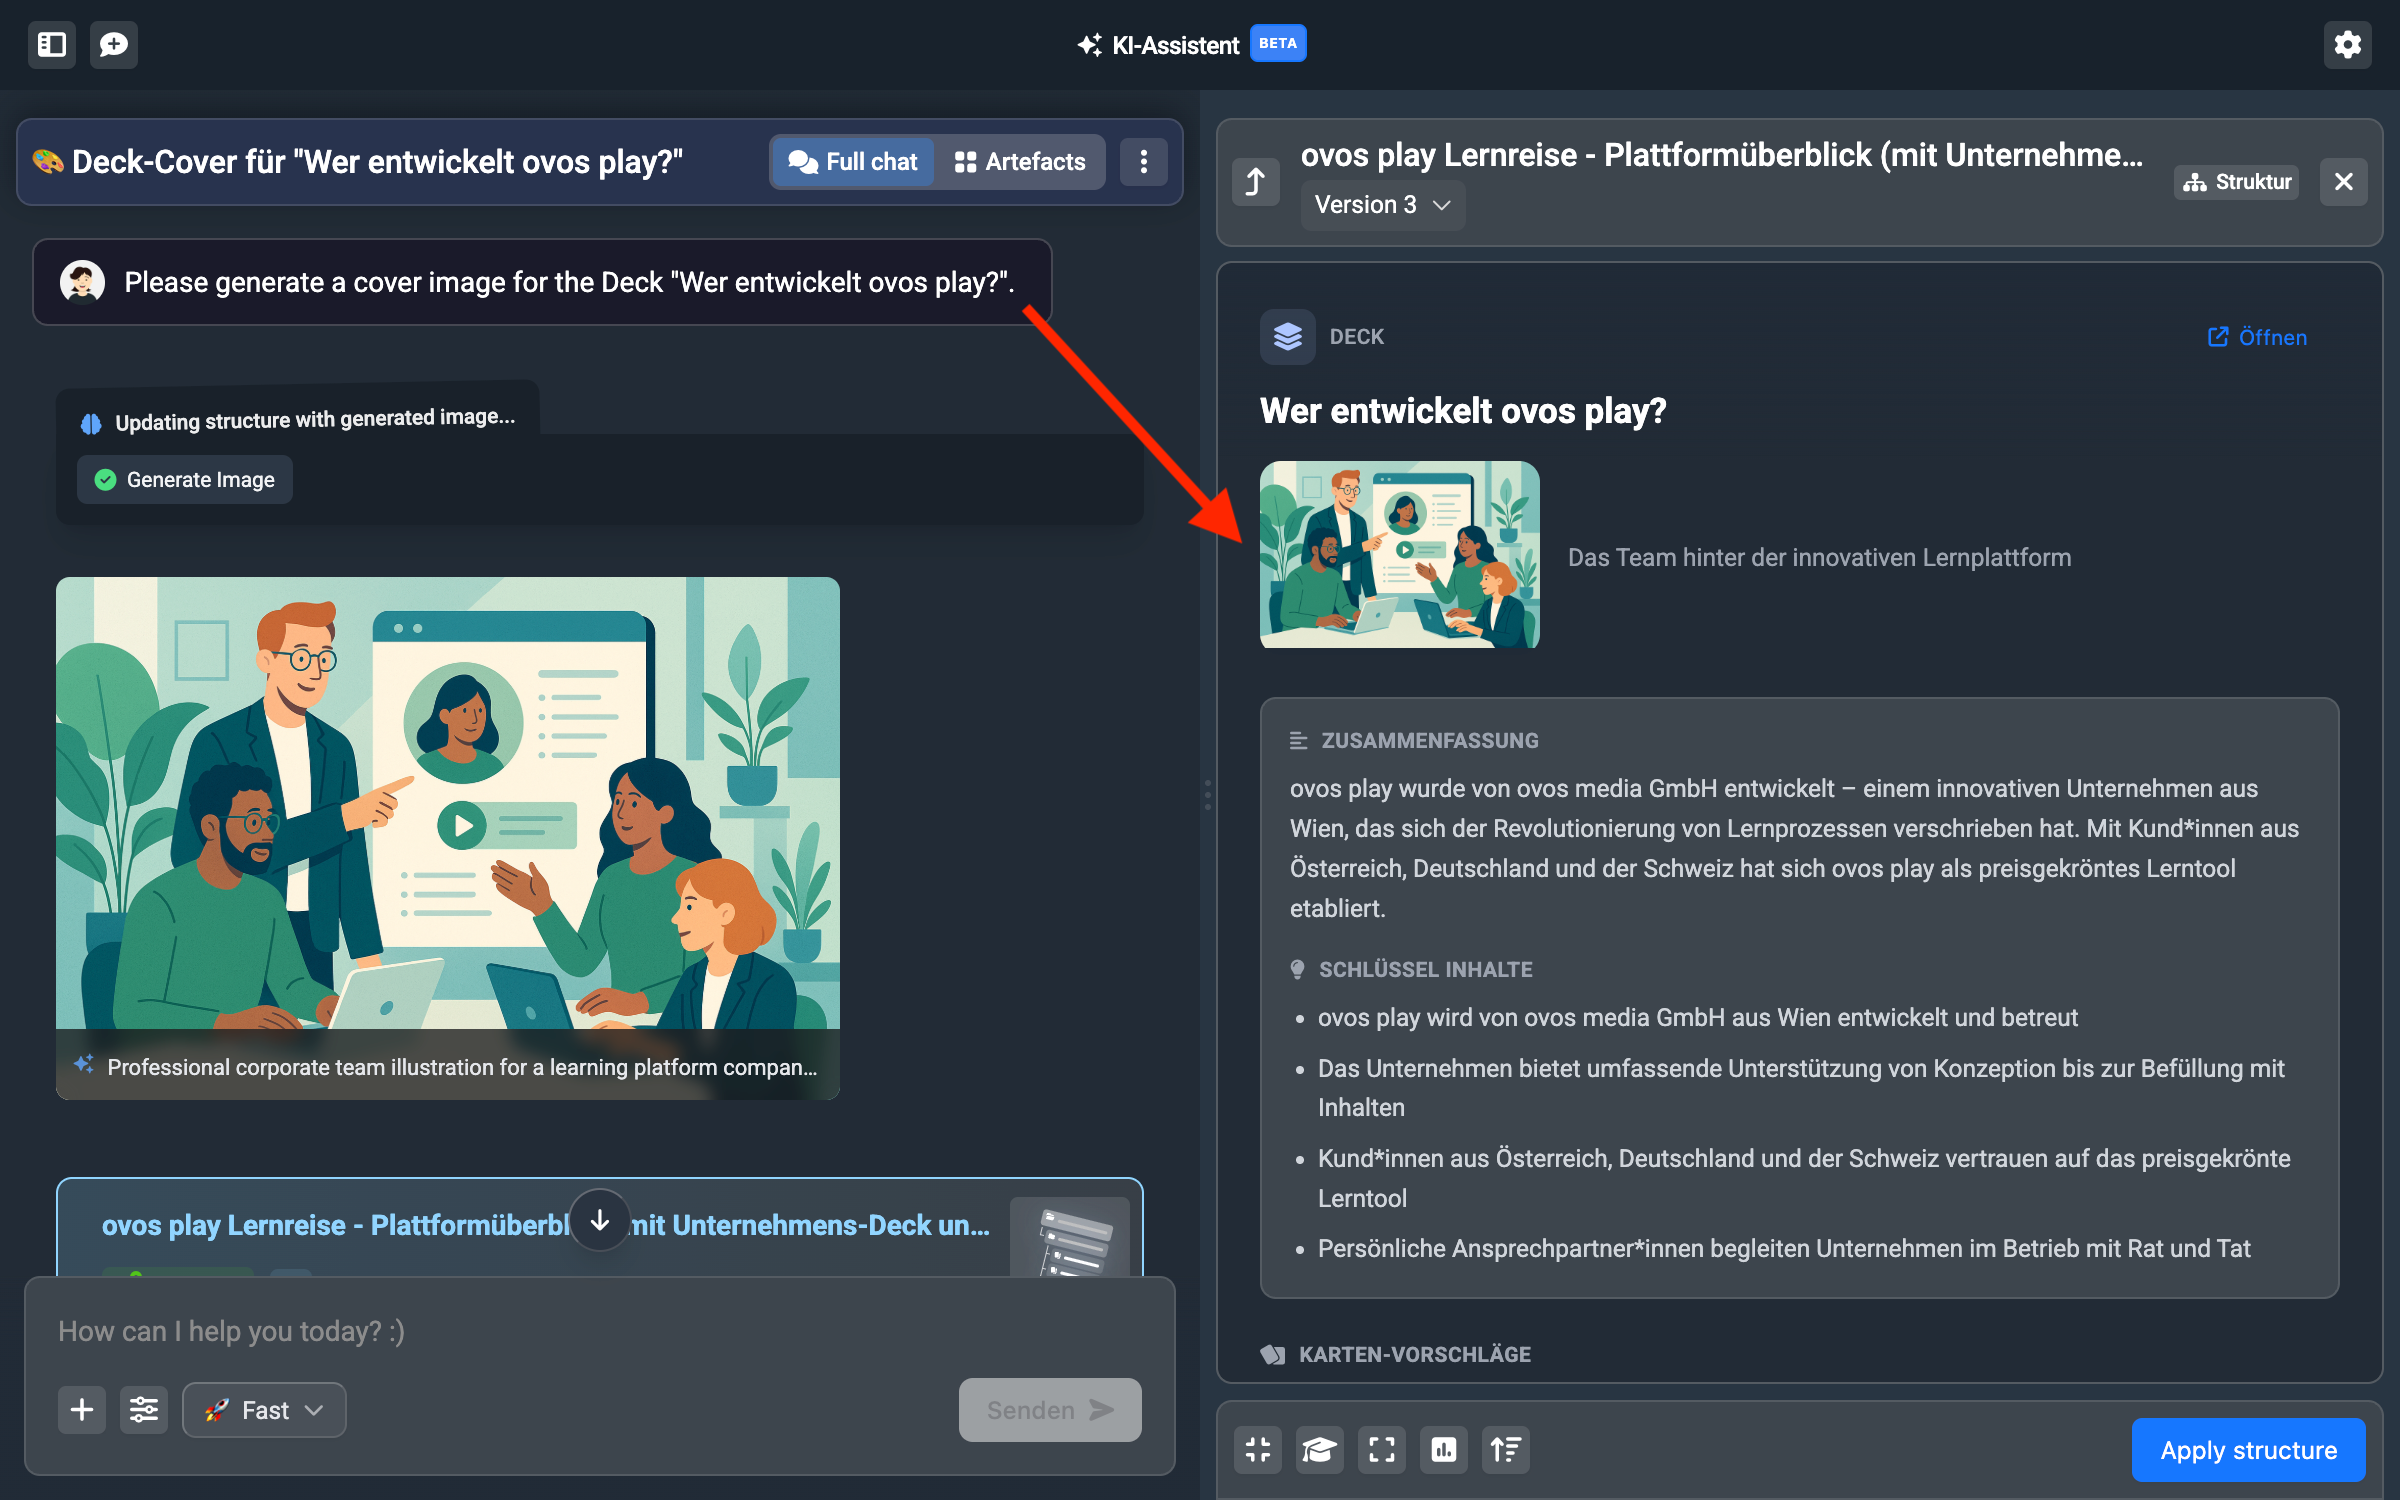
The image will also be shown to you in the chat history, so you can describe your image wishes in more detail via message.
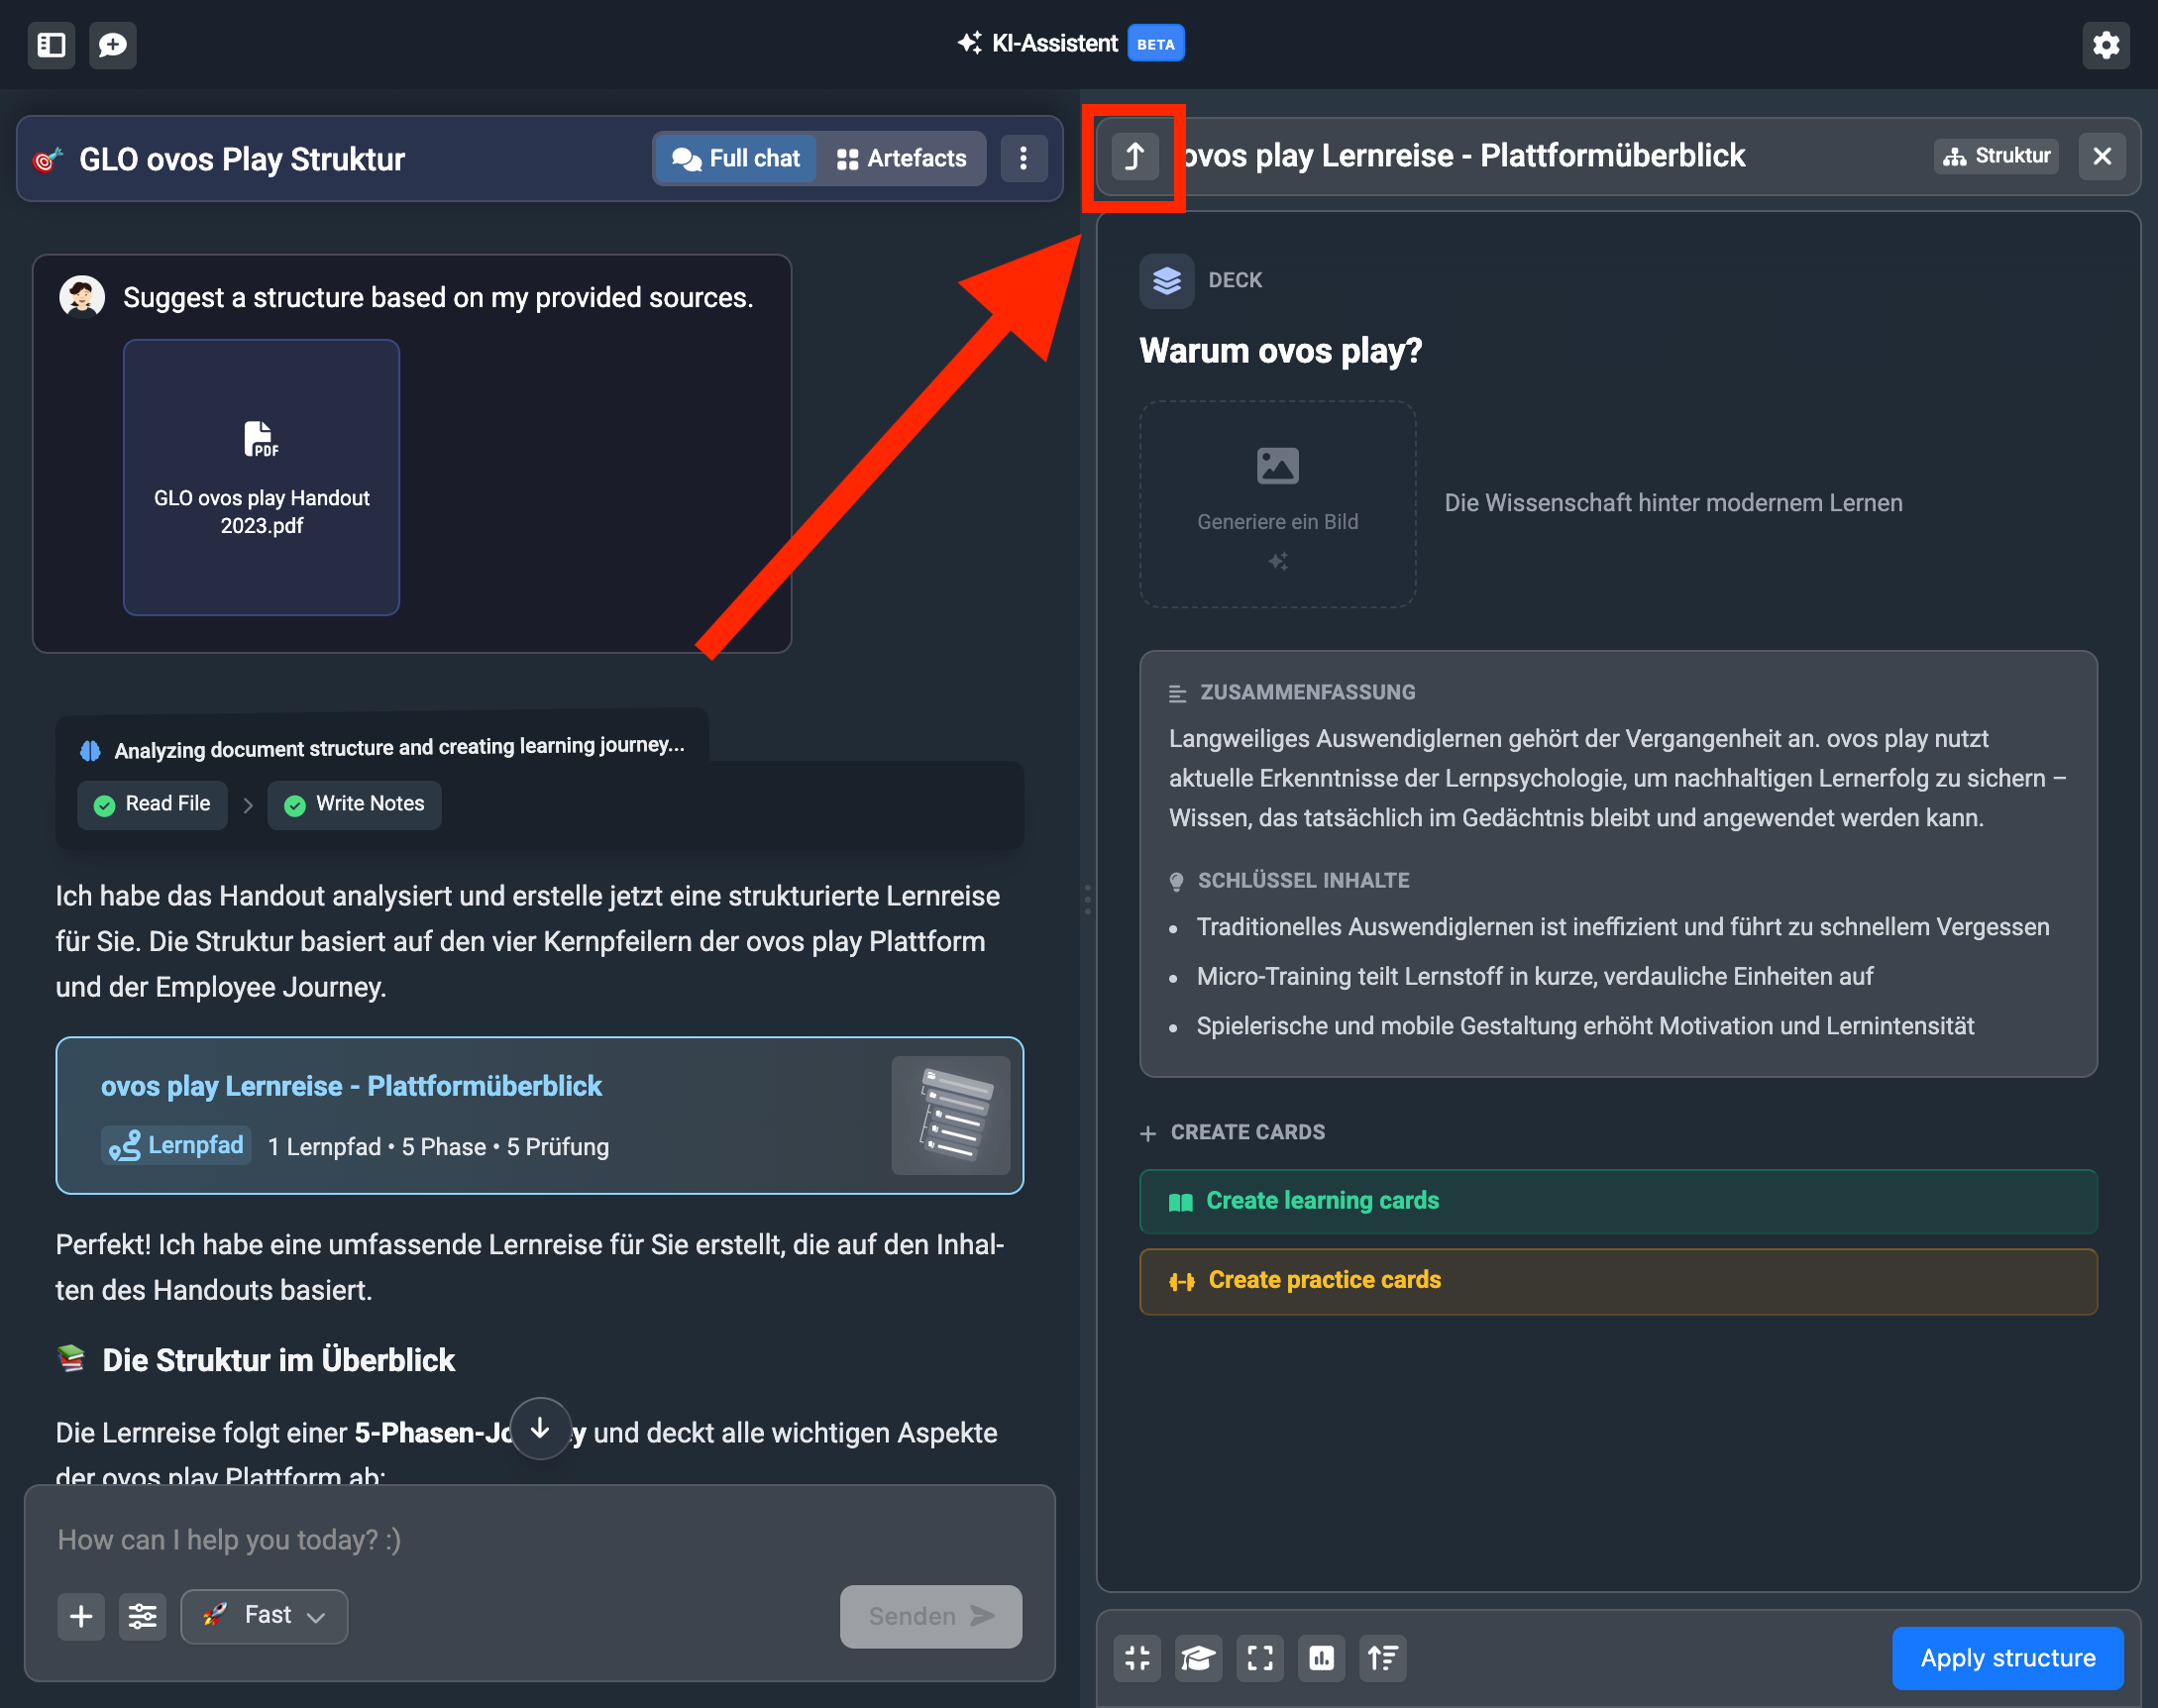
Use the back arrow to return to the suggested structure.
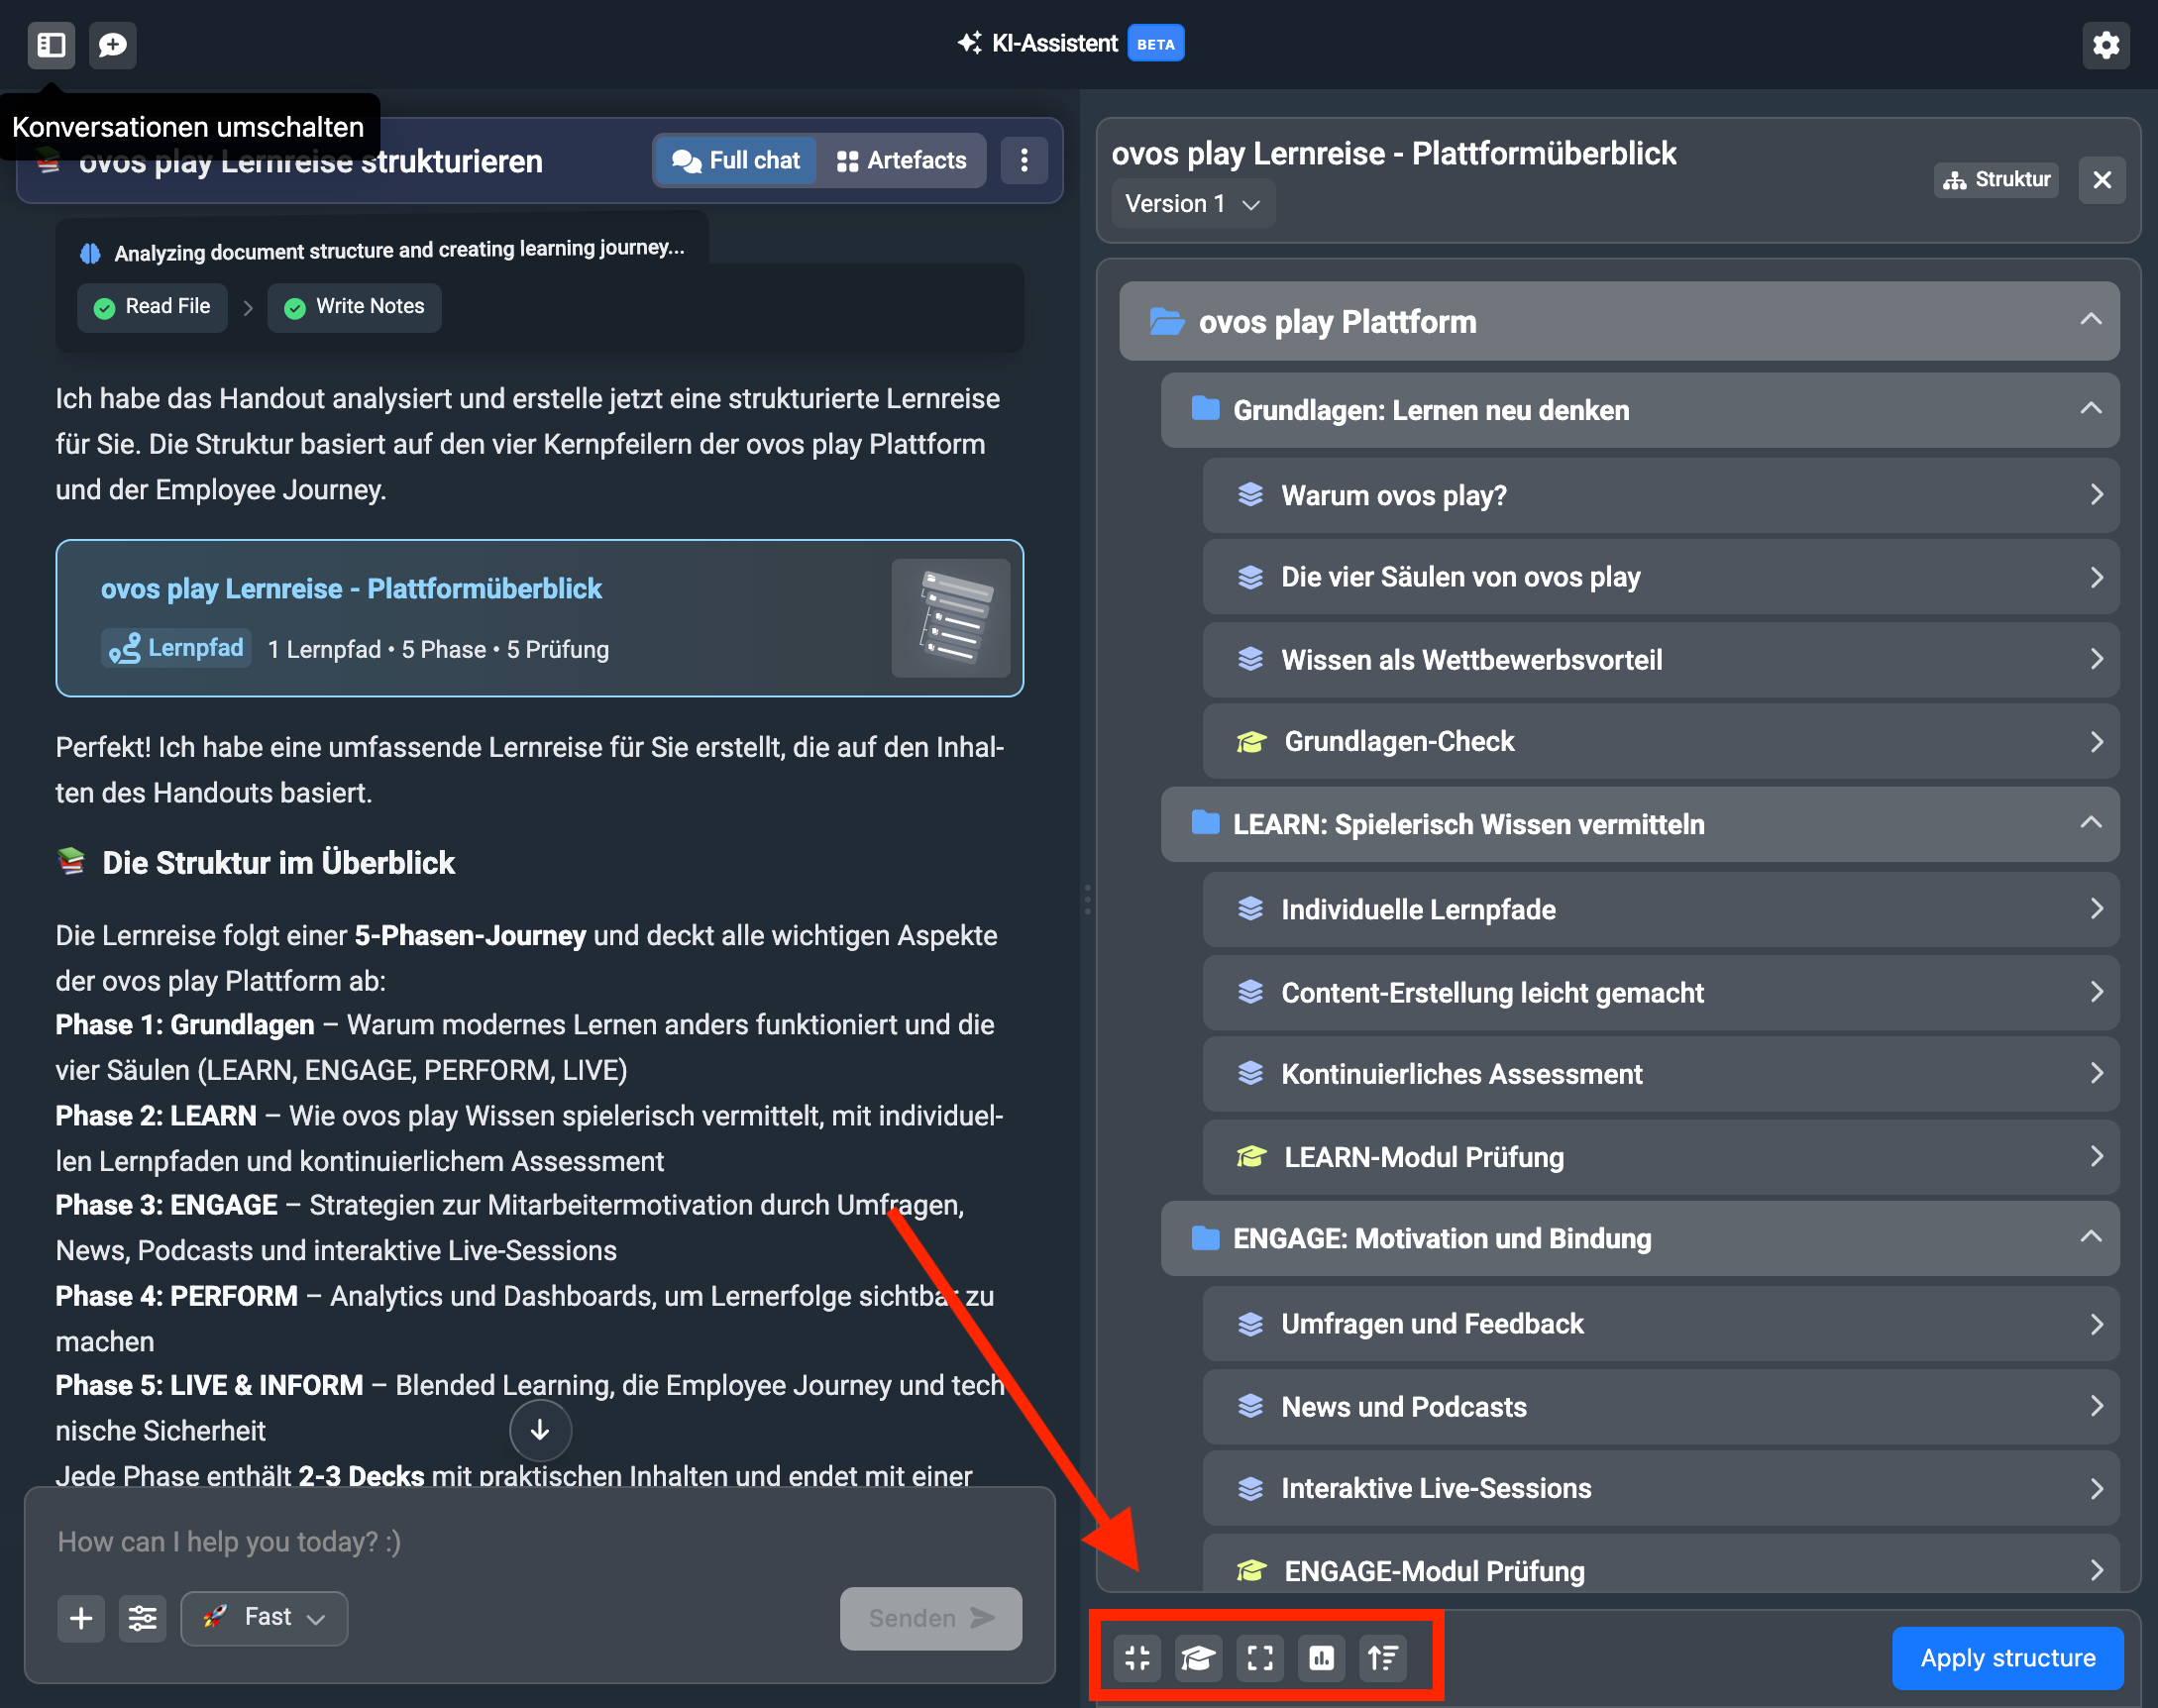
You can also make predefined changes in the suggested structure. In the bar below the structure suggestion, you’ll find the options:
make it more compact
add/remove quizzes
make it more detailed
add surveys
sort by difficulty level
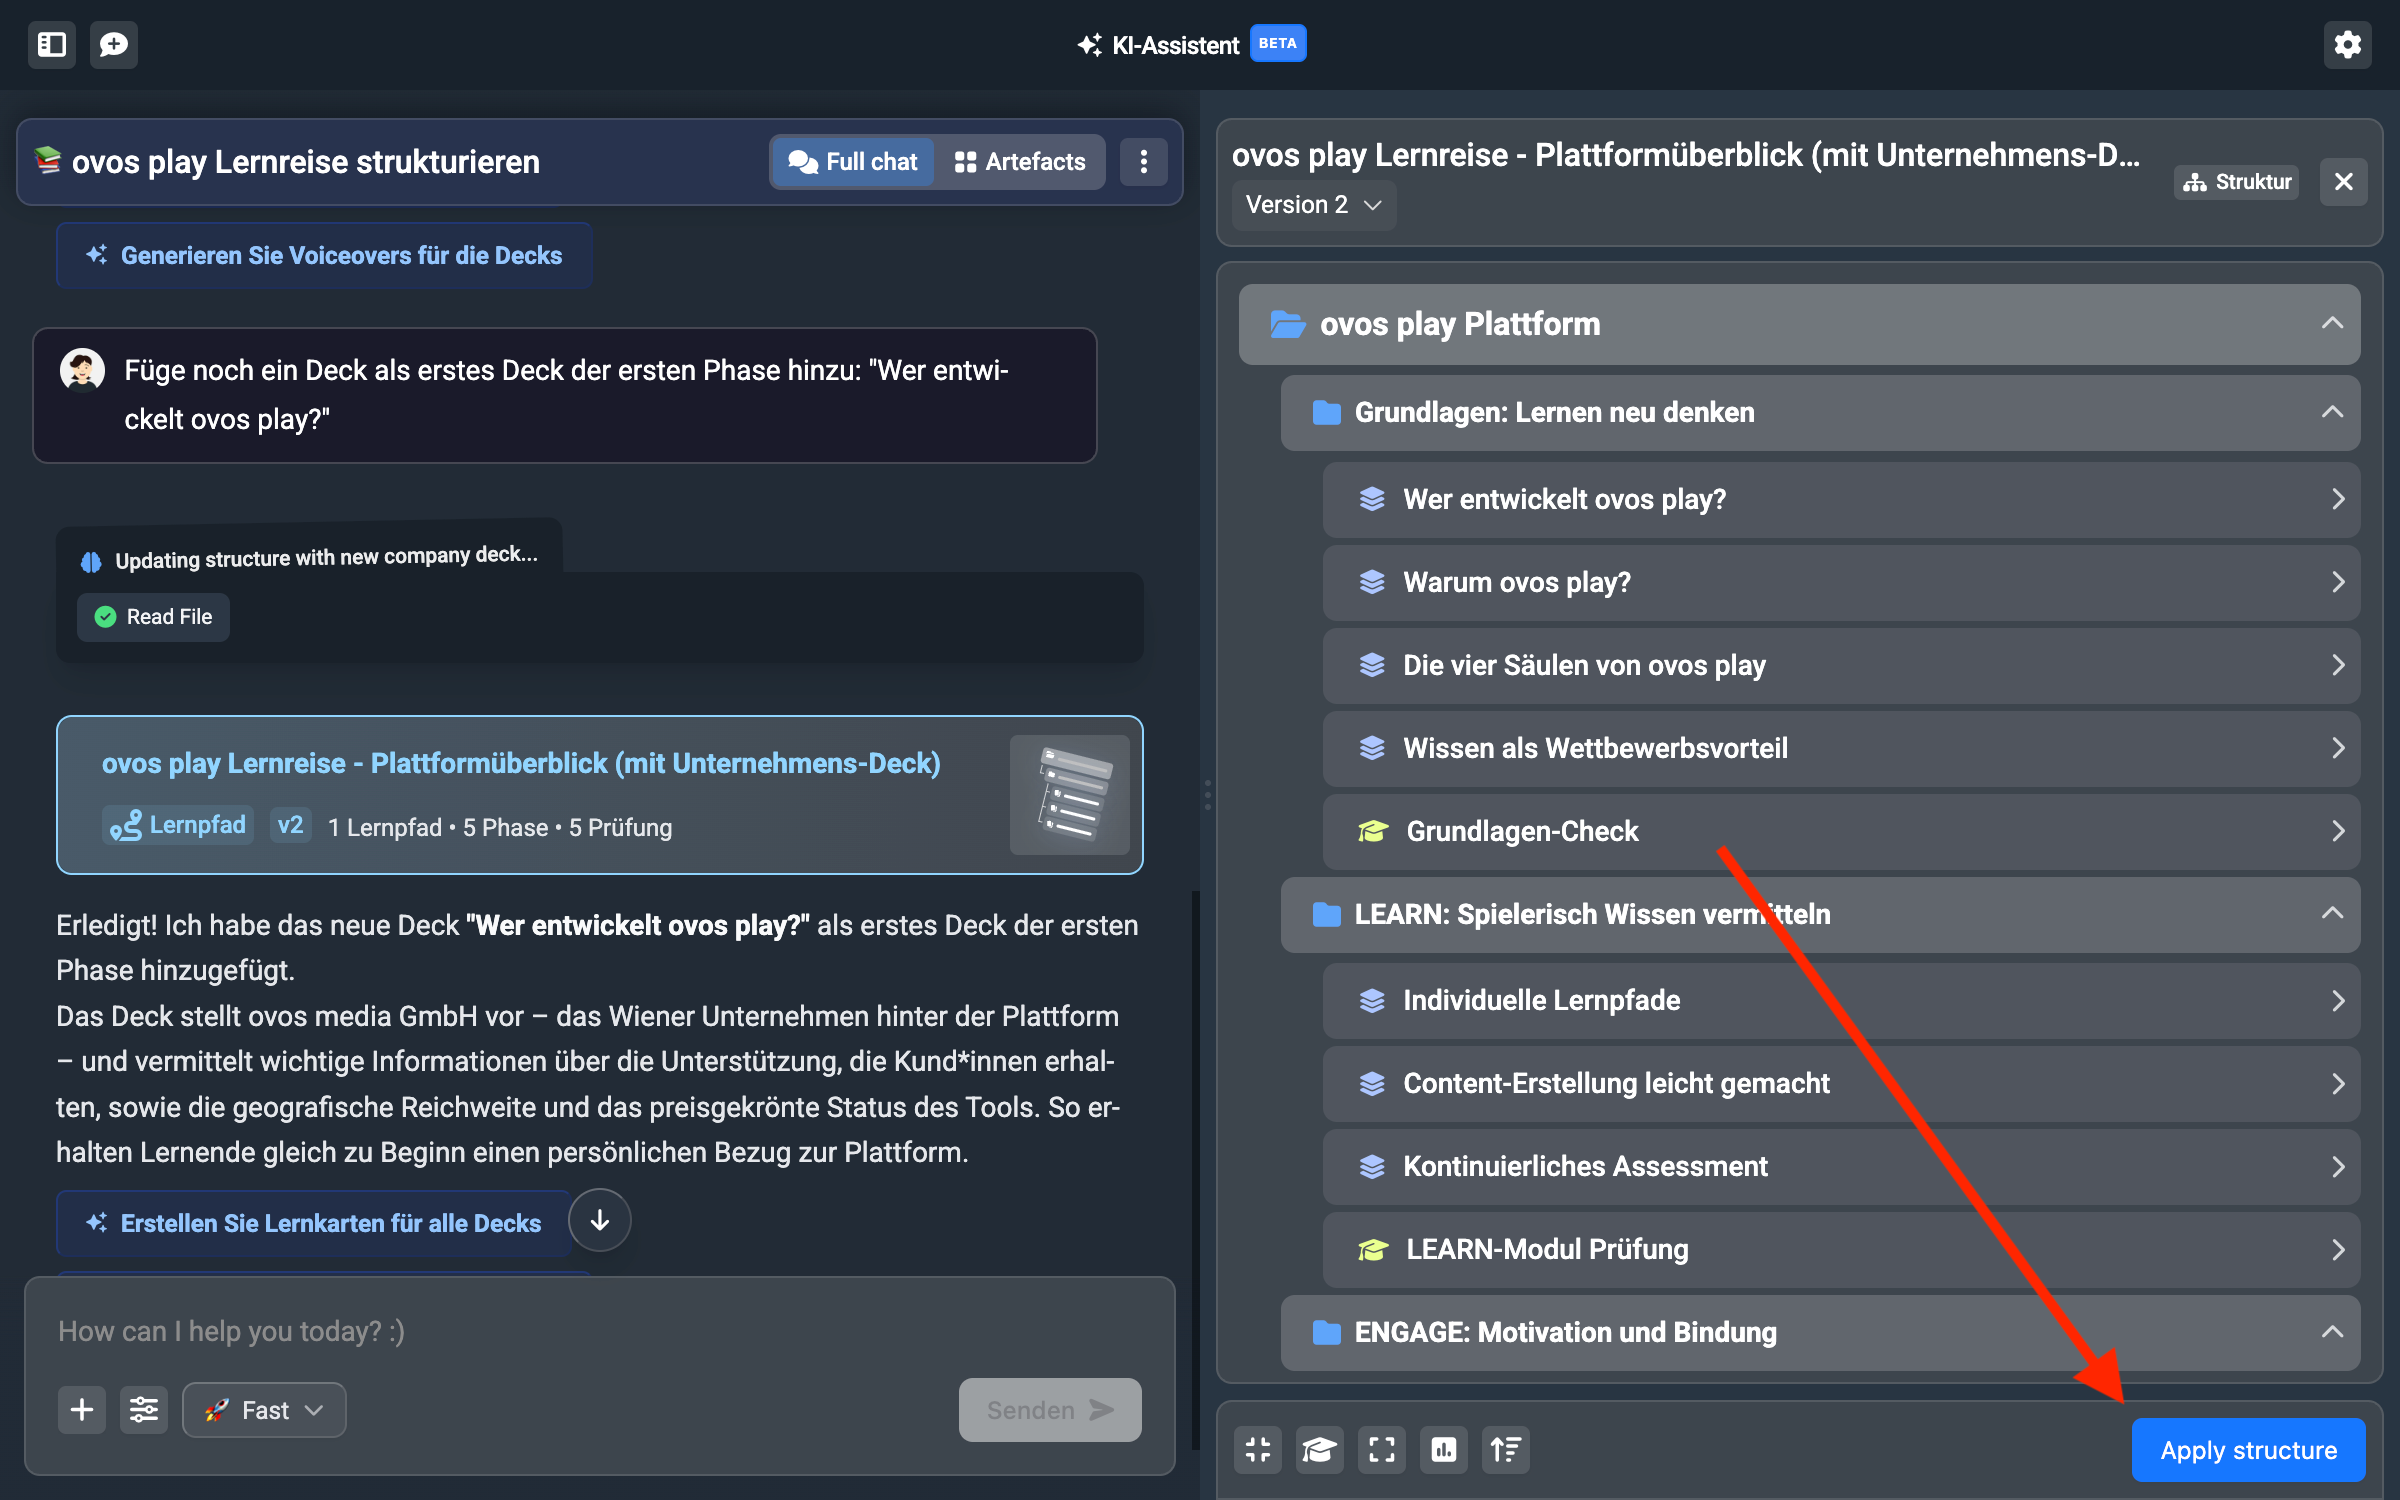
If you have specific change requests, just write them in the text field below the suggestion. Send your message and the assistant will adjust its suggestion. In our example, we add another deck to the first phase.
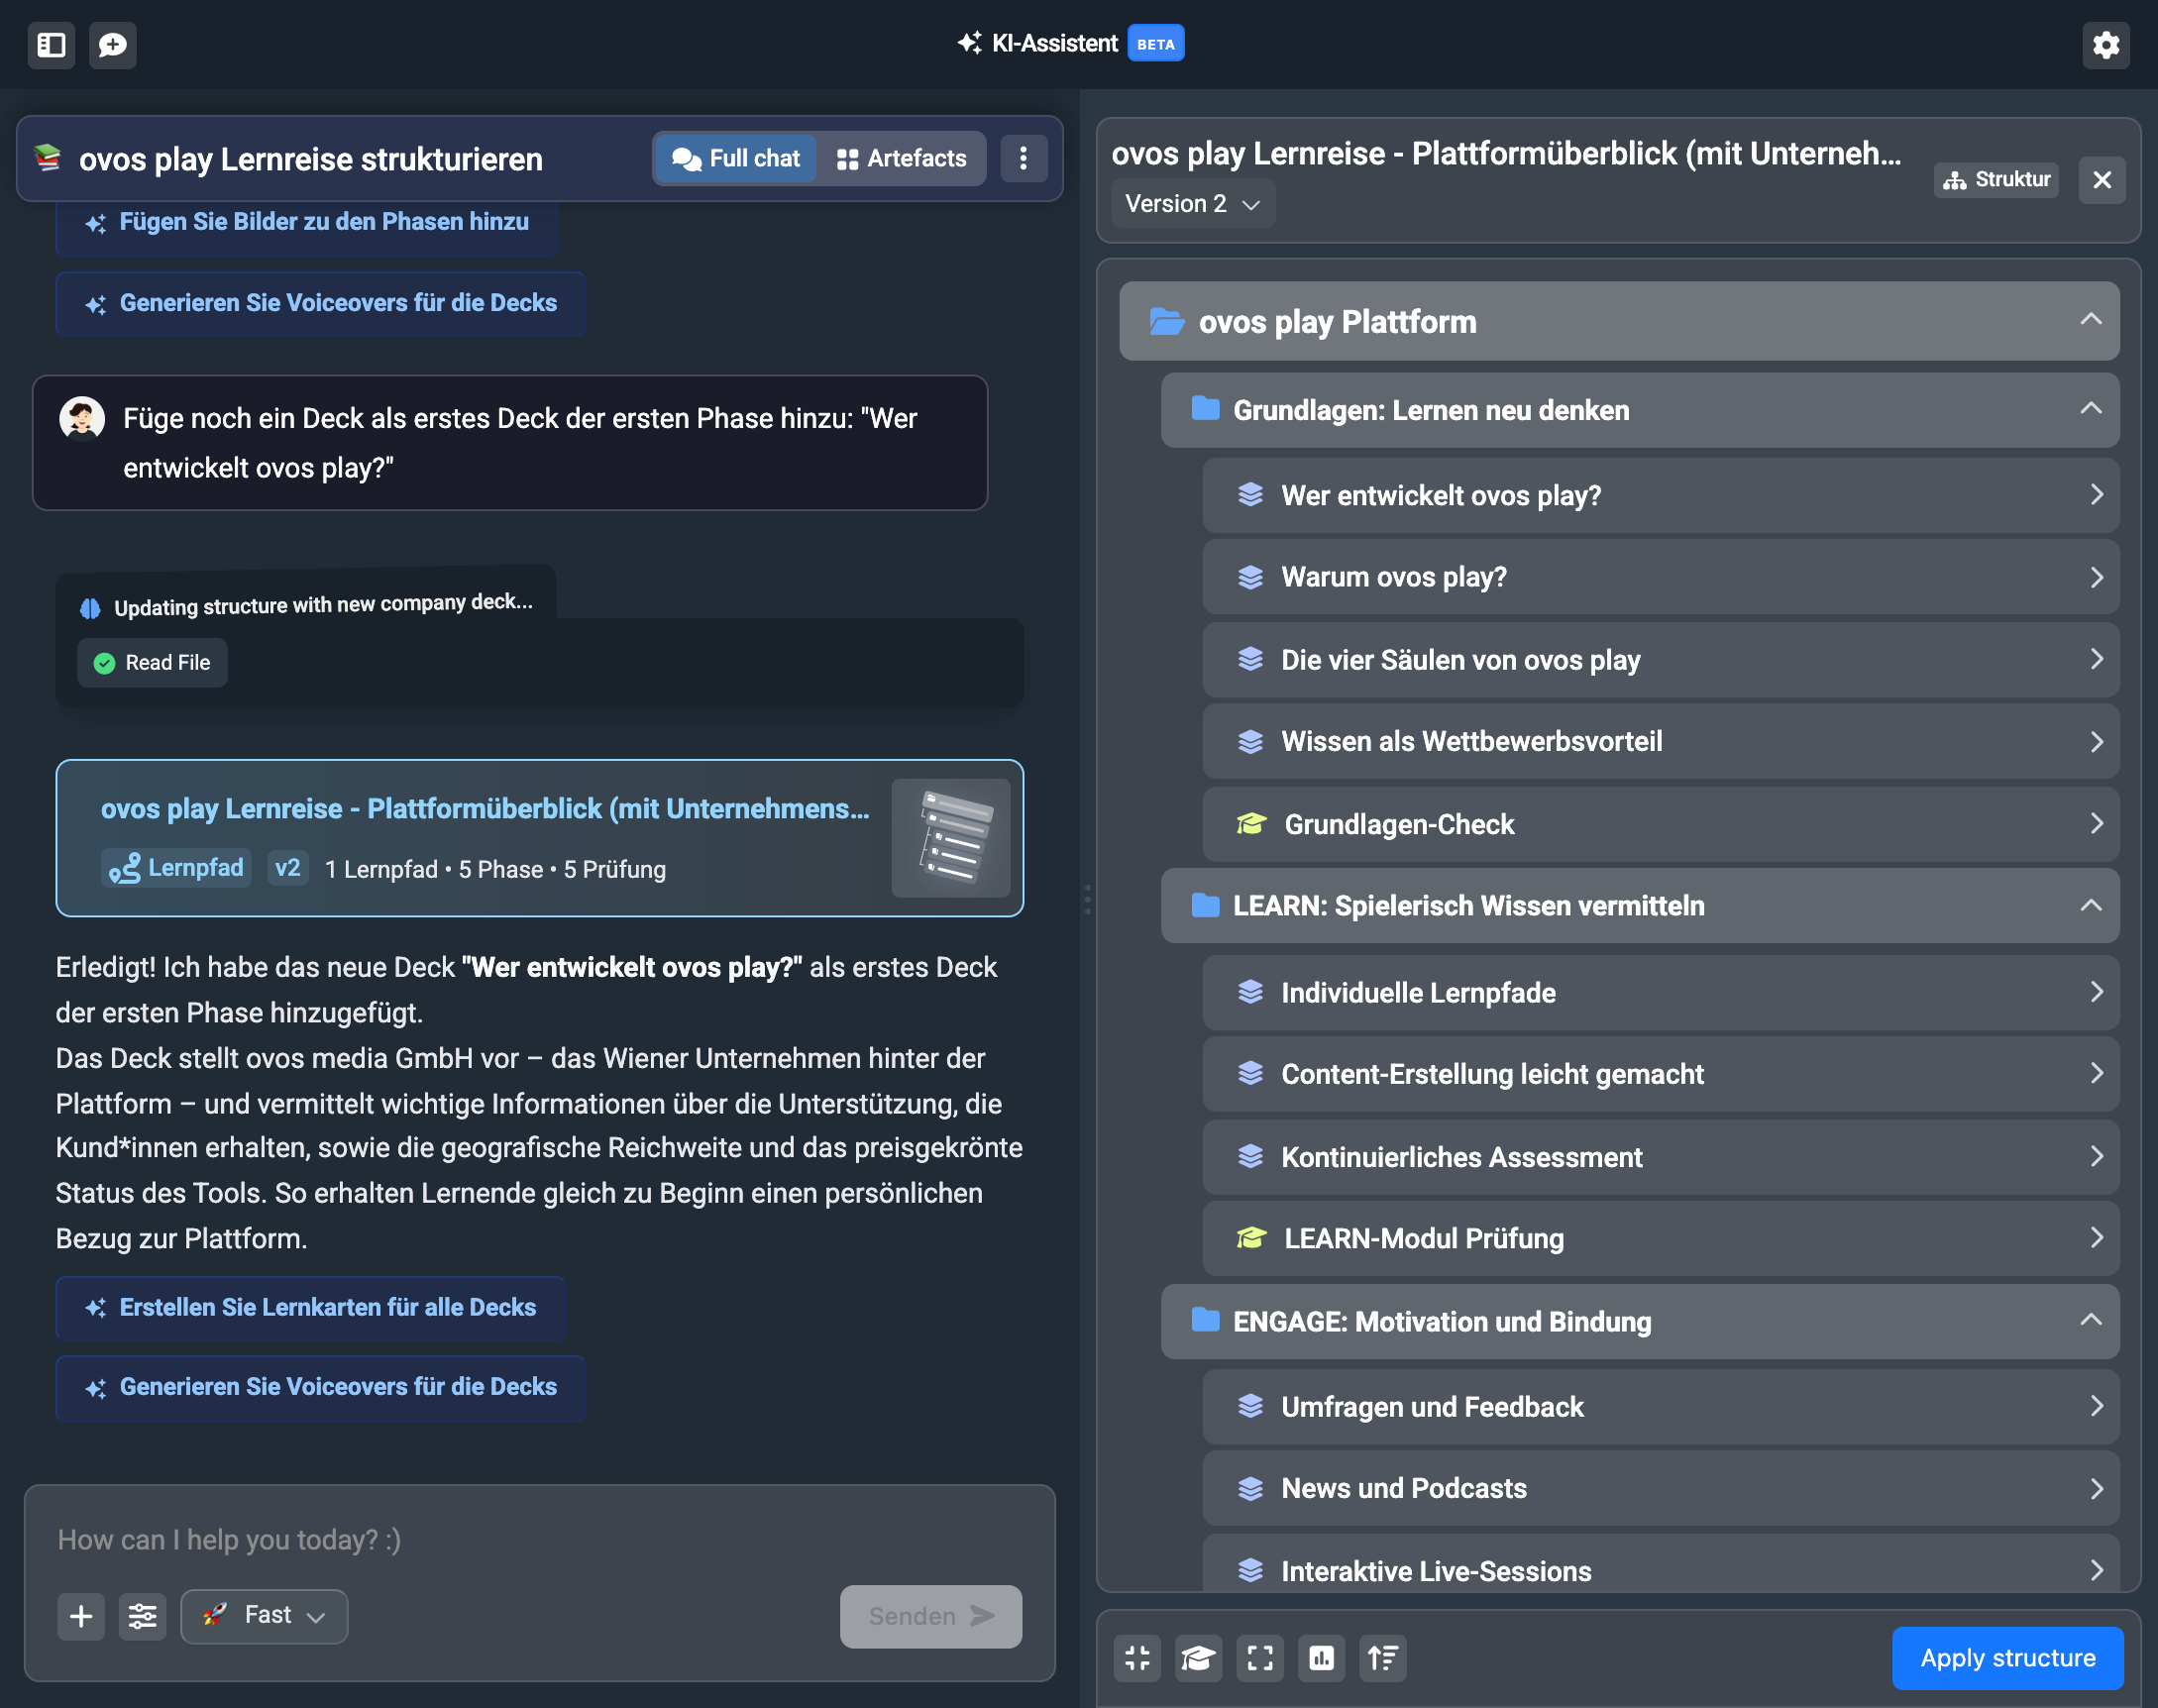
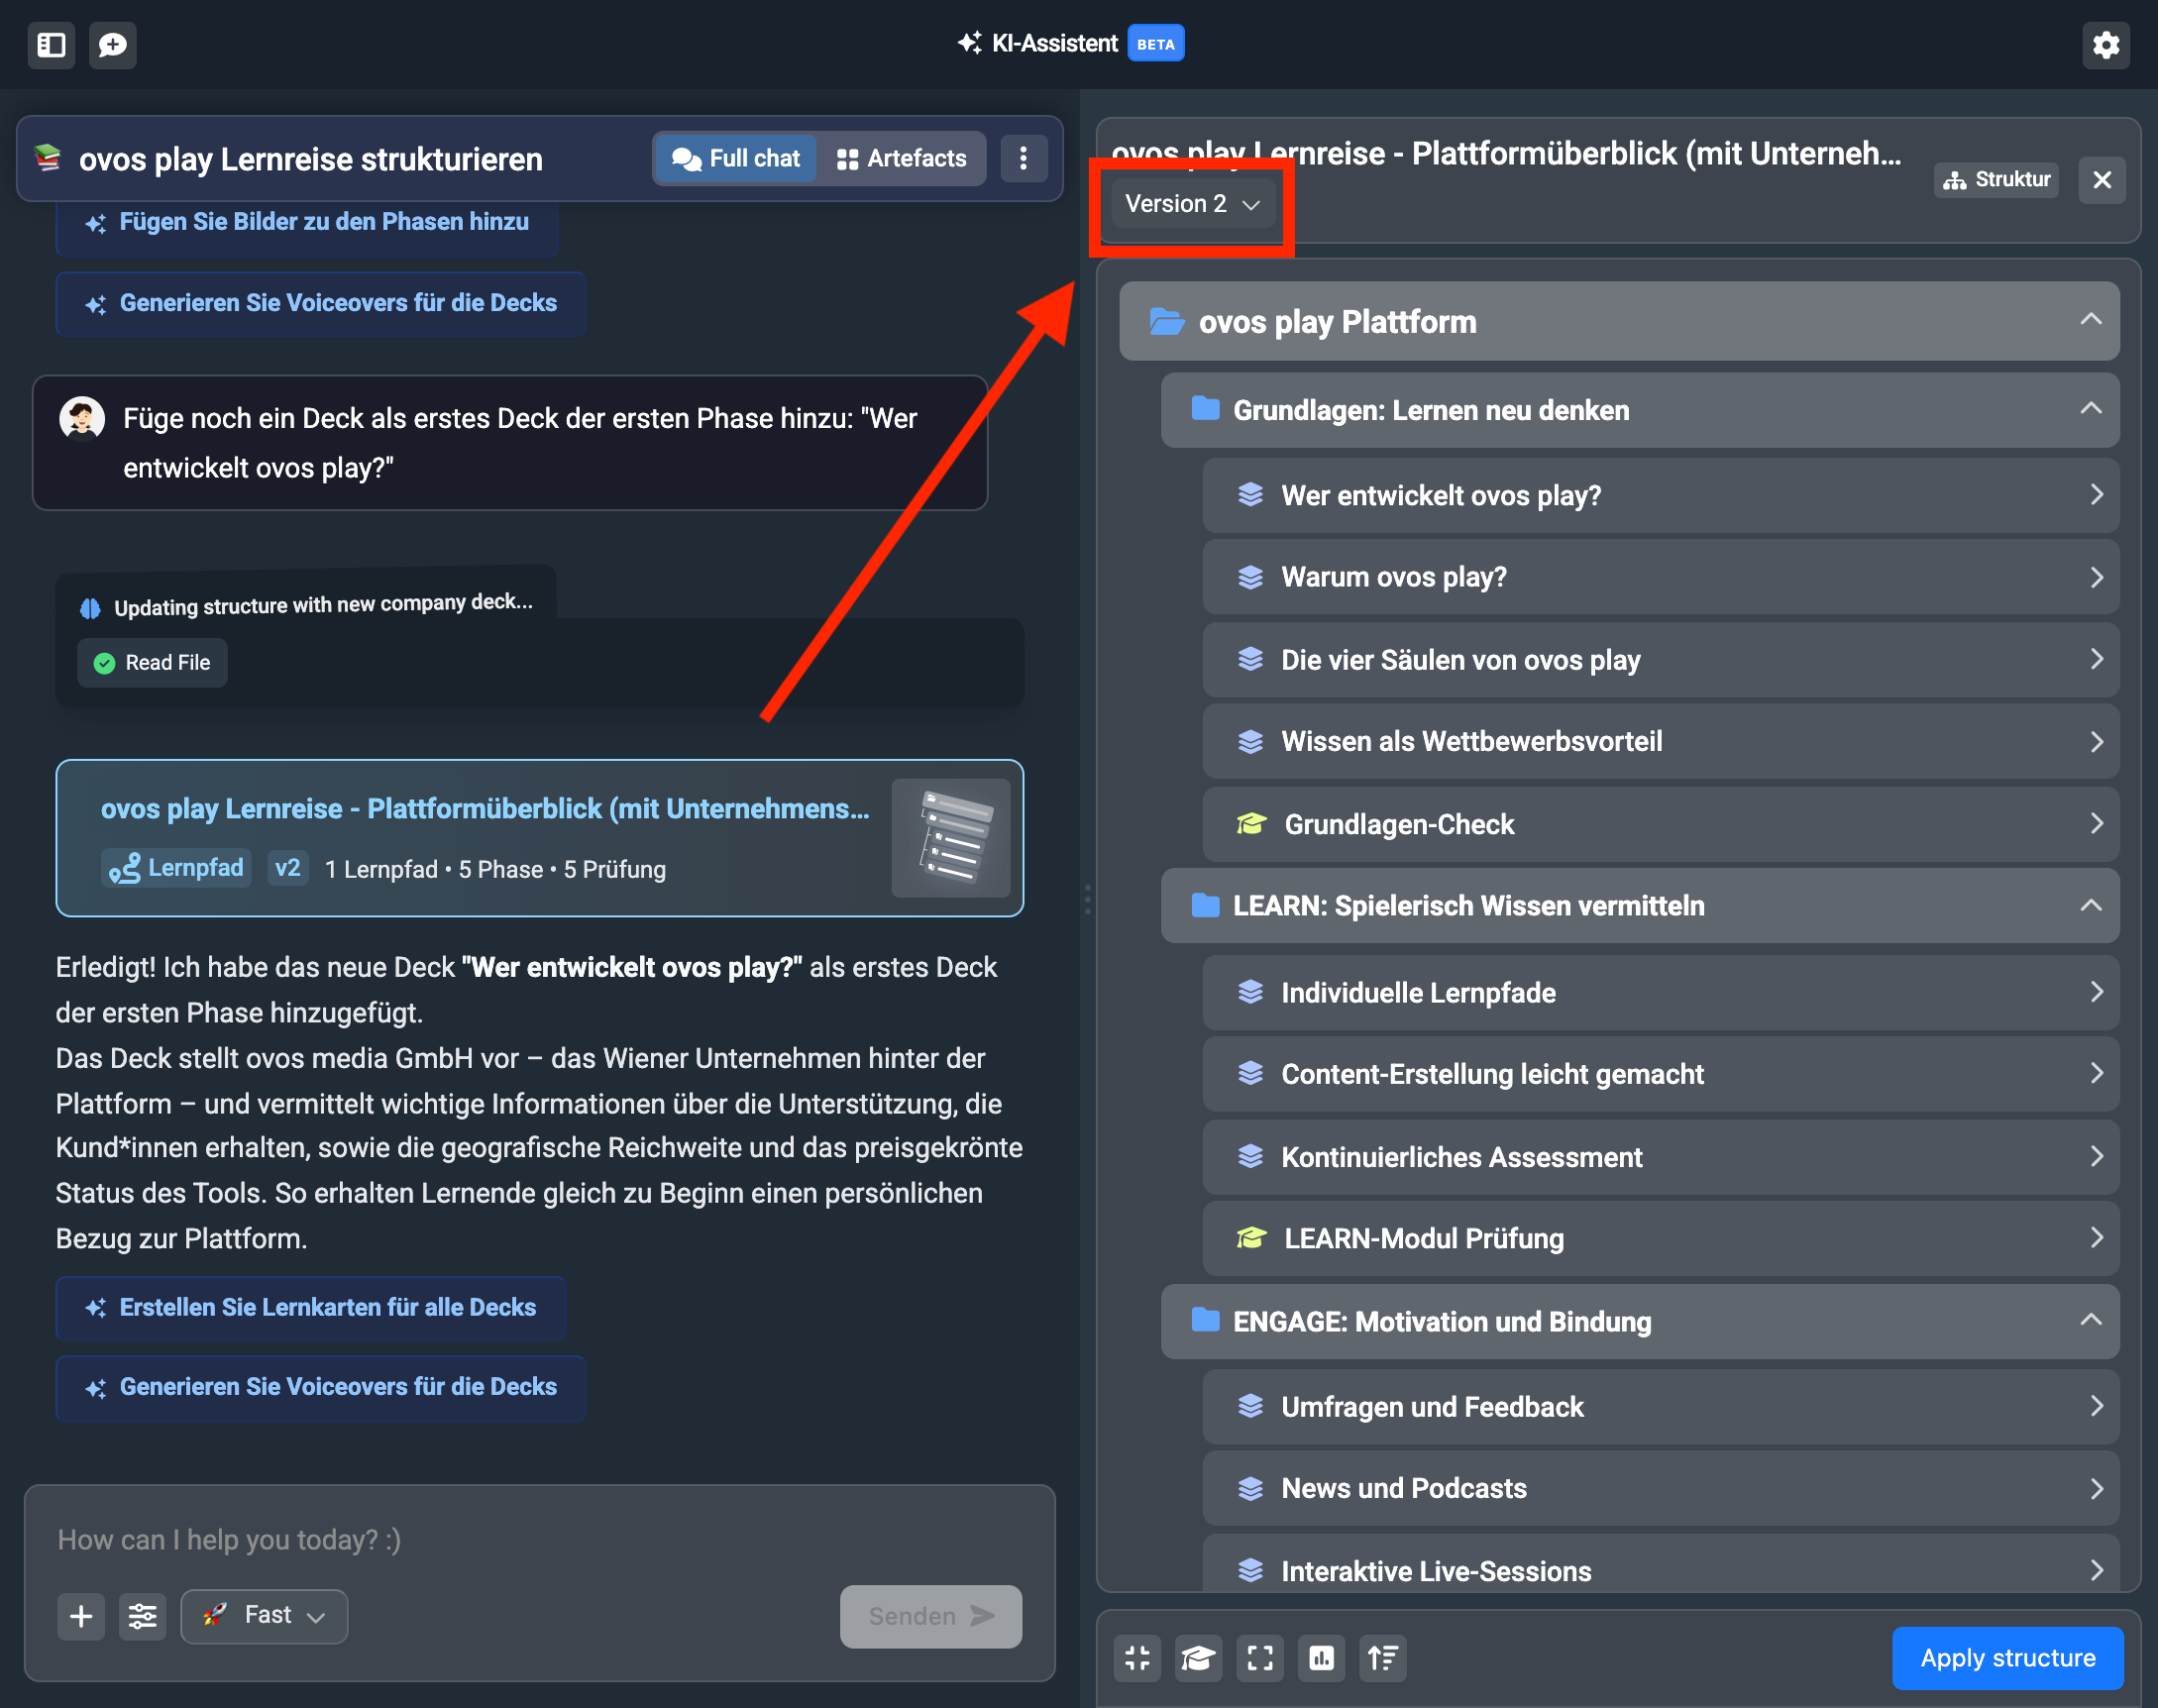
The assistant creates a new version of the structure for this. So you can go back to the first version at any time if you’re not happy with the change. To do this, click on the version display in the structure suggestion.
This way you can create more versions of the structure until you’re happy and move on to the next step.
With these steps you’ve saved a structure artifact in your assistant and can come back to it anytime. So you can let the assistant set up the structure and create the content yourself, or you just keep going and let the assistant create the learning content for you.
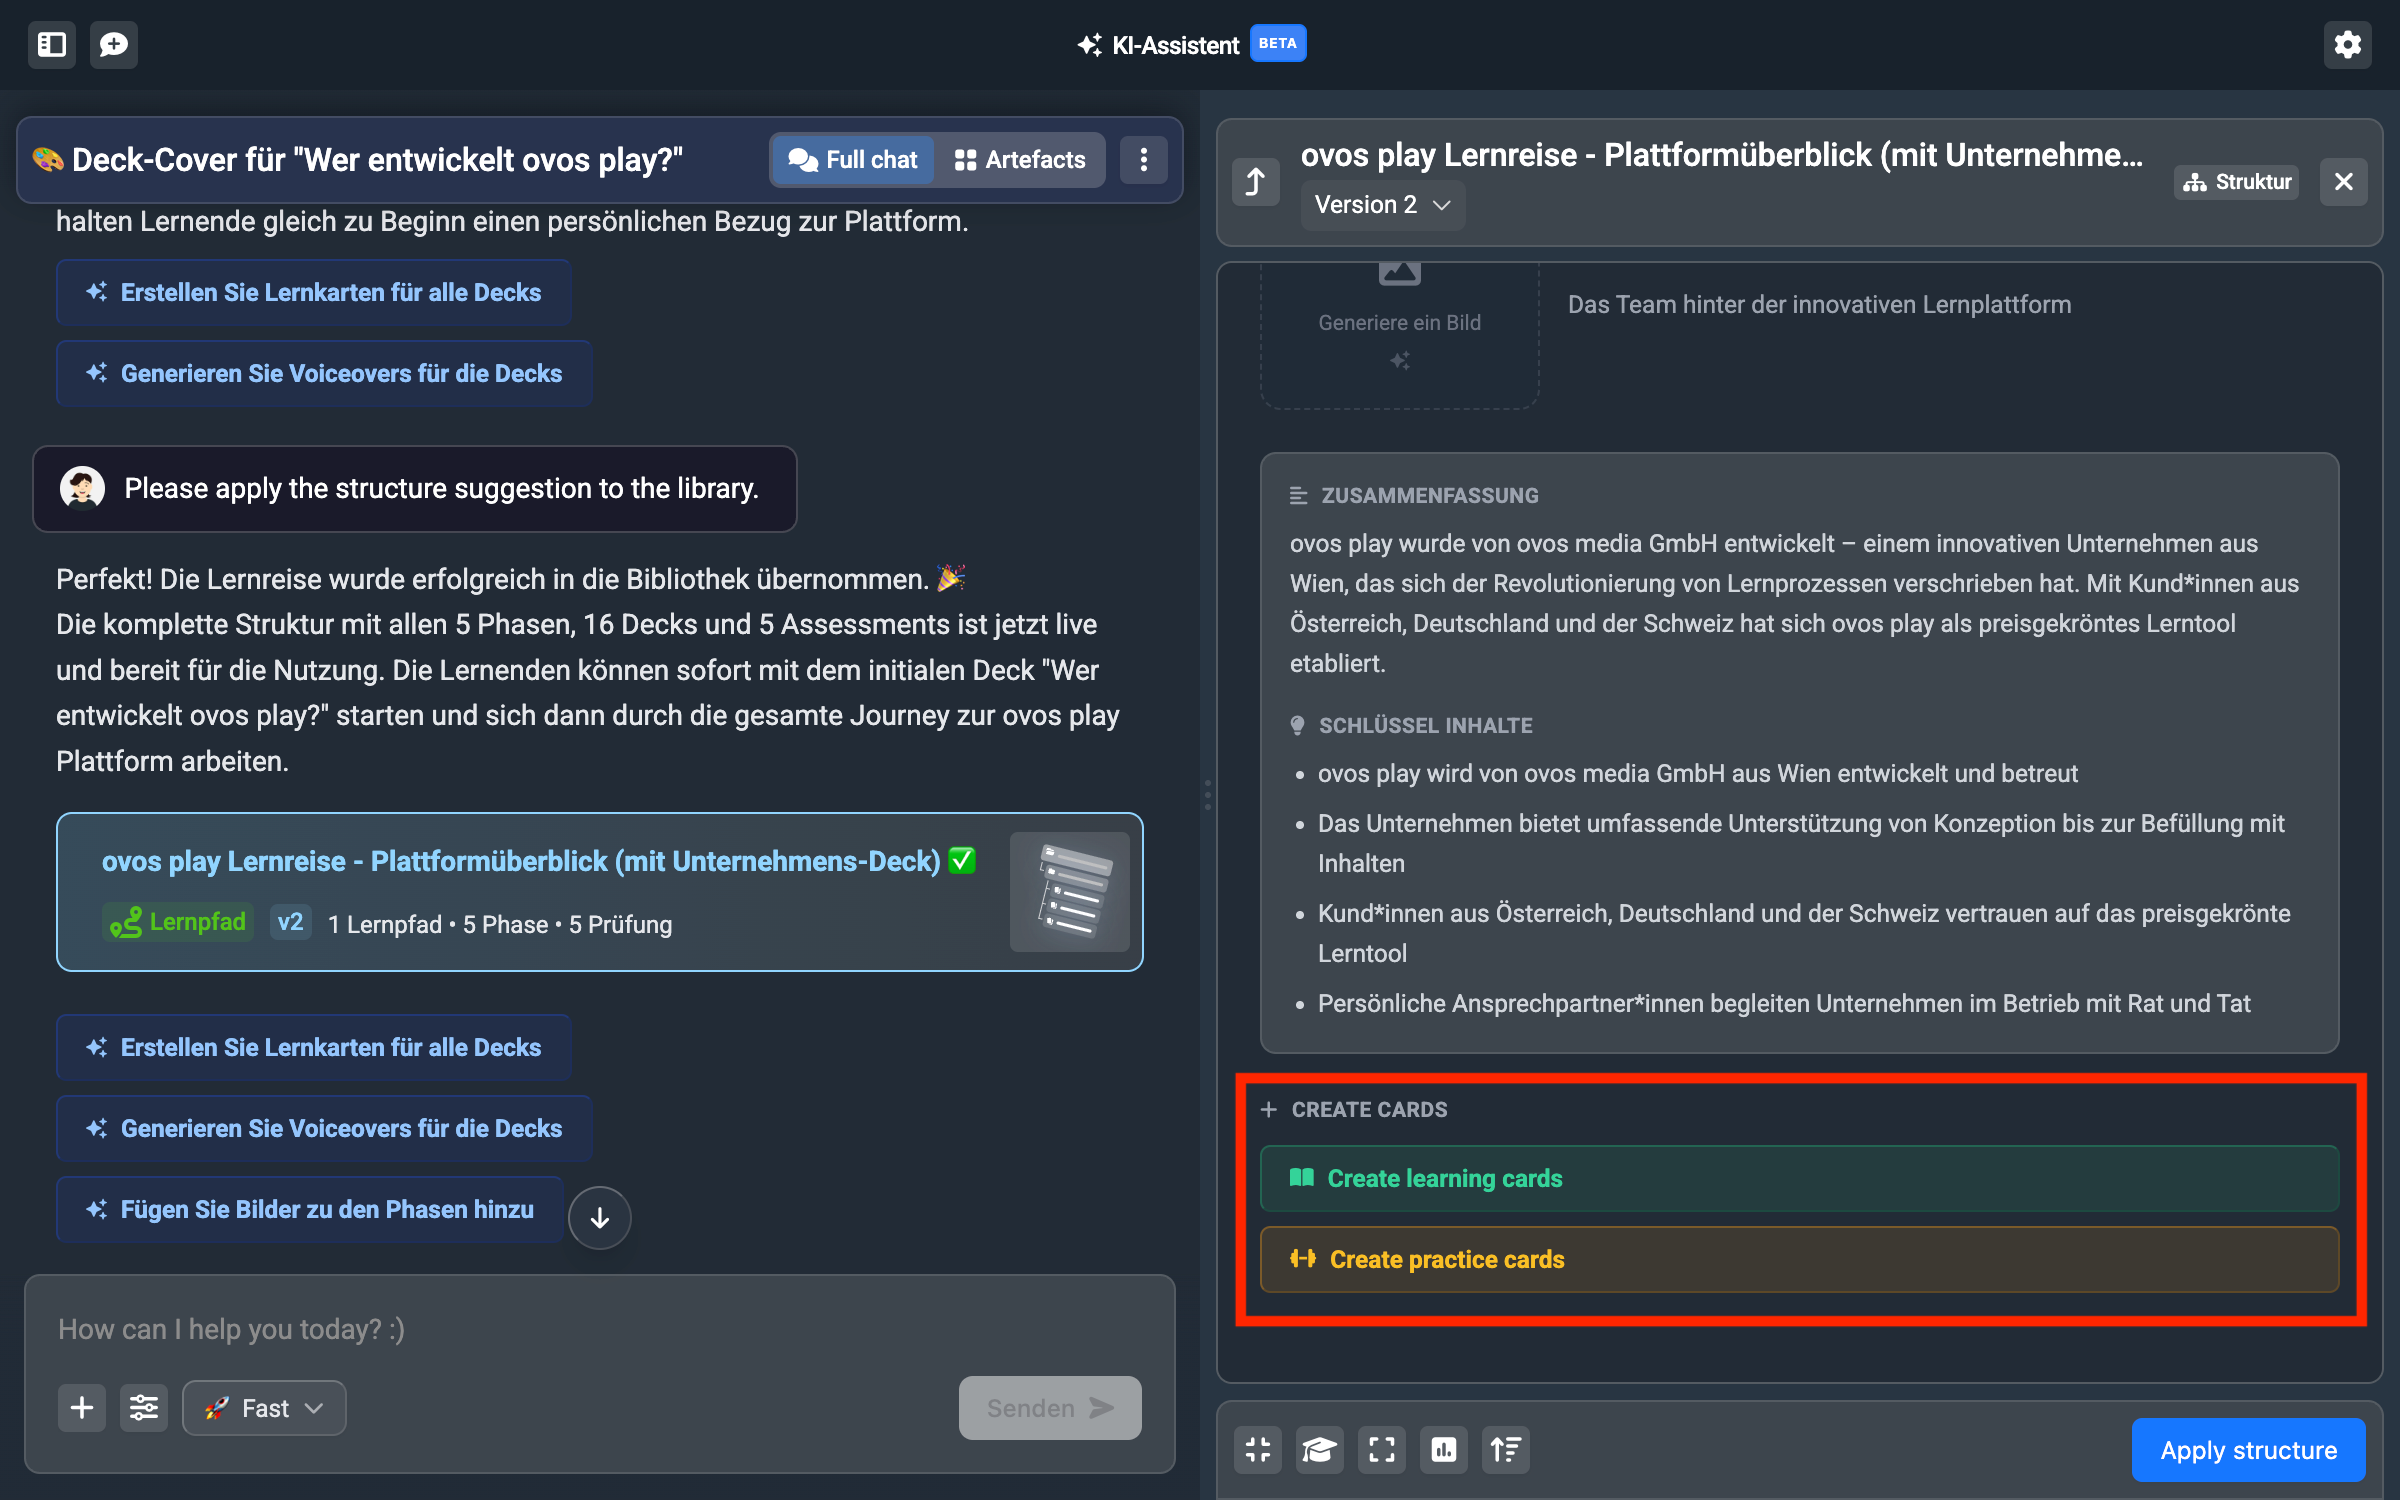
The assistant will also always suggest these next steps to you directly:
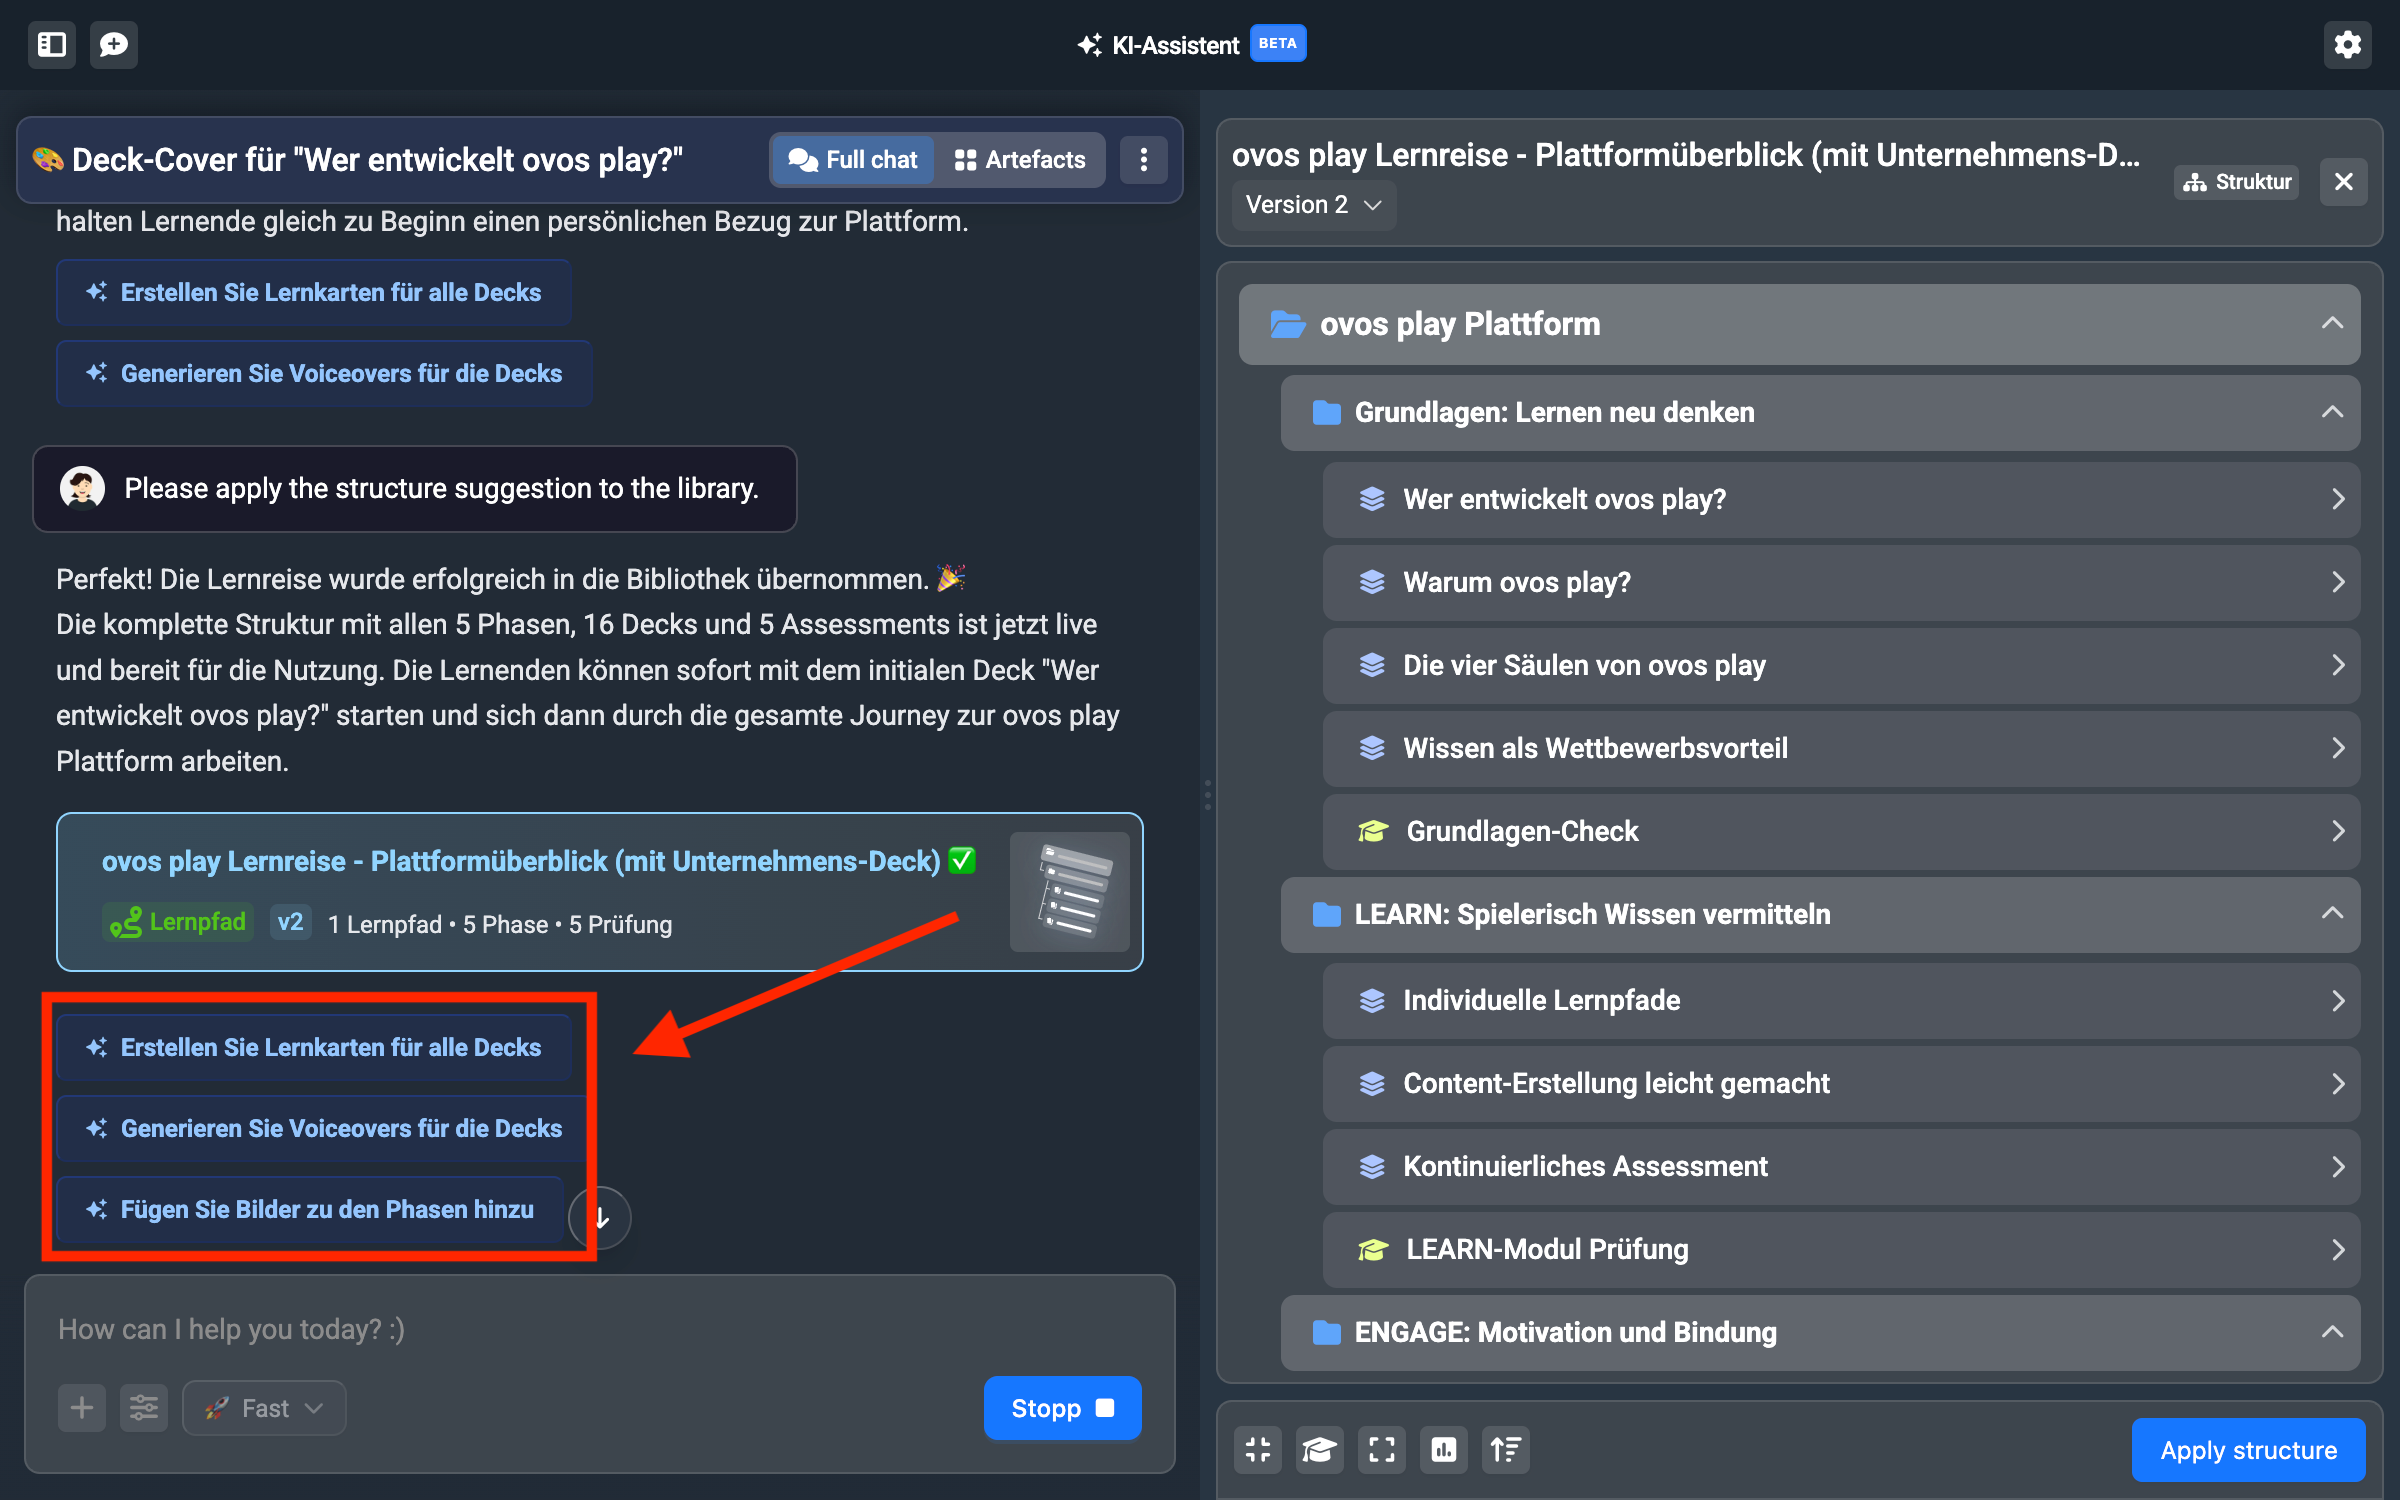
With one click on “Create flashcards for all decks for me”, the assistant does exactly that, works its way through deck by deck, and creates flashcards for you.
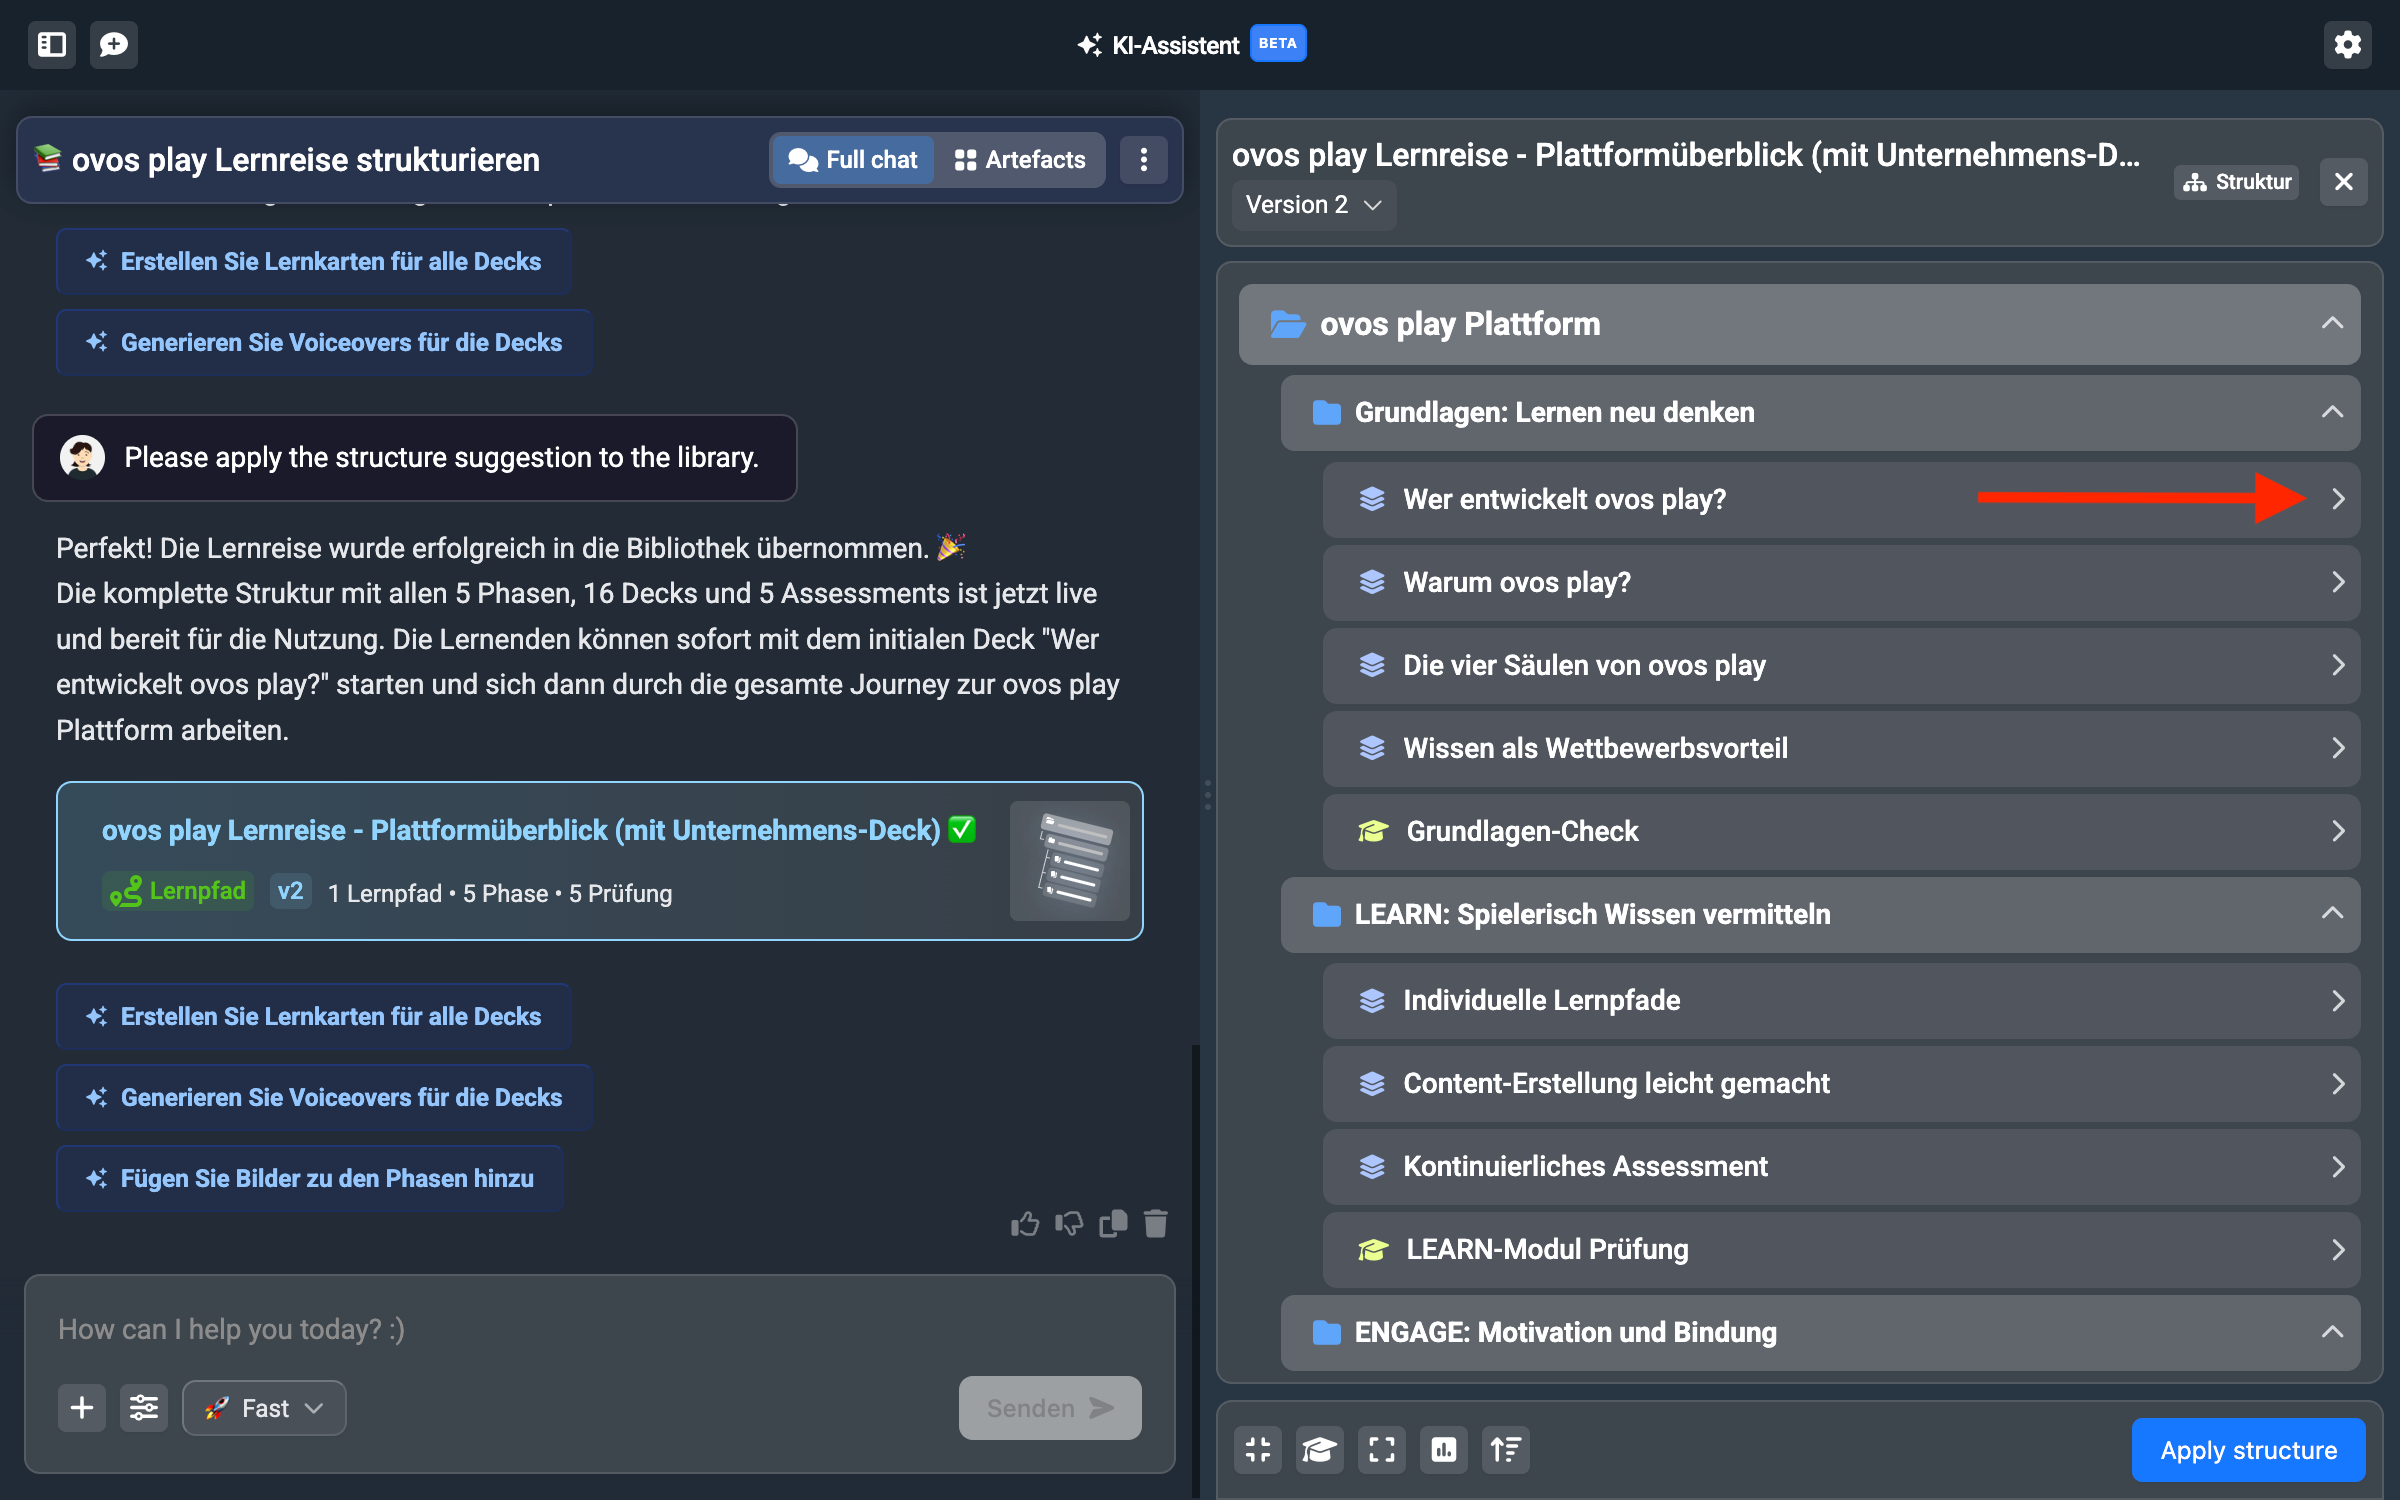
If you have your own ideas and concepts for the individual decks, you can also trigger this process deck by deck. In your structure artifact you can click on the individual decks to add cards there.
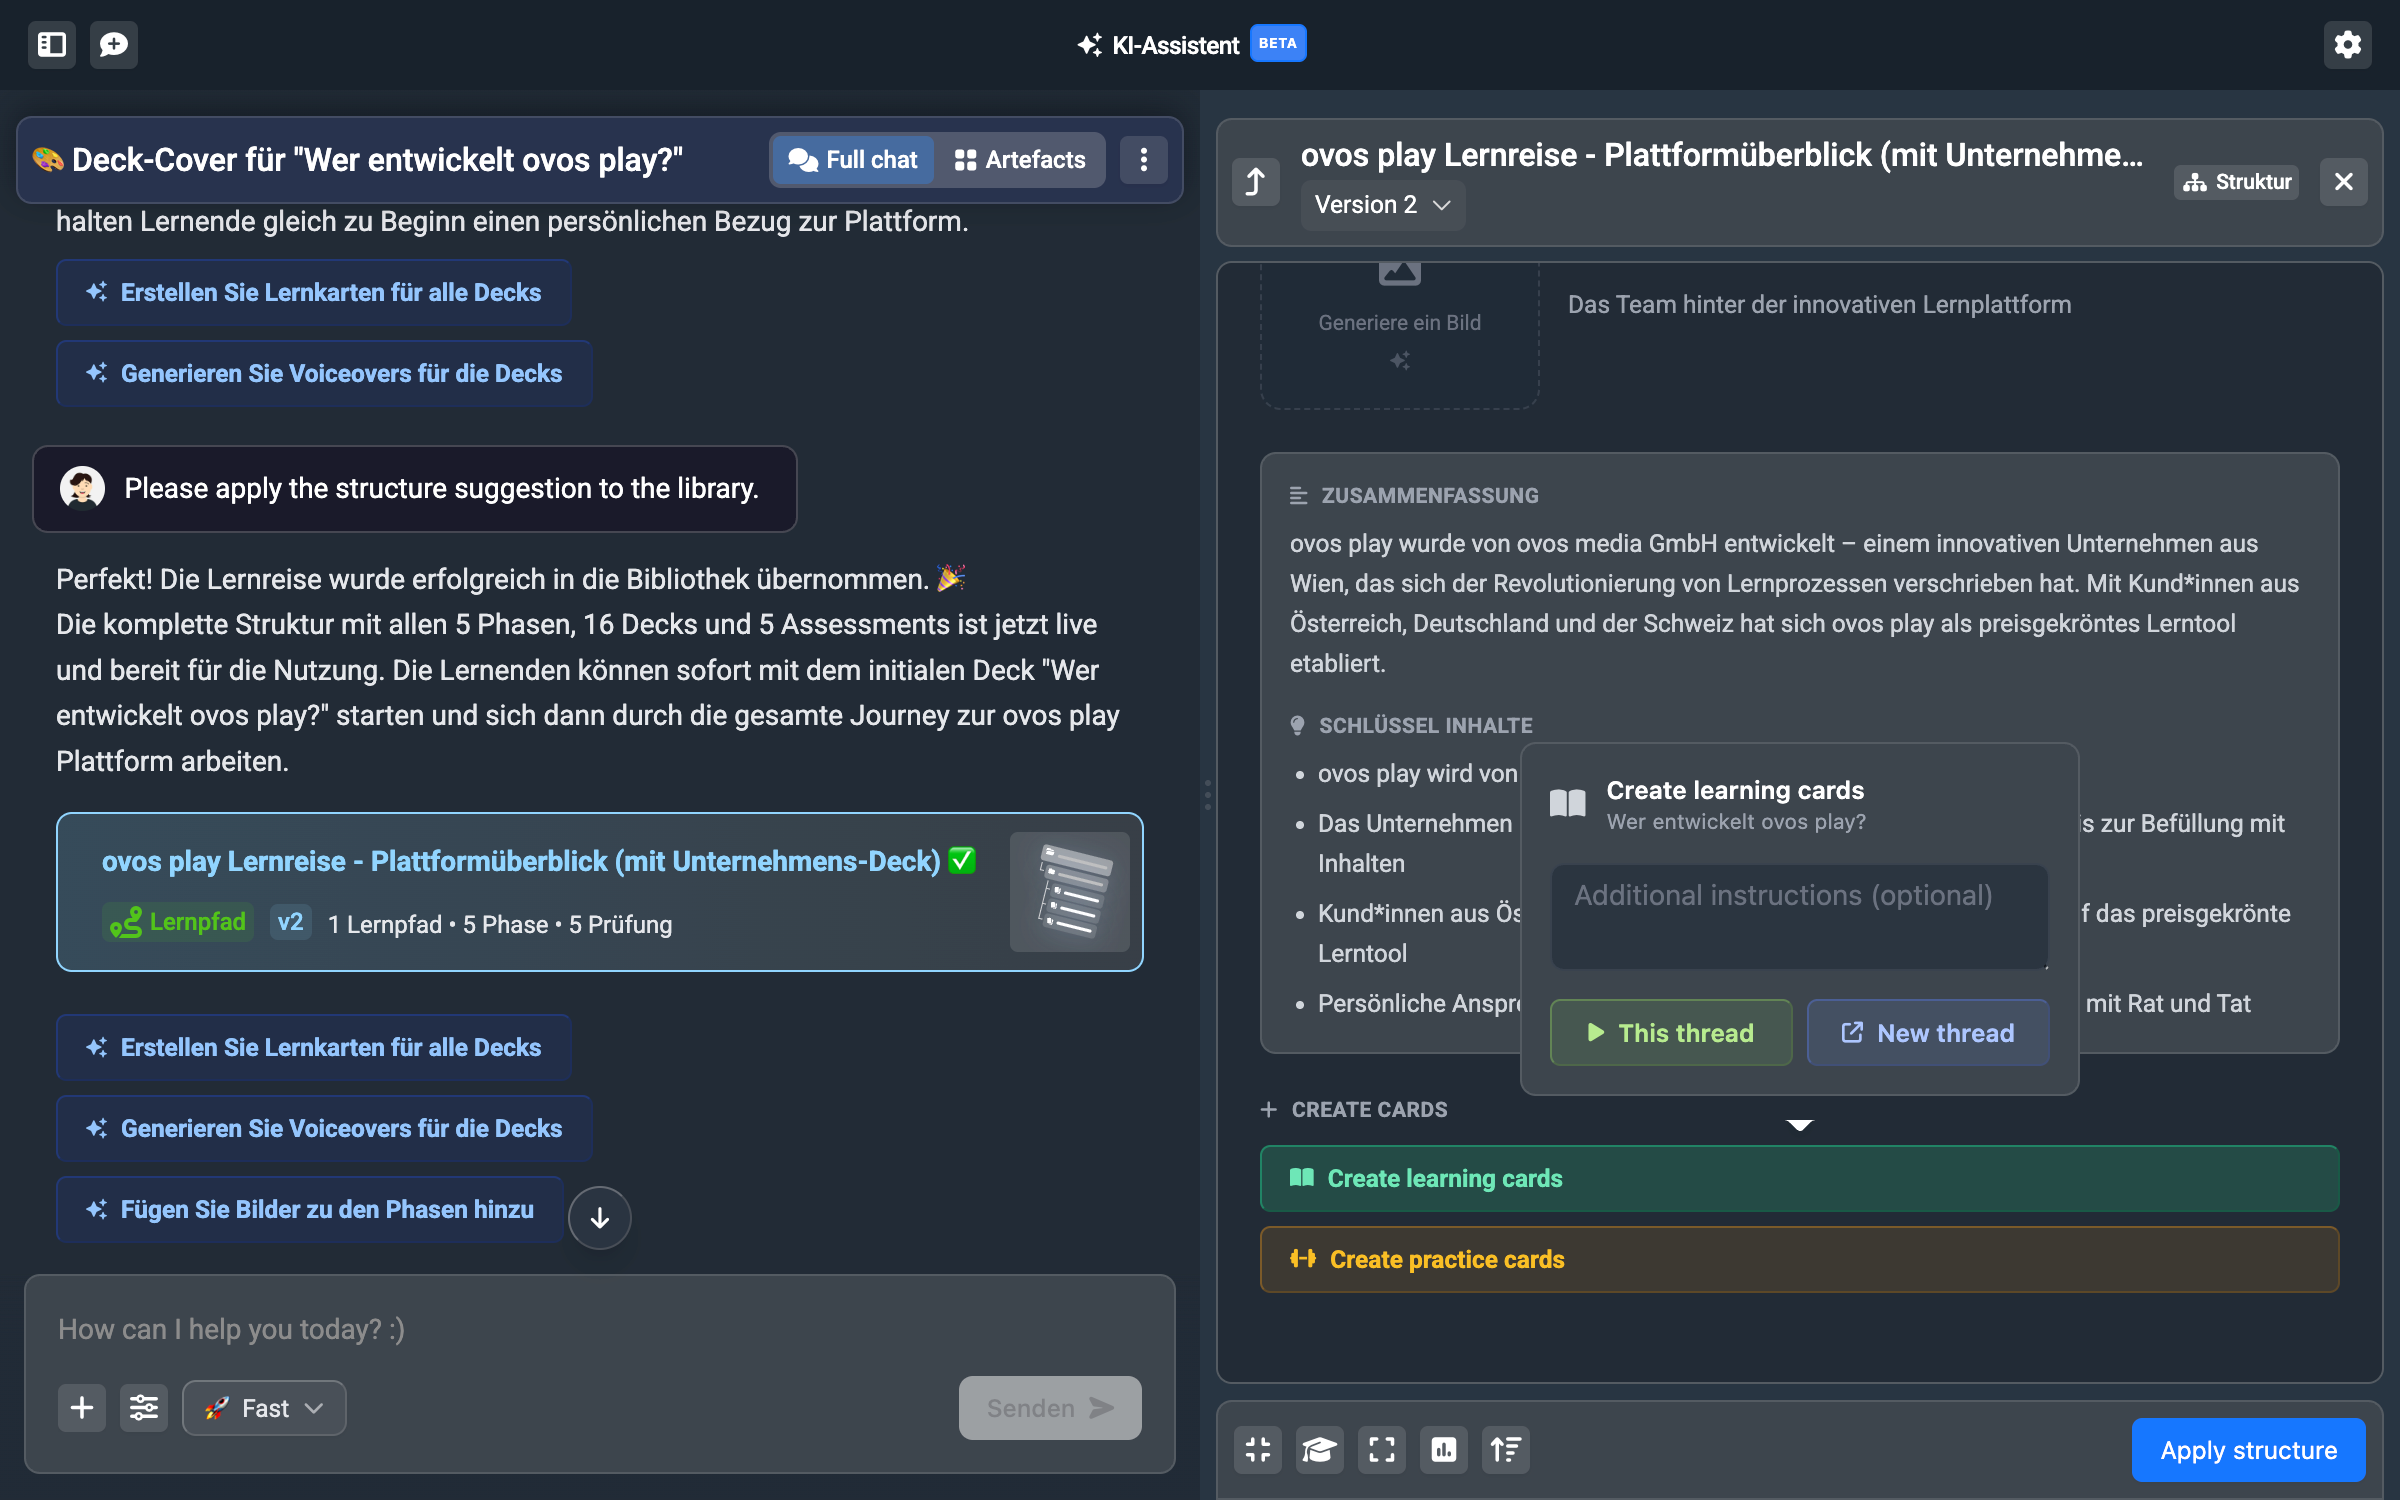
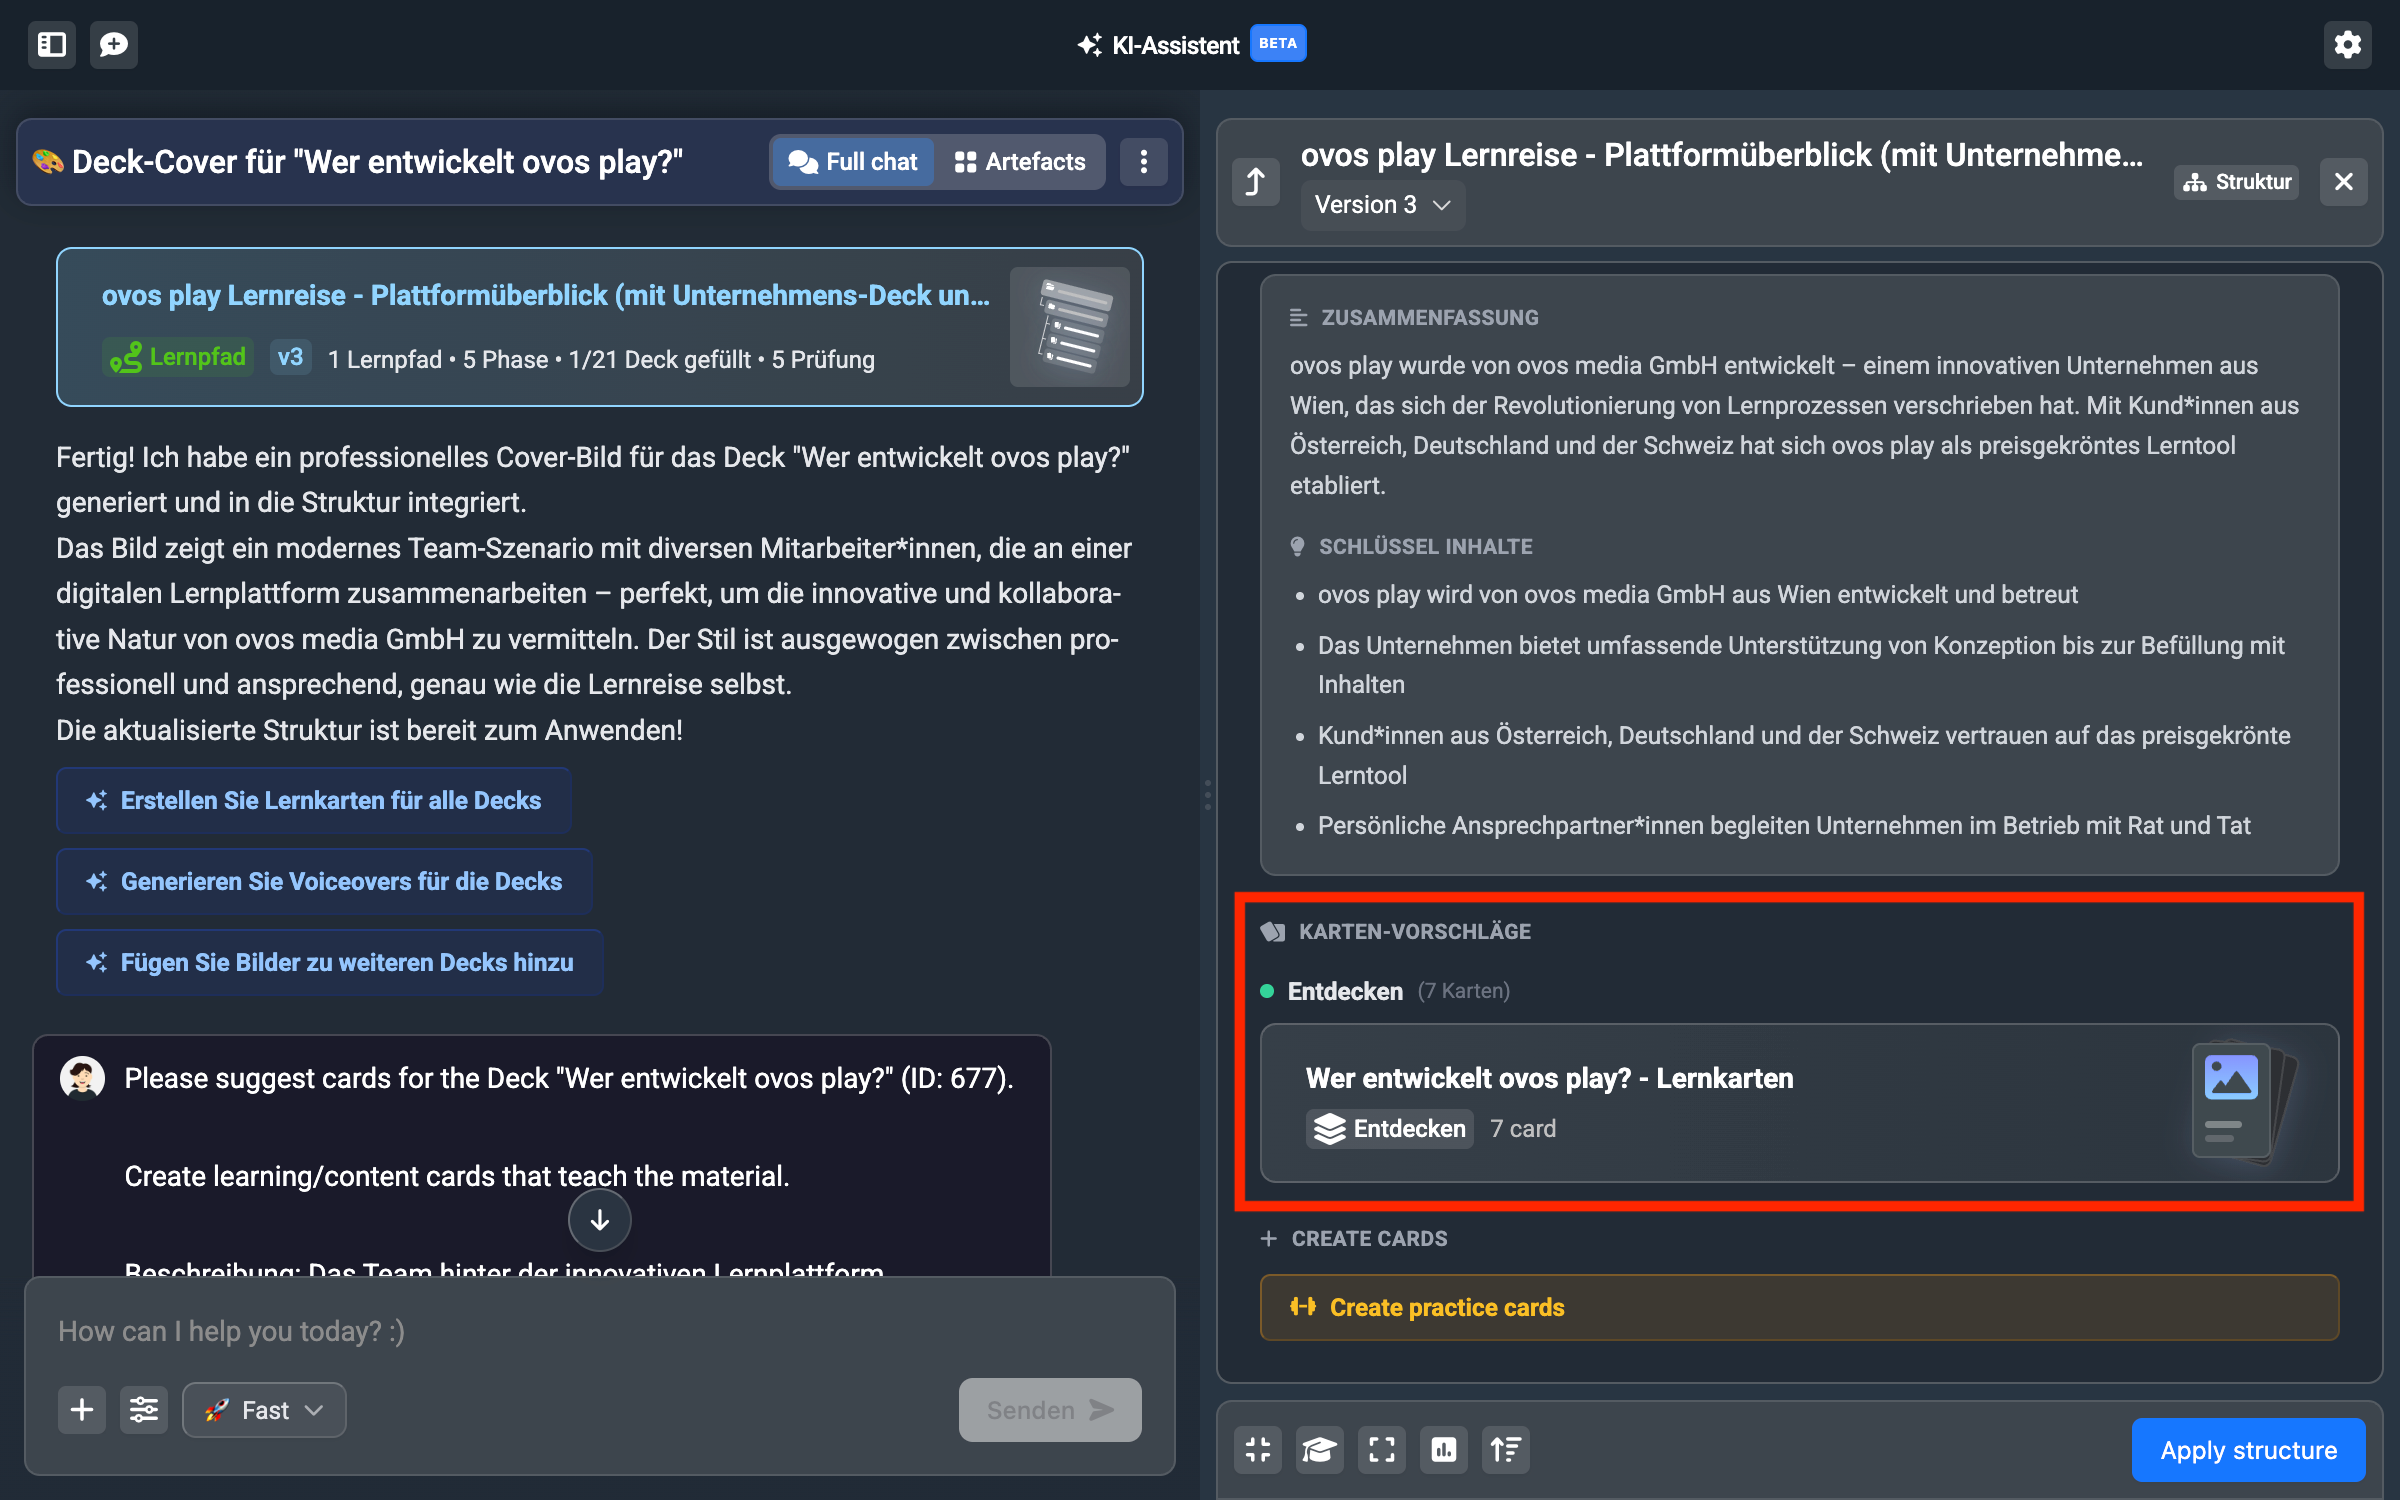
Below the summary you’ll find the options for creating flashcards. You can generate flashcards for the “Discover” section or create practice cards for the “Practice” section, or both.
First we’ll create flashcards. Click on “Create flashcards” and you can now decide whether you want to do this in the same conversation or jump into a new conversation. If you stay in the same conversation, you can give your own instructions right here.
How to create learning content with more information and edit it in the assistant is covered in the article Create learning nuggets.
If you also want to see how the learning content is linked to the suggested structure, then keep reading.
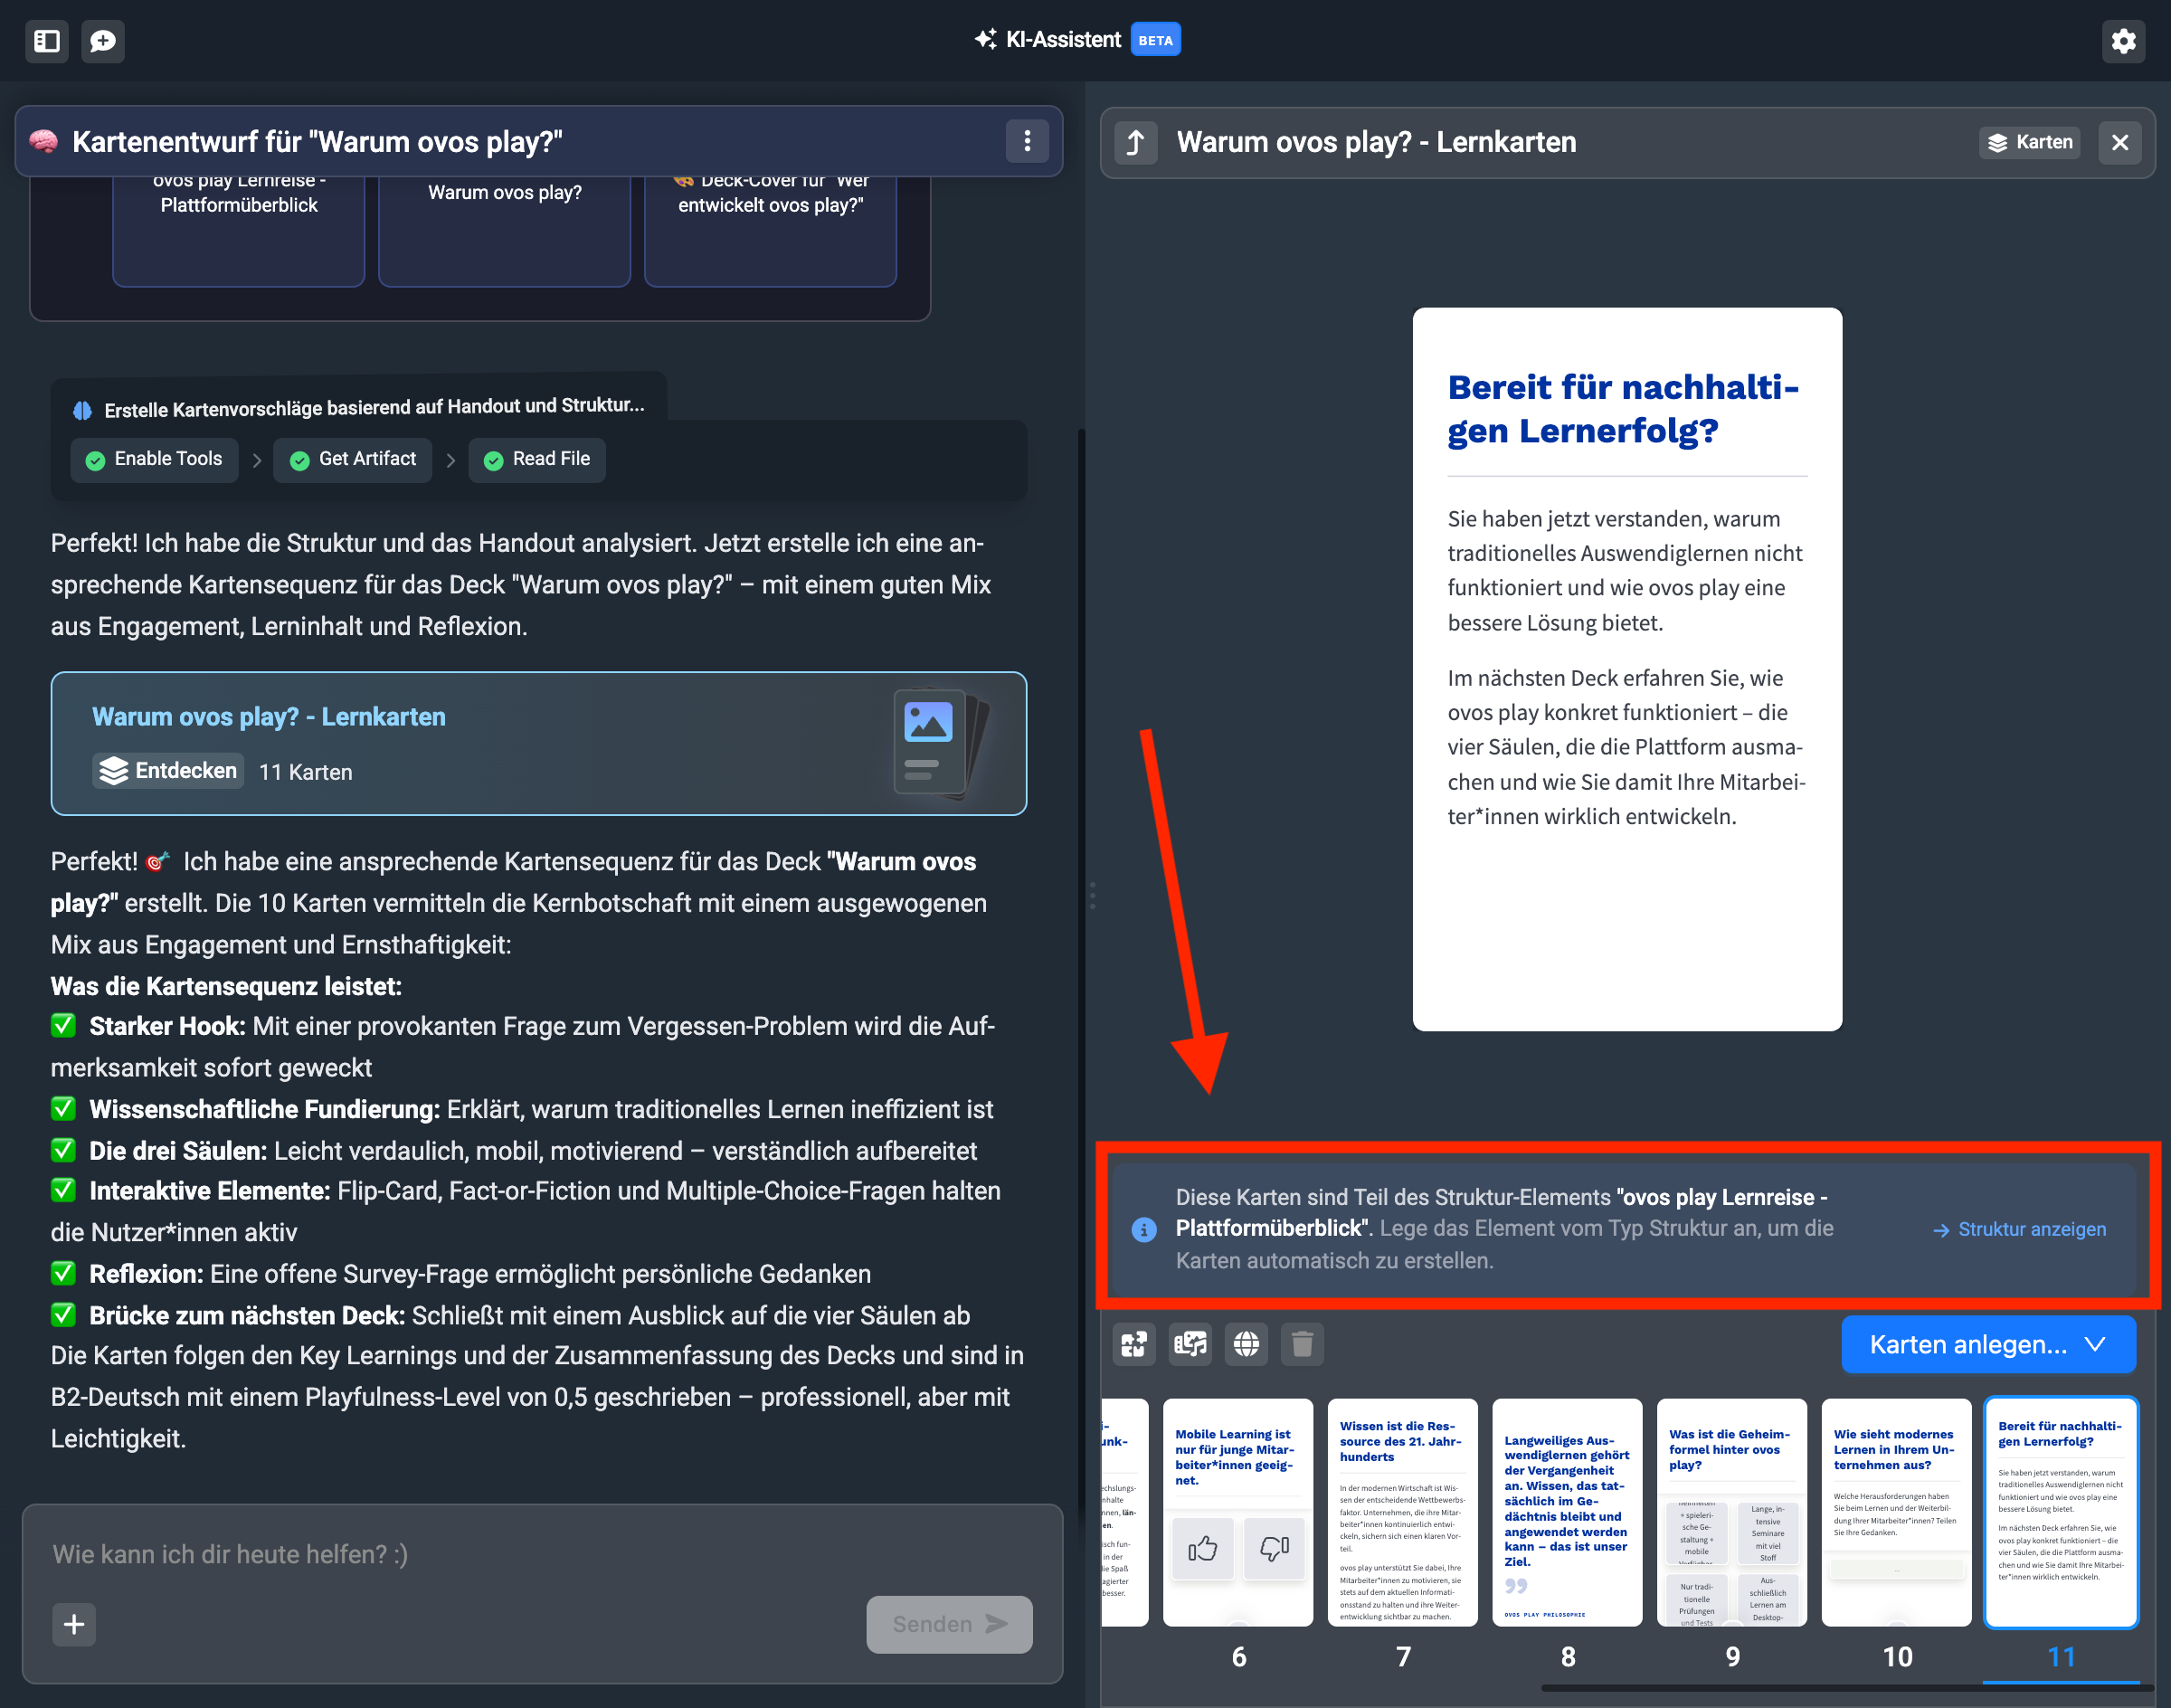
For the structure example, we’ll stay in the same thread. You’ll see that the AI assistant creates a card artifact for you. It automatically takes the content for the new deck from the source that was used for the structure. The assistant automatically detects which parts are relevant for this deck.
In the deck artifact, it shows you that the deck is linked to the suggested structure. Through this info, you can also get back to the structure.
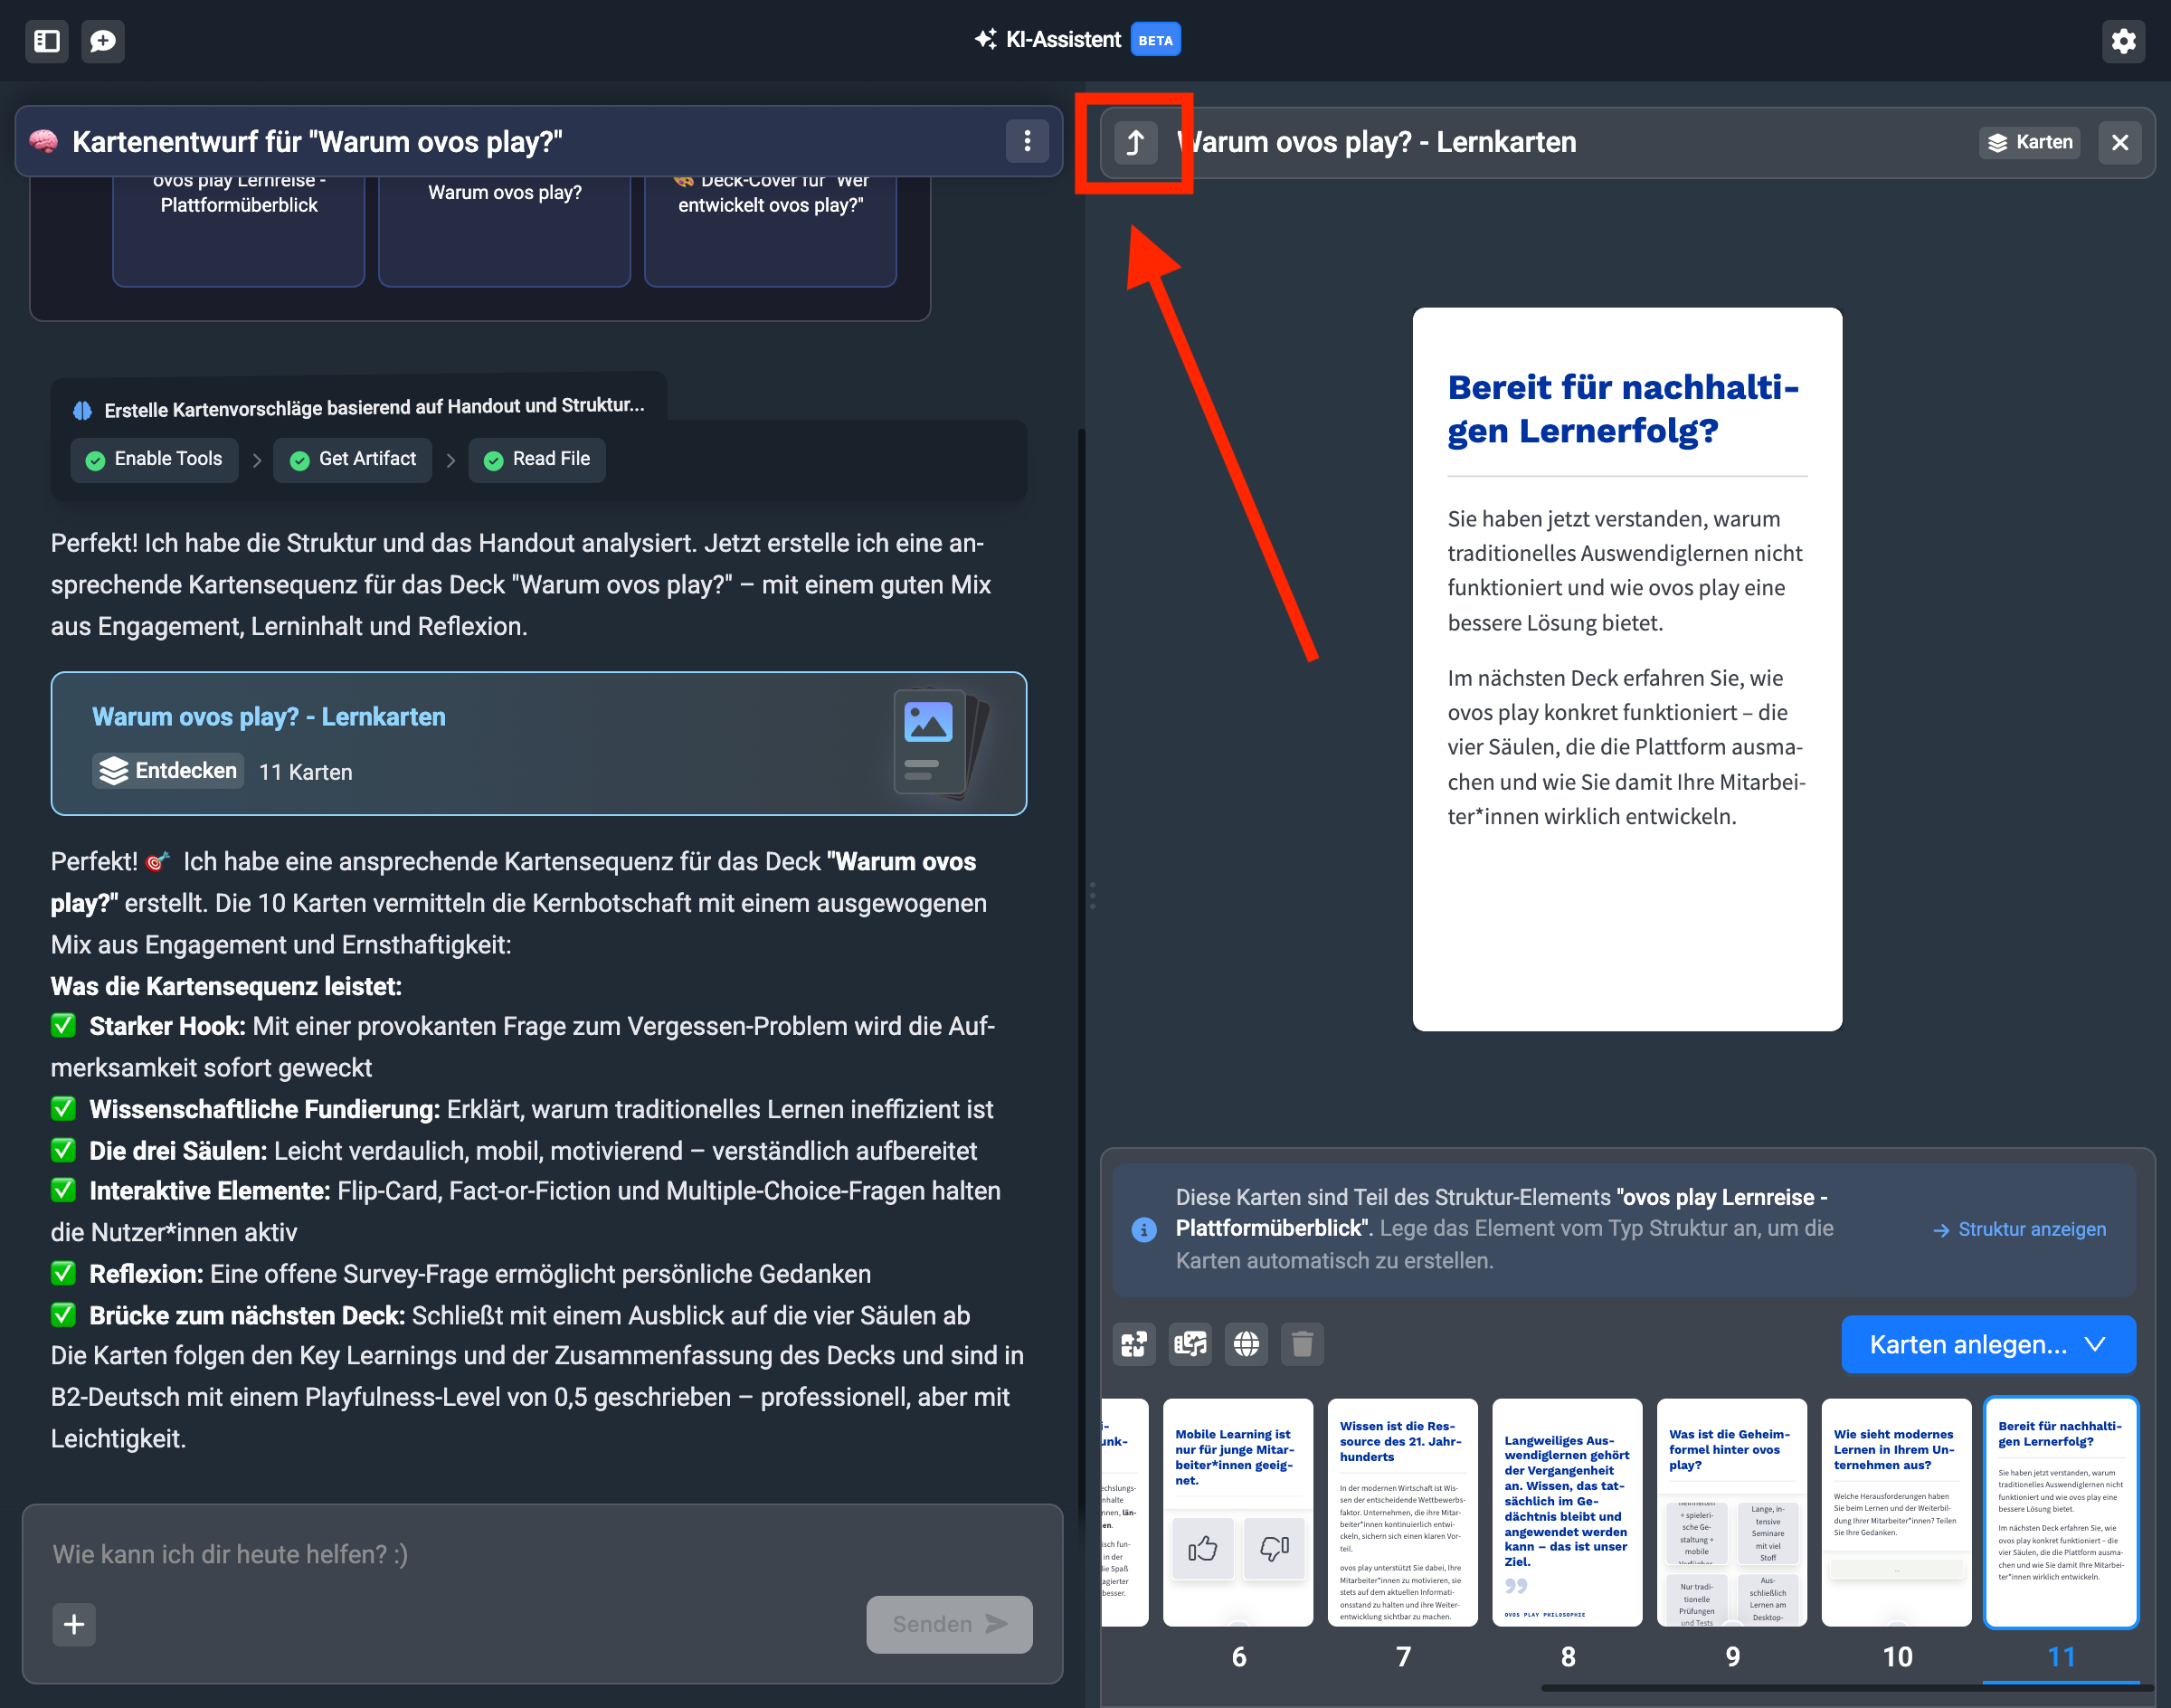
The back arrow at the top left next to the deck title also takes you back to the structure.
In your structure artifact, you can now see for the respective decks with content that flashcards have also been added.
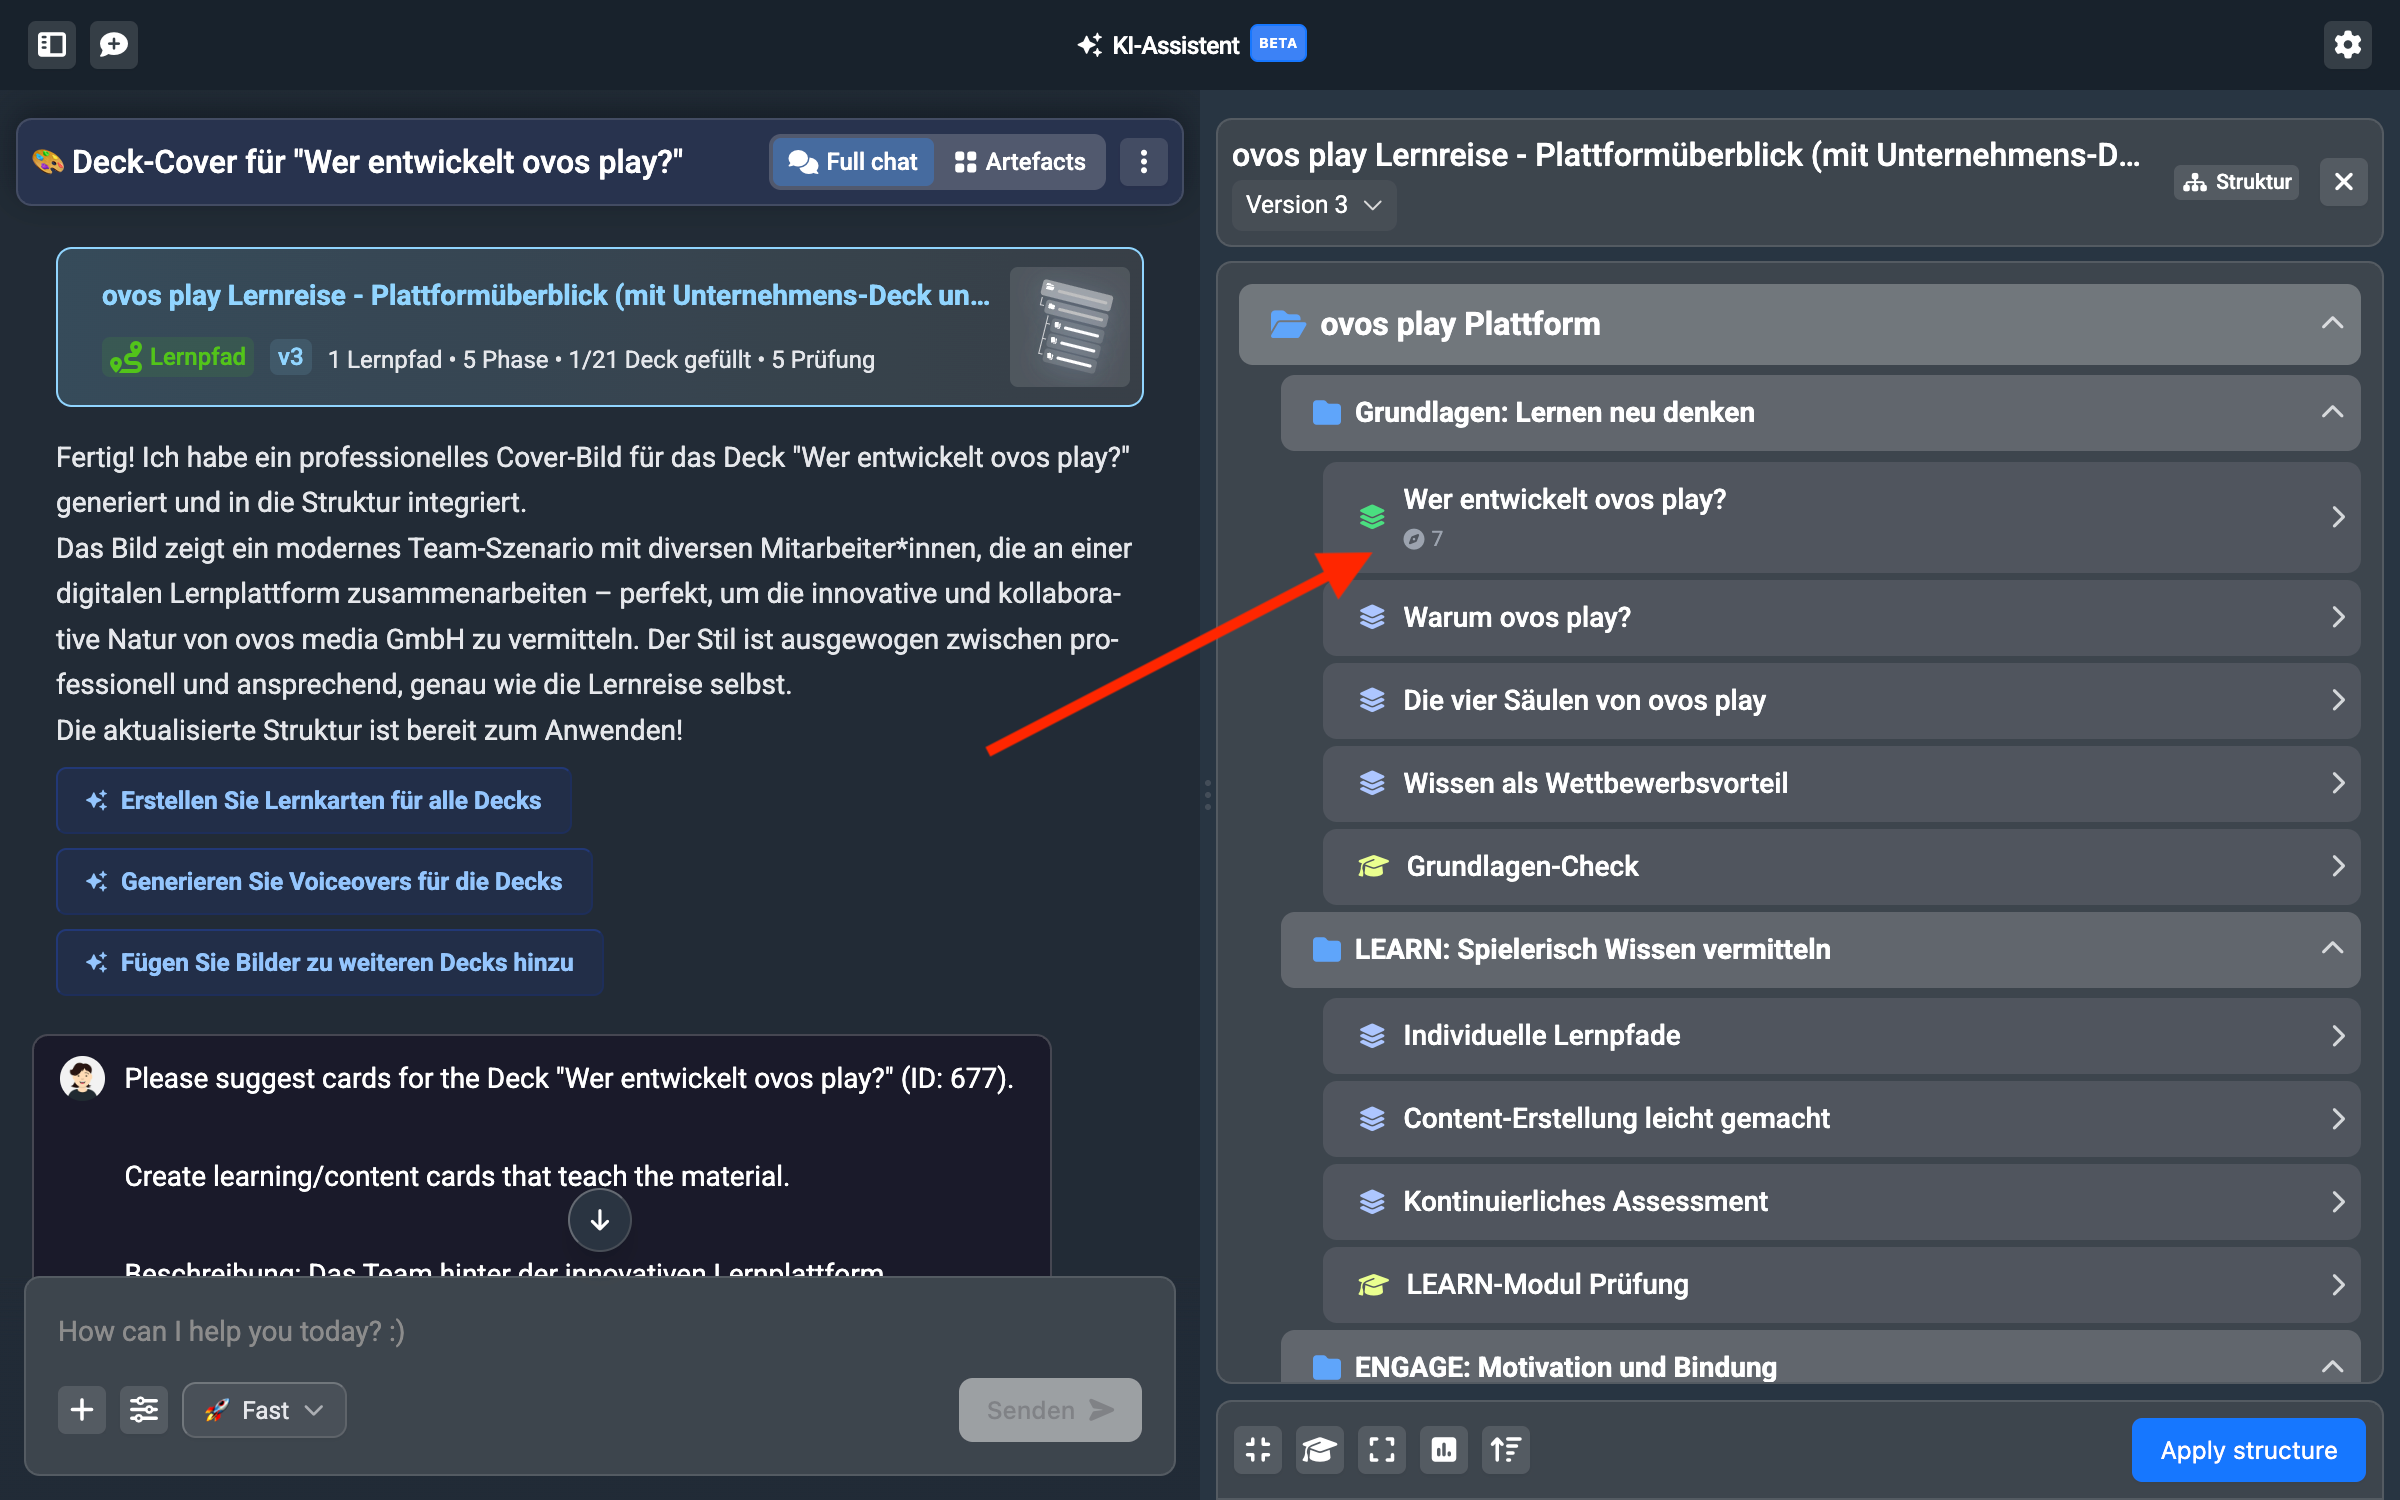
The number shows you how many cards are in the suggestion. If you click on the deck with content, you’ll also see the newly created deck artifact and can access it again from here and edit it.
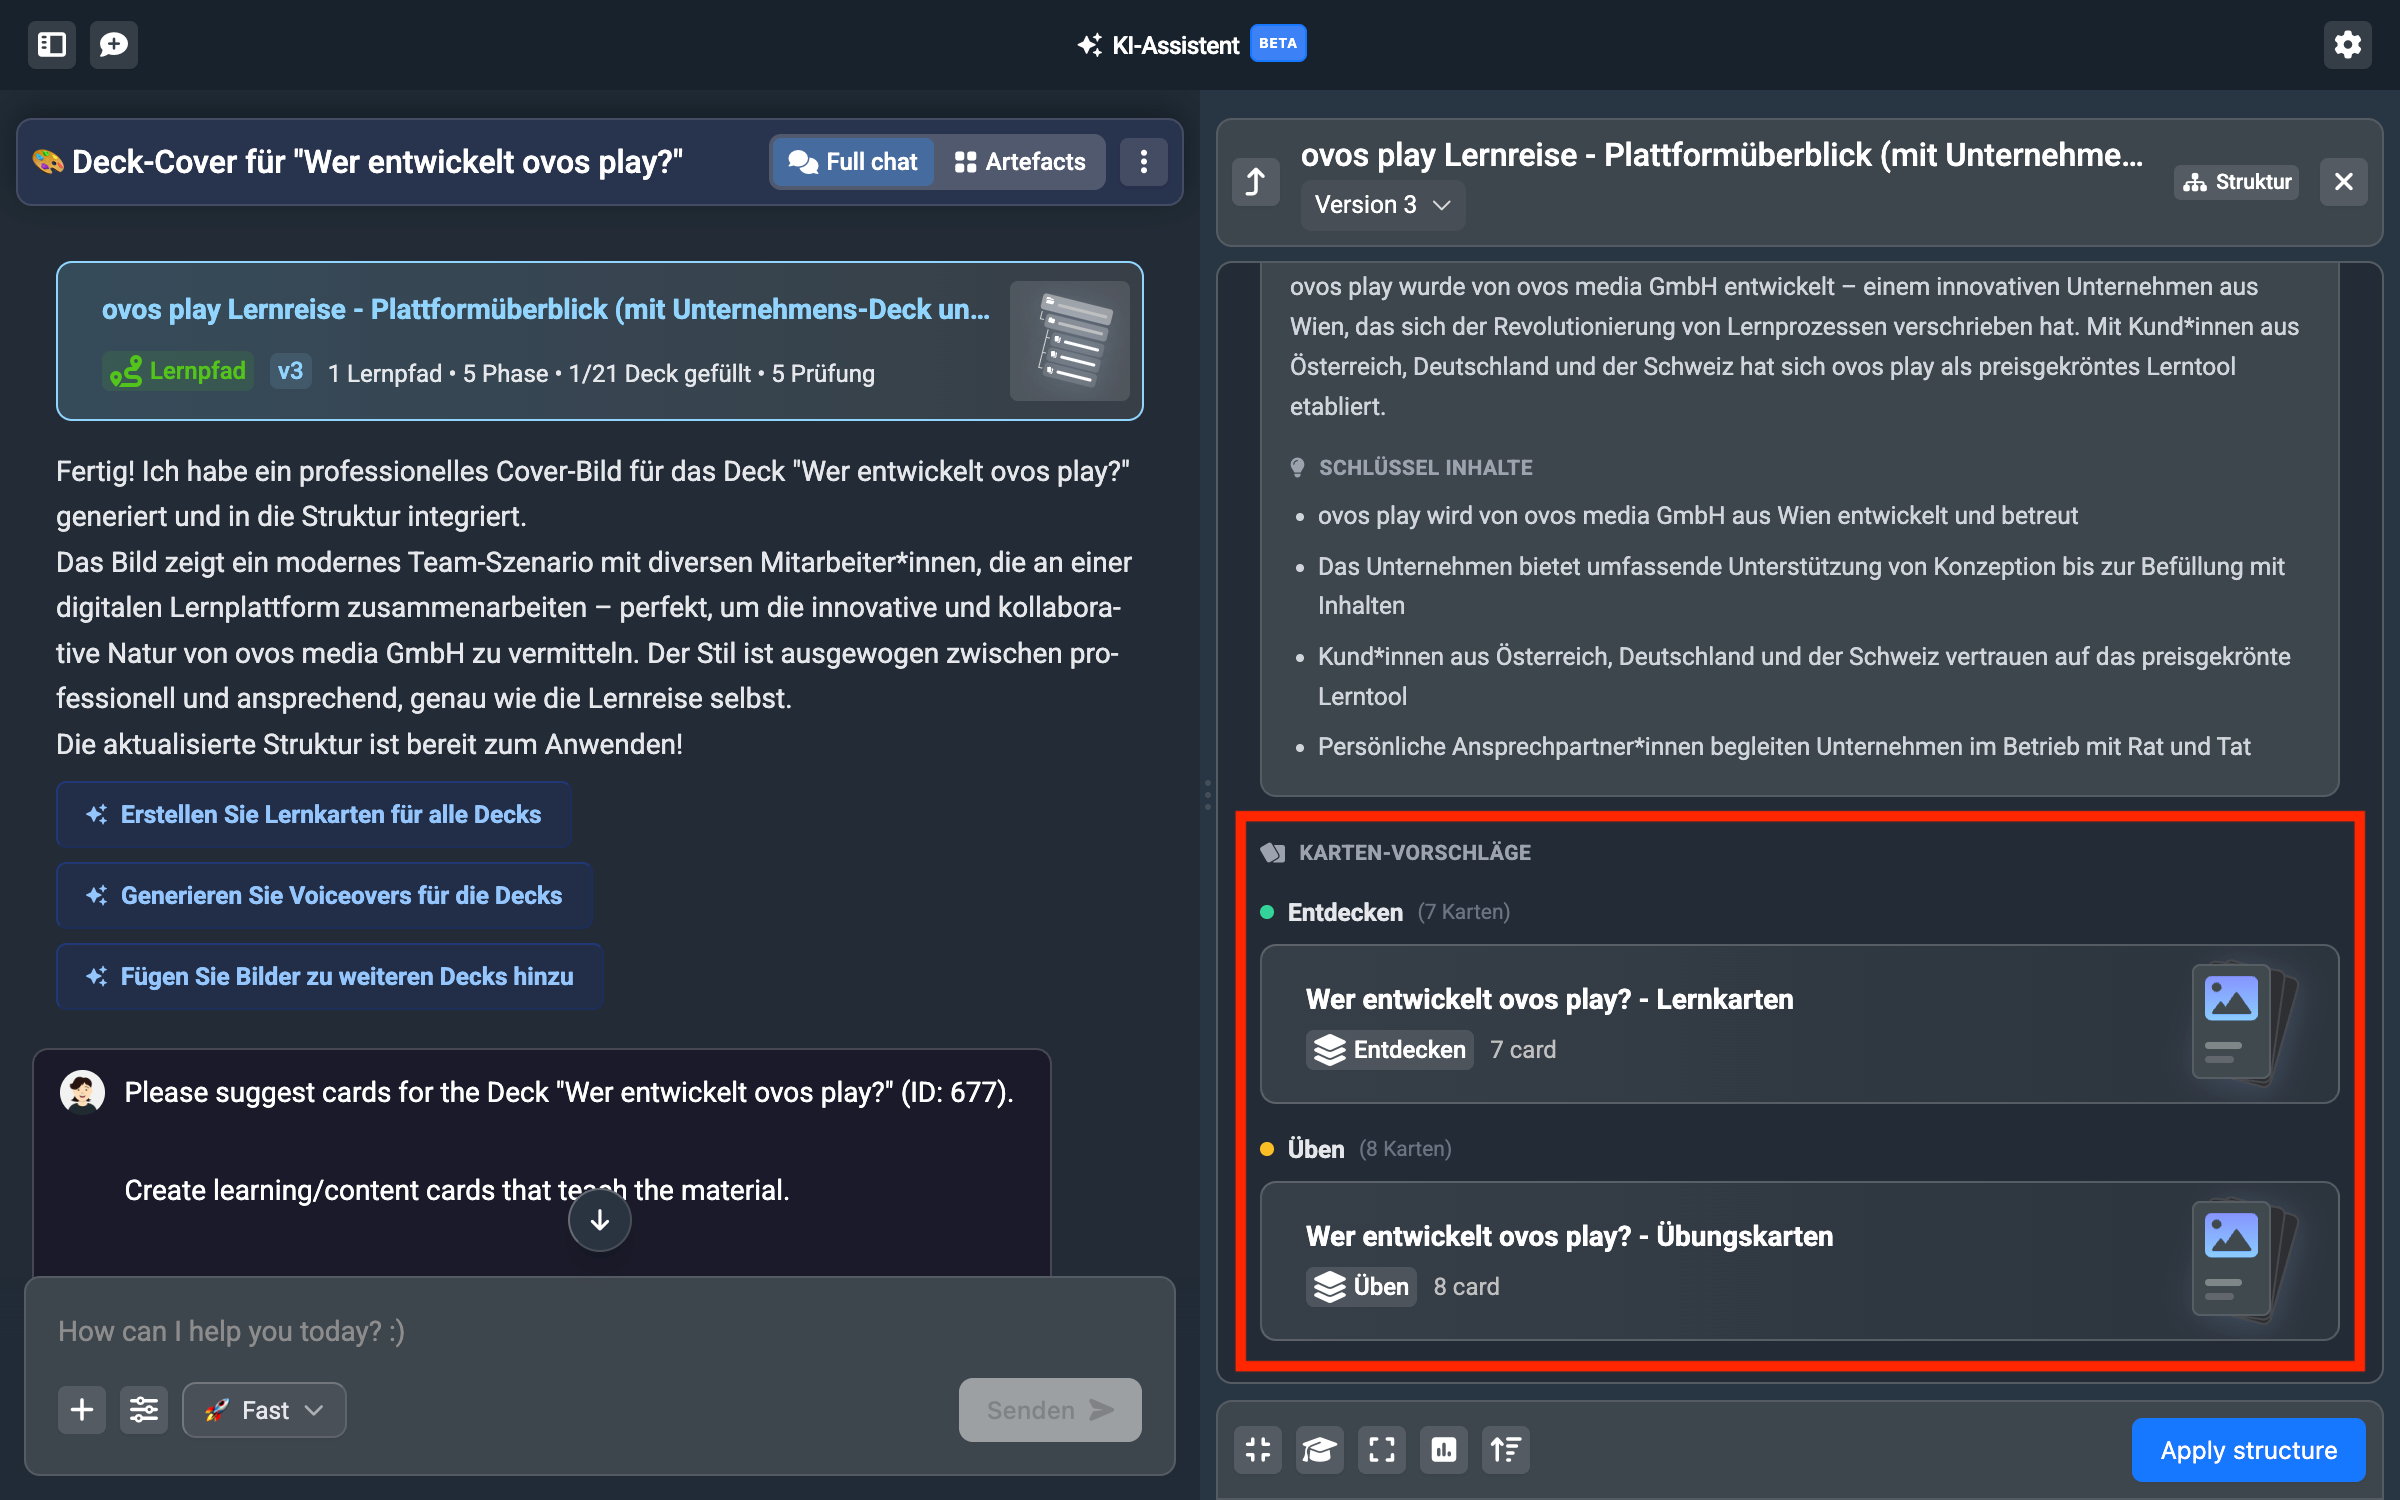
Now let’s add practice cards so the deck also has a “Practice” part. Here too, a separate artifact is created and it will continue to be linked in the structure.
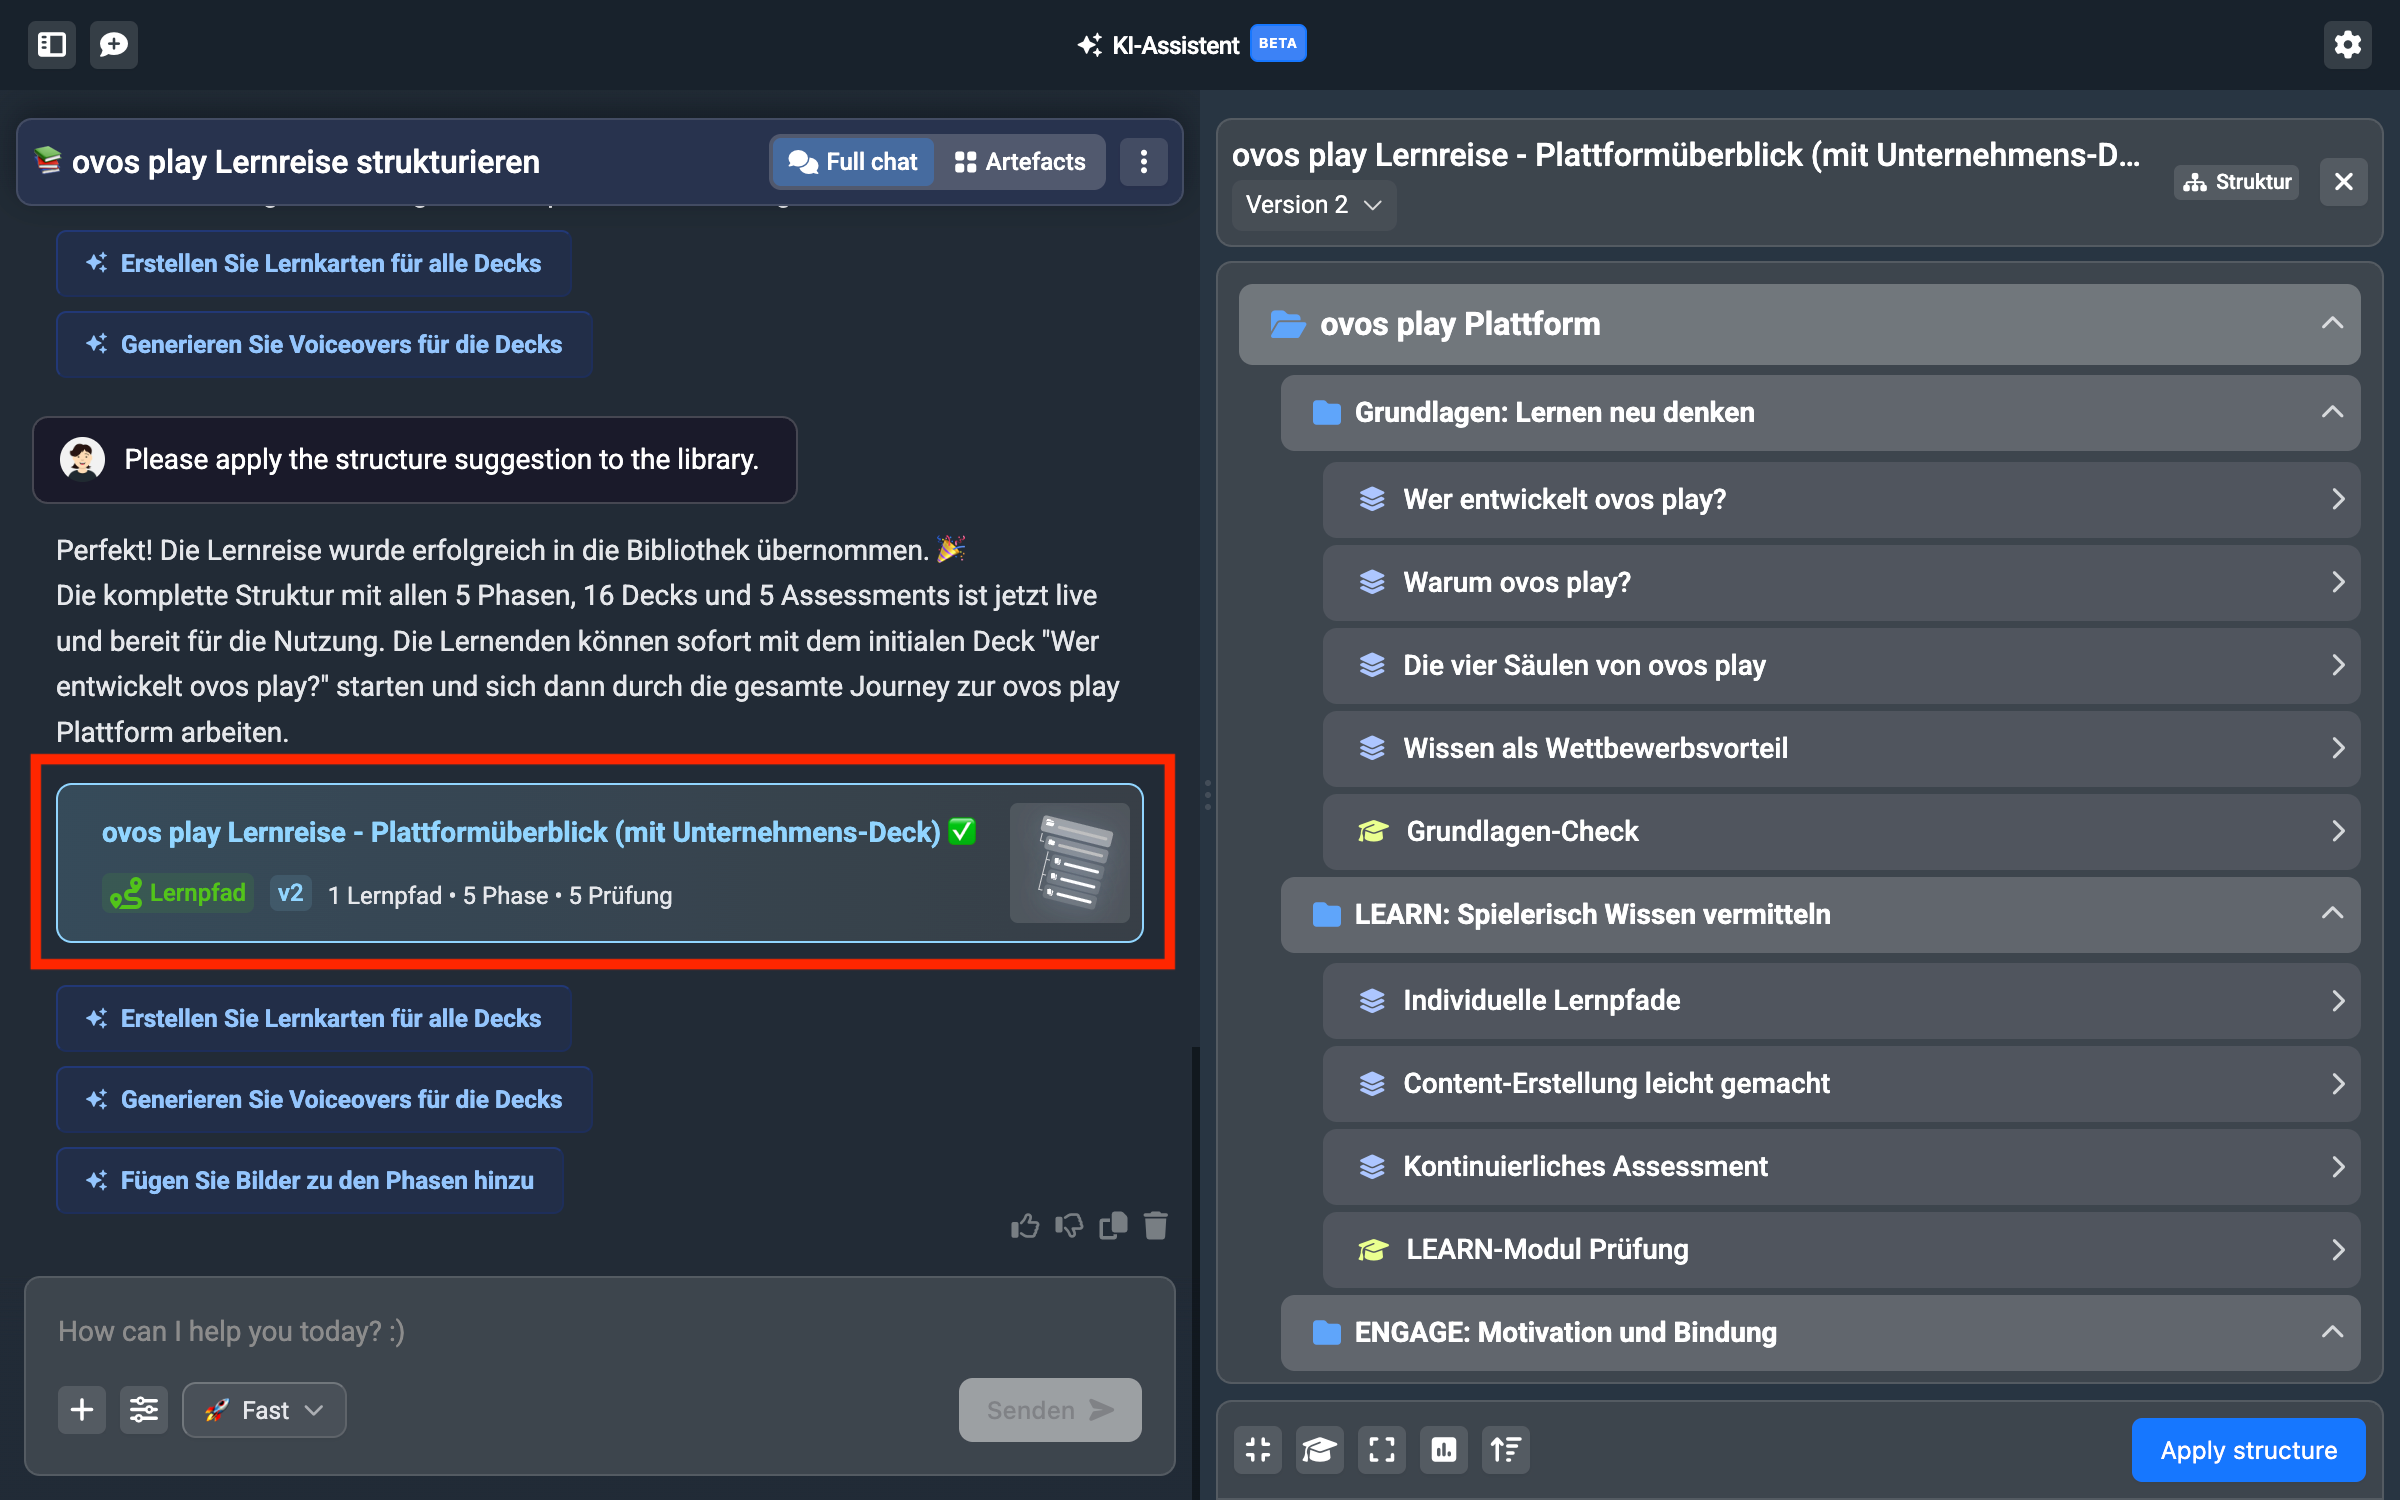
You can stay in the assistant suggestion view until you’ve filled the entire structure. Once you’re done with everything, you can add your content to the library with a single click.
If you’re happy with the result, click “Create structure”. The assistant sets up the entire structure and also creates the learning content for the respective decks.
The assistant automatically creates the library structure and adds it to the library. The artifact is now marked in green and is therefore finished.