ovos play Live is an optional module that allows you to hold an interactive event. If you are interested, please contact your ovos contact person.
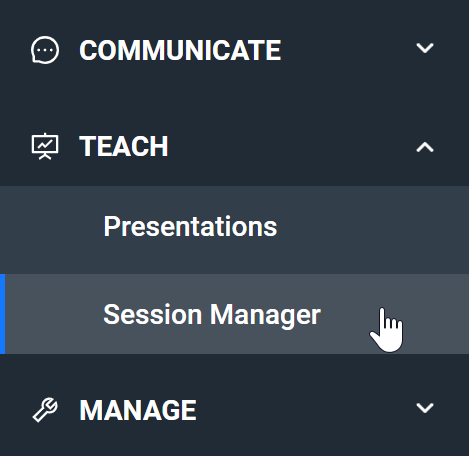
Click on the Train tab within the administration interface and select Session Manager.
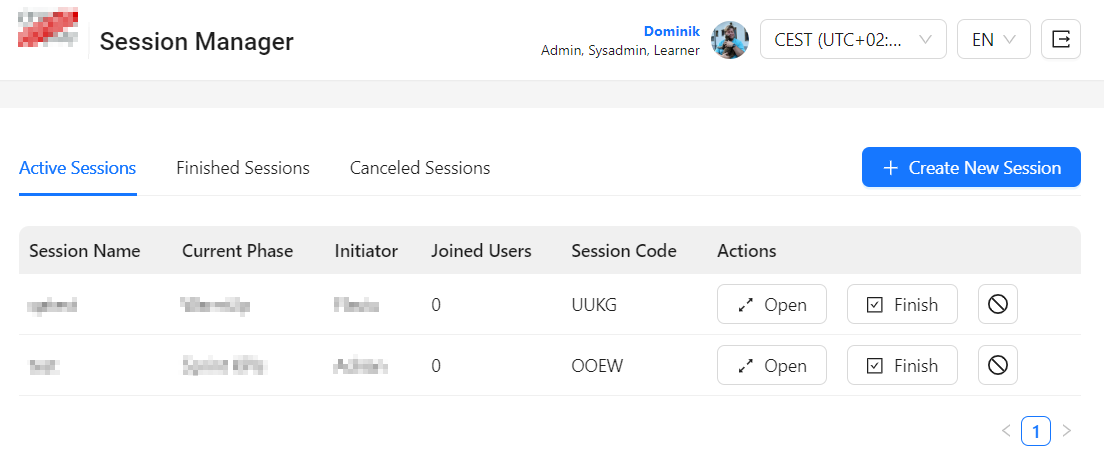
In the Session Manager you can see sessions that have already been created and those that are still running. Trainers can only see their own sessions, but admins can monitor all running sessions. To open a running session, click Open. You can also finish or cancel an open session. This can only be done by the session initiator.
To create a new session, select Create new session in the top right-hand corner. Enter a name for the session and select the desired presentation.
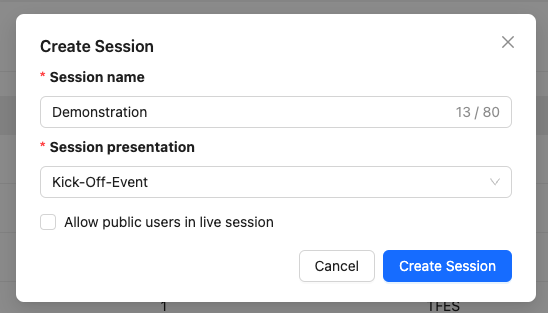
Note: To start a session, you must first create presentations for a live session. You can find out how to create presentations in the article How do I create presentations for a live session?
When you create a live session, you have the option of making the live session public. To do this, activate the Allow public access in session checkbox.
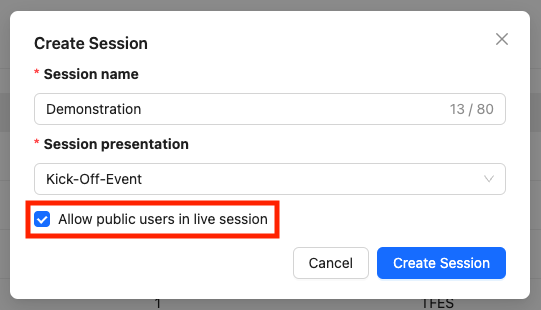
Public session: If the session is public, both users registered in the app and participants without the app can join. People who are not yet registered can join via QR code and participate interactively. If they want to continue using the app for sustainable learning after the session, they must register (via SSO).
Closed session: If the session is not open to the public, participants can only join via the app with a registered account. Participants must therefore first install the app and register (via SSO). This is ideal for internal presentations where you want to promote the visibility of the app.
After the creation you will get to the presentation manager. Here you will find the Open Projector Screen button to display the presentation. However, the control of the presentation remains in the Session Manager.
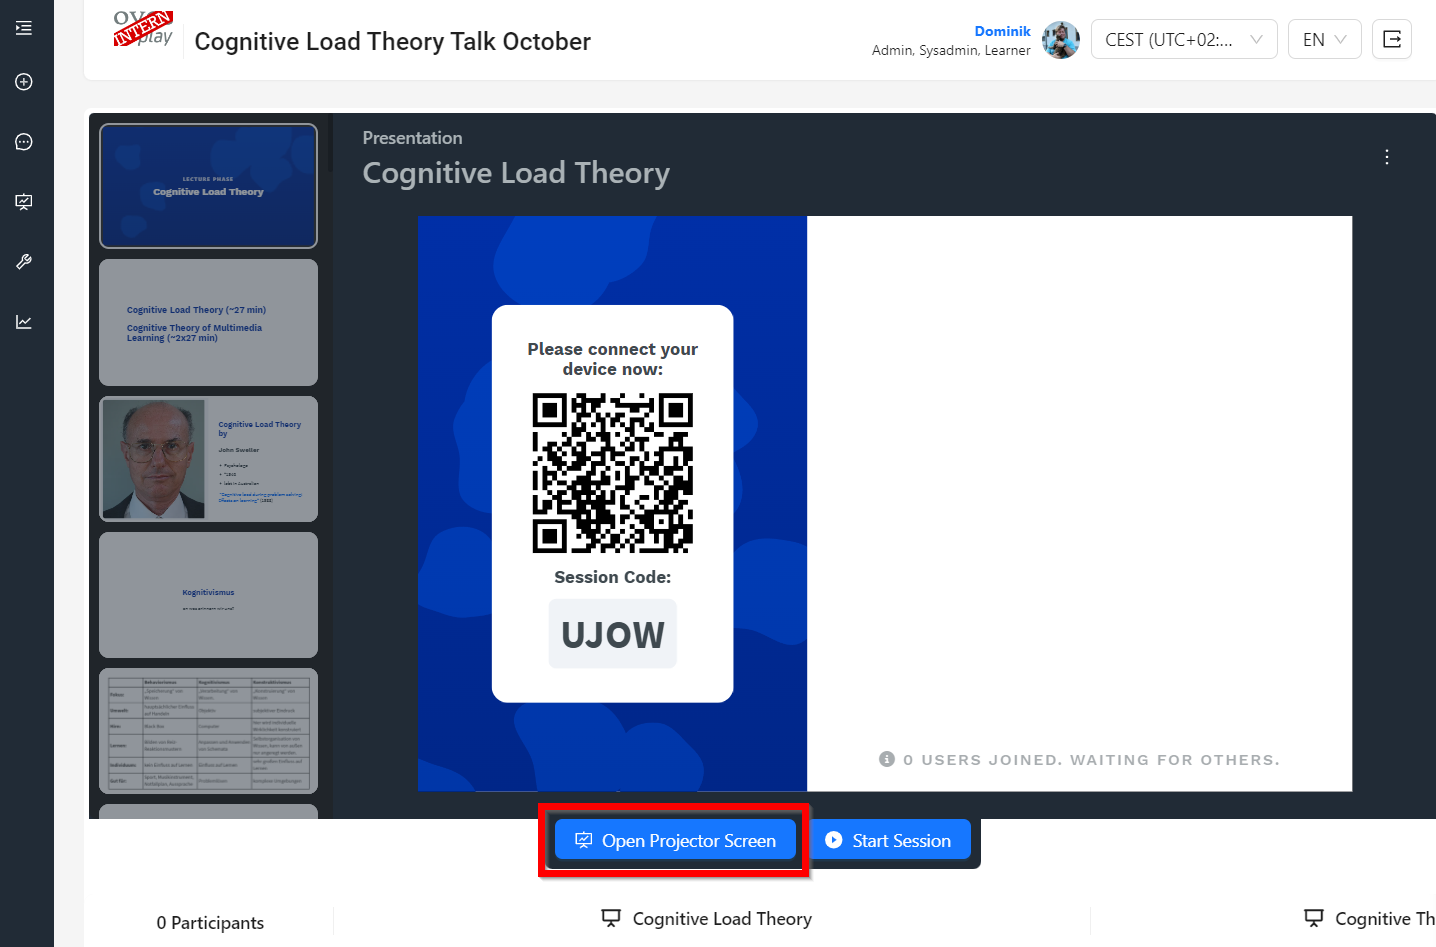
The presentation runs on the projector while you navigate between the maps in the presentation manager. The projector opens in its own window. You can either move this window onto the beamer or share it via Online Meeting Tools. How to share is also explained on the first page of the projector:
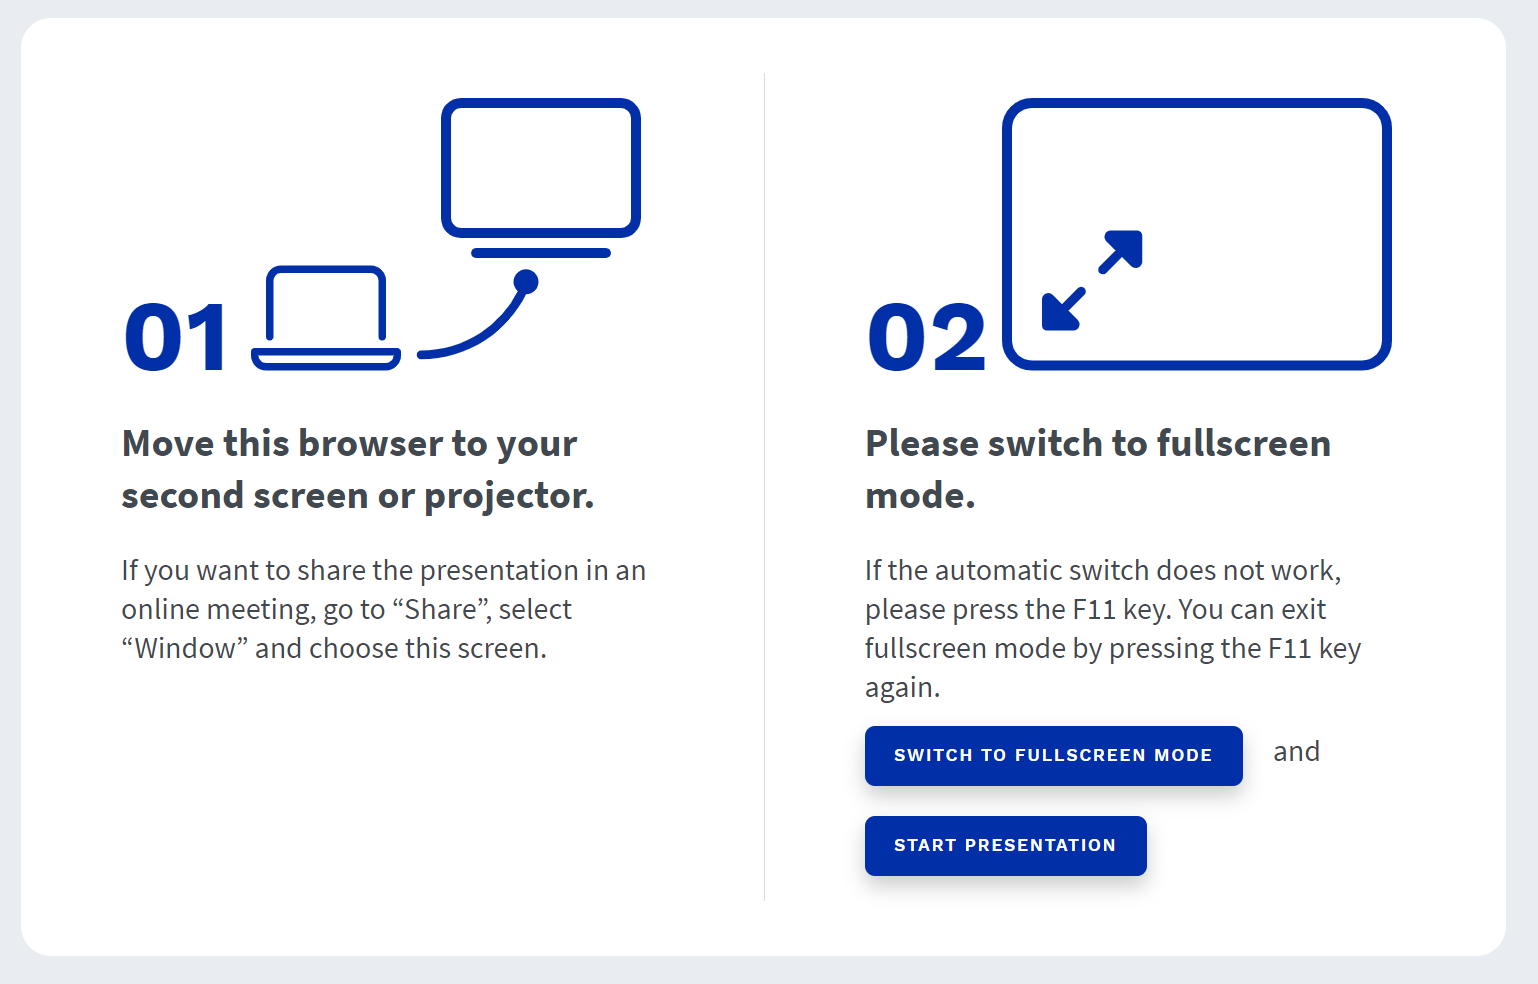
Tip: We recommend displaying the projector screen in full screen mode. To do this, click on the Show in full screen mode button that is displayed at the beginning of the projector screen.
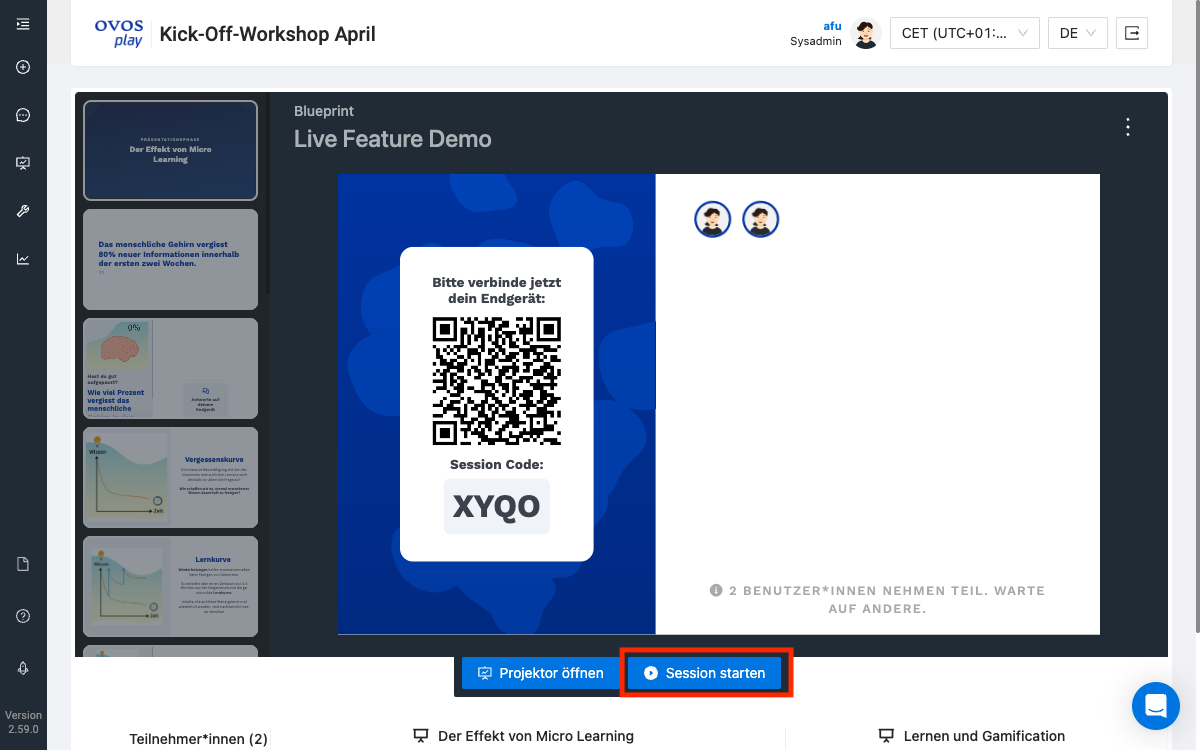
Click on Start Presentation to display the presentation on the projector screen. The projector will start by showing the lobby and the session code that needs to be entered to connect to the session.

Now wait until all participants have connected. When everyone is connected, you can start the session in the Presentation Manager to display the first card of the presentation.
Note: You can also start the session without participants to preview the presentation.
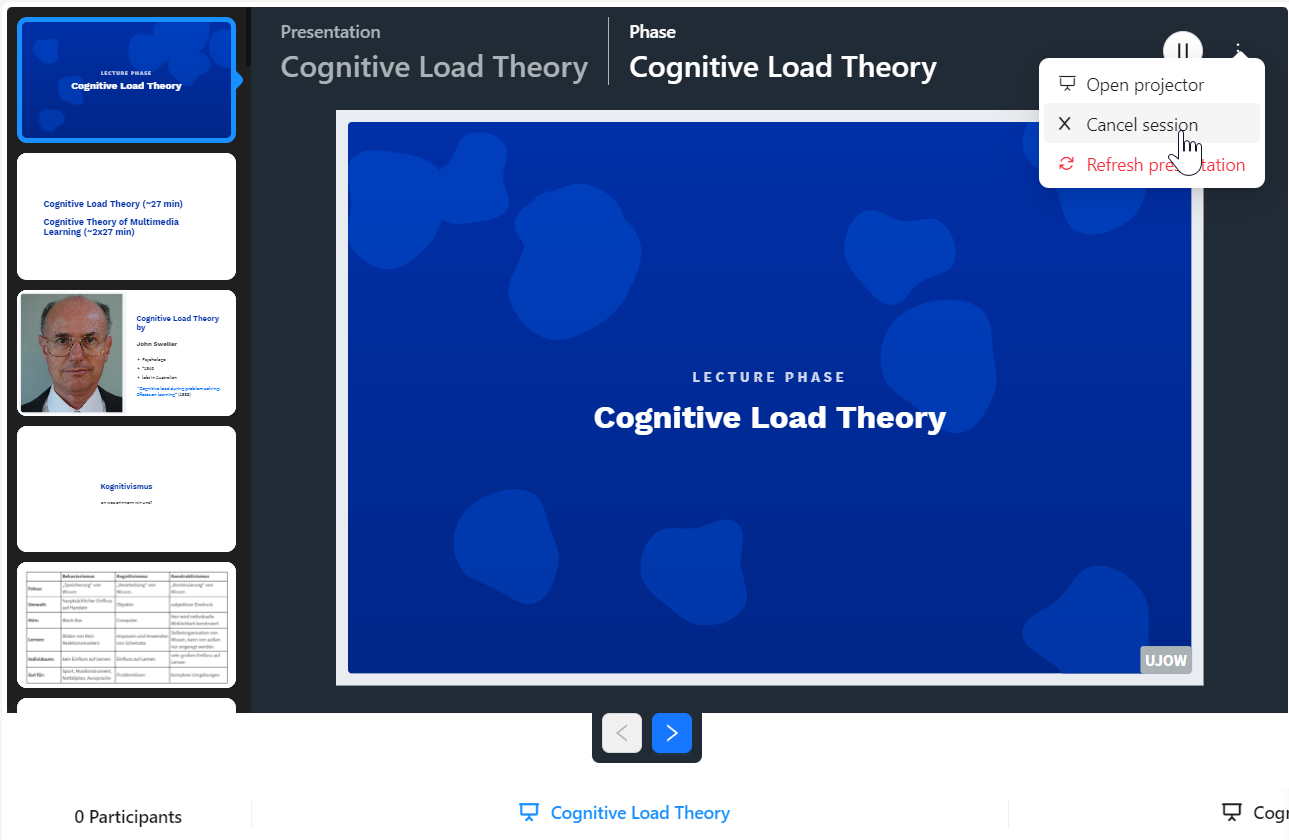
If you close the projector by mistake, you can open it again at any time via the context menu in the top right-hand corner.
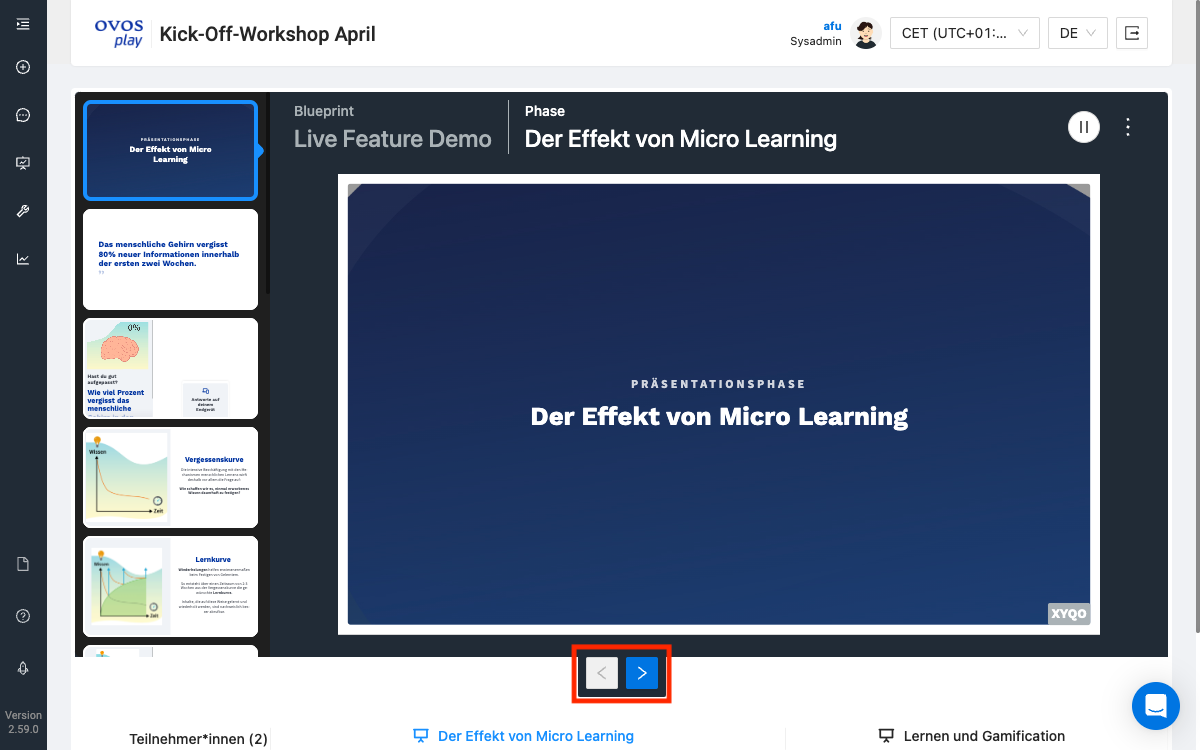
During the live session, navigate through the individual maps of the presentation using the arrow buttons or the arrow keys on the keyboard.
You can see the progress in the presentation in the presentation manager in the left bar of all cards, or under the preview in list form. Content cards are displayed as dots, interactive questions with the respective icons.
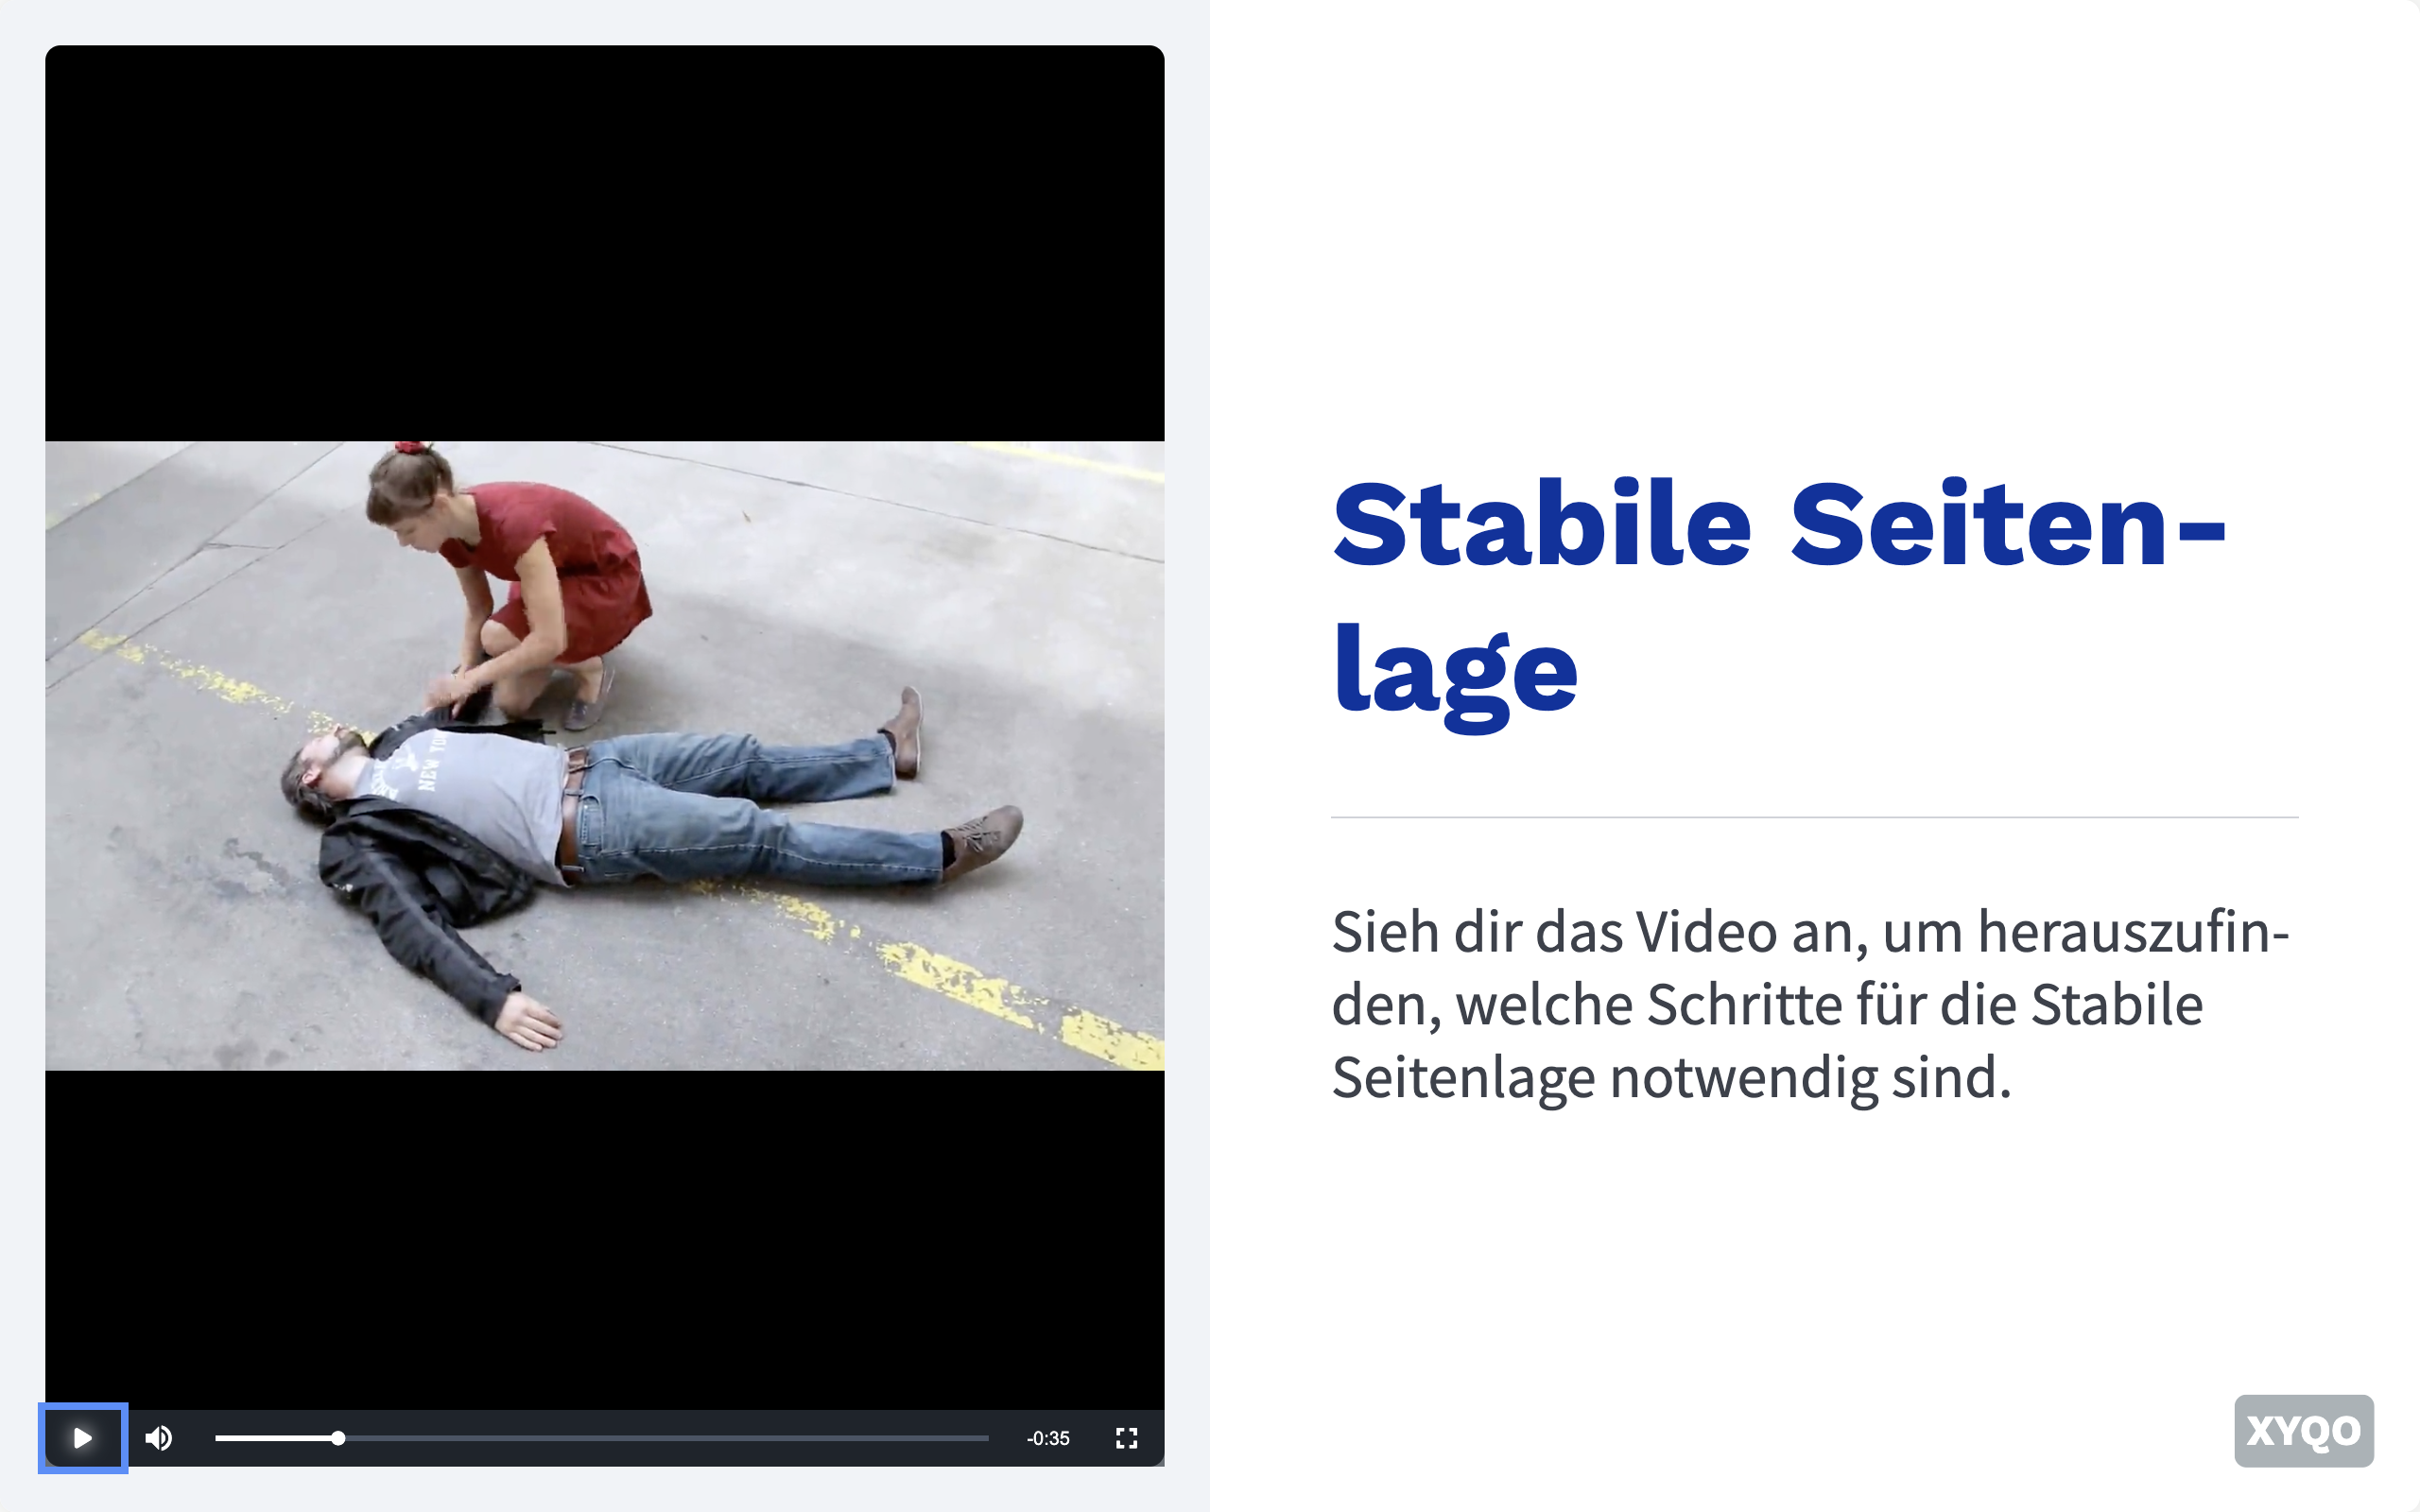
If you use videos or audio in the presentation, you can start and pause them in the Session Manager. To do this, click on the Video or Audio button.
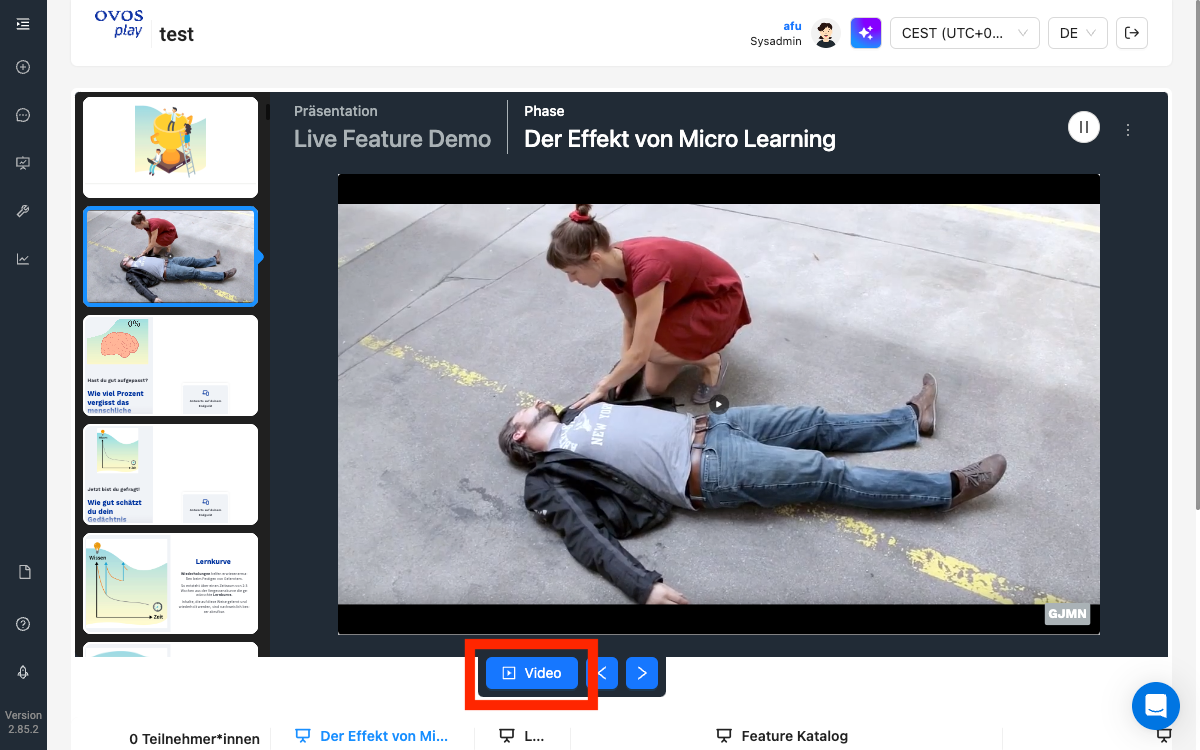
The video then starts in the projector window. You can also navigate into the projector window with the mouse to start or fast-forward the video there.
Hint: YouTube or Vimeo videos cannot be controlled by the Session Manager. To play these, navigate with the mouse in the projector window.
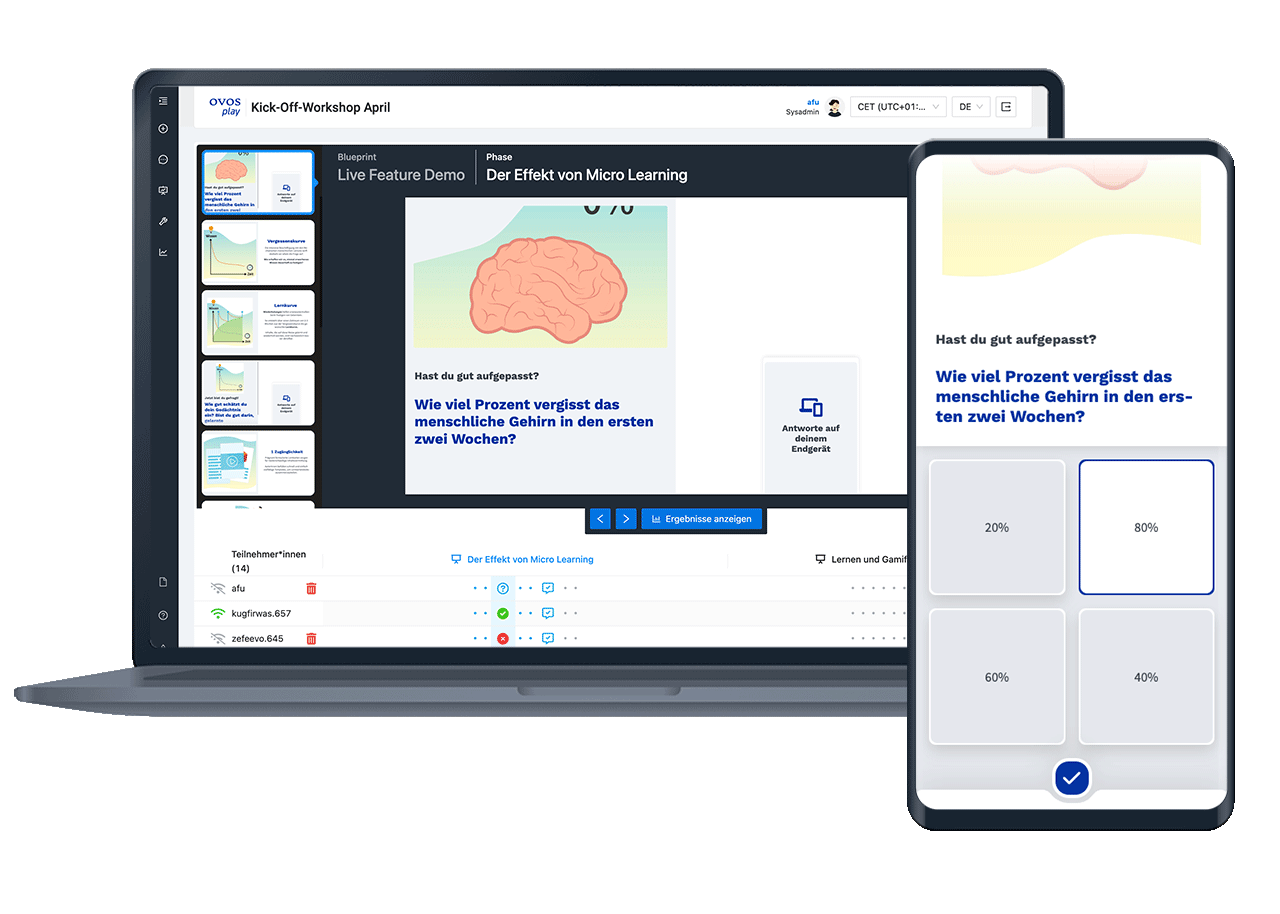
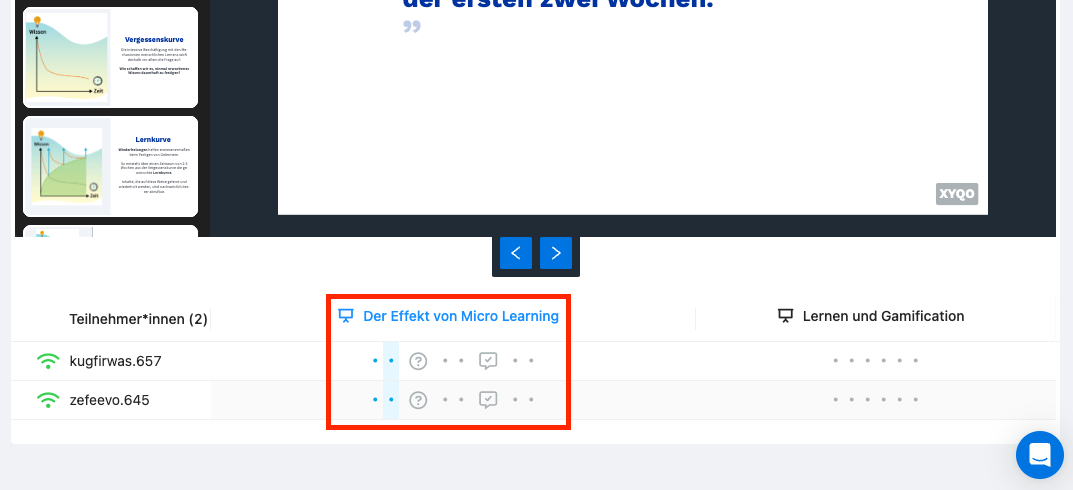
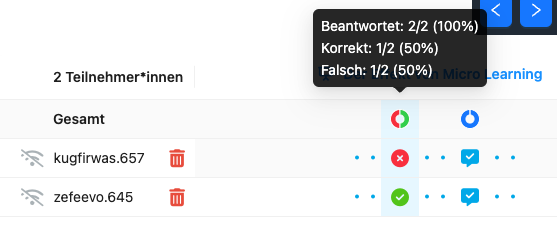
When you reach an interactive card like a task-card or a survey card, the participants can enter their answers on their own. You can see in the table below which participants have already given an answer and whether it was correct or incorrect, if it is a question card. For survey cards, you only see which participants have answered.
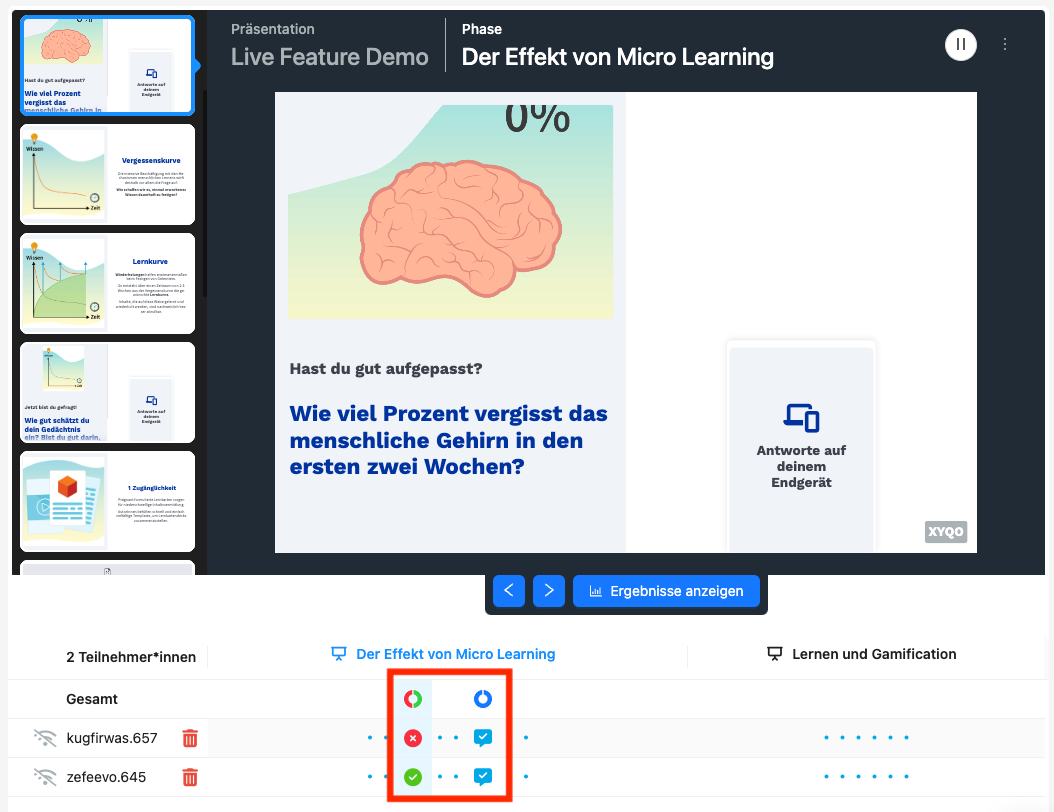
In addition, you can see the response and distribution across all participants in the row Total. Move the mouse over the graph for the overall distribution to see the numerical evaluation.
Once everyone has answered, you can decide whether you want to display the results or not. If yes, click on the button Show results.
Results can also be hidden again after they have been displayed. If you want to skip the results, simply navigate to the next card.
At the end of the presentation, you can end the presentation. The results of the presentation are then saved.
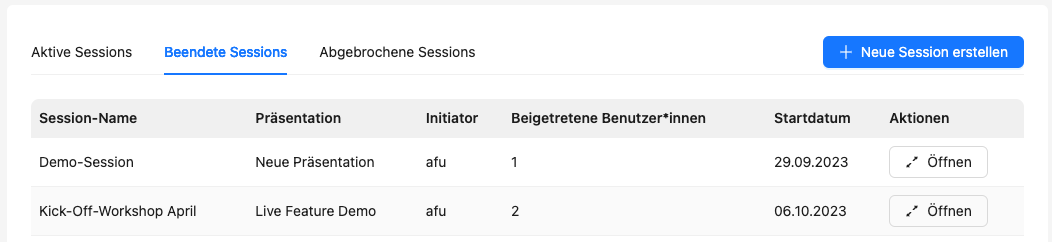
You return to the Session Manager in the Finished Sessions tab. Here you can see the session you have just finished and all previous sessions. Finished sessions can be reopened to view the results.
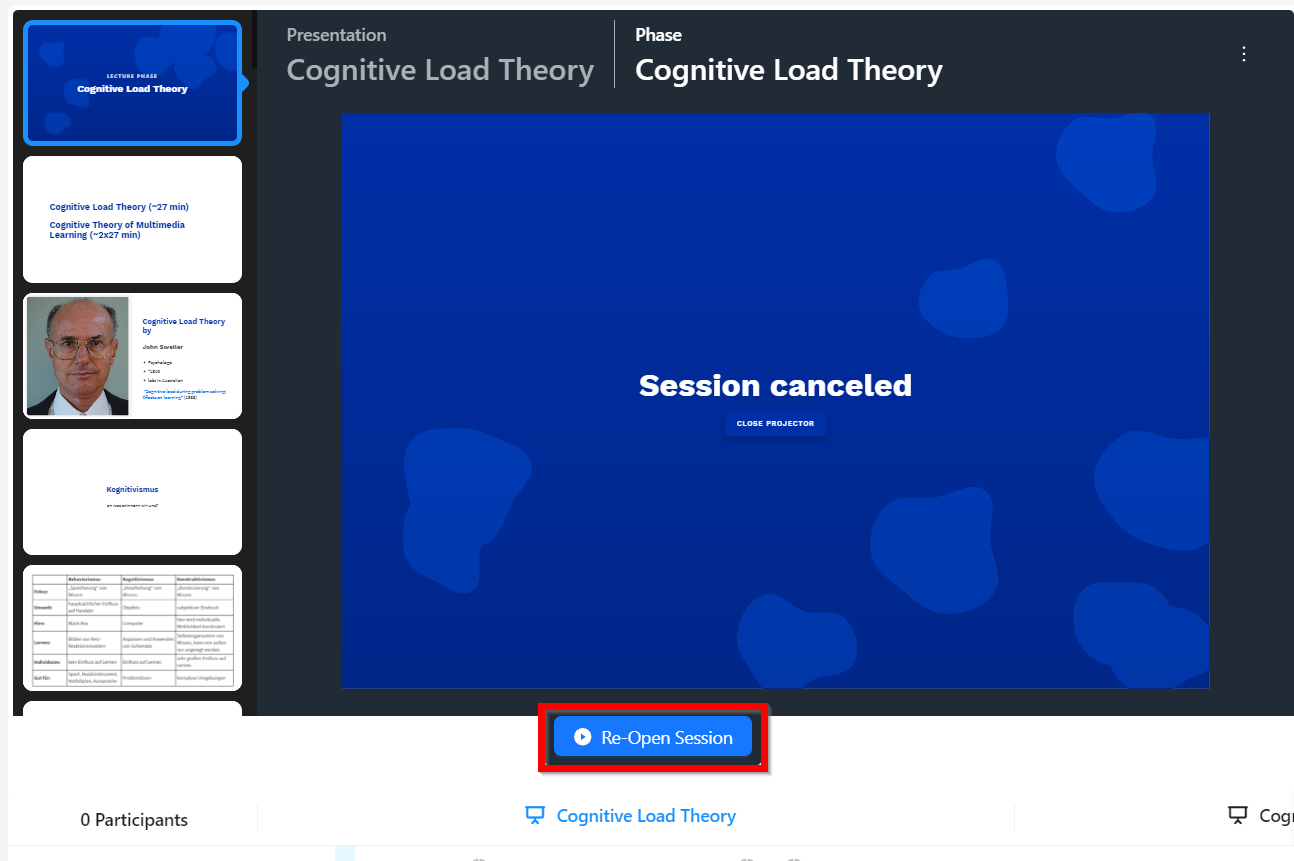
If you have unintentionally ended a running session, you can also reopen the live session. To do so, open the desired terminated session and click Re-Open Session.
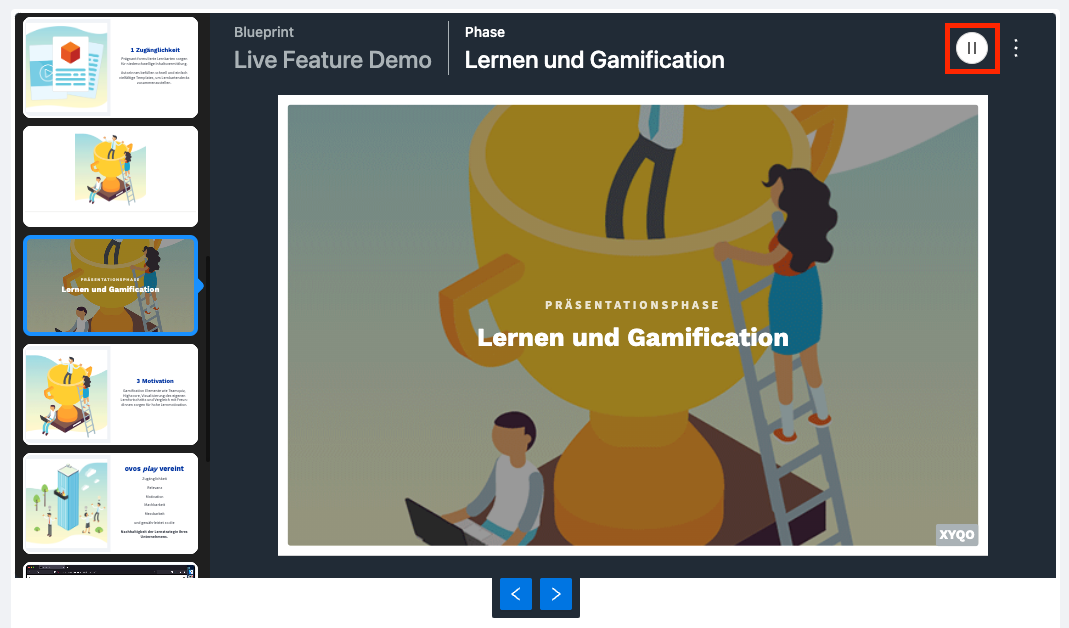
During a presentation, you can pause it and resume it later. To start a pause, click on the pause icon in the top bar.
You can either set a duration in minutes or define the end of the break by a specific time.
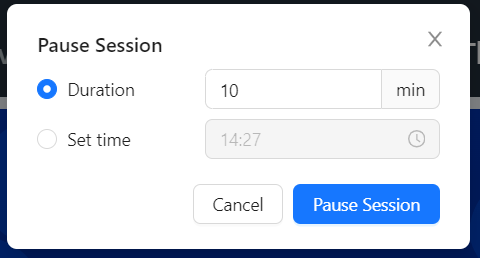
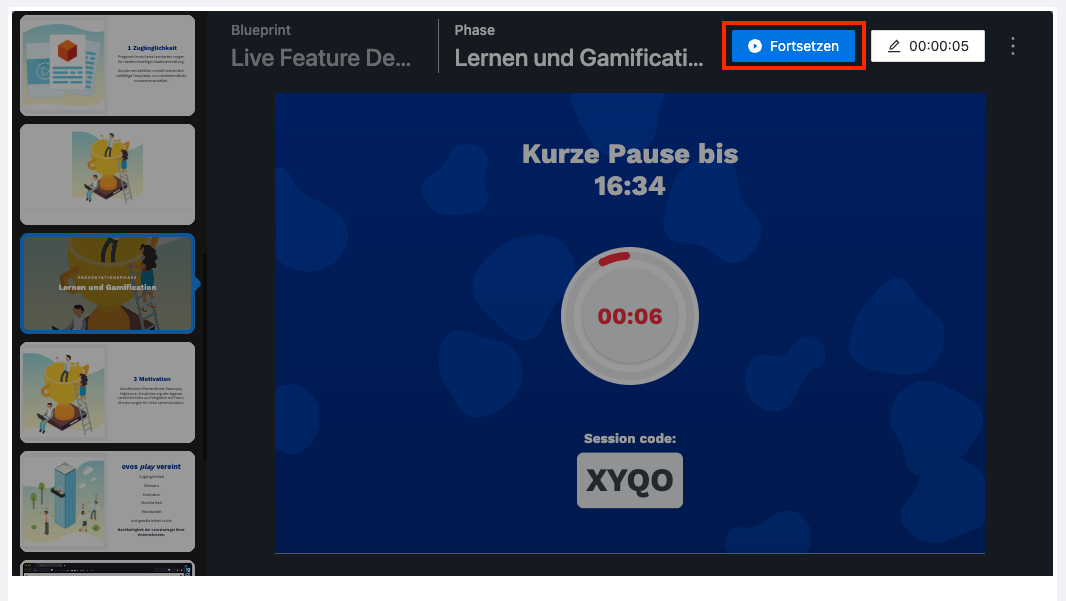
When a break is started, the break timer is displayed in the projector and is also shown on all connected devices. This way, the participants always have an overview of the break. Shortly before the break expires, the terminals are activated and the timer is displayed in red.
Once the break time has expired, you as the trainer decide when to continue if some participants are still missing. To do this, click on Continue in the upper bar. The presentation will continue on the currently selected card.
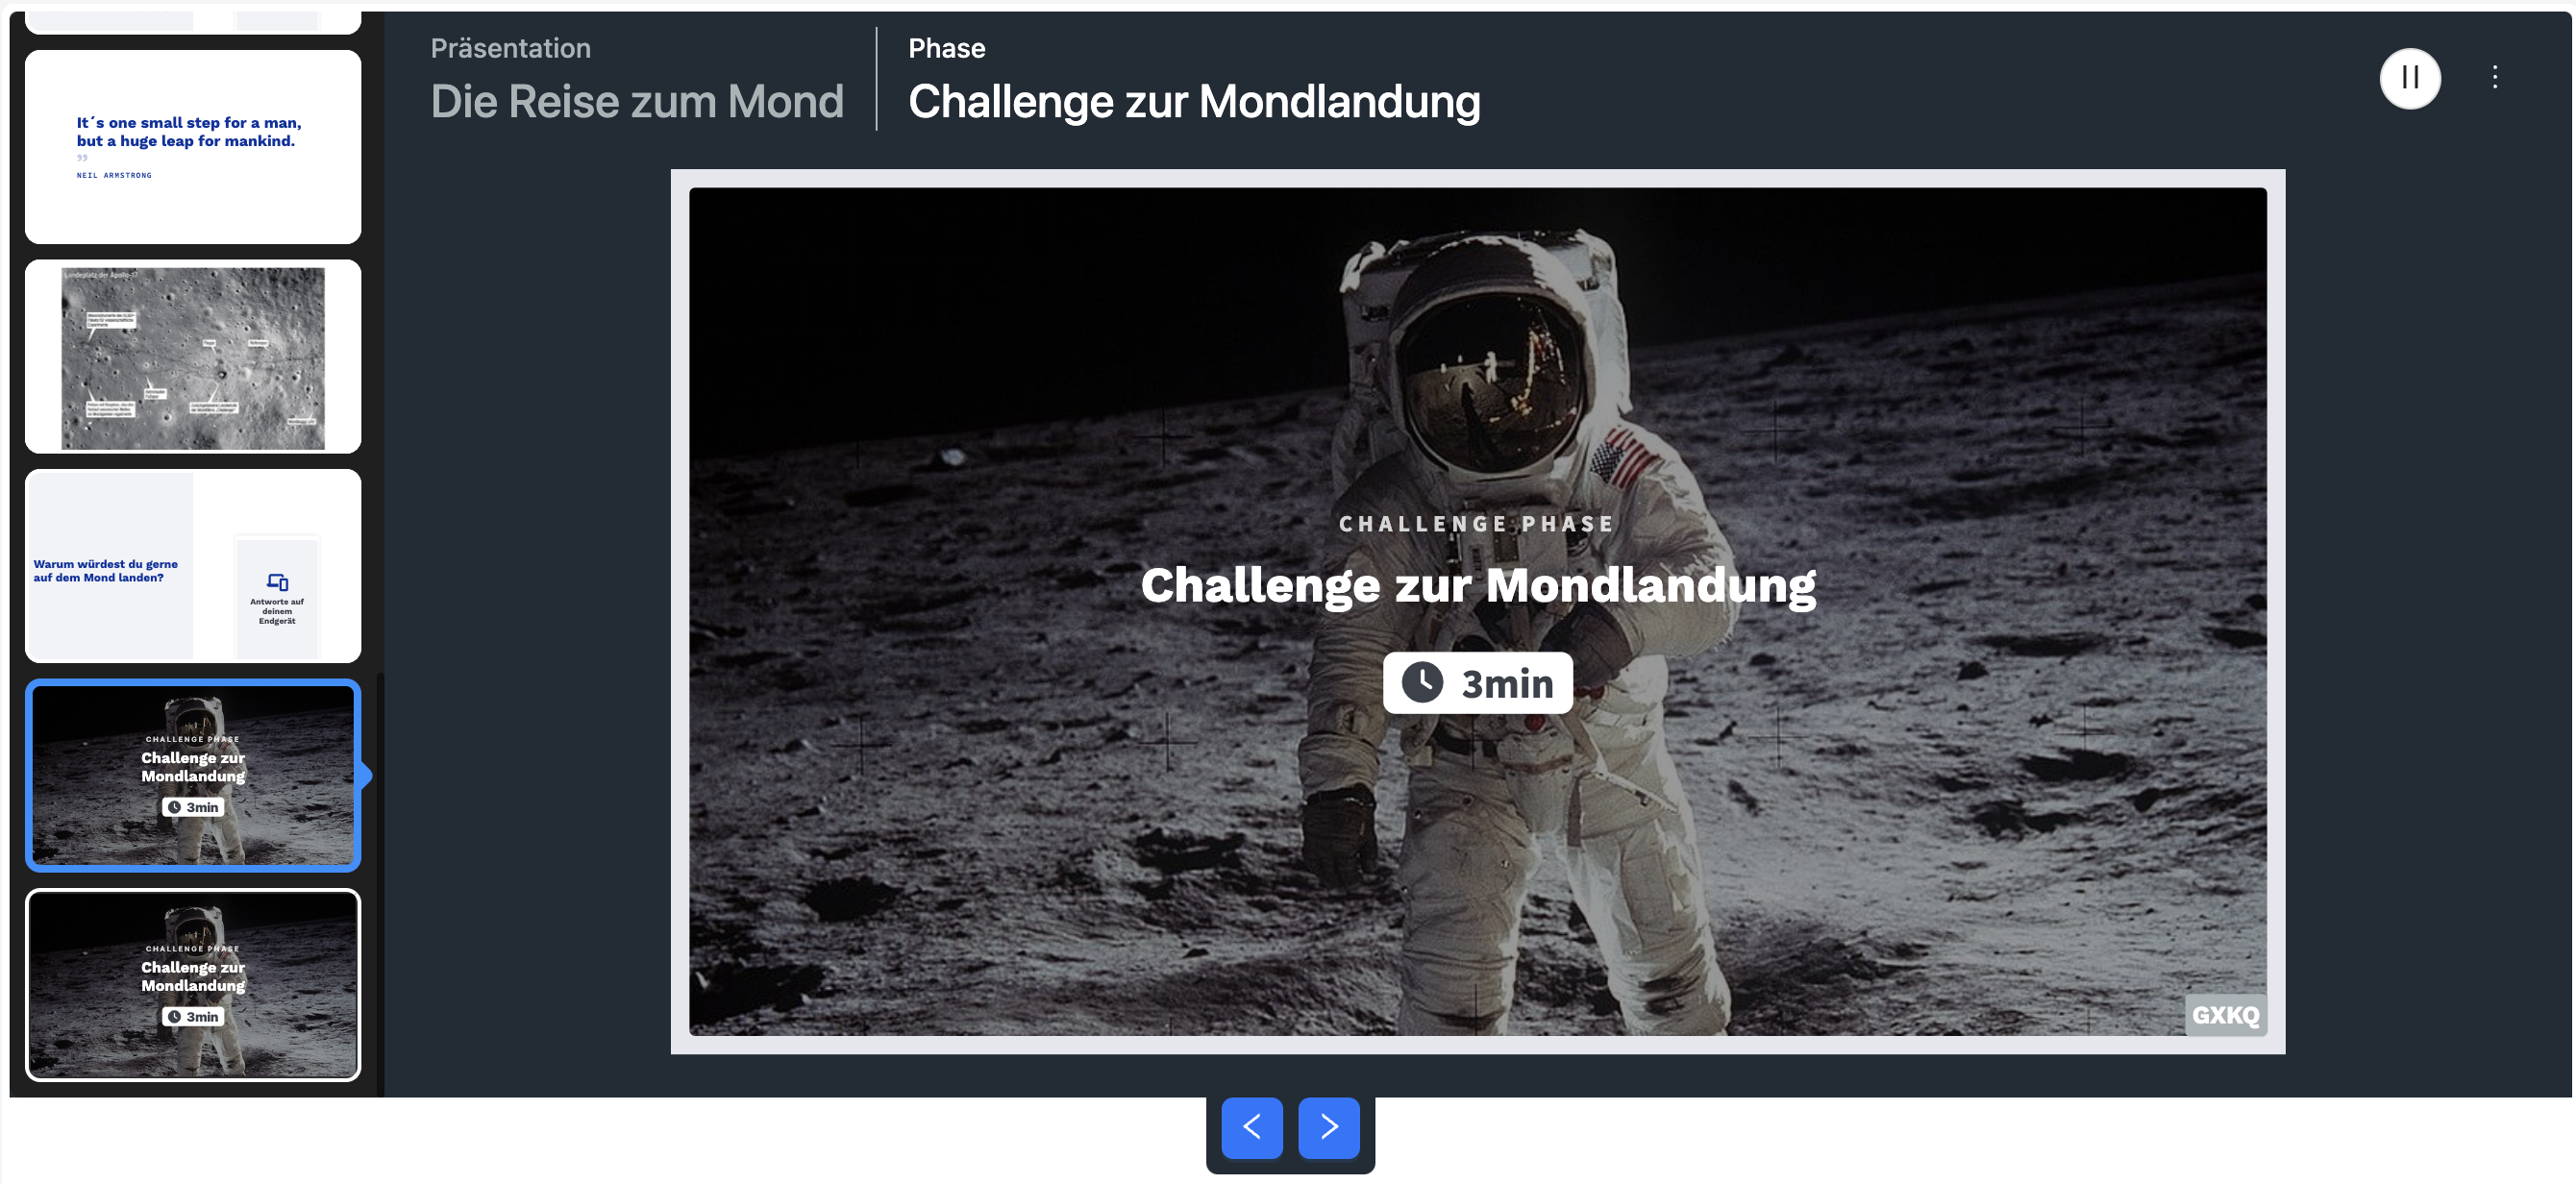
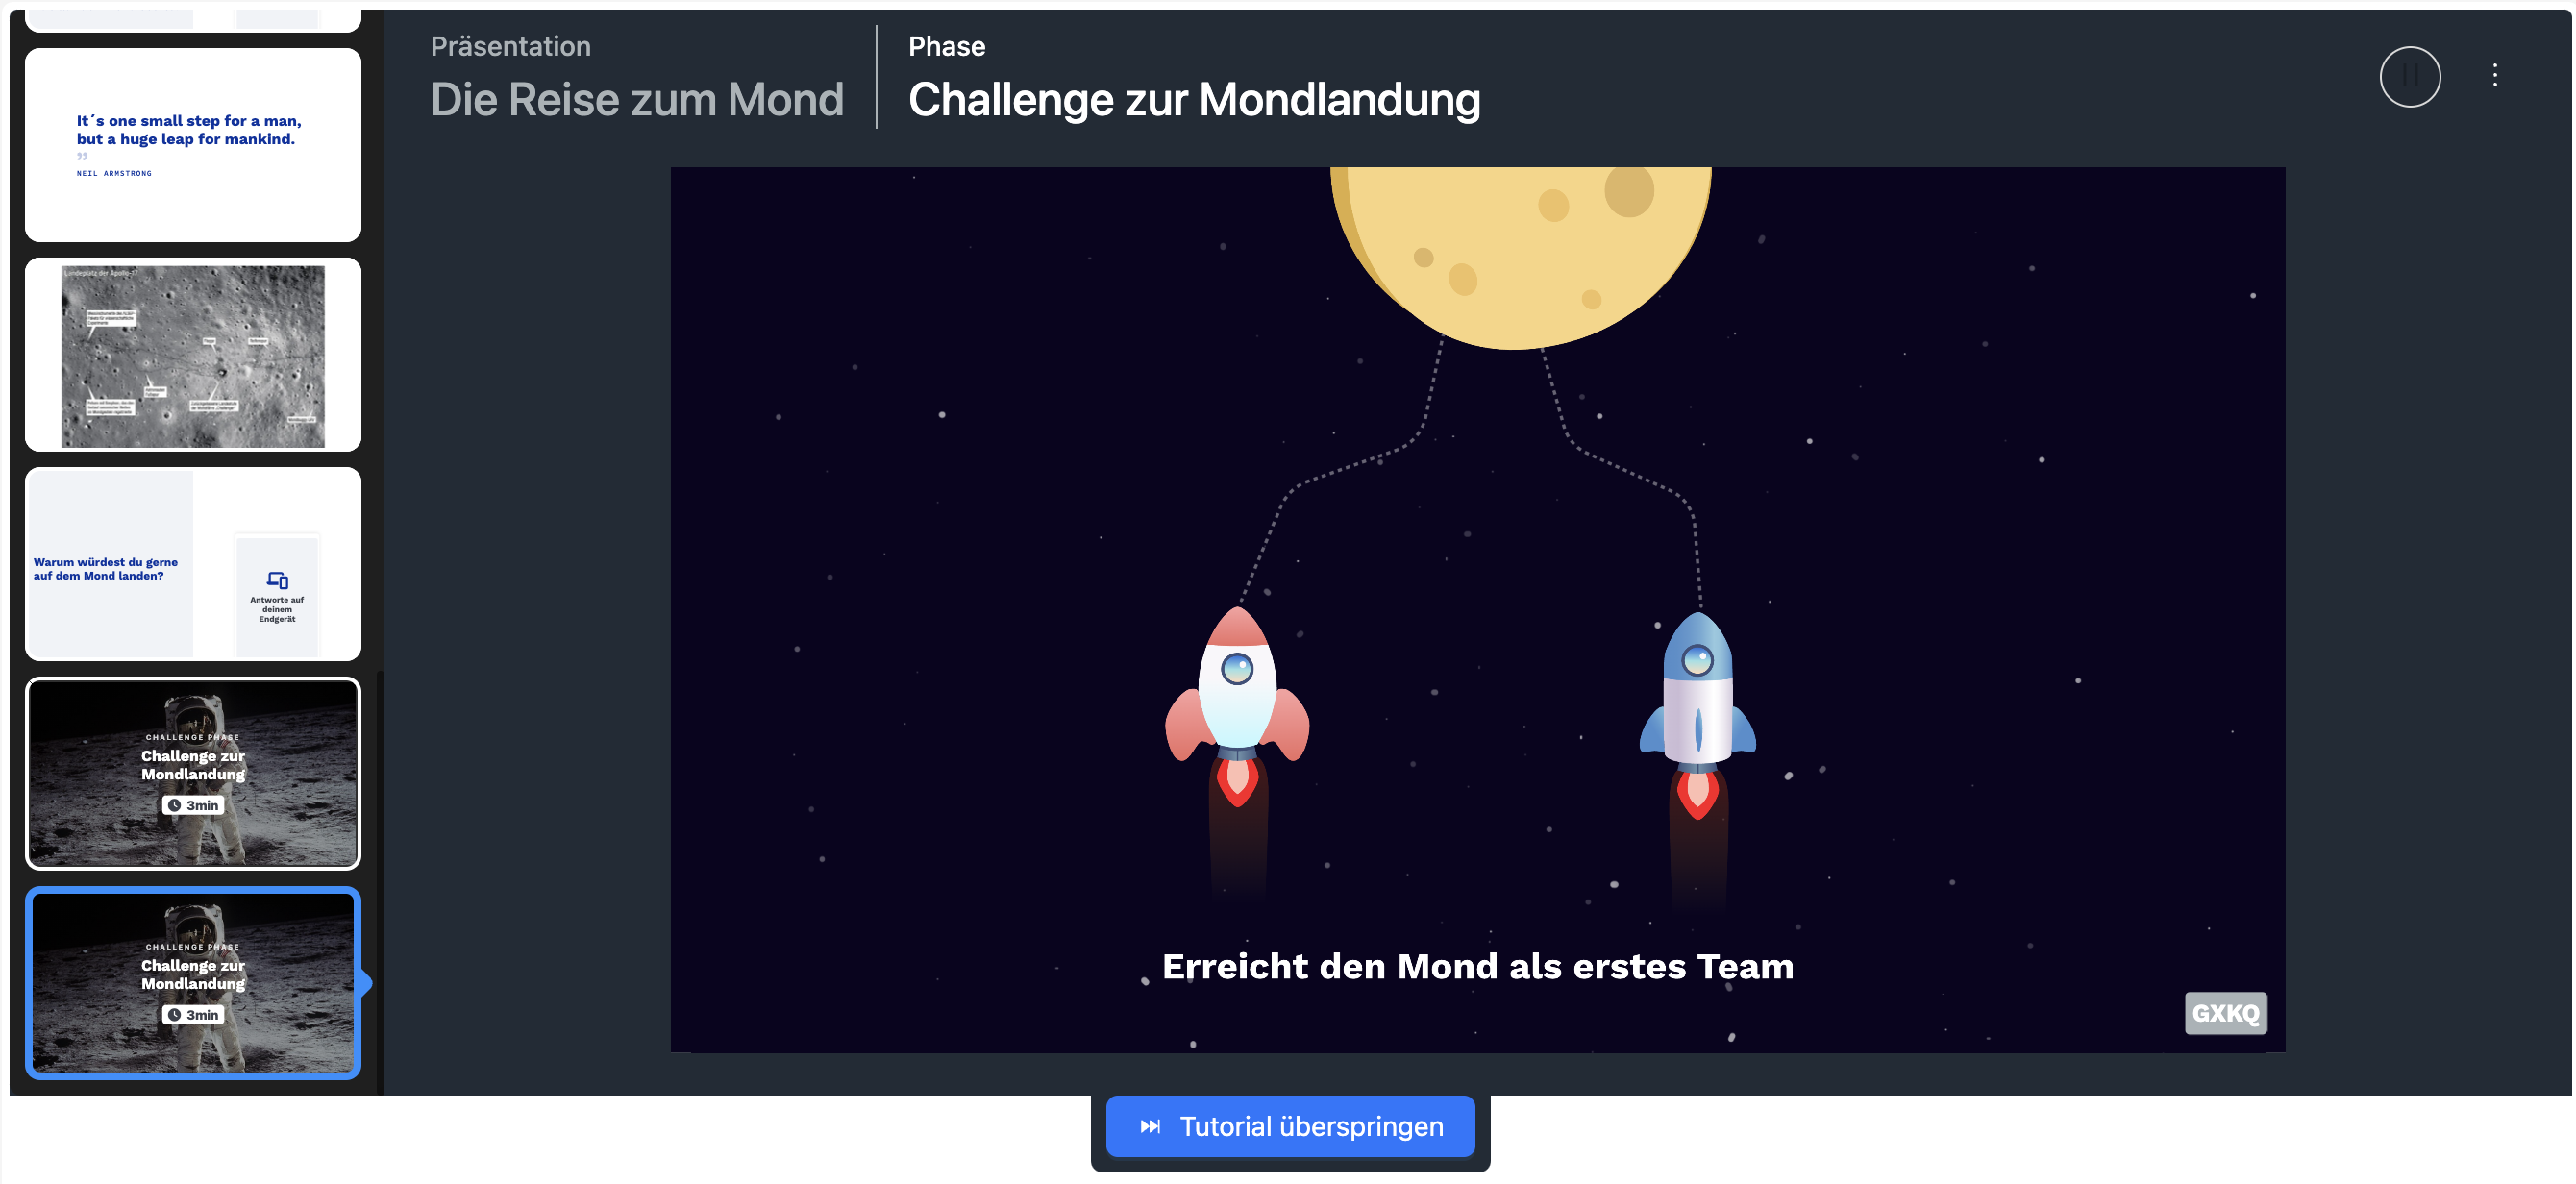
The challenge phase is a mini-game in interactive presentations. Learners answer questions and trainers analyse the answers.
If a presentation includes a challenge phase, you as a trainer can play this challenge with the participants. If you reach a challenge phase, it is displayed with a title slide.
Navigate to the next slide and you will be taken to the team selection. Here the participants can select a team themselves.

The team assignment can be recognised by the profile pictures on the projector or in the results list by the colouring of the participants' line.
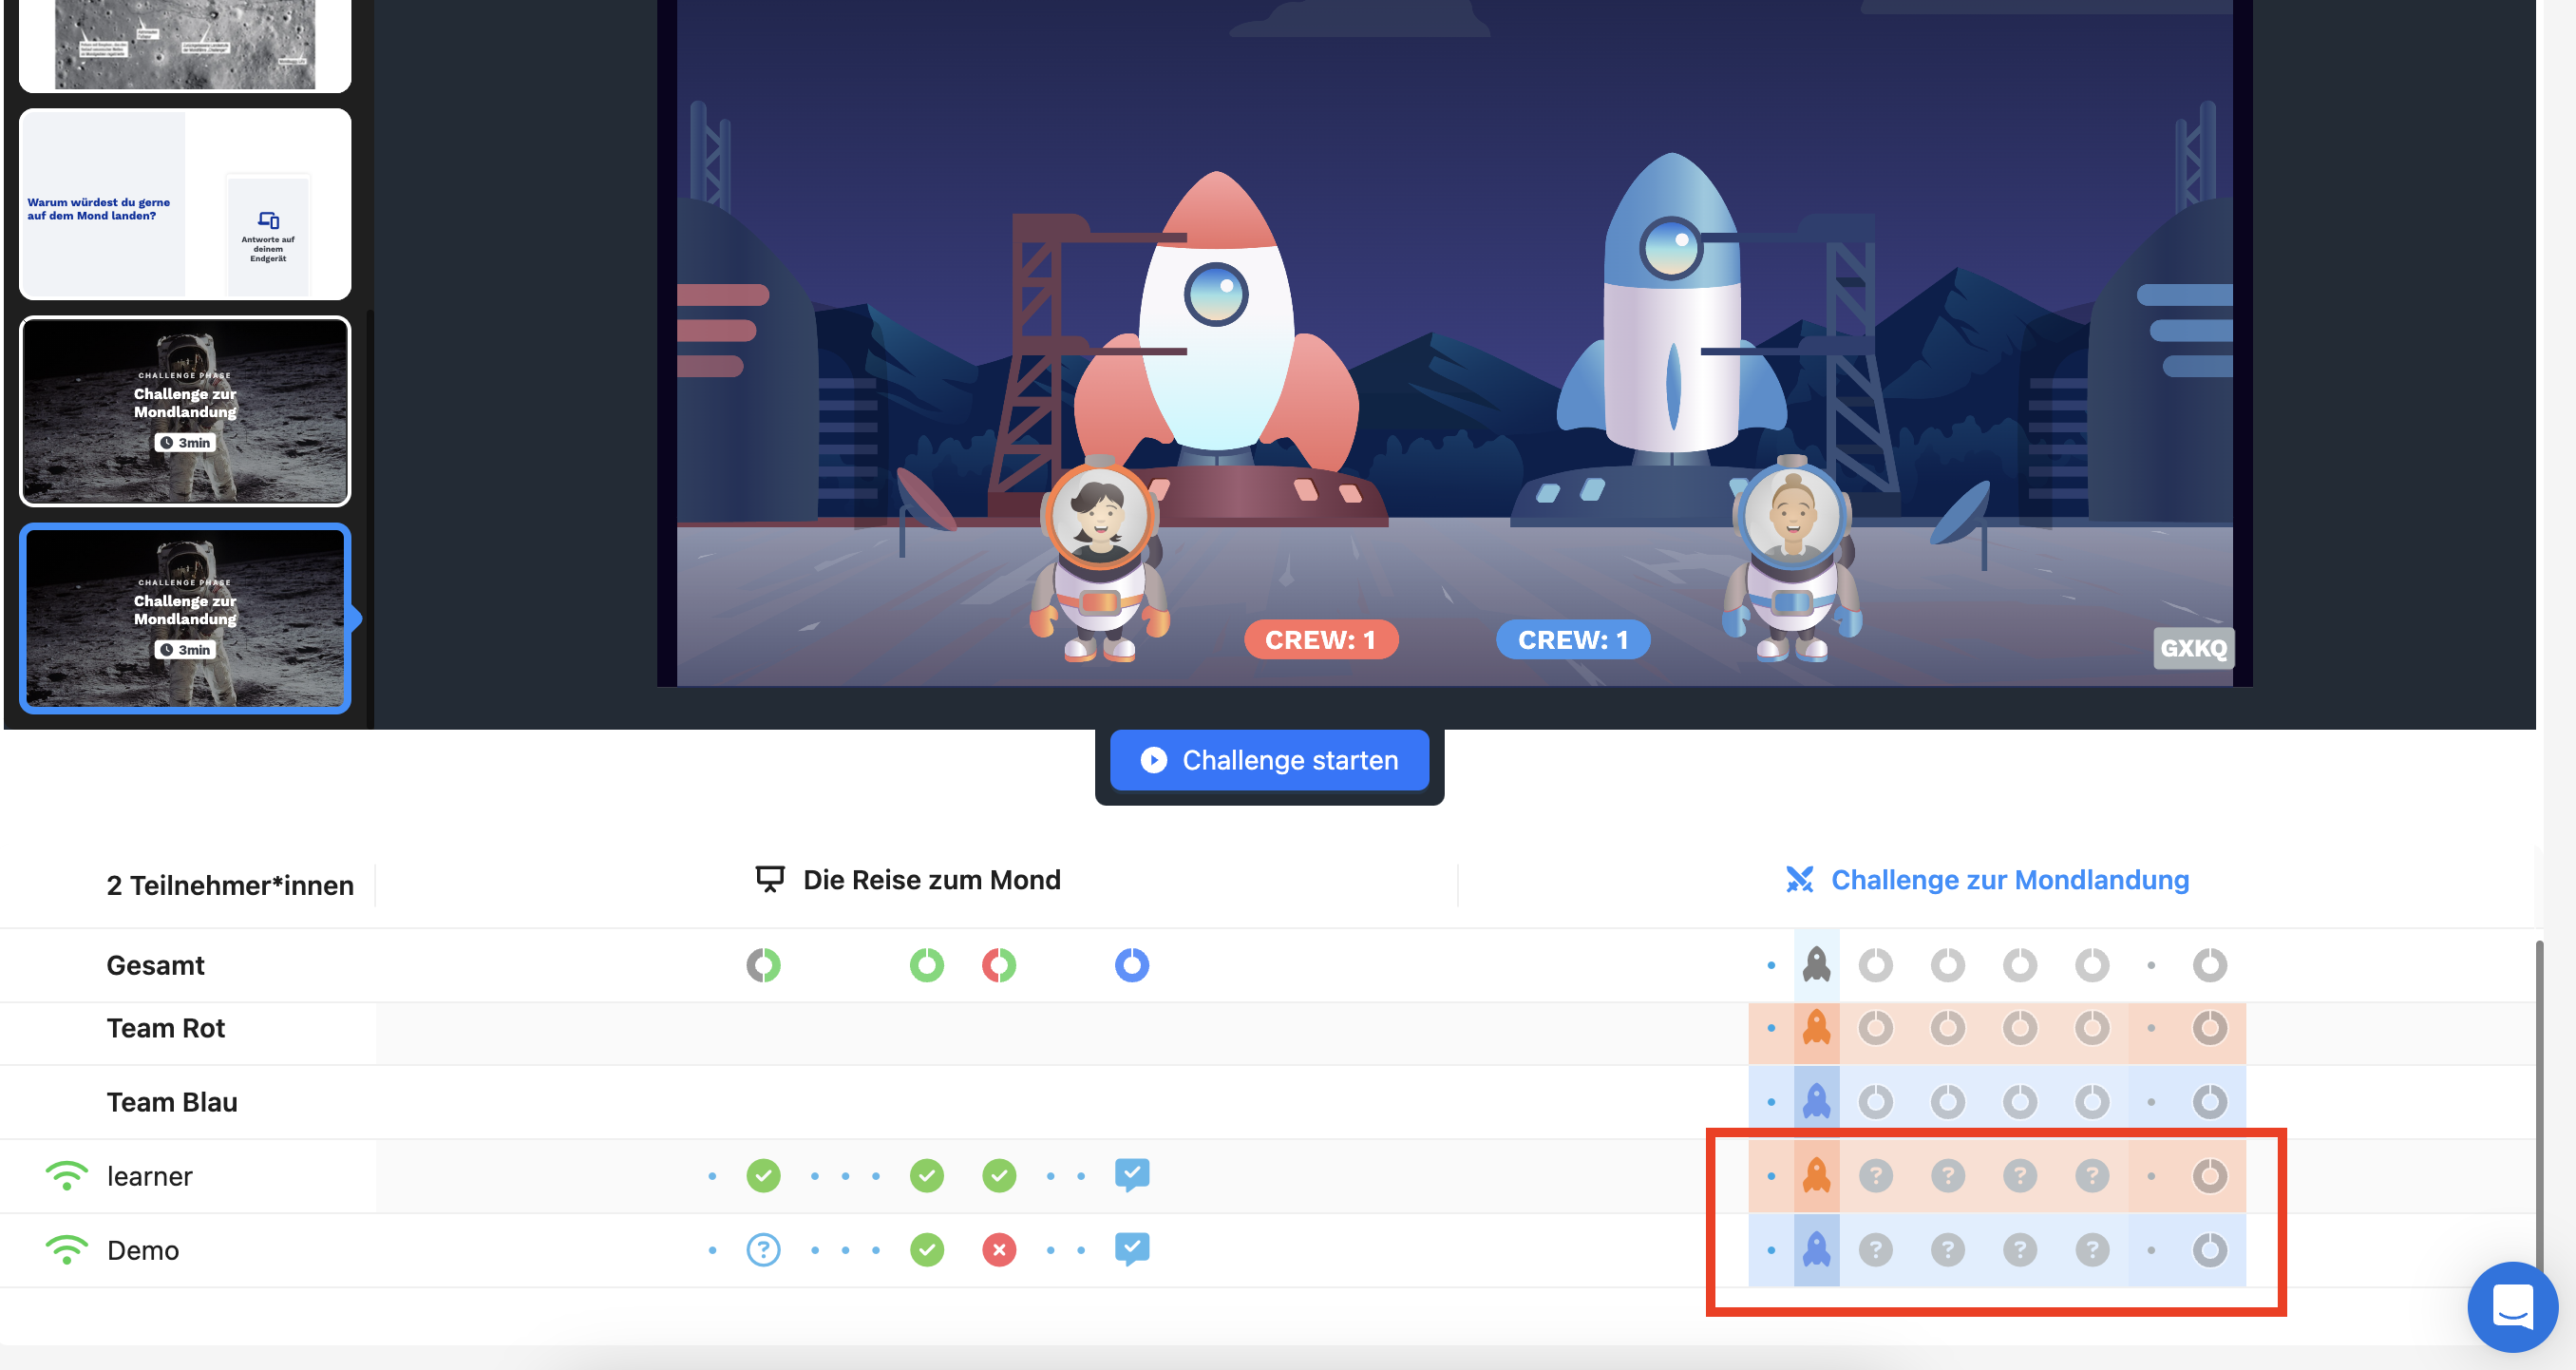
Once all participants are in a team, you can start the challenge. From this point on, the challenge phase runs automatically and you no longer have to do anything.
Note: If not all participants belong to a team, you will be notified before the start and can have them randomly assigned.
When the challenge starts, a short tutorial is displayed for the participants. As a trainer, you can also skip this tutorial. This can be useful for participants if there are several challenge phases in a presentation and they are already familiar with the concept. To do this, click on the Skip tutorial button.
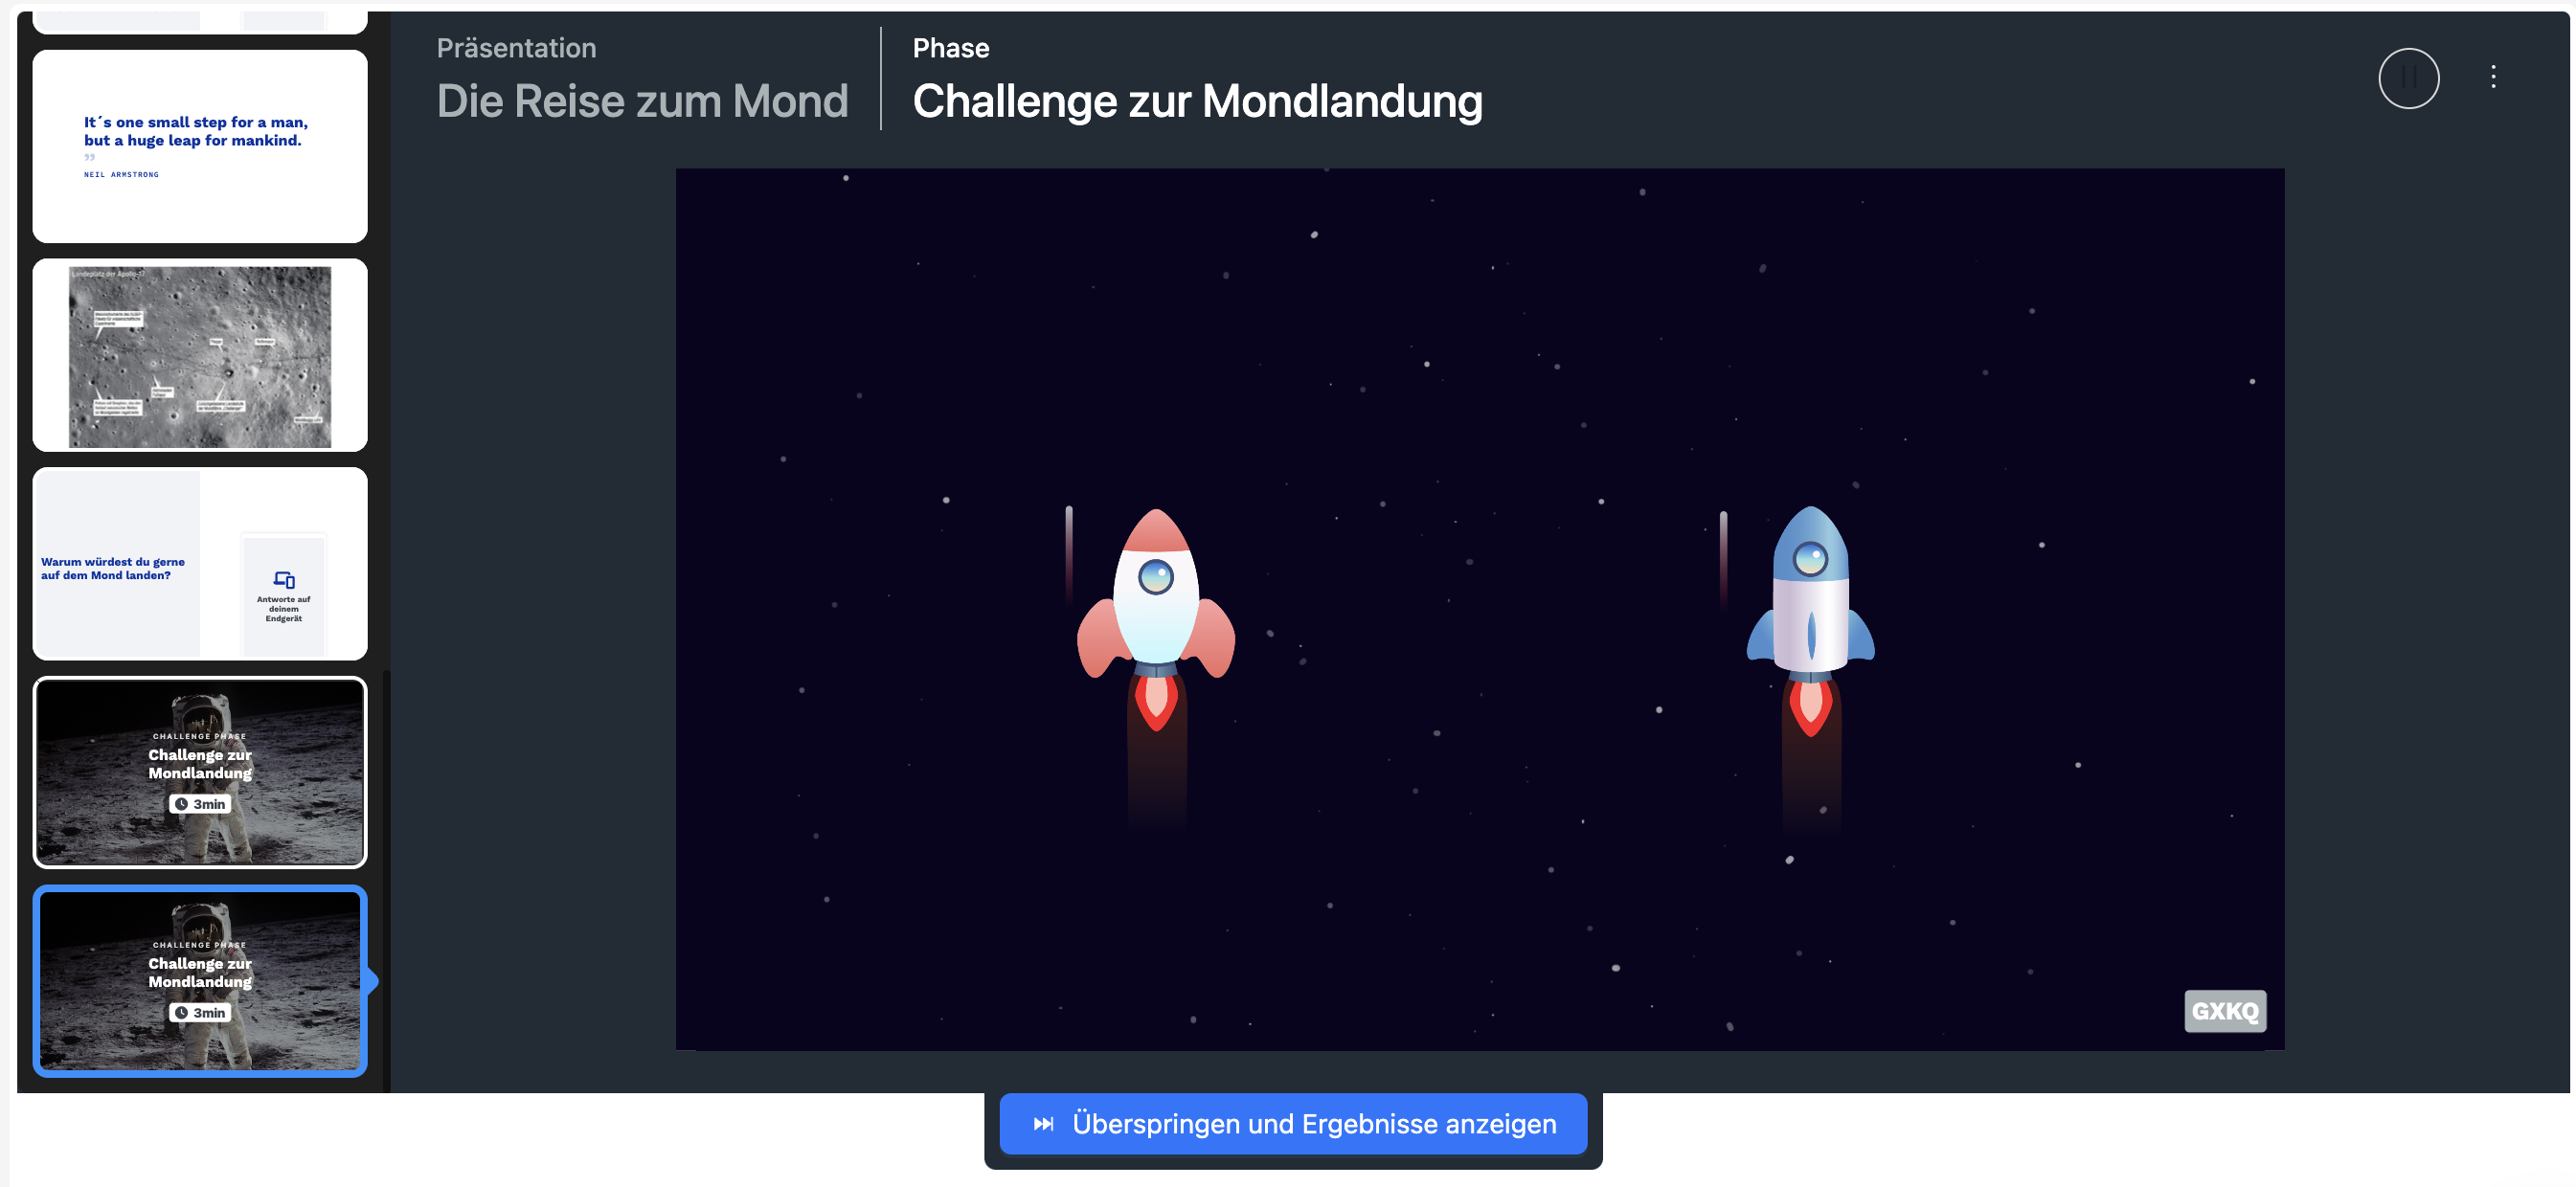
As soon as the challenge phase is completed, you can also skip all upcoming questions and display the results. This can be helpful if the time for the presentation is already up but the participants still need to see an evaluation. To do this, click on the Skip and show results button.
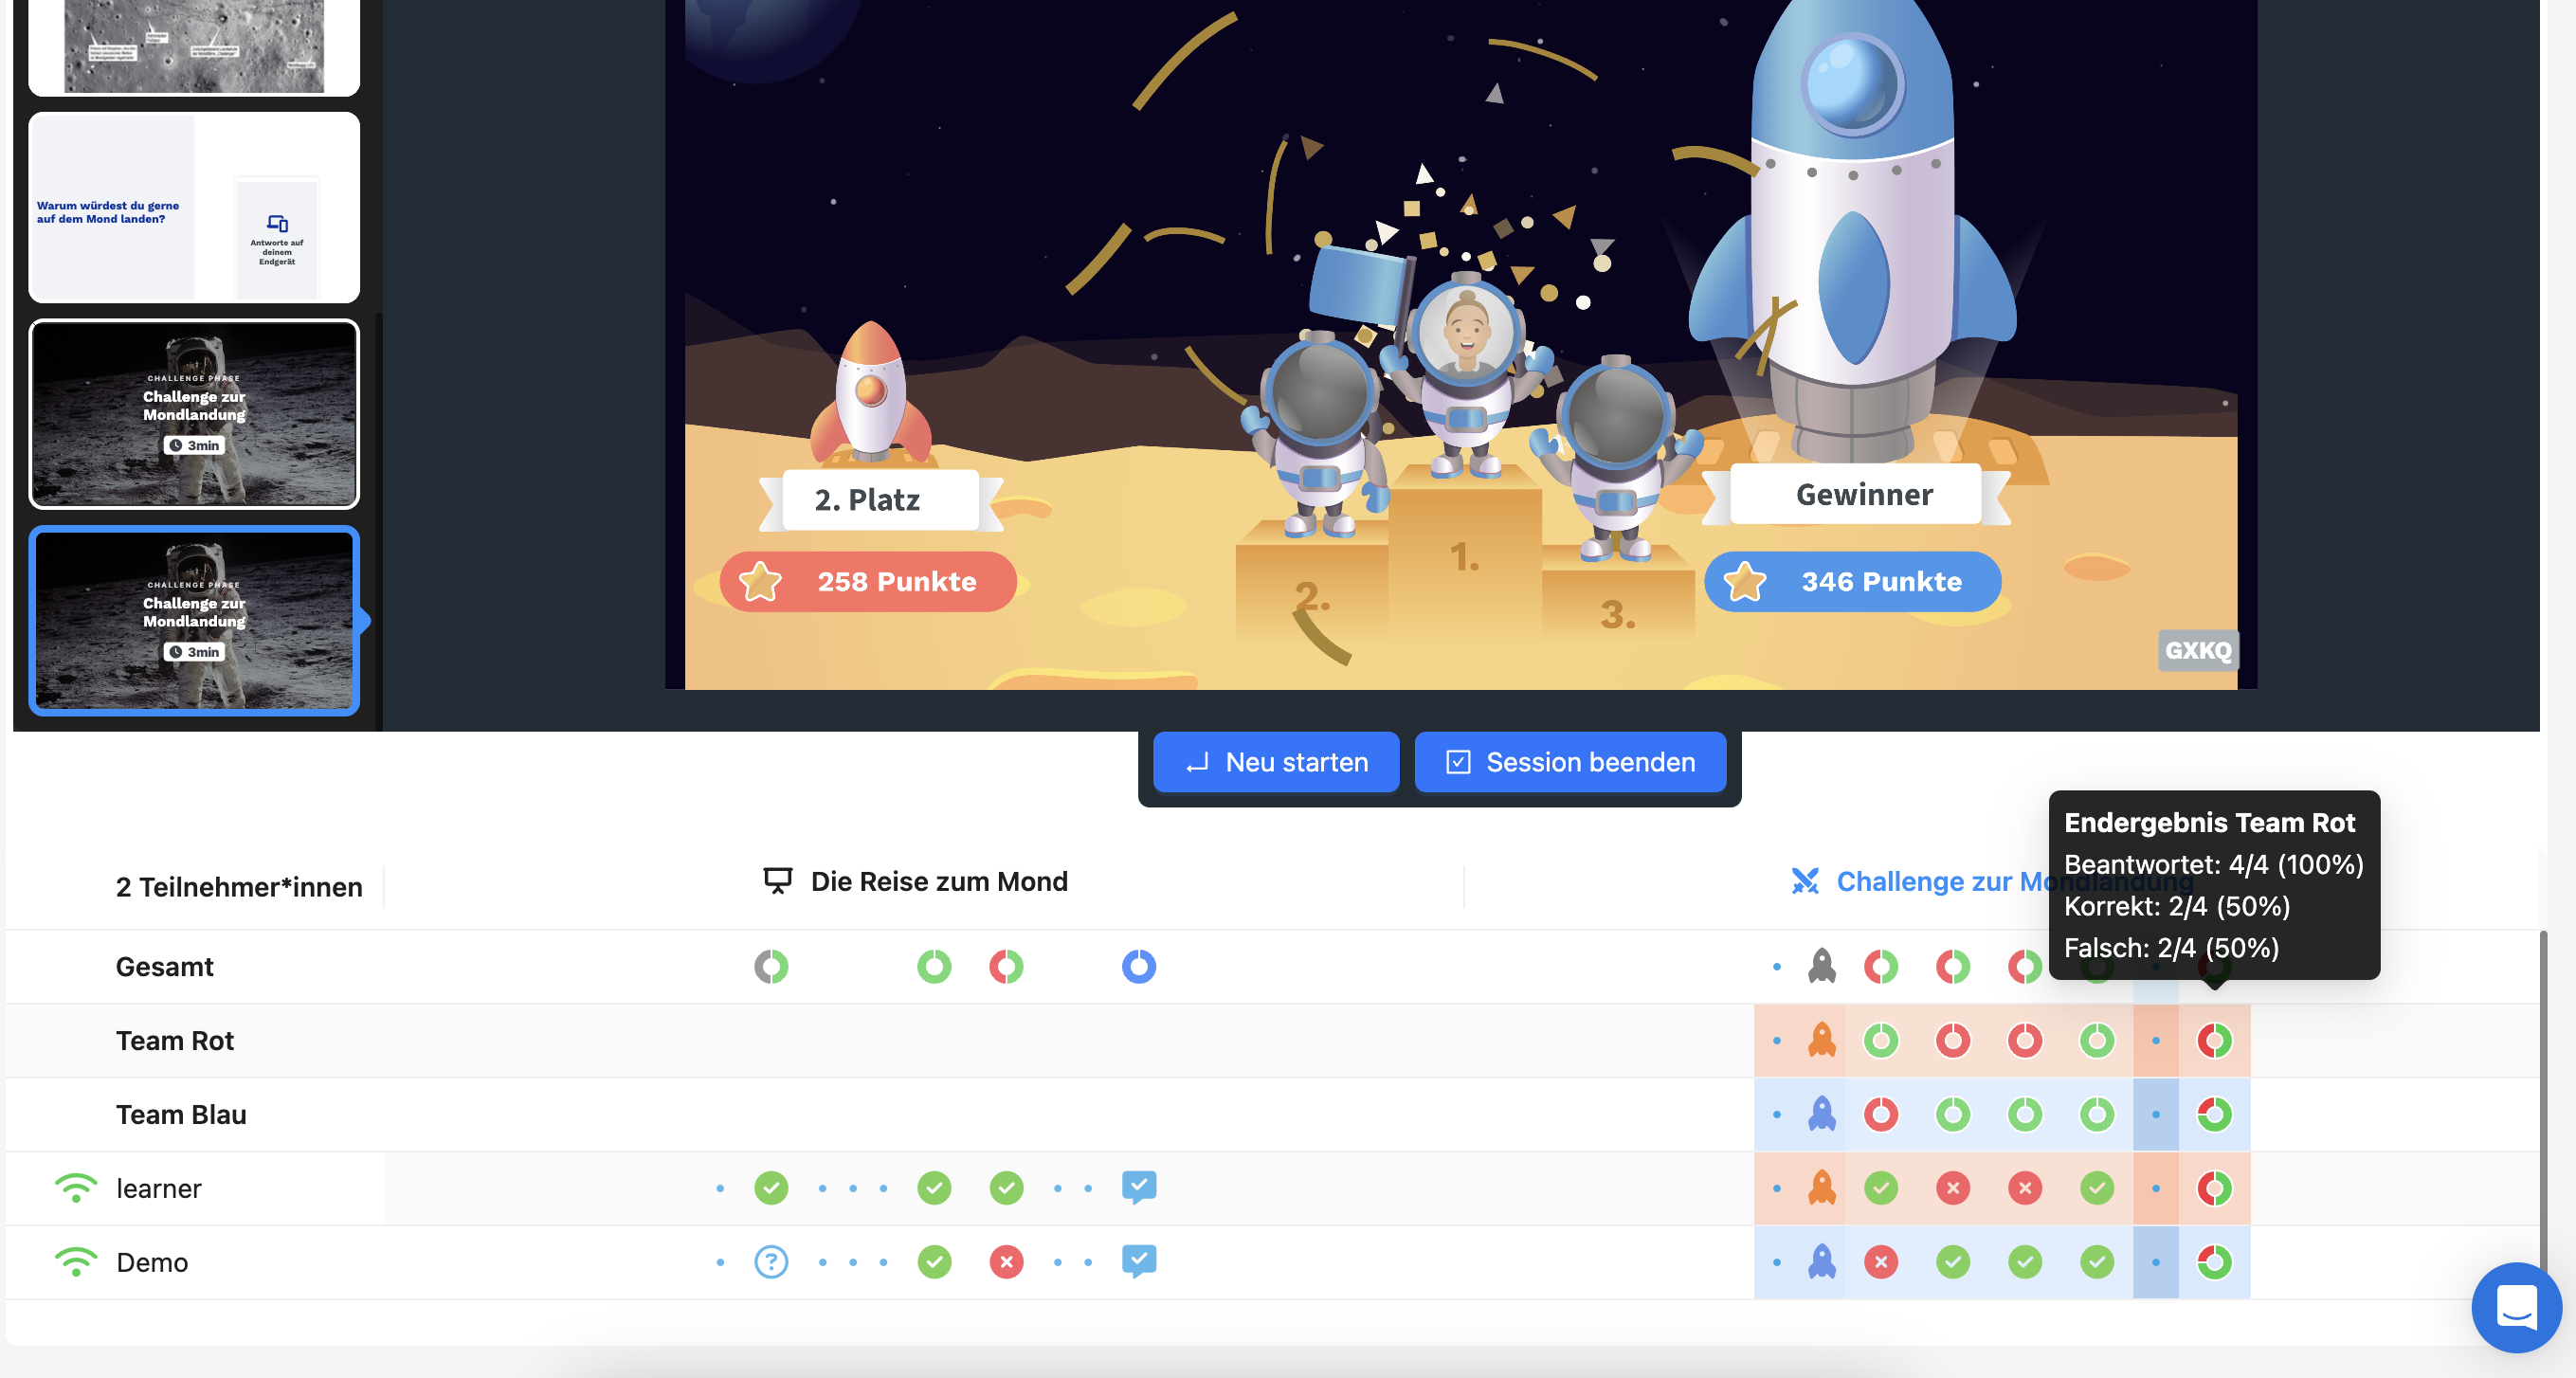
If the challenge is not skipped, the results are automatically displayed at the end. The results are displayed in the list below the presentation. There you will find an aggregation of the answers for all participants, per team and per participant.
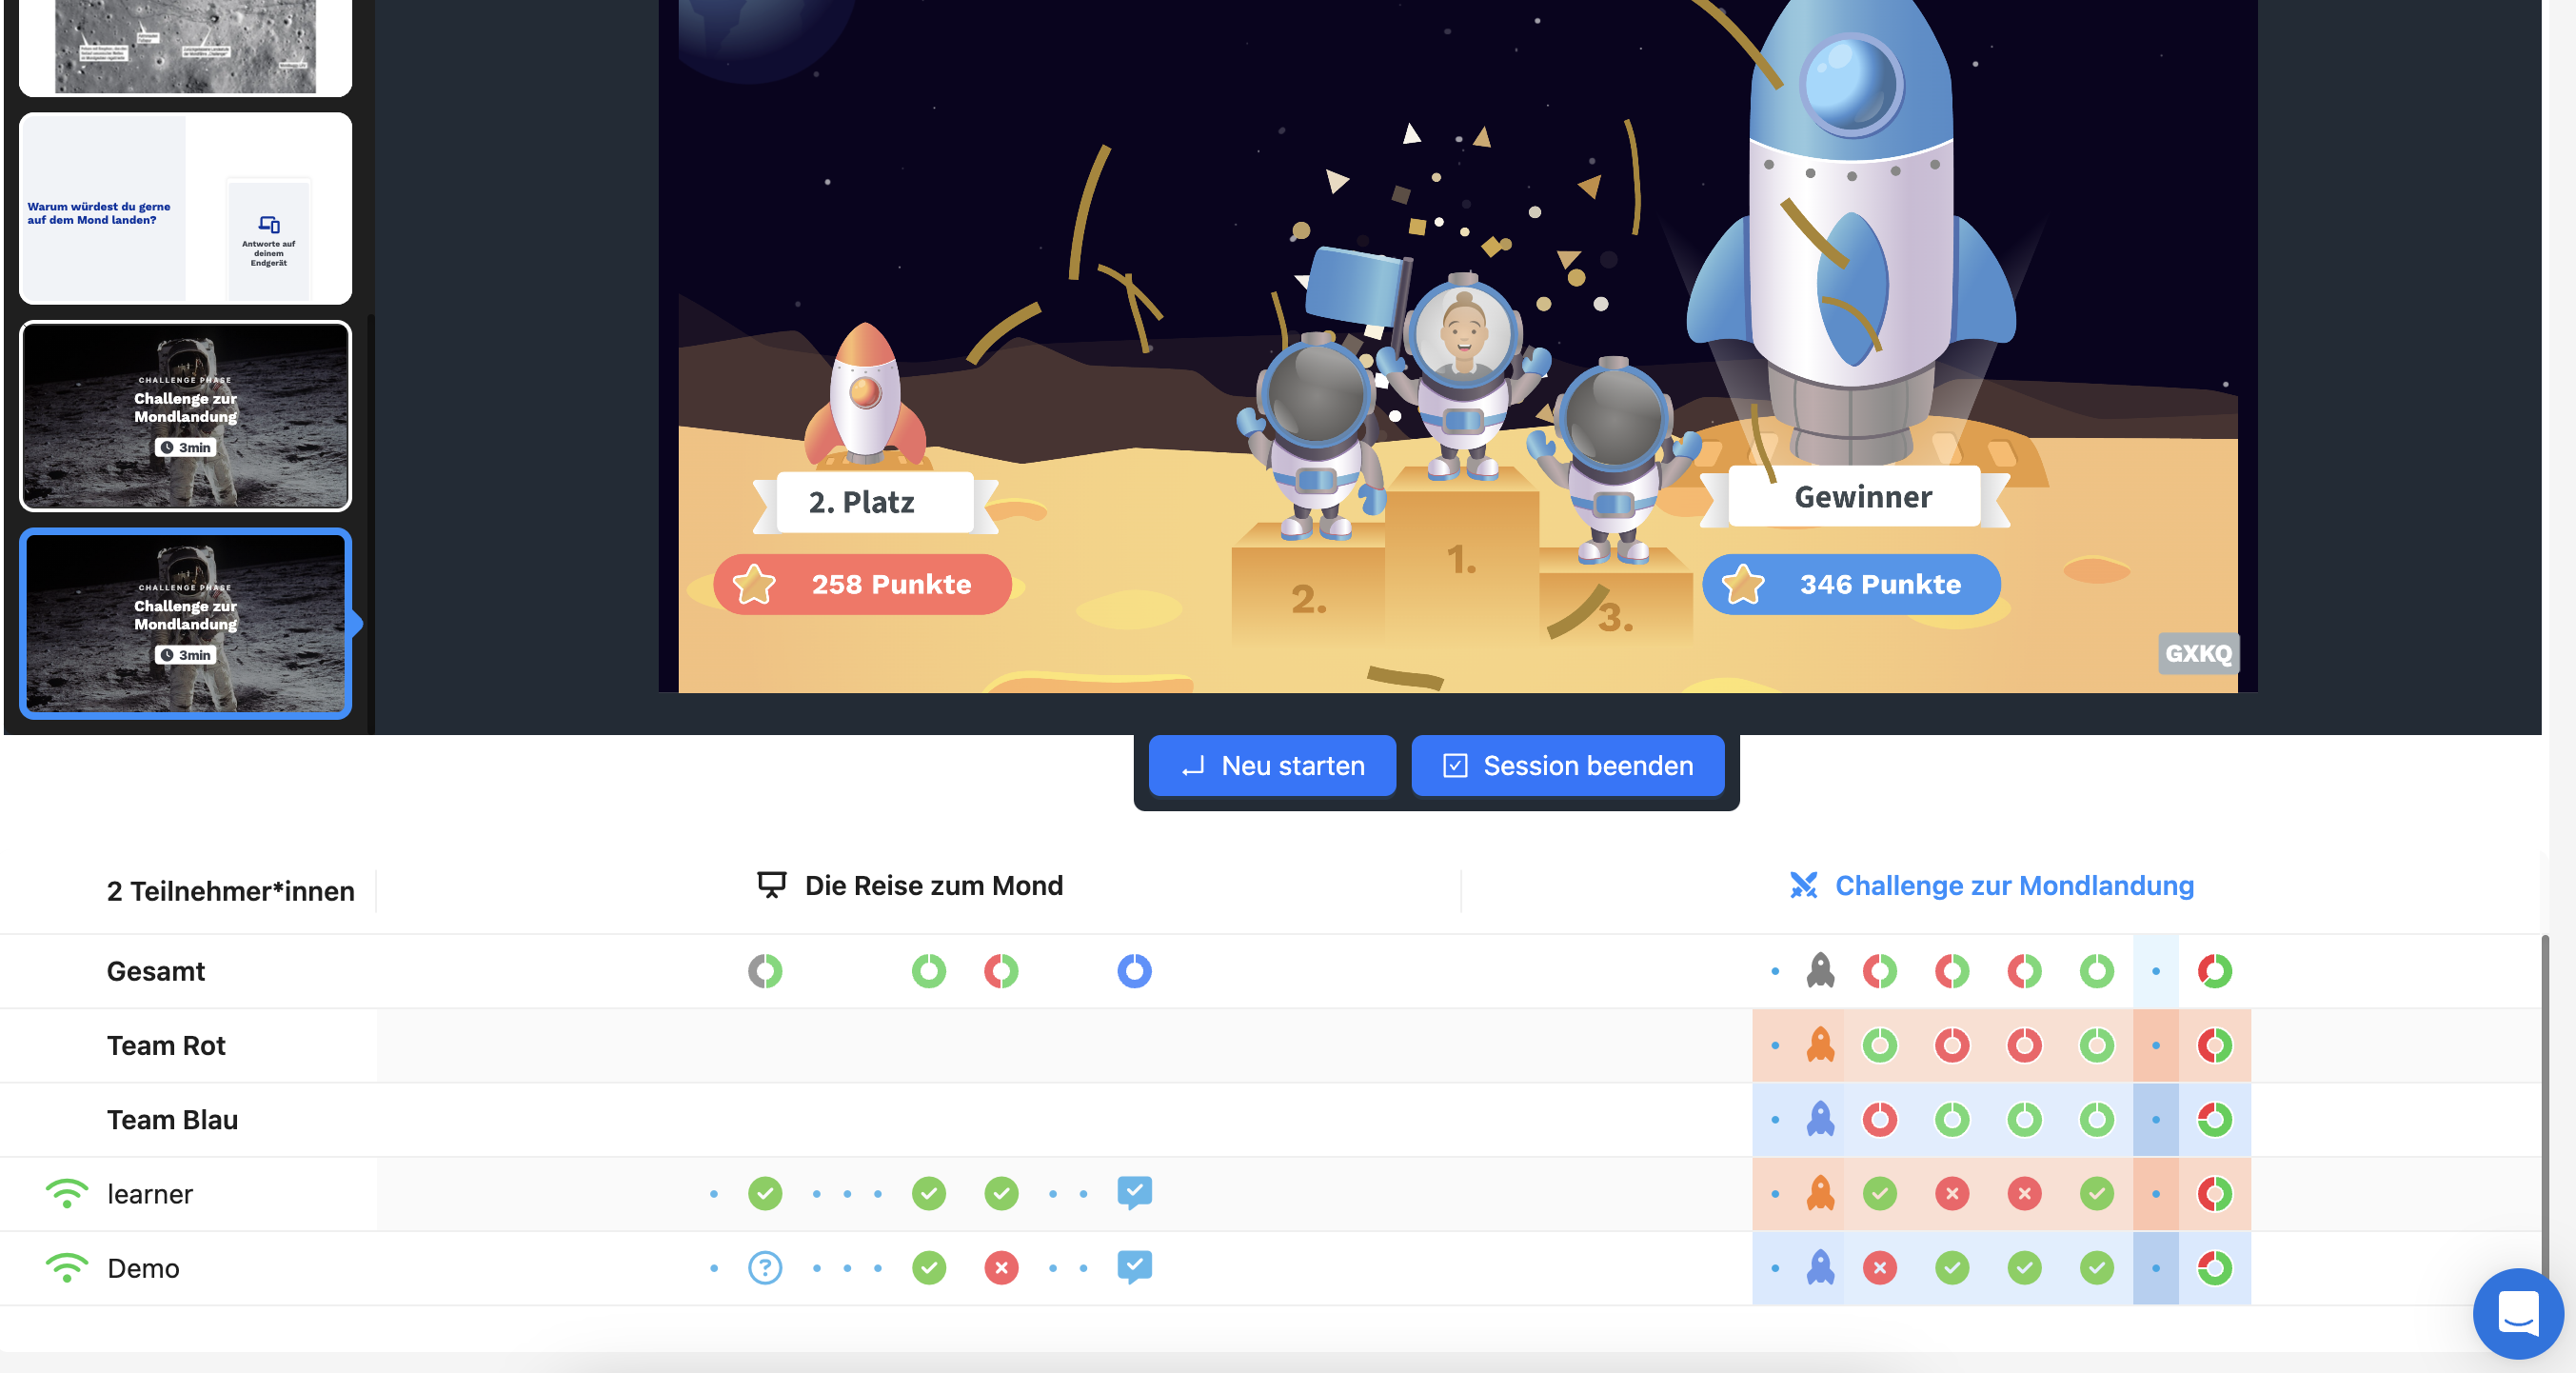
To view an individual answer, you can click on the respective question to display the map and the answer.
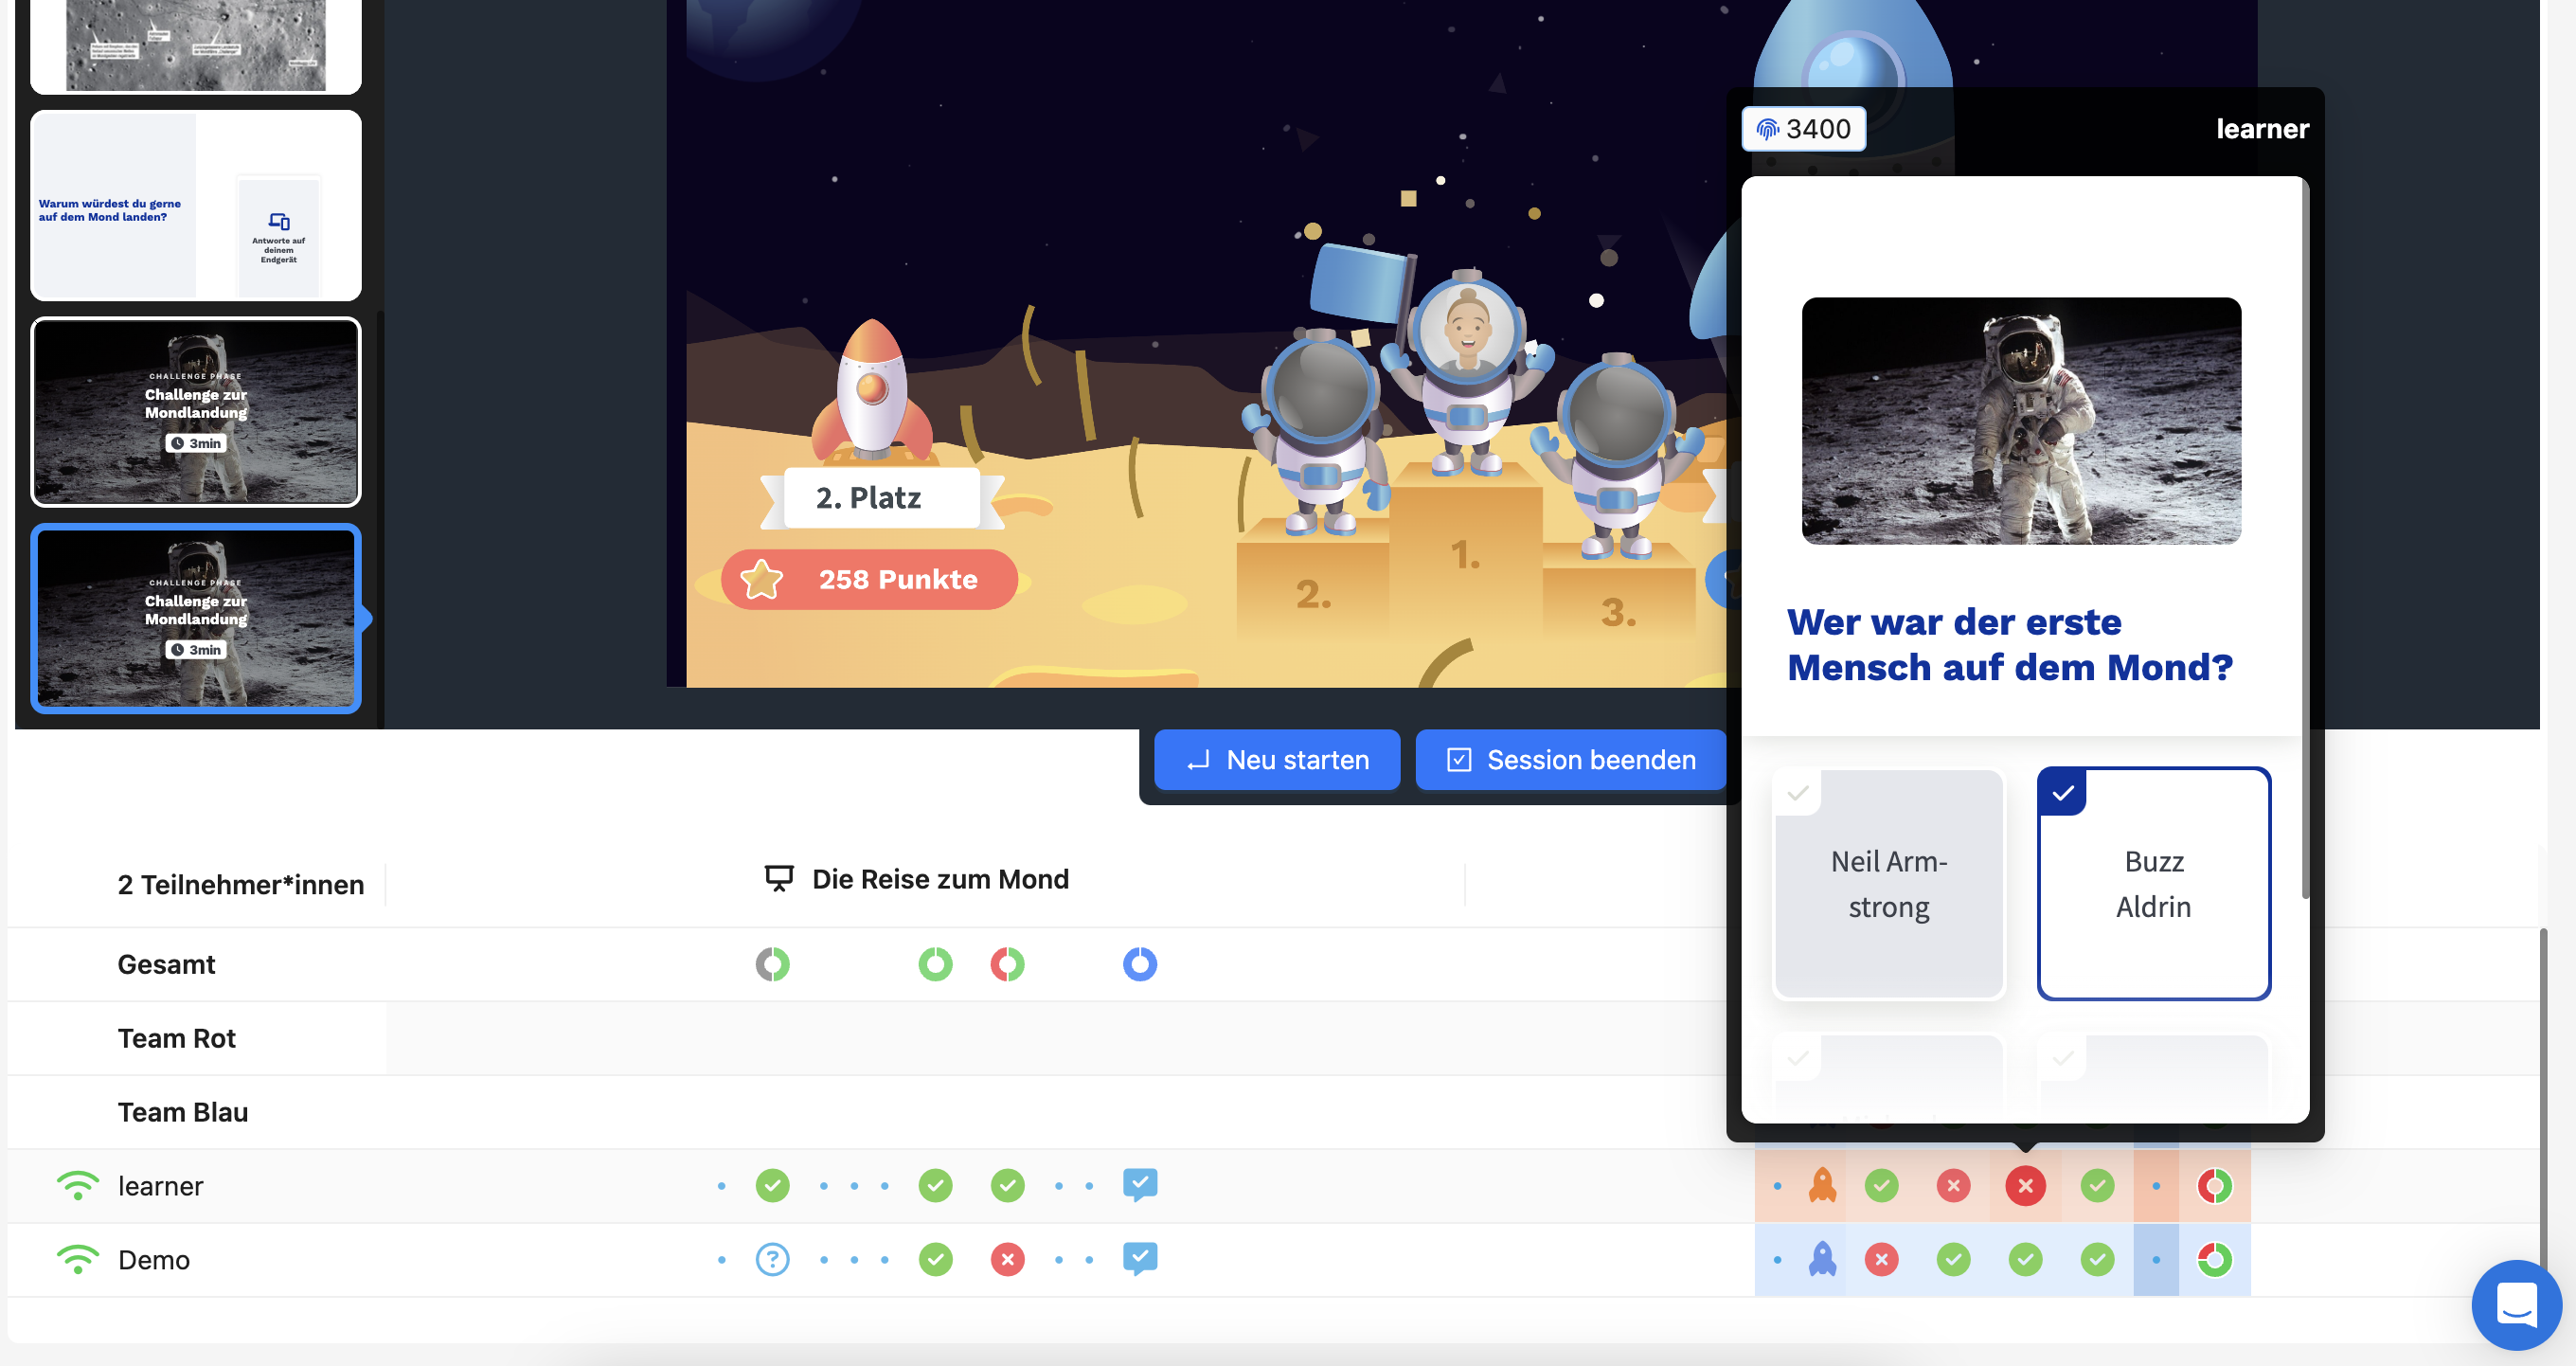
The individual team can also be analysed by moving the mouse over the result diagrams. An info box opens with information on the answers given and their correctness.
A challenge phase can also be restarted. The current results are overwritten and the last round of the challenge is always displayed.