In ovos play, you can create micro-learning decks as well as assessments. After completing an assessment, users receive an evaluation as to whether they have passed or failed.
The procedure for creating an assessment is similar to that for creating a deck. Navigate to the Library menu item, click on Add on the left-hand side and select Assessments.
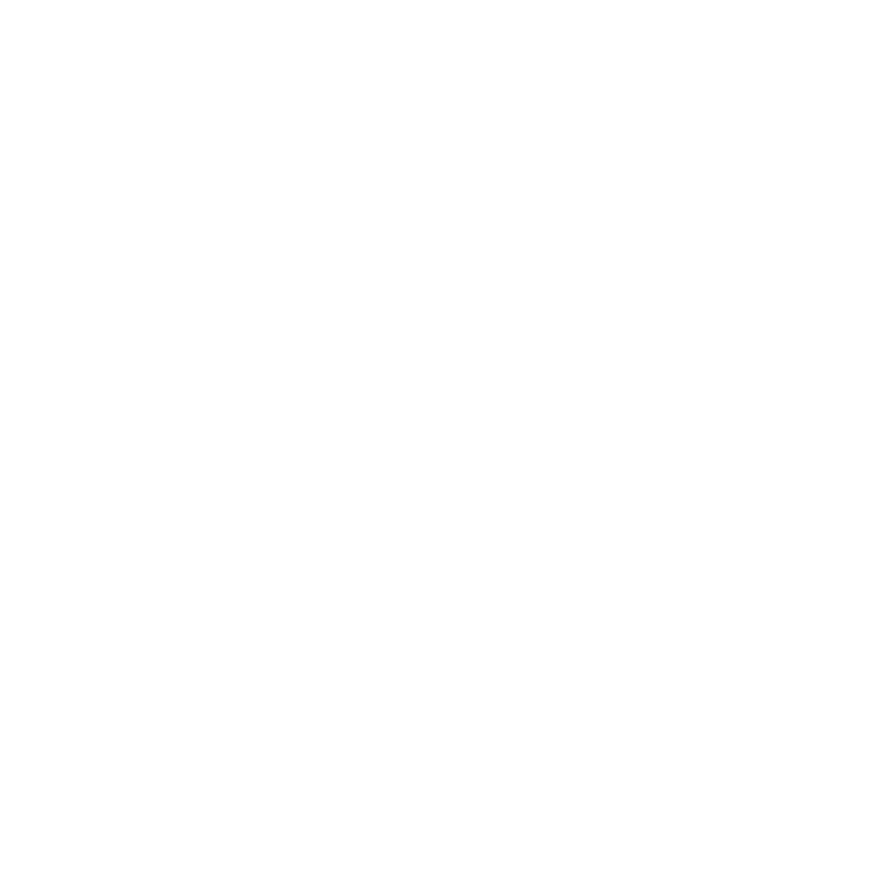
An assessment must be added to the library in order to be visible to users. To do this, select a title and a topic to which you want to assign the assessment. Assign it to a content package if necessary.
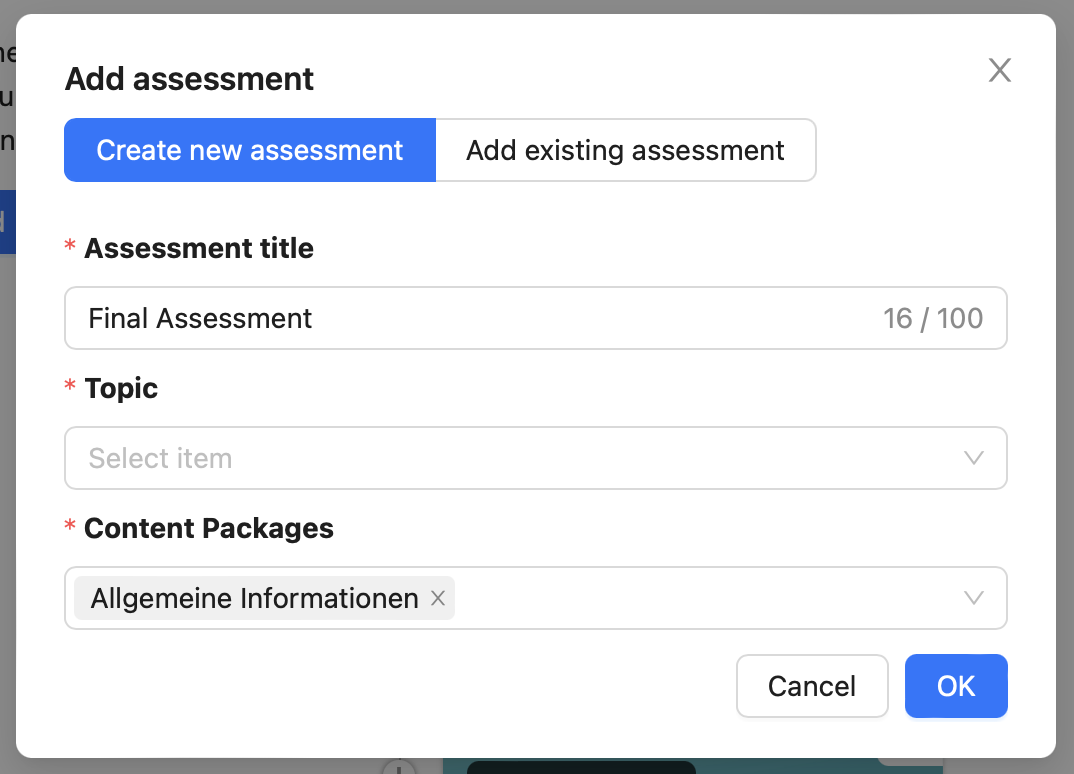
You can either create a new assessment or add existing assessments. To add an existing assessment, switch to the tab of the same name.
Select the desired assessment and topic and click OK to create the assessment. You can now edit the assessment.
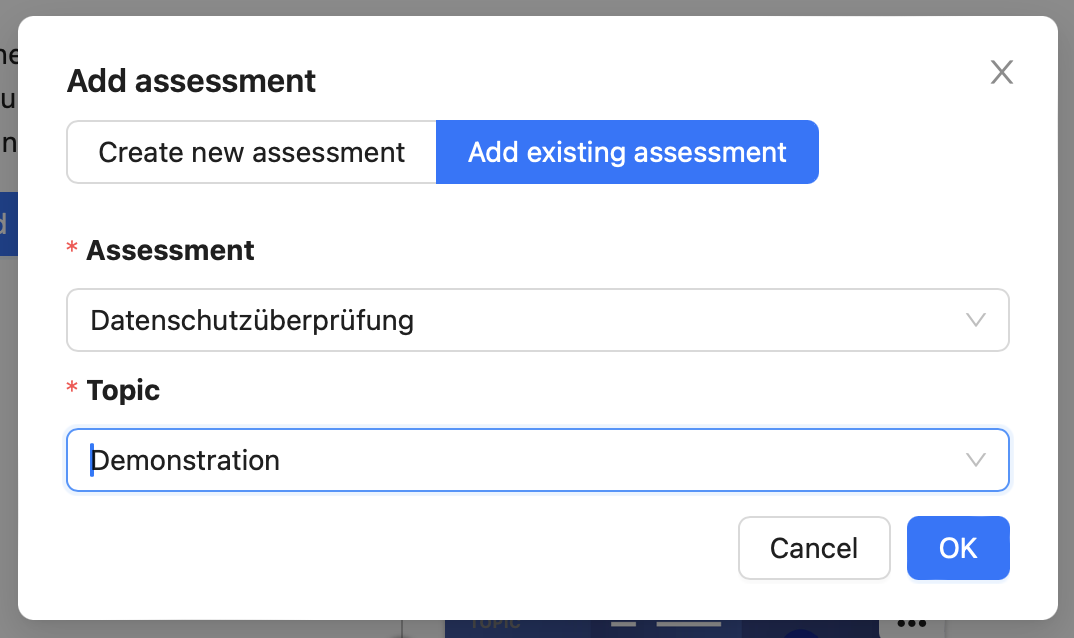
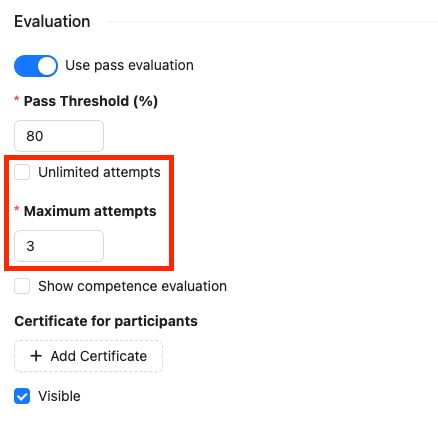
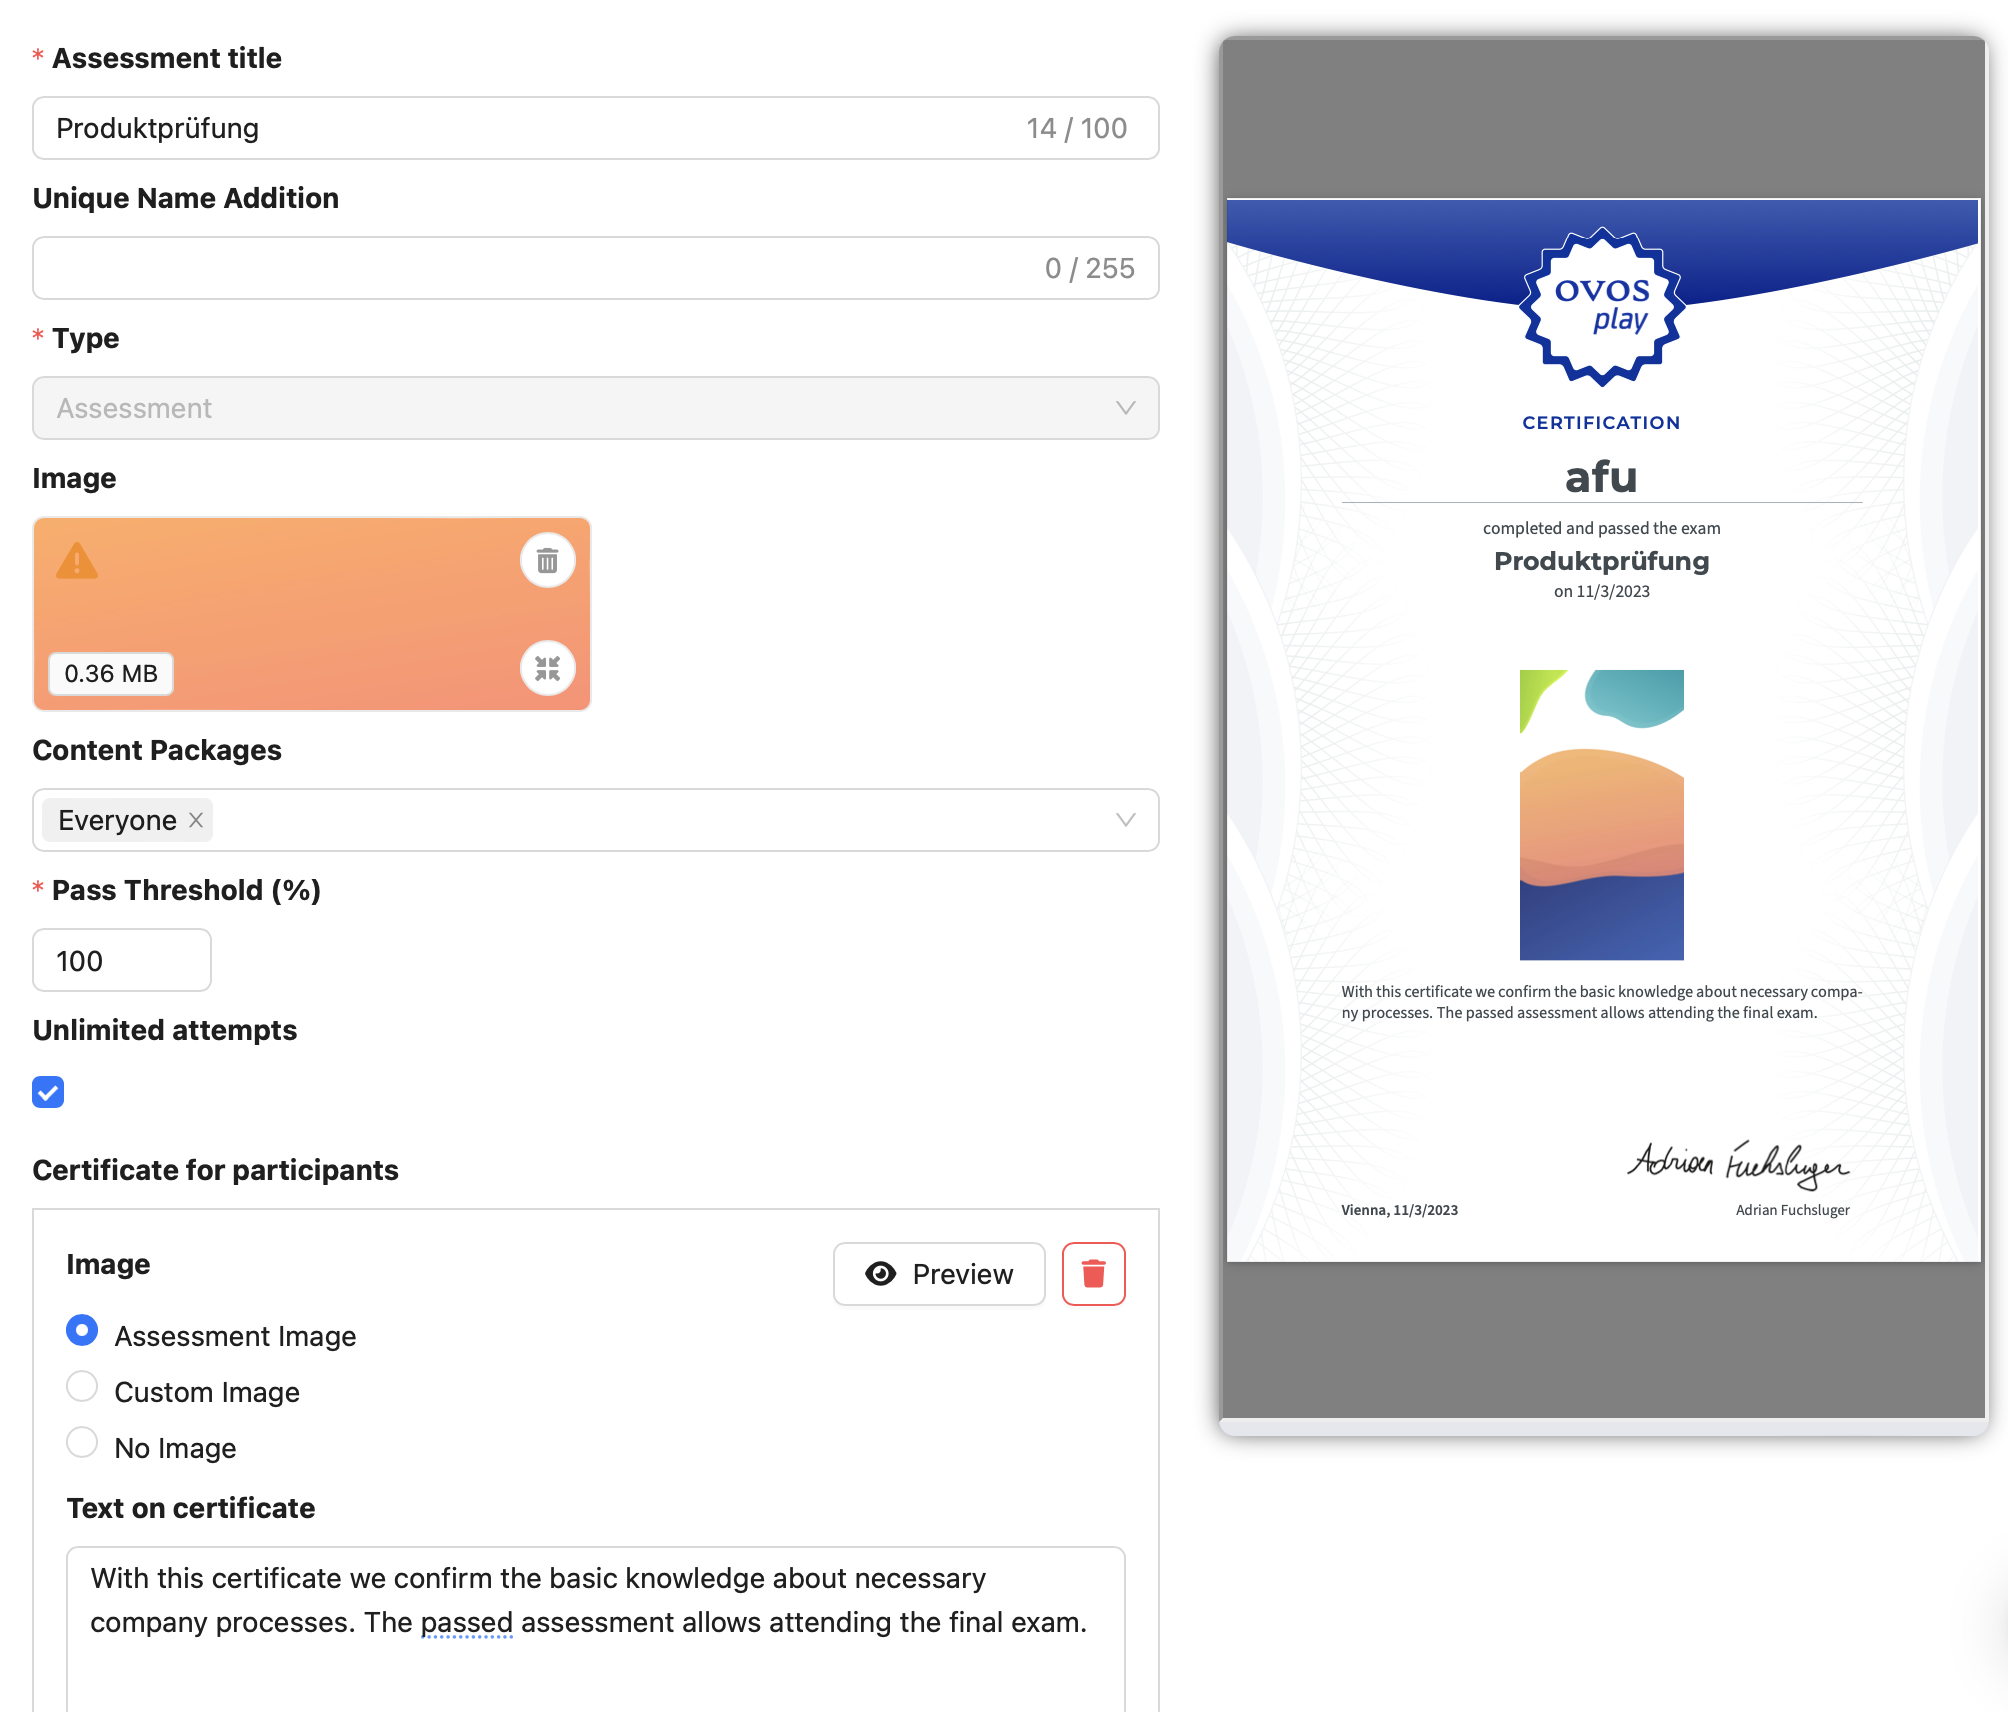
In the assessment editor, you can also add your own image for an assessment, which will be displayed in the library and on the title card. For each assessment, you must also define a threshold value (in per cent) that indicates how many questions must be answered correctly in order to pass the assessment.
In addition to the threshold value, an assessment must also define a number of attempts. You have two options for this:
The number of attempts is unlimited and can be repeated as often as required.
The number of attempts is limited to a maximum number.
To create an assessment without an attempt limit, tick the Unlimited attempts checkbox.

With the maximum number of attempts, users only have this number of attempts to pass the assessment once. Once the assessment has been passed once, it is considered complete and cannot be repeated. Once all attempts have been used up, the assessment can also no longer be repeated.
To configure a maximum number of attempts, leave the checkbox under Unlimited attempts empty and enter the number of attempts in the Maximum attempts field. One attempt is granted by default, you can freely select the number in the range from 1 to 99.
Display competence results
The result of an assessment that is displayed for learners can be expanded with competency results. This gives learners more detailed information about their exam result.


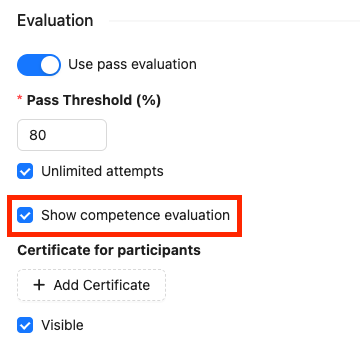
To configure competence results, you will find the Show competence evaluation checkbox in the Evaluations section.
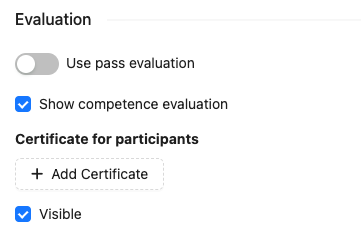
Displaying the competency evaluation is optional. If you wish, you can also only display the competency evaluation and dispense with a pass/fail assessment. To do this, deactivate the evaluation method with the toggle.
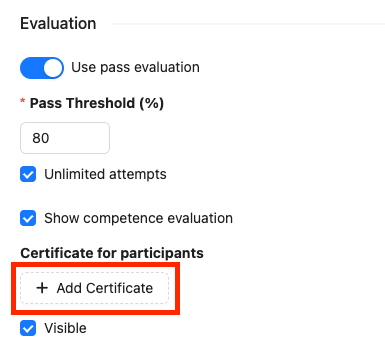
If you wish, you can generate an automatic certificate for users who have passed an assessment. To do this, you need to add a certificate to the desired assessment. To do this, click on the button of the same name in the editor.
If you add a certificate, you can add further details for the certificate.
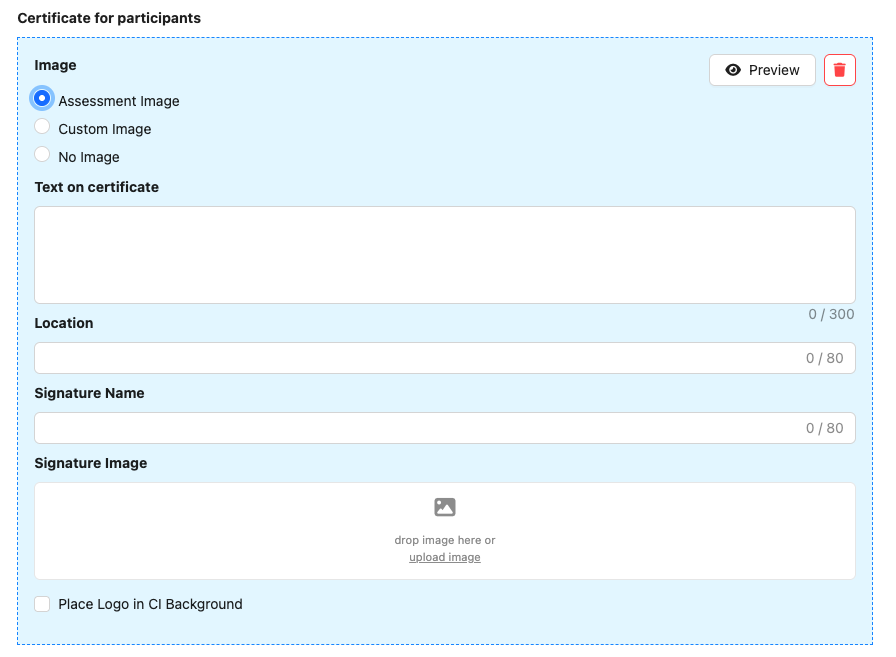
You can decide whether you want to display no image or the assessment image on the certificate or upload a customised image.
You can use the text input field to add a text for the certificate. This can be useful if you want to emphasise the skills learned or write more detailed explanations about the assessment.
The place and date of issue can also be displayed on the certificate. For a personal signature, you can assign a signature name and upload a signature or stamp as a signature image.
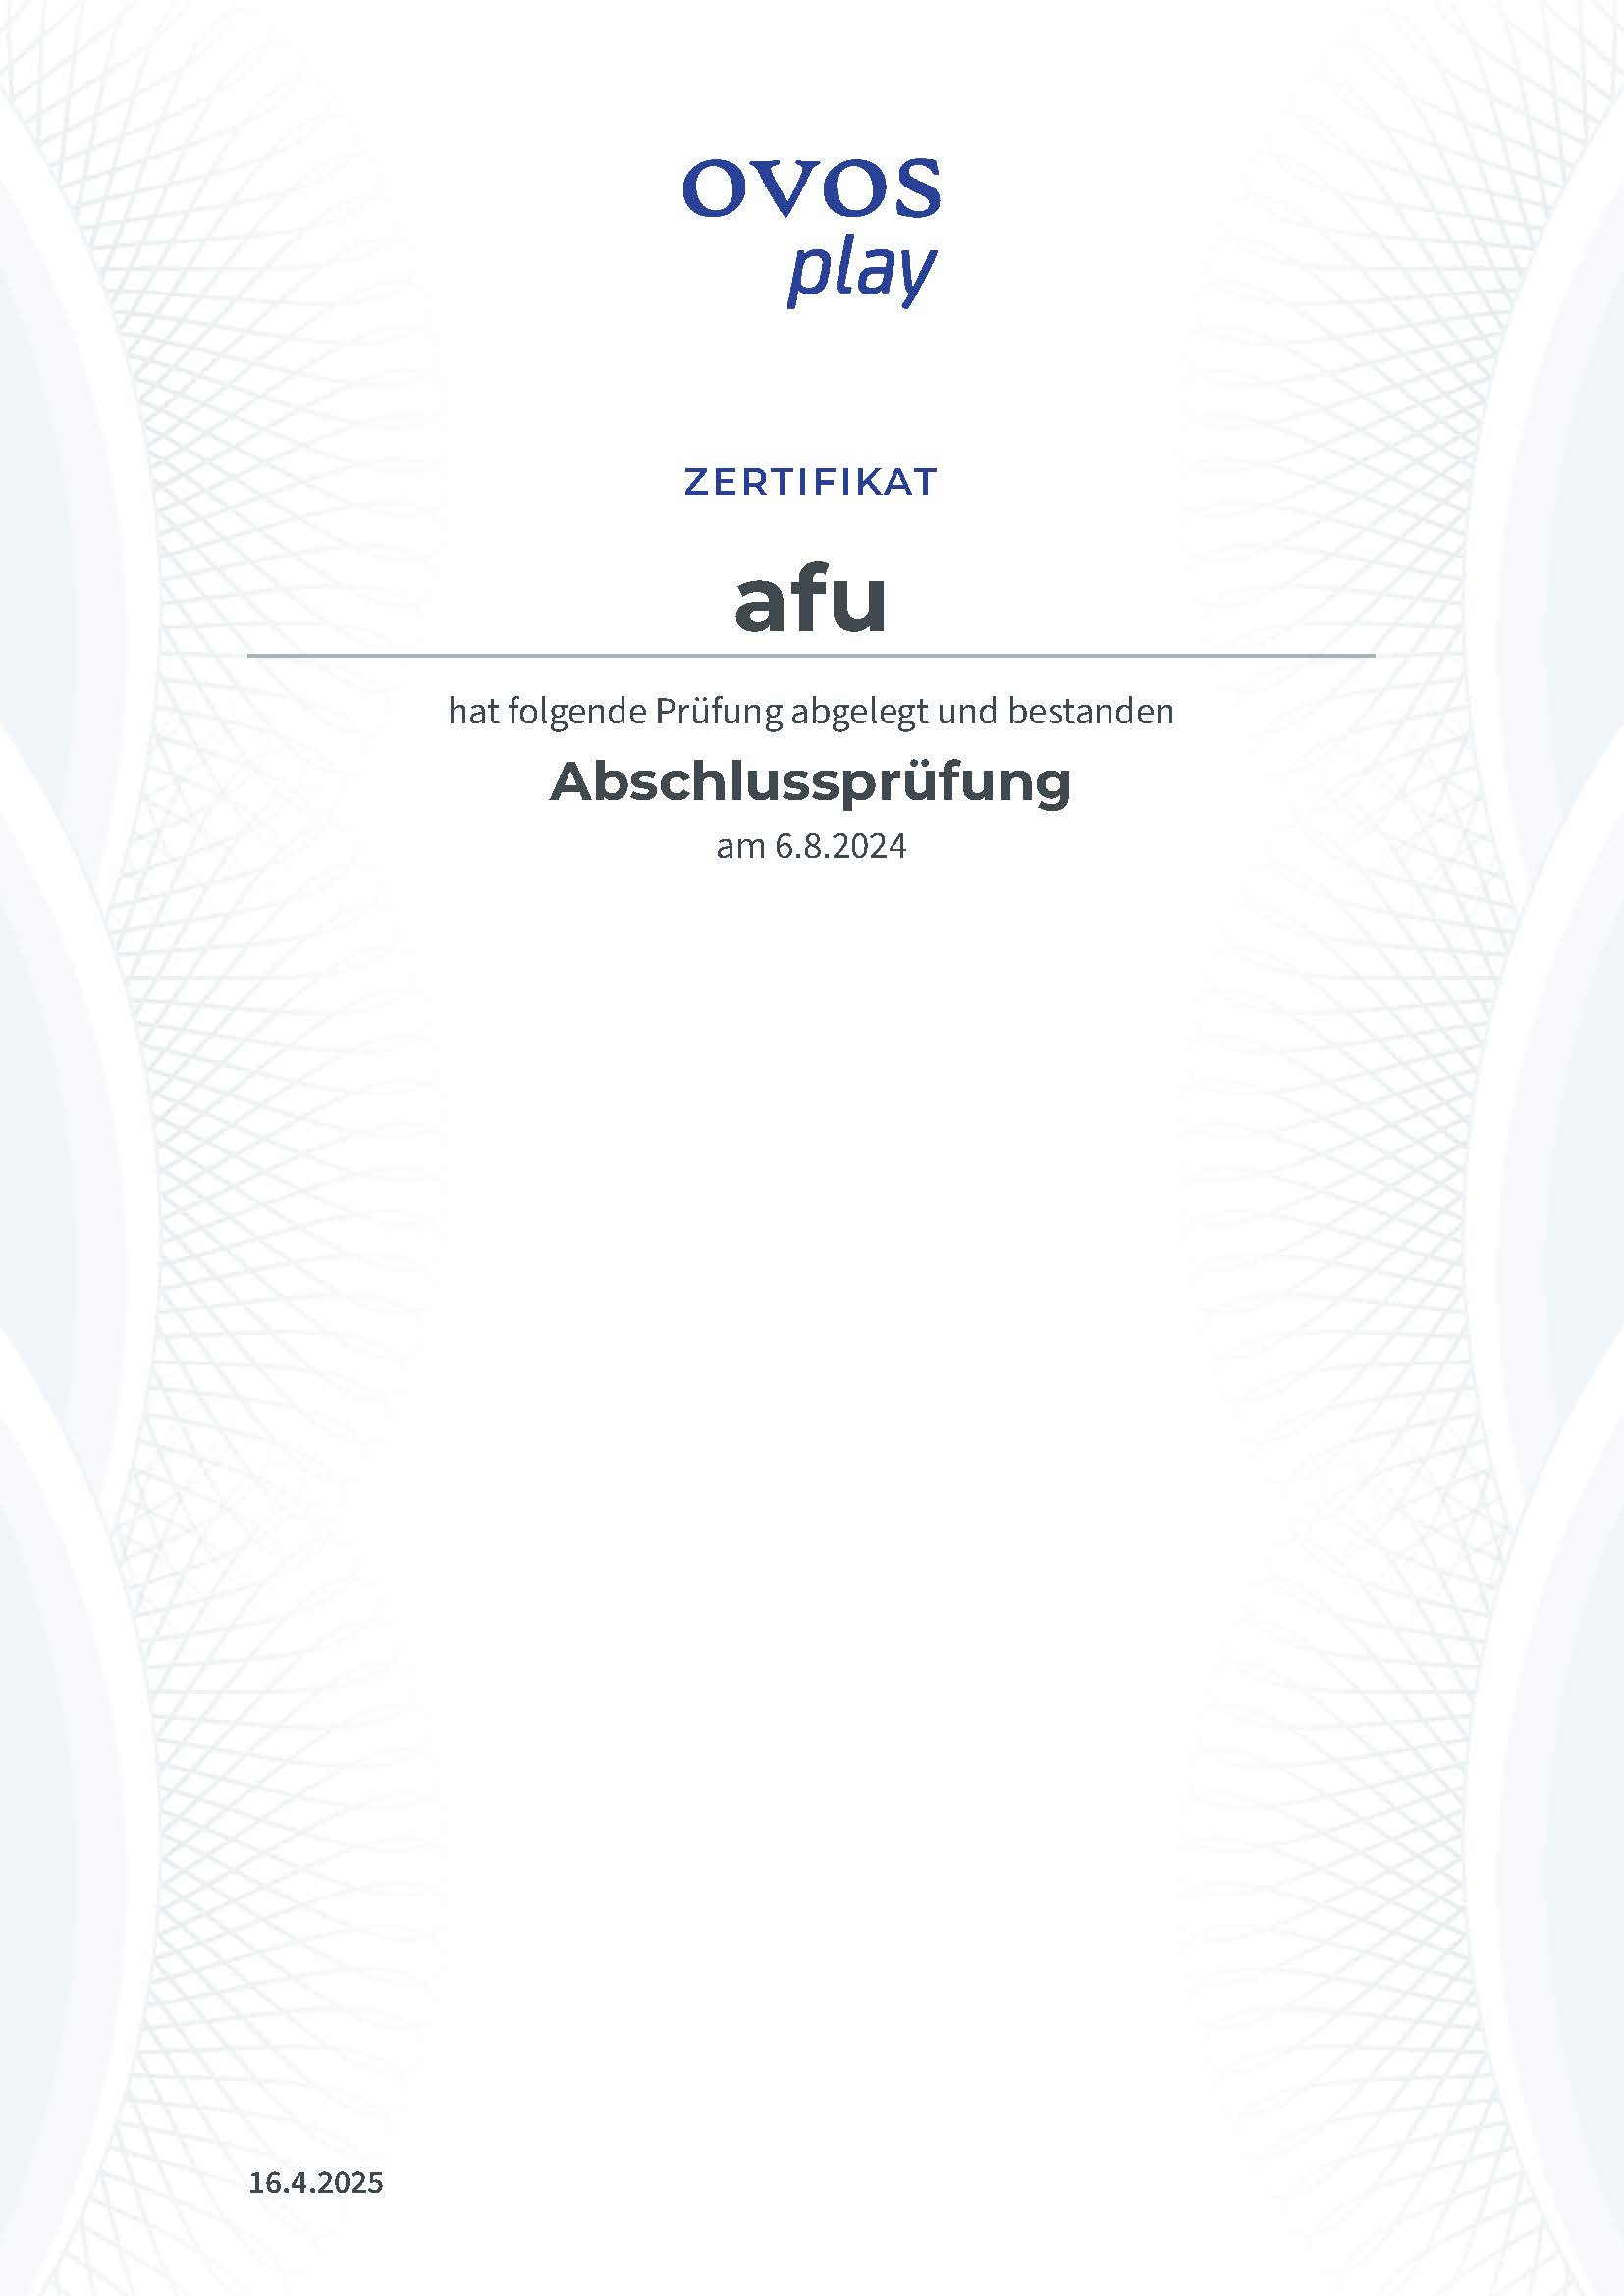
Additionally, you can define if the app logo on the certificate is placed on a colored CI background or plain on the certificate. When the logo is not placed on a CI background it will be a more subtle design and the logo appears bigger.
Once you have completed your configuration, you can generate a preview of the PDF certificate. To do this, click on Preview in the certificate editor area. The certificate will now be displayed instead of the title card.
Save the changes to the assessment to add the certificate with your configuration. Users can now download the certificate independently as a PDF if they pass the assessment.
Certificate without modification with CI colour and logo

Certificate with full modification
The user's nickname is displayed on the certificate first. If the first name and surname are already stored via an SSO interface, the full name is displayed instead.
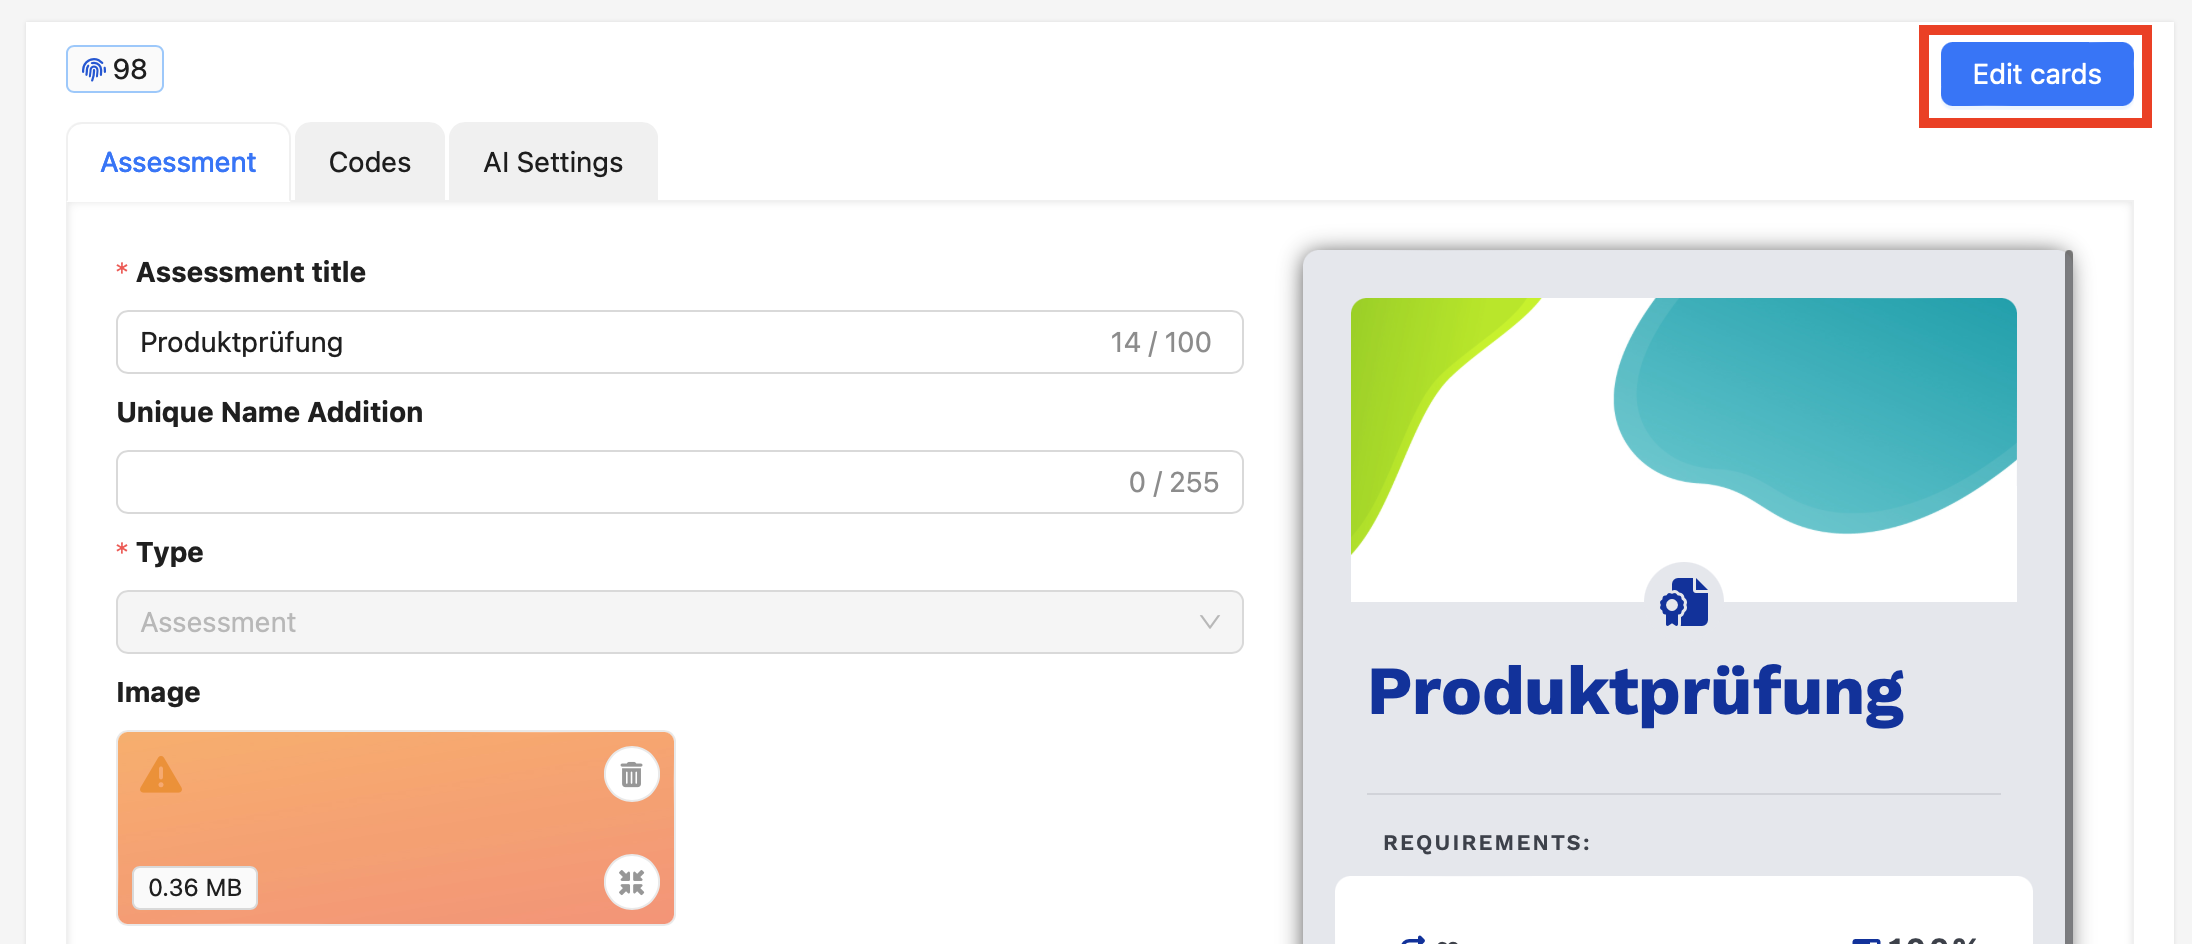
Once you have created the assessment, you can add cards in the same way as for decks. To do this, navigate to the card editor with the Edit cards button at the top right. Note that an assessment requires at least one question card to evaluate a result.
Assessments consist of at least one card pool. Card pools can either be displayed in the same linear sequence or randomly generate an assessment from a certain number of questions. The different pools are suitable for the following cases:
Linear pools
An assessment with specific questions that must be answered in any case
Place question cards on content cards according to a content context
Random pools
The assessment should be different for each attempt
From a pool of 100 cards, only 10 should be answered
The assessment consists of a set of questions of varying difficulty
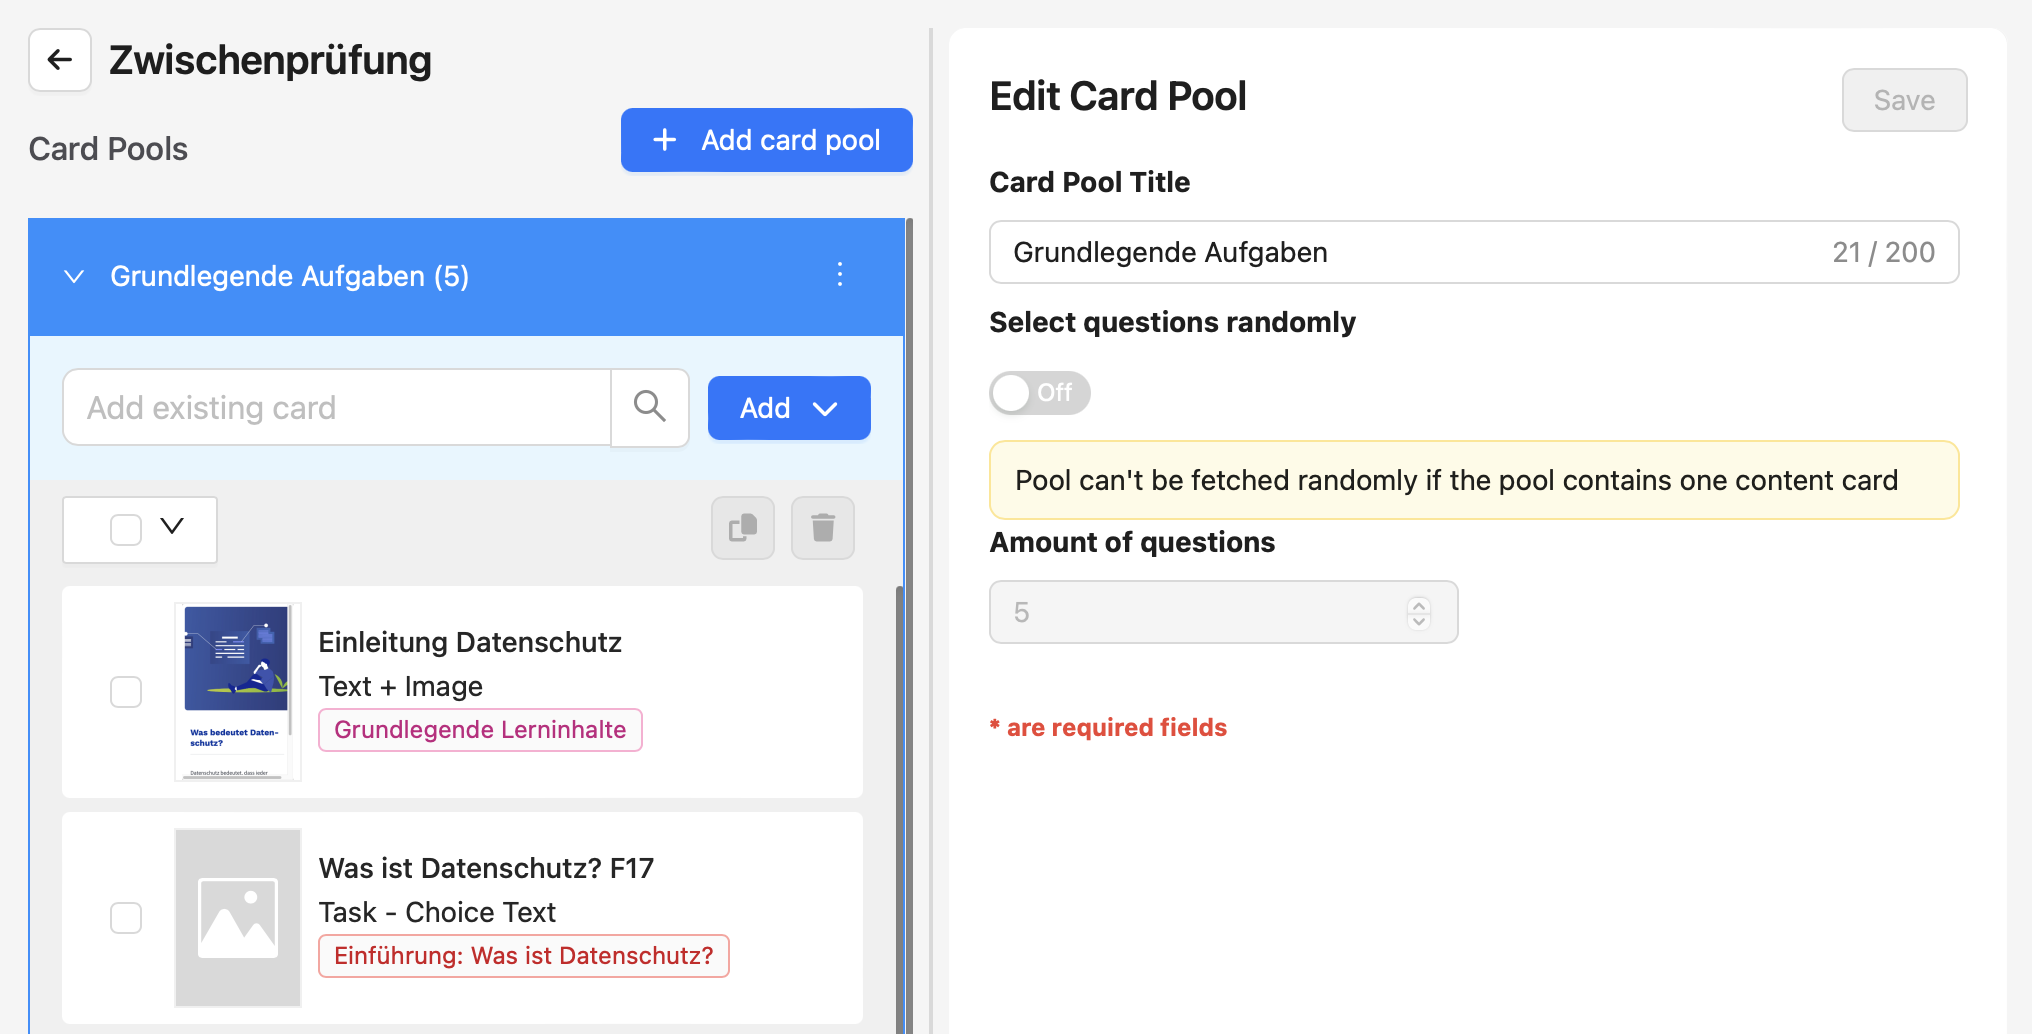
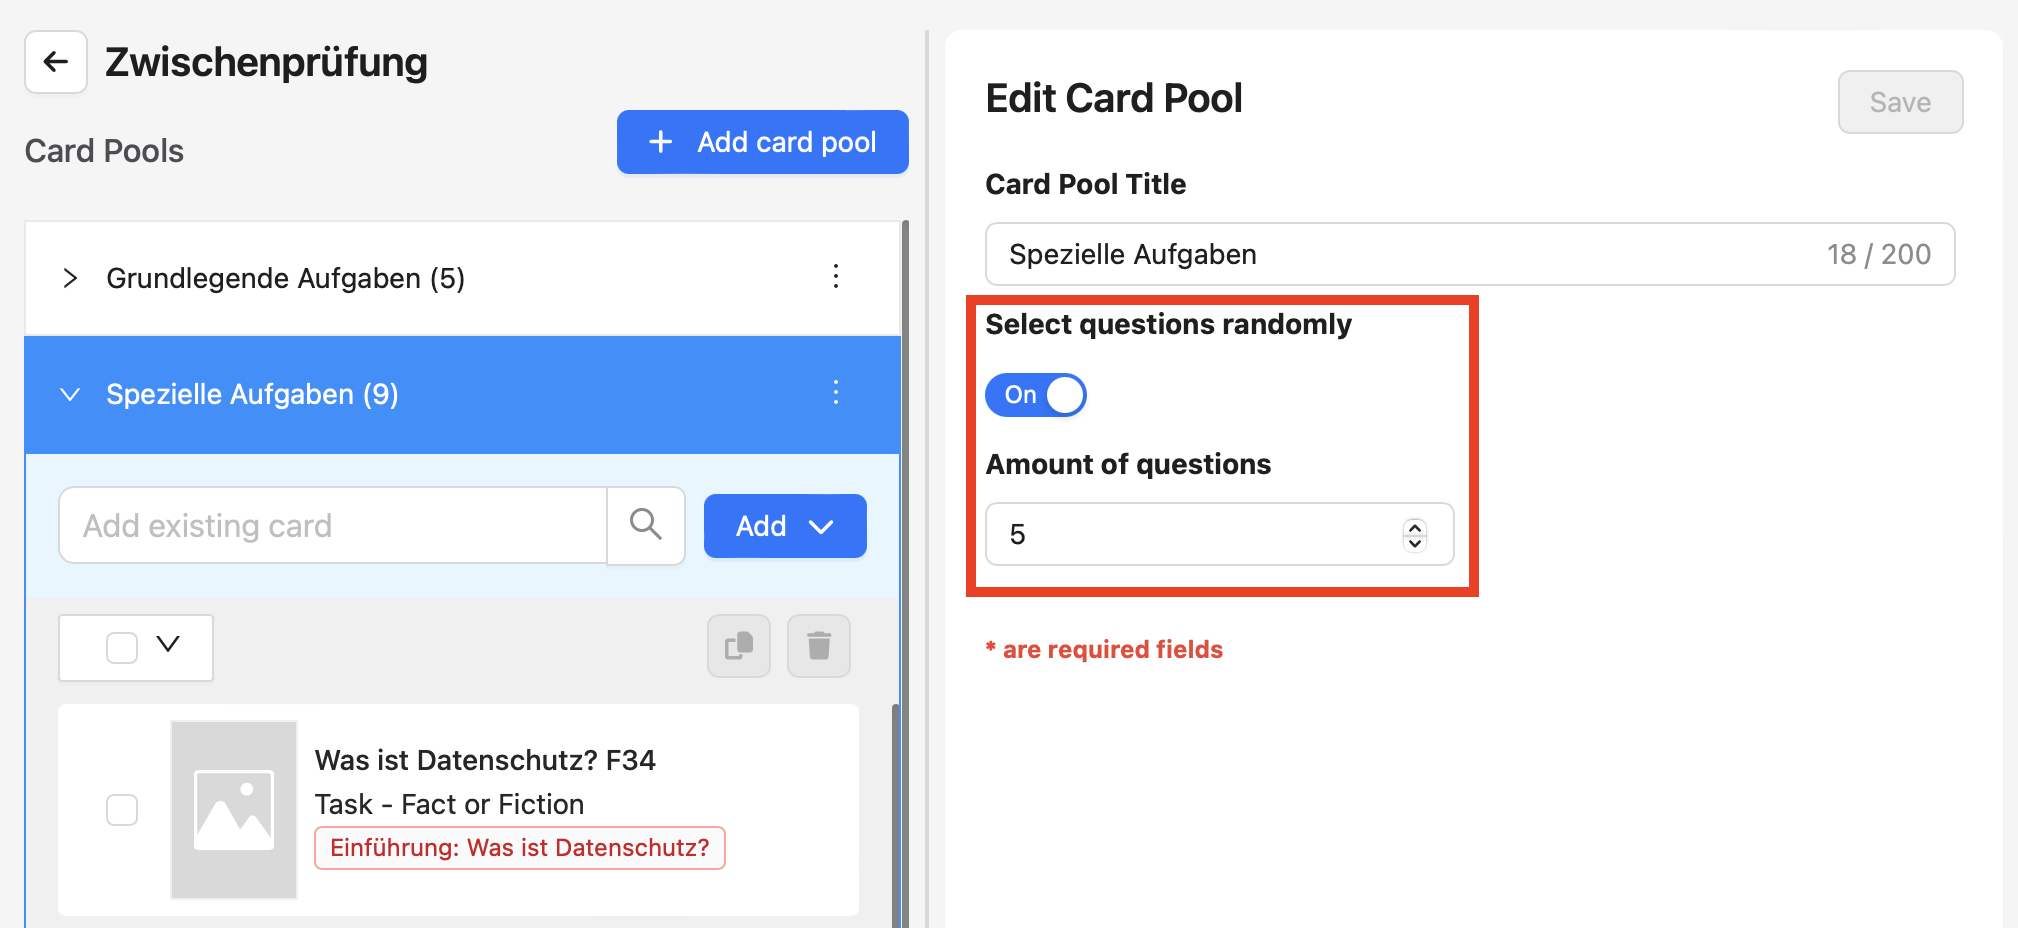
In the card pool editor on the right-hand side, you can give each card pool a title and specify whether it is a linear pool in which all questions are always displayed or whether the questions are randomly selected from the pool.
If you activate the random selection, you must also determine the number of randomly used questions.
Card pools can contain both content cards and question cards. With content cards, you can give users a context for the following question cards using text, images, video or audio.
Note: If a content card is used in a card pool, the pool is always linear and displays all cards in the defined order.
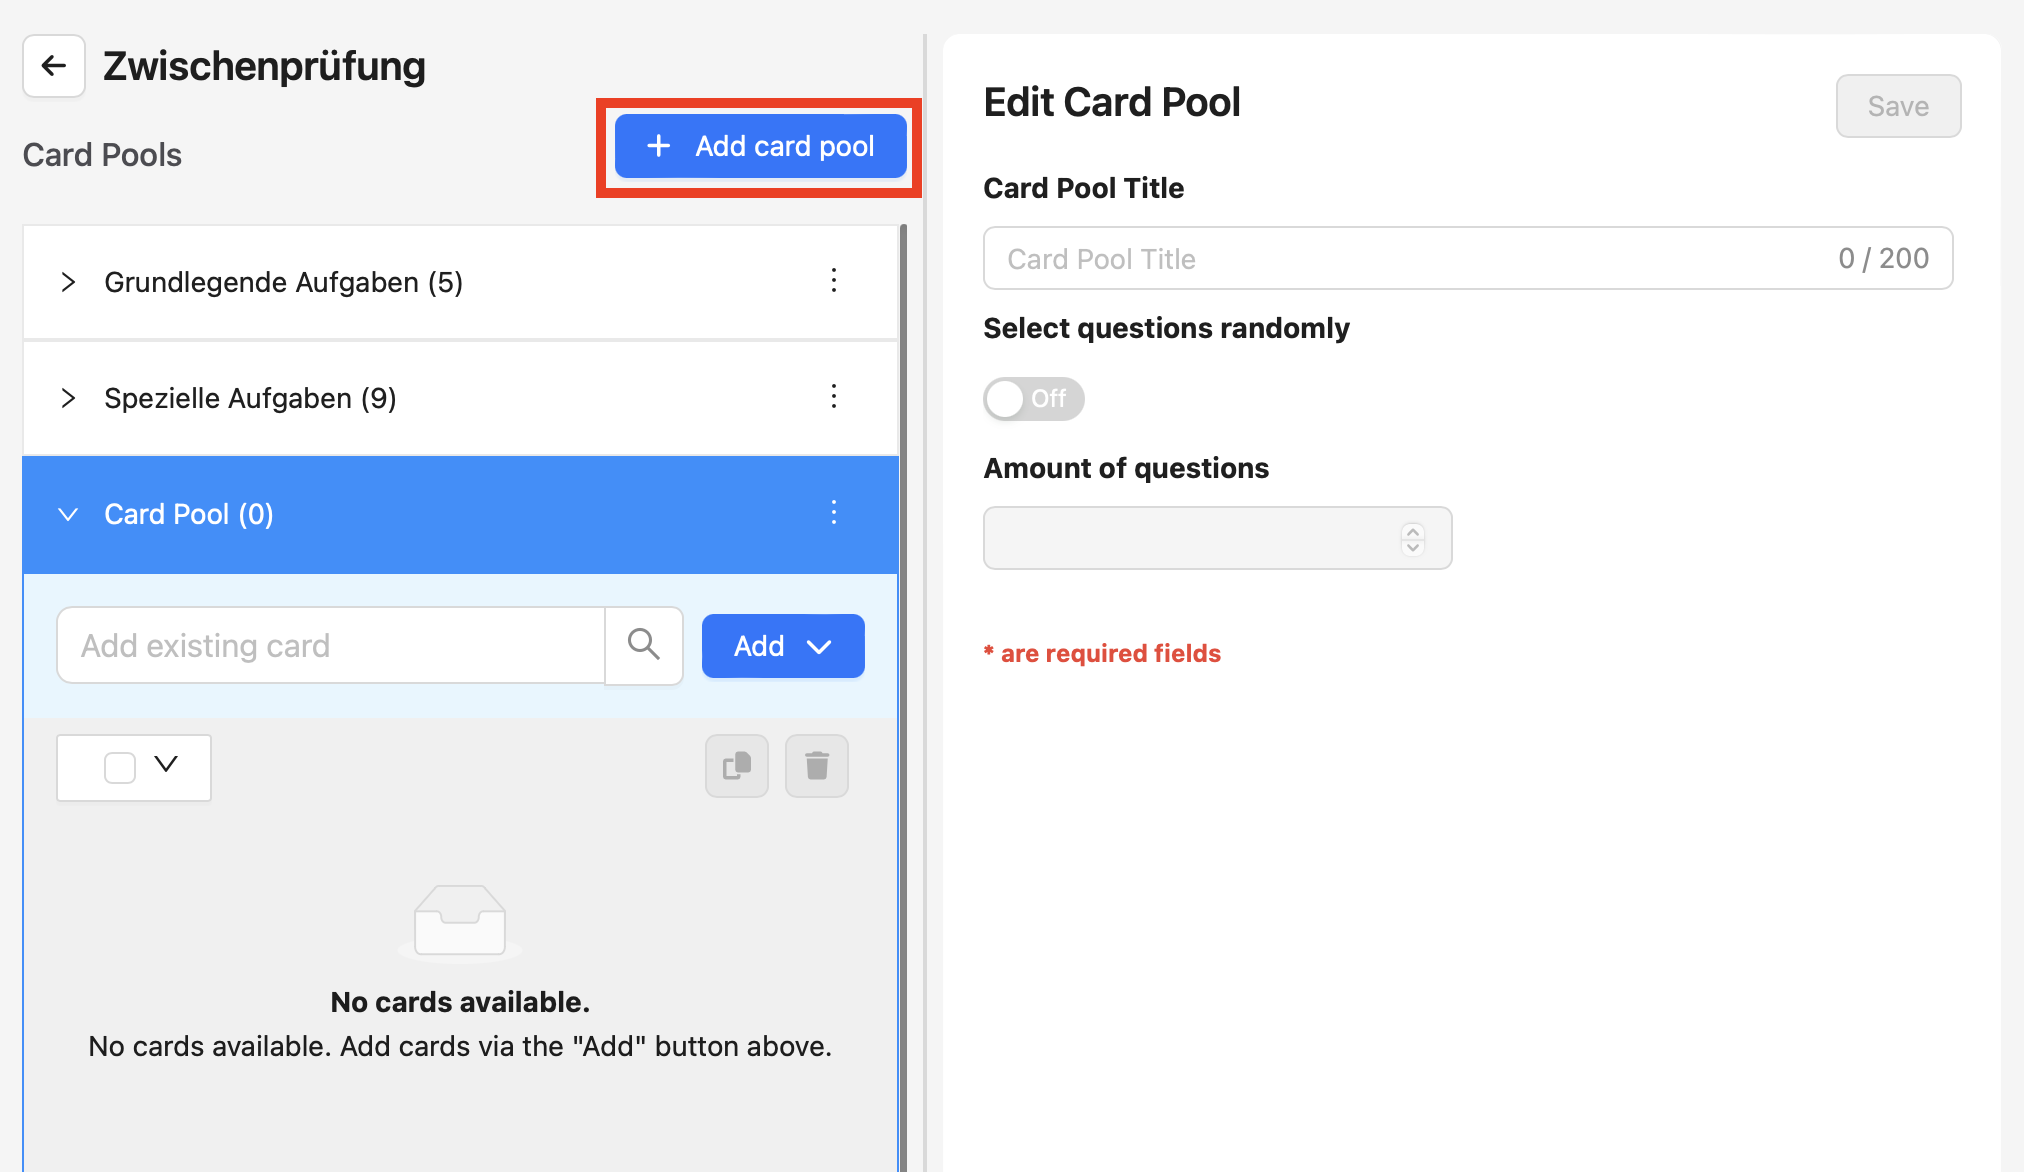
To add a new pool, click on the Add button on the left. The new pool is added to the existing pools and the existing pools are collapsed. Click on the desired pool to expand it again.
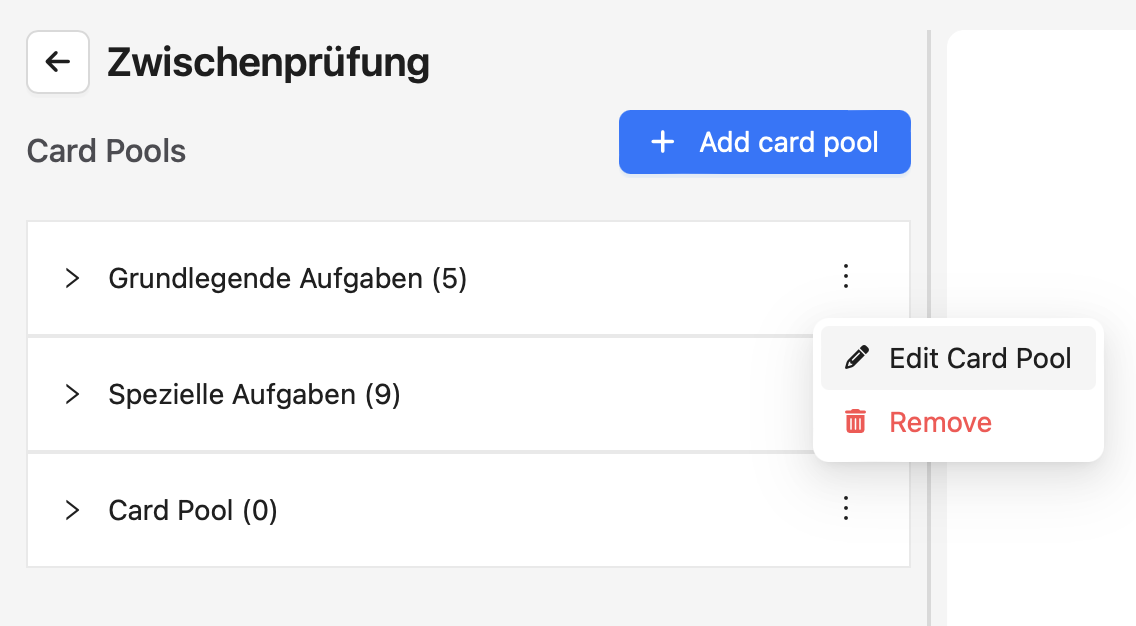
To edit or remove a map pool, click on the context menu of the map pool and the two options will be displayed. Removing a map pool does not delete the added maps, but removes the link to the map.
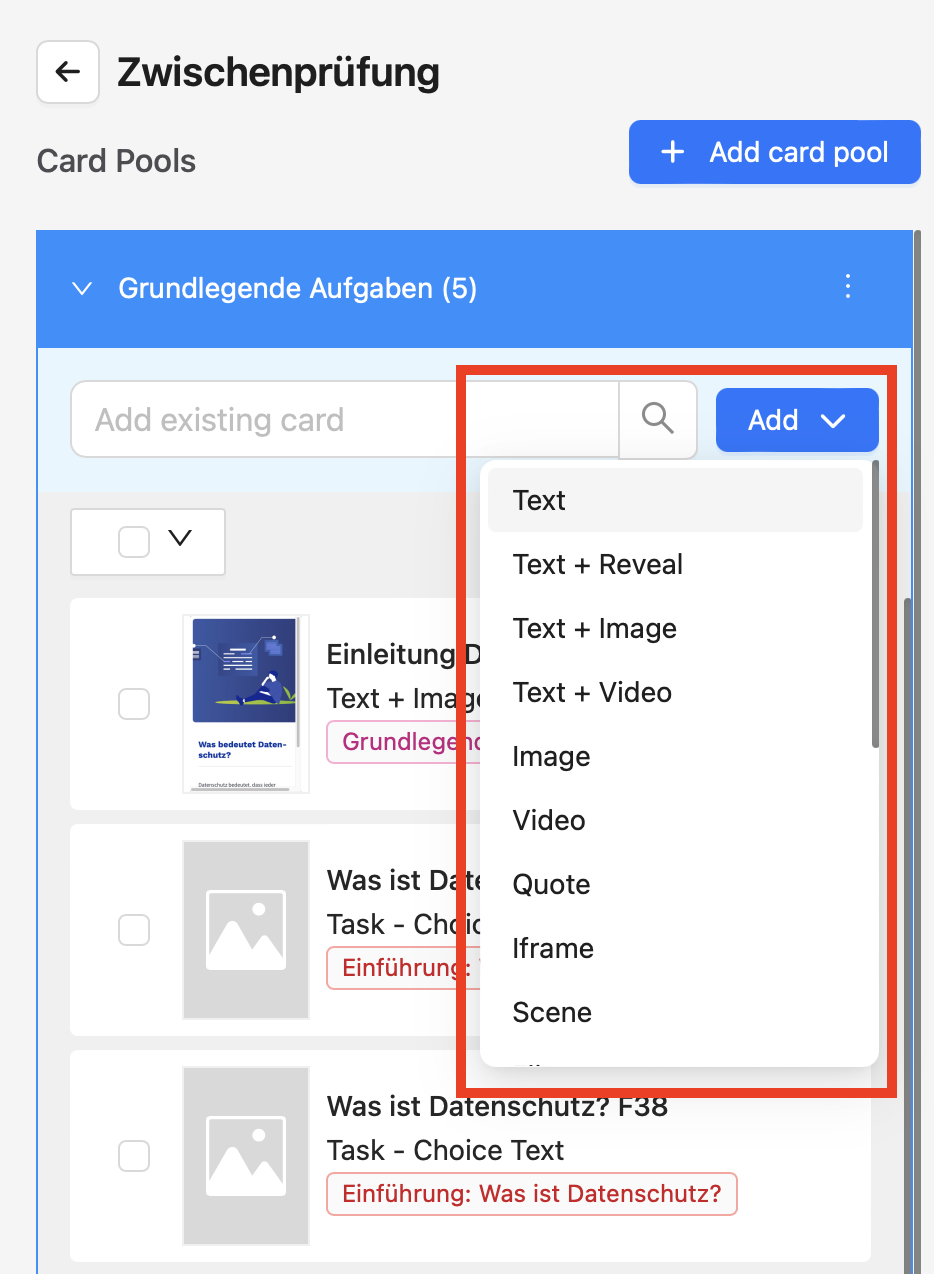
You can create new cards within a pool using the Add button.
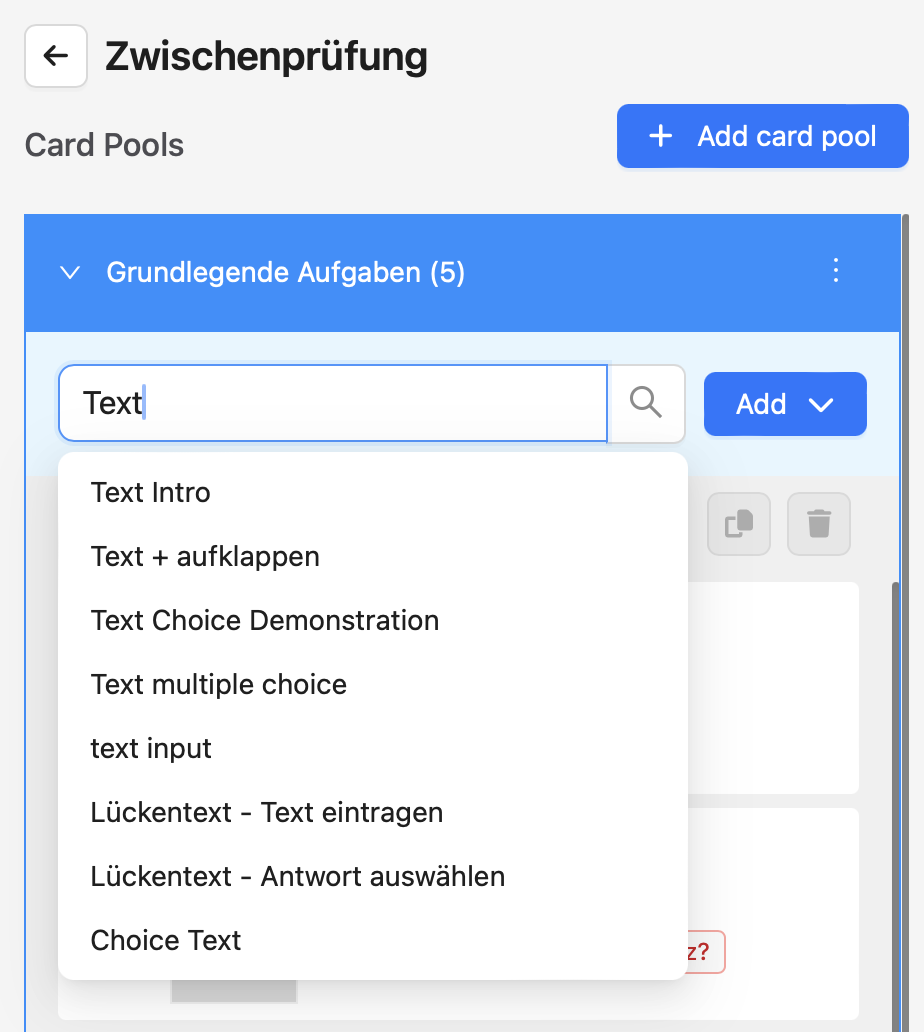
You can also search through all existing cards and add them to the card pool. When searching, the cards are searched by name.
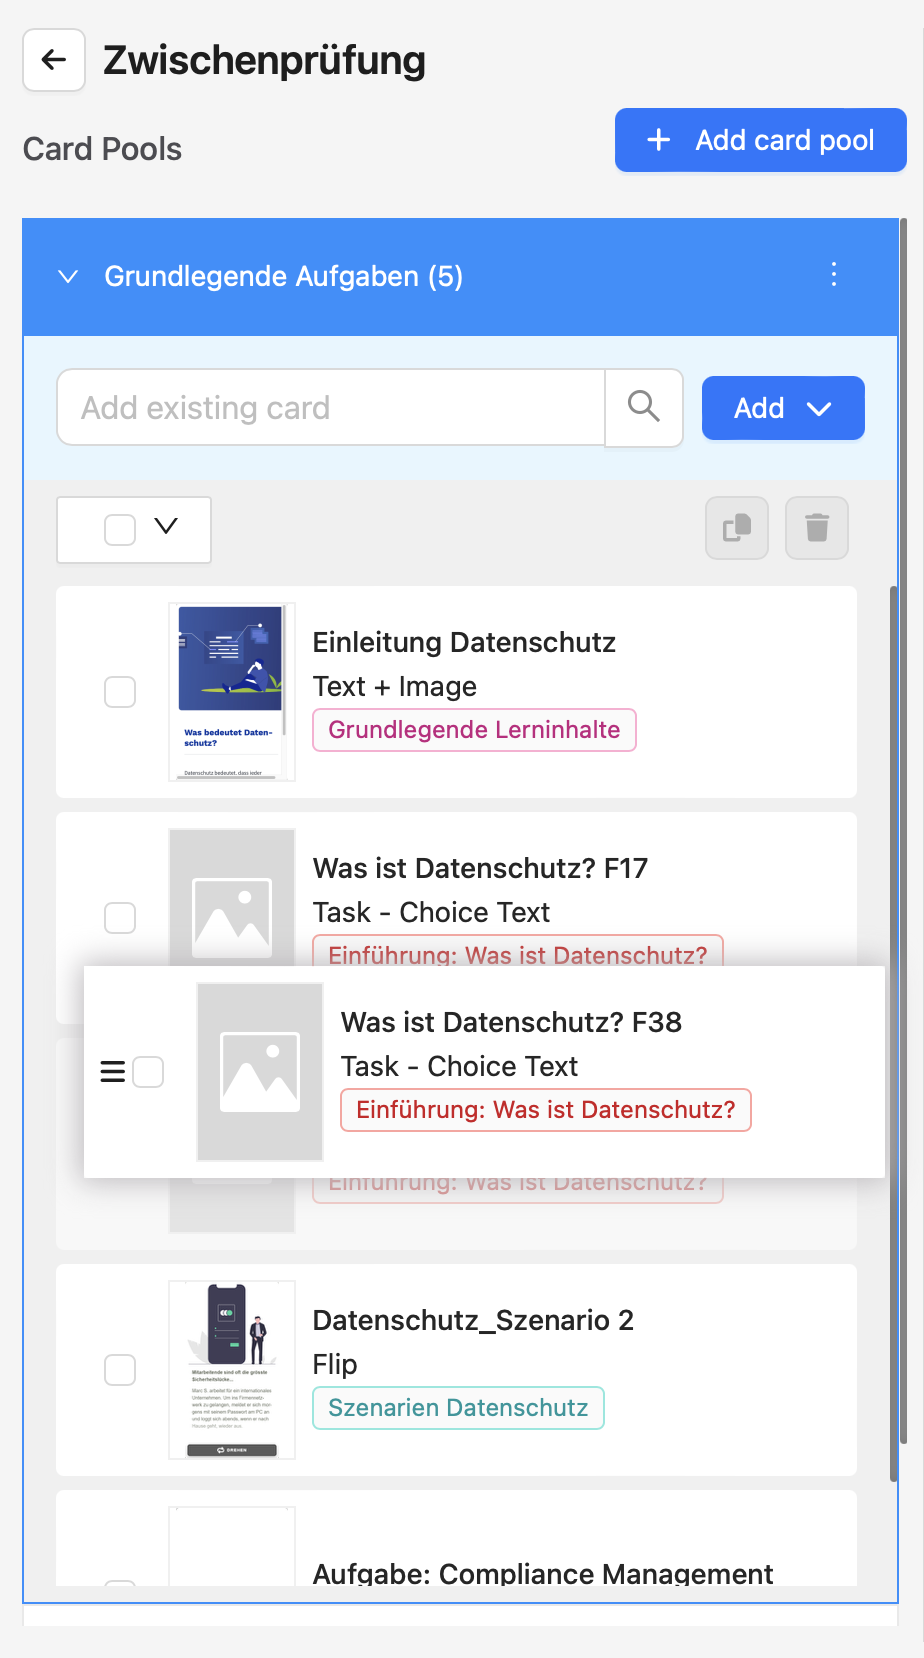
If you are using a linear pool, you can edit the order of the cards using drag and drop. With linear pools, the cards are then displayed in this order. With random pools, the order has no effect on the cards selected for the assessment.
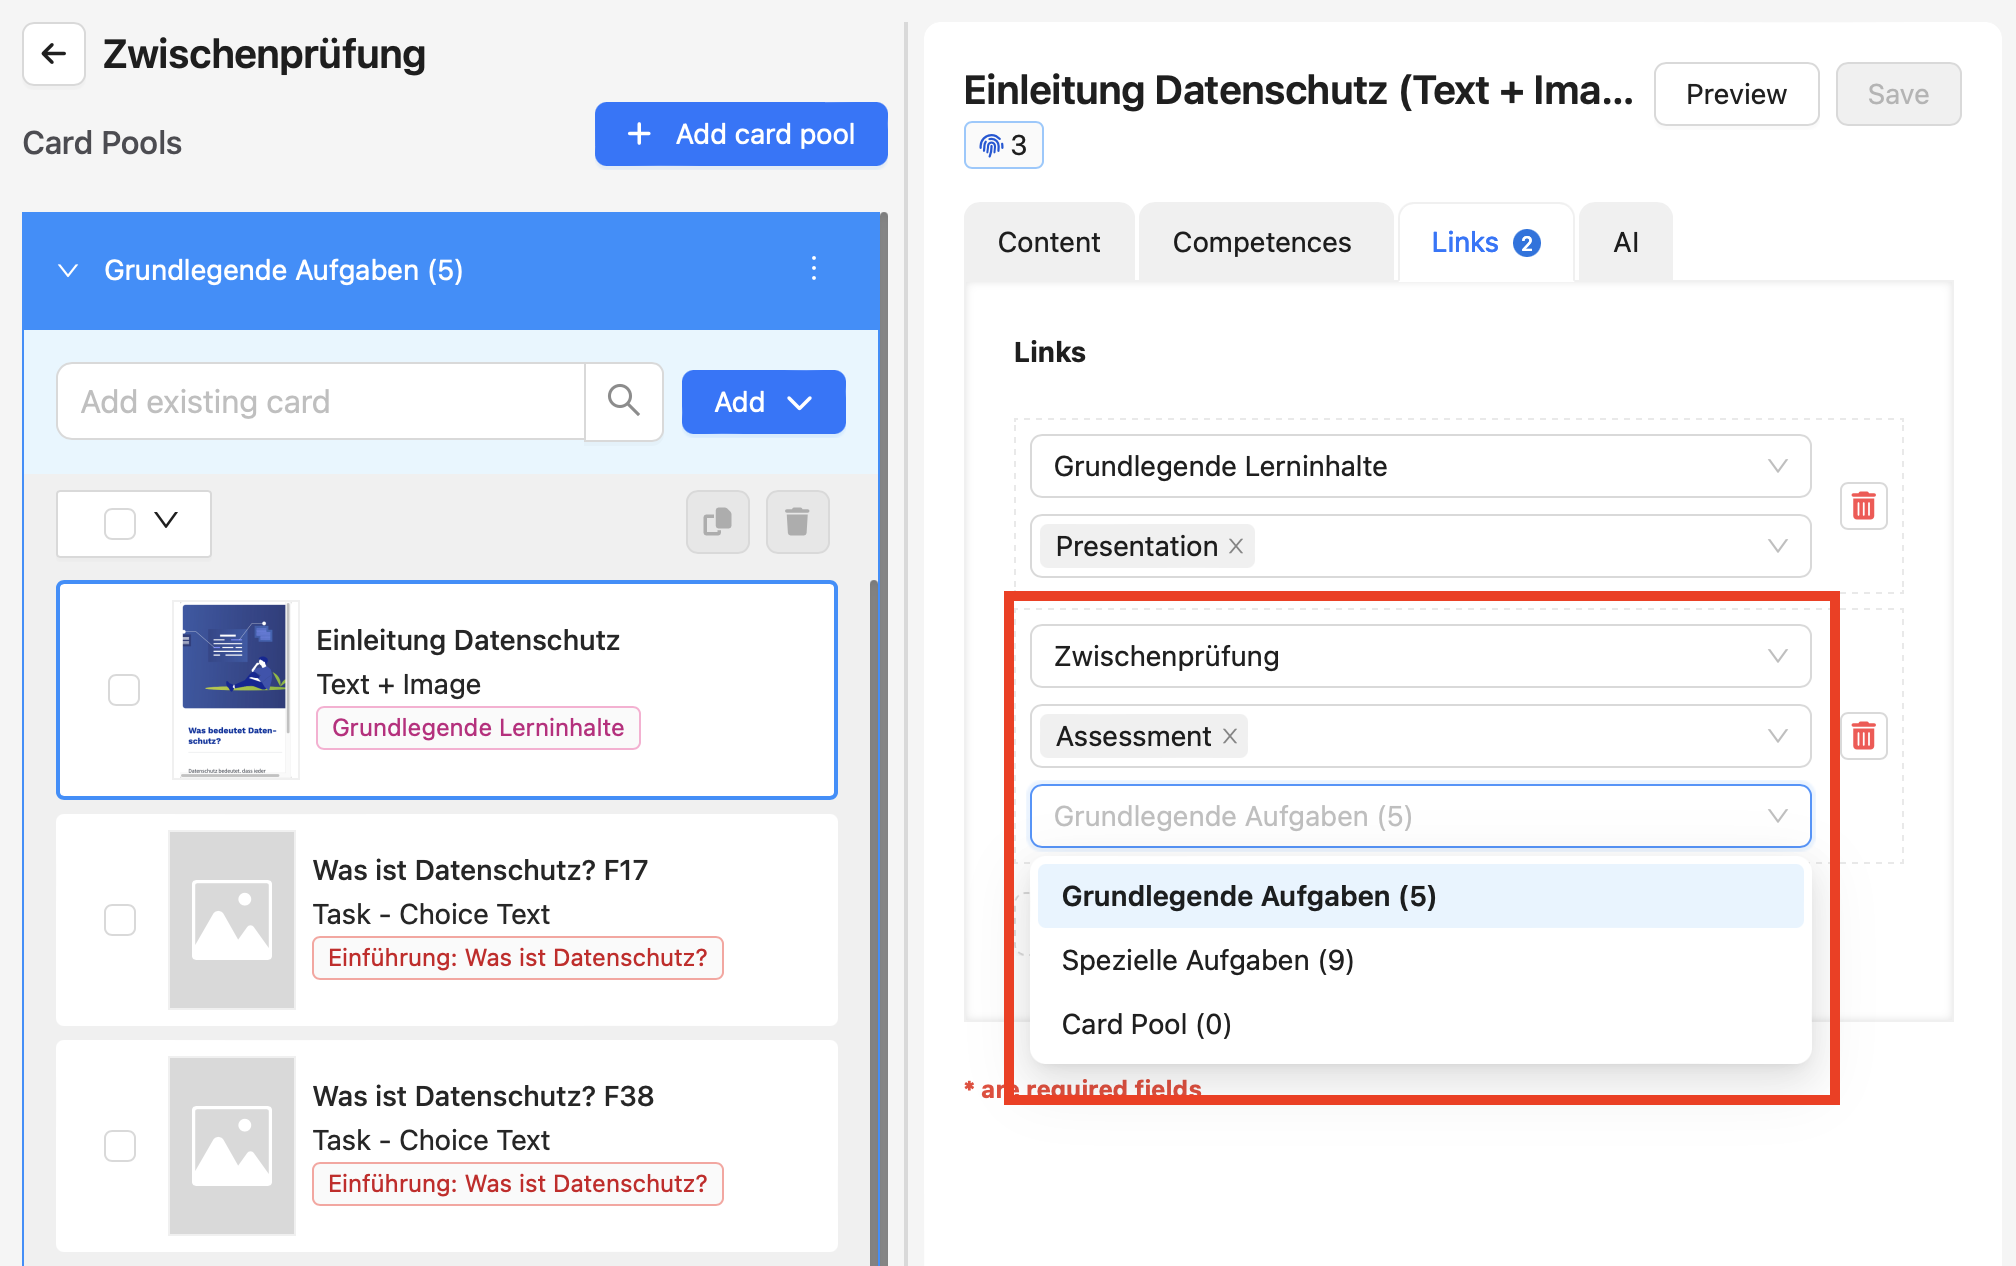
When you edit cards, you can also assign the card to an assessment and a card pool in the Decks tab. A card can only appear once in an assessment. Search for the desired assessment and select the desired pool in the input field.
The Assessments menu item gives you an overview of all the assessments you have created in ovos play.
Here you can search, filter and sort assessments. In the overview, you can create new assessments or edit existing ones.
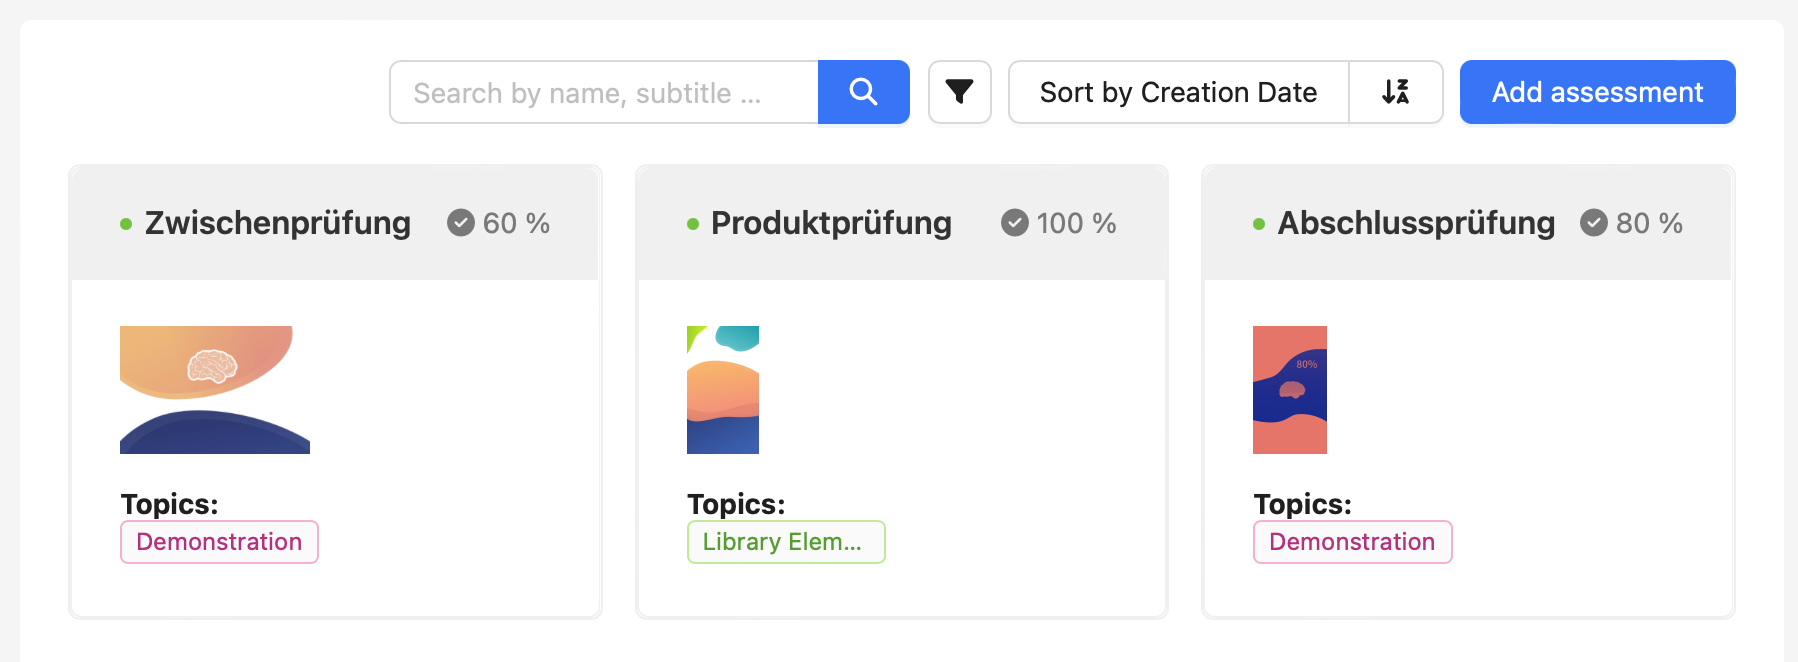
In the overview, you can see the defined threshold value for each assessment and also which topic the assessment is assigned to.
Similar to decks, you can only unlock an assessment once users have learnt or practised certain decks. You can find out more here: How do I add requirements for unlocking a deck?