Groups allow you to organize users in your instance and manage their permissions. To do this, you can use content packages for content assignment and roles for permissions in the Admin Dashboard.
In the following three videos, we will provide you with all the basics of working with groups and content packages.
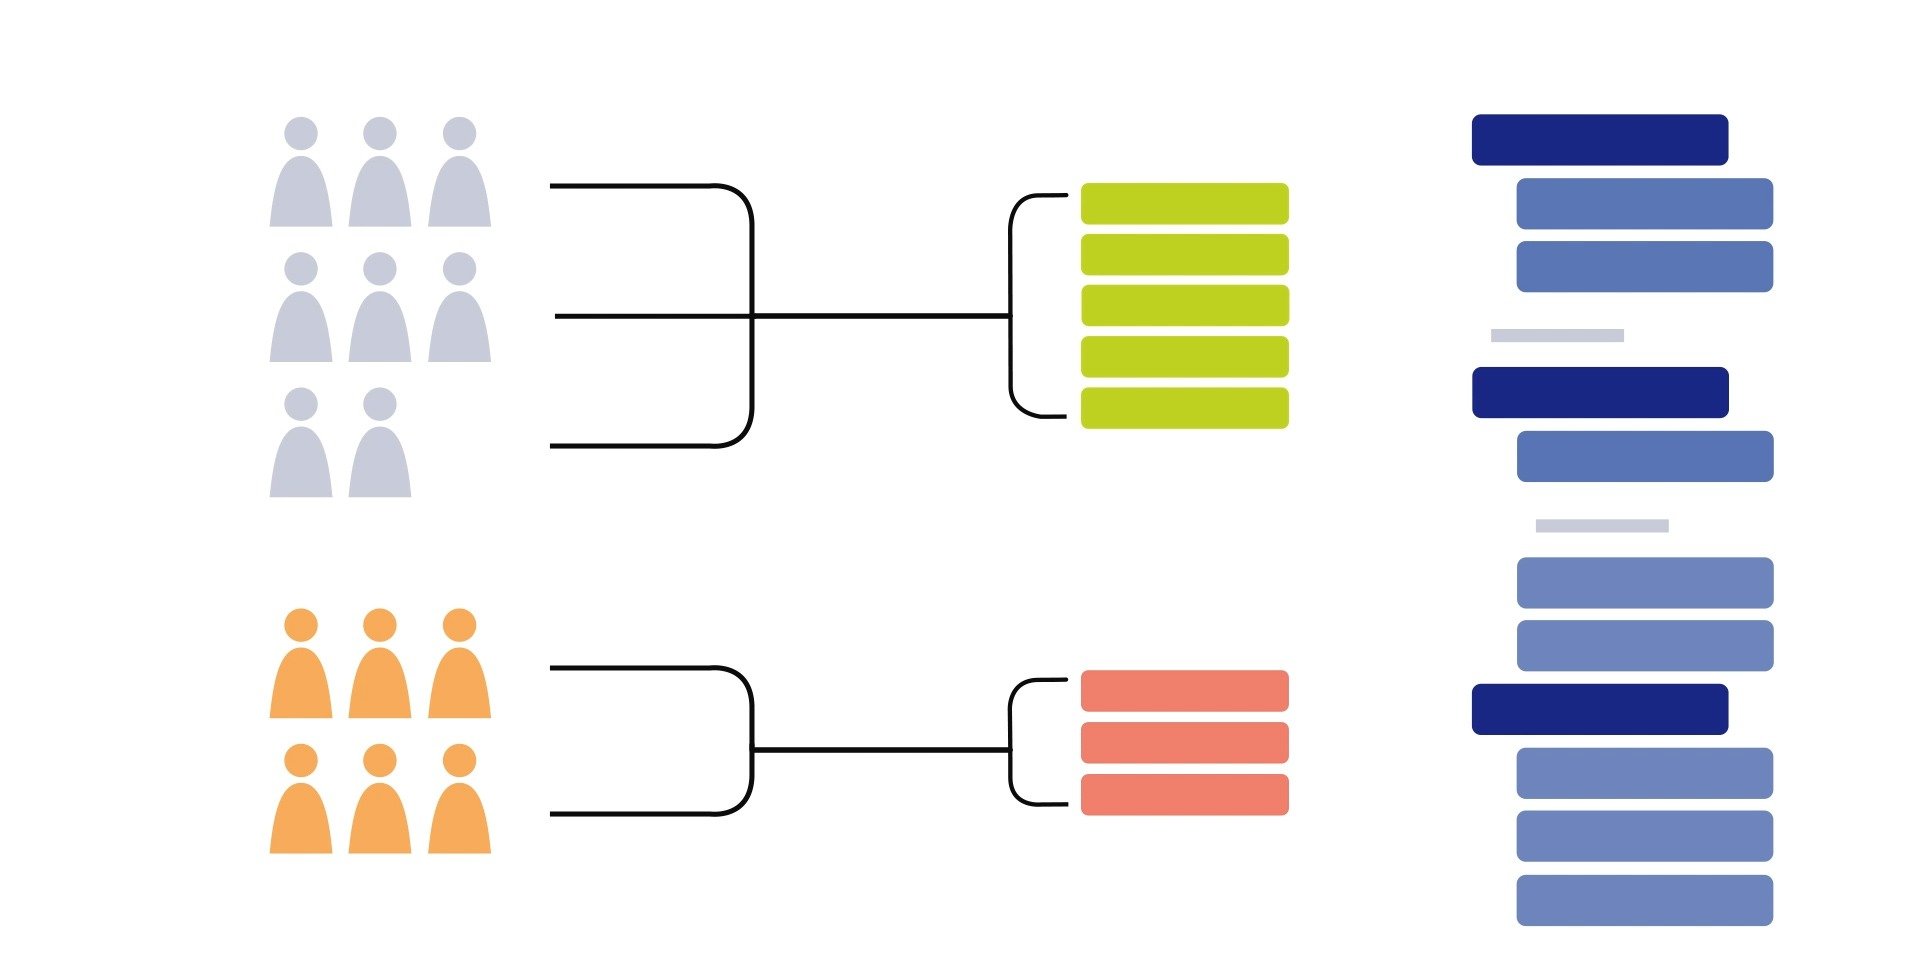
Often, it makes sense to make learning content available only to specific users. To simplify the management of multiple pieces of content, you can bundle the relevant items from your library into content packages. These resulting content packages can then be made accessible to selected users. To achieve this, you can group users together and then assign specific content packages to each group.
Under the "Groups" menu, you will find an overview of all the existing groups. On the left side, you'll see the hierarchical structure of the groups. A group determines which users can be "viewed" by an admin or analyst.
"Viewed" means that users are displayed in the overview or statistics and can be edited. An admin or analyst can only see users who are in the same group or a subordinate group. Multiple group assignments are possible.
To add a new group, use the "Add Group" button. After clicking, a new group will automatically be added to the end of the list. You can easily adjust and move the group structure through drag and drop.
If you want to add a sub-group, there are two ways to do it:
Drag and drop one group under another.
Click on the context menu of a group and select "Create New Subgroup."
In the editor on the right side, you'll find a list of users already assigned to the group. To add new users, use the "Add Users" button at the top right.
Select all users using the checkboxes and click "Add Users" to assign them to the group.
Groups or individual users can be assigned content packages. The assigned content packages then determine the visibility of learning content.
In the "Content Packages" section, you will see an overview of the existing content package structure. To create a new content package, click on "Add Content Package." A new content package must have a unique name and a parent content package in the hierarchy structure.
Users in a parent content package can also see the contents of all subordinate packages. Users in a subordinate package cannot see the contents of the parent content packages.
Library entries at the deck level can be assigned to content packages. If at least one deck in a theme is visible through the content package, the theme will also be displayed in the app.
To group learning content into content packages, navigate to the library. Create or edit a deck and switch to the "Deck" tab. Scroll to the "Content Packages" section and click in the input field to display all available content packages. Select the desired content packages using the checkboxes.
Through groups, you can simultaneously determine the visibility of learning content for multiple users. Select the desired content packages for each group.
The content assigned to the content package is visible to users within the group. Content package assignments are also passed on to subordinate groups.
Roles determine the permissions for users in the Admin Dashboard. In ovos play, you can assign the following roles:
sysadmin
admin
author
trainer
analyst
live_teacher
learner
The detailed permissions of the individual roles can be found in the article What roles are there in ovos play?
You can set a role for each group. Select the desired group and click in the Roles field in the editor on the right-hand side to display all available roles. Select one or more roles that you want to assign to the group. Once assigned, all users in the group will receive the selected role. Roles are not inherited by subgroups.
To assign an individual role for individual users, proceed as follows:
Save the new user account.
Switch to the Roles tab.
Select one or more roles.