You can add documents as separate elements in the library in the Admin Dashboard. The document is then displayed in the Explore section of a deck. Like a normal deck, a document can also contain a summary and an exercise section.
Go to the library in the Admin Dashboard to add decks and documents.
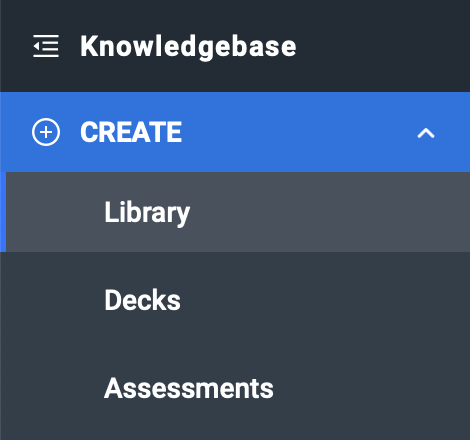
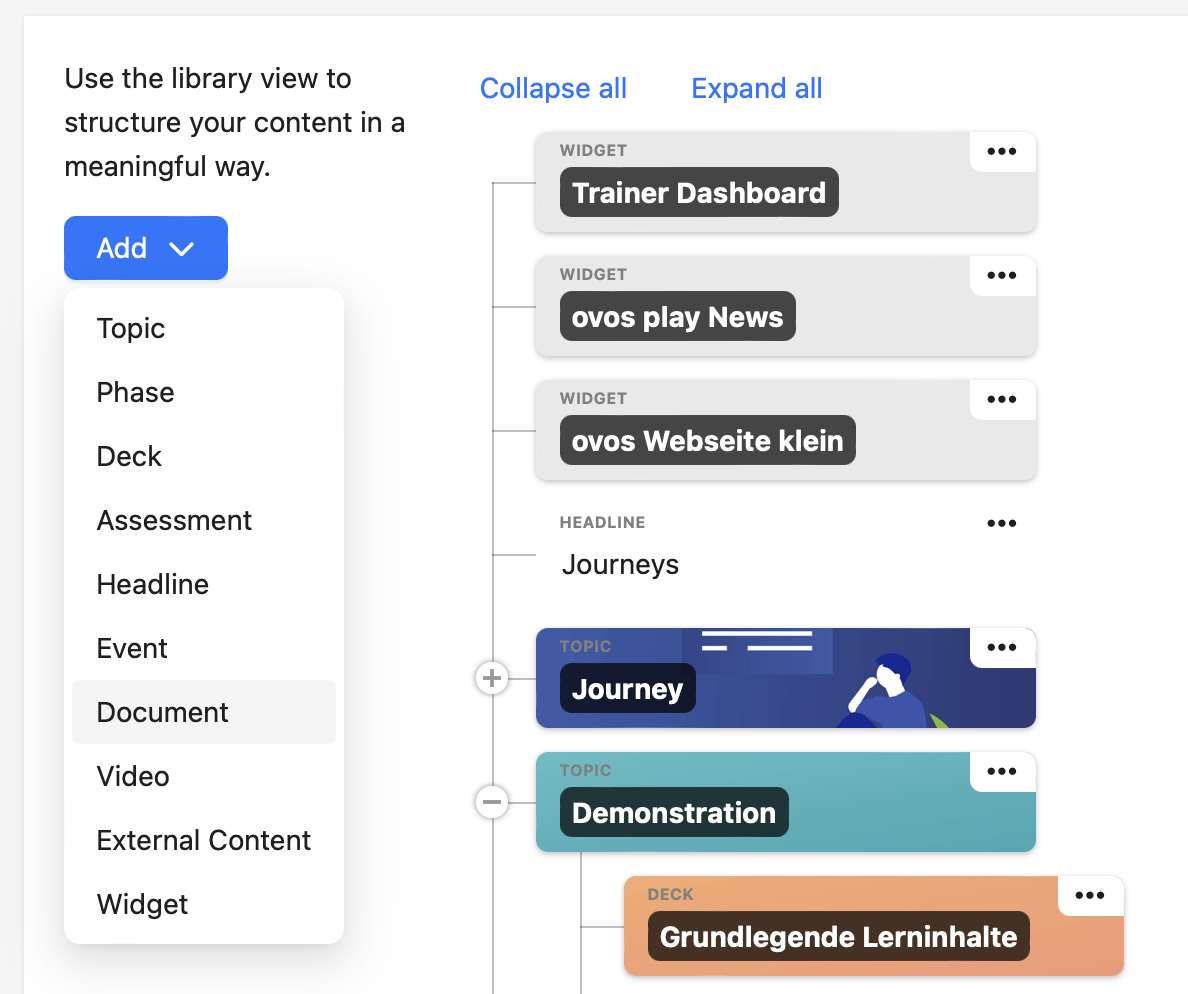
Click on the Add button within the library and select Document.
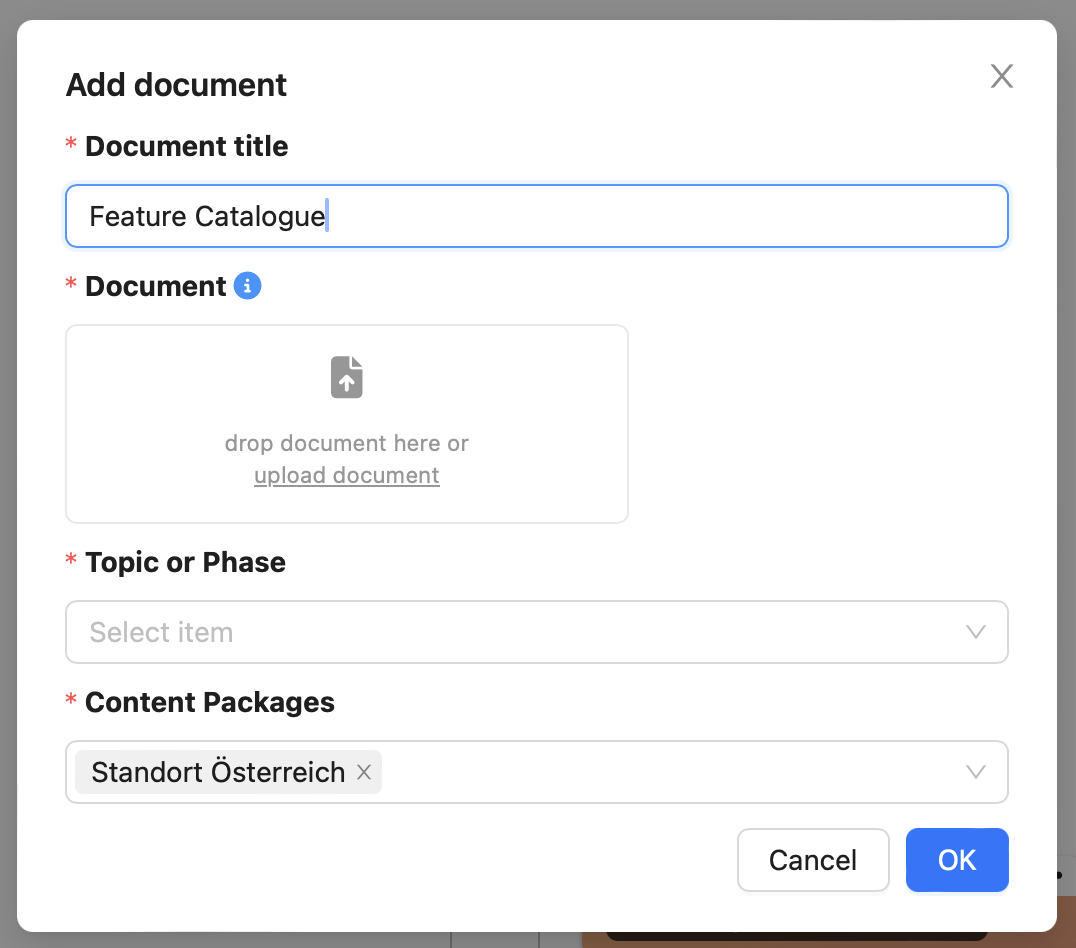
A creation screen opens. First select the topic or phase to which you want to assign the document. You must assign a title to each document, which is displayed in the library. As with a deck, you must select a content package to which you want to assign the document. In the creation screen, you also have a field for the document upload. You can upload the desired PDF document here.
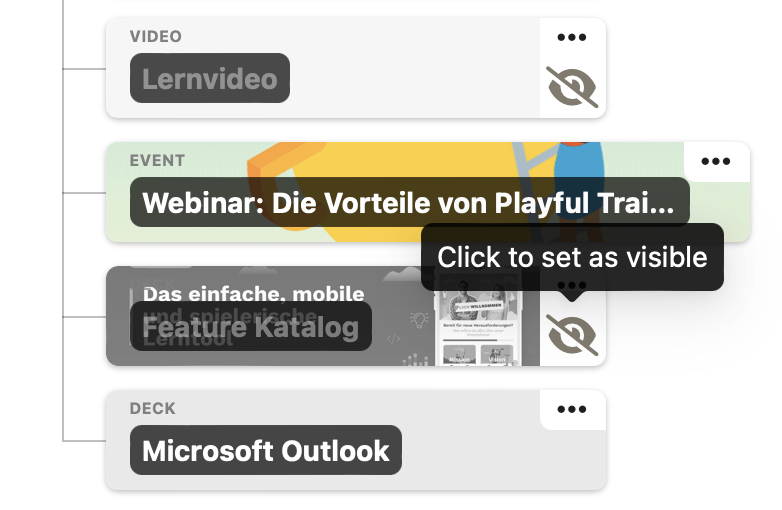
Click OK to add the document to the library. Initially, the document is set to "not visible". Click on the eye icon to make the document visible.
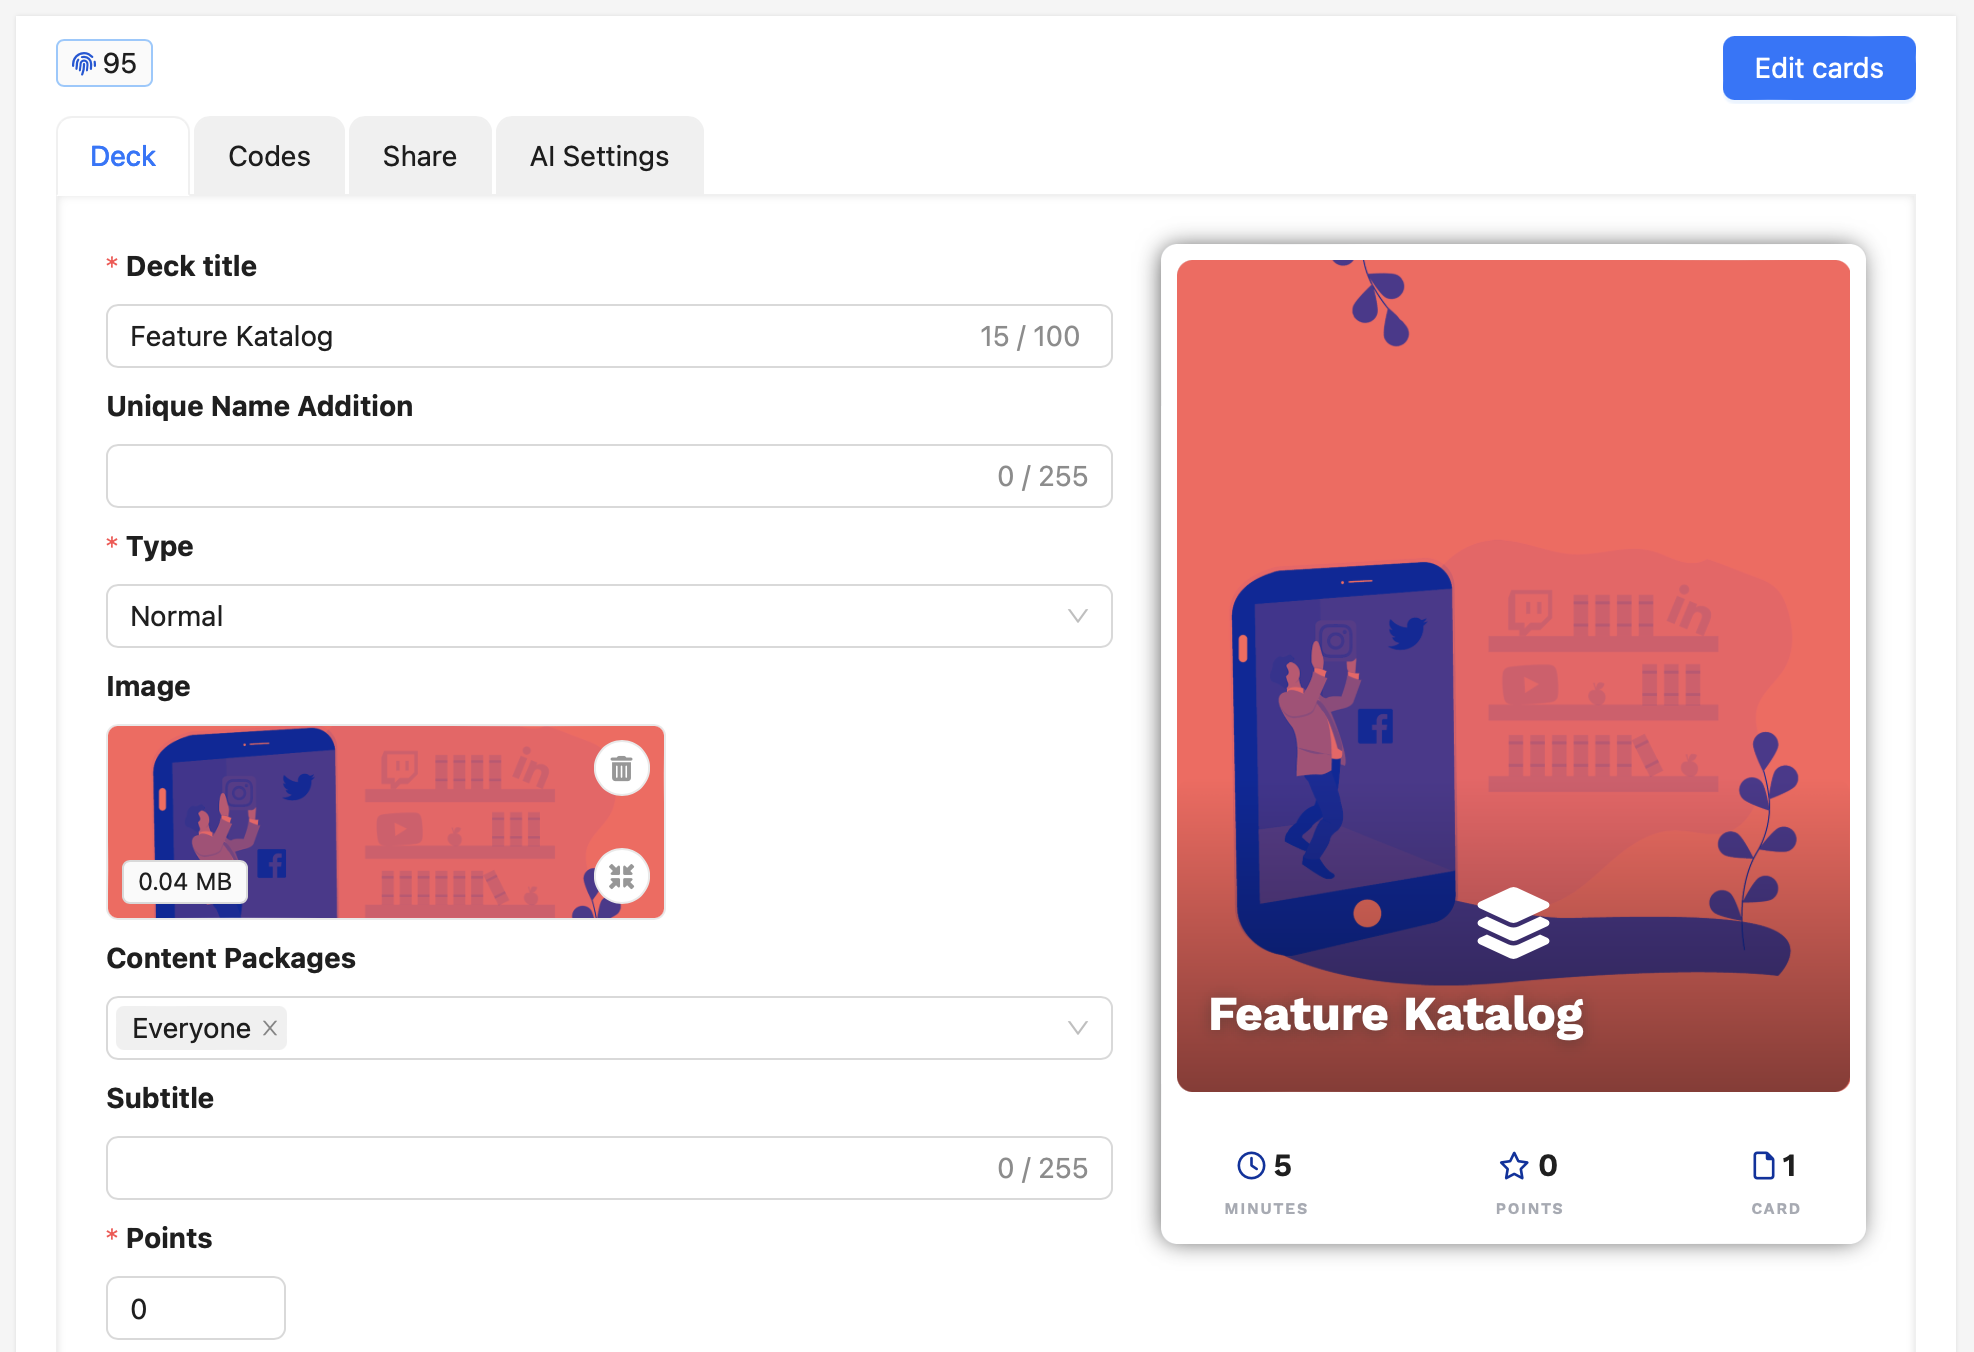
Once the document has been created, you can edit it at any time by clicking on the name of the element. For example, you can add a cover image for the document or a summary, just like for a deck. You can see the added PDF document in the Explore section.
If necessary, you can also turn a document into a normal learning deck by adding other content cards to the Explore section. You can also add an exercise section to a document. To do this, switch to the task cards tab and add task cards.