Events are available as an additional module. If required, please get in touch with your contact person at ovos.
In addition to learning content and assessments, it is also possible to add events to the library. Events are suitable for the following use cases:
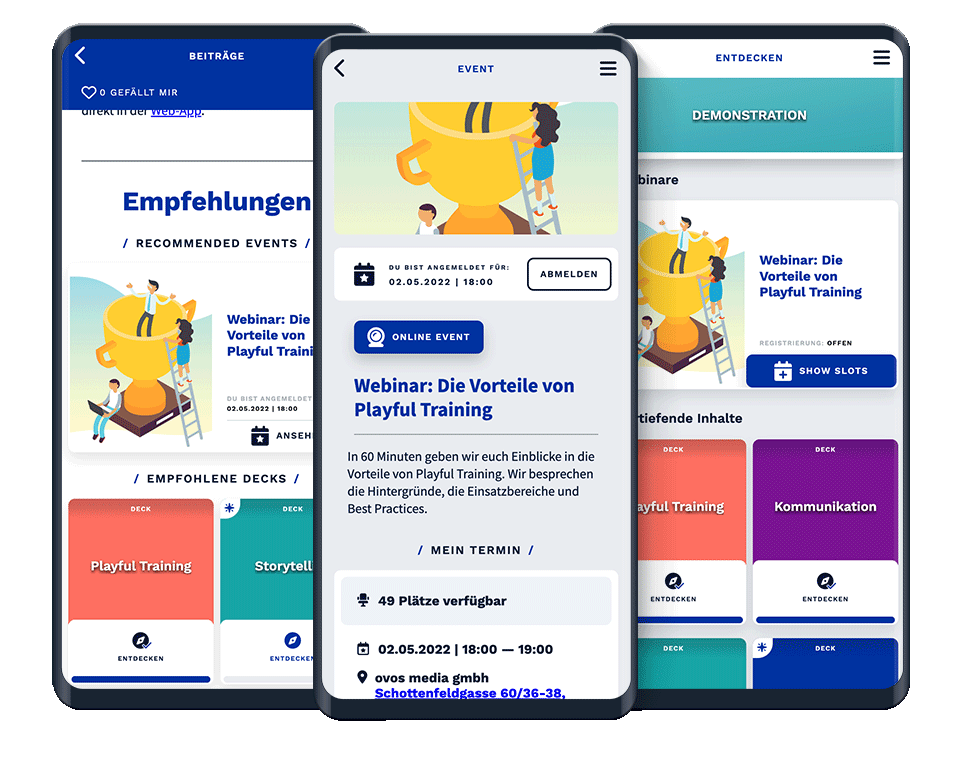
Face-to-face or online training courses to deepen the learning content
Registrations for company events such as onboarding welcome events
Registrations for webinars on content in the app
Events are created in the same way as learning content in the library. To do this, click on Add and select Event.
In the creation window, select the topic or phase of a journey in which you want to add the event. Assign a title to the event and select the desired content package.
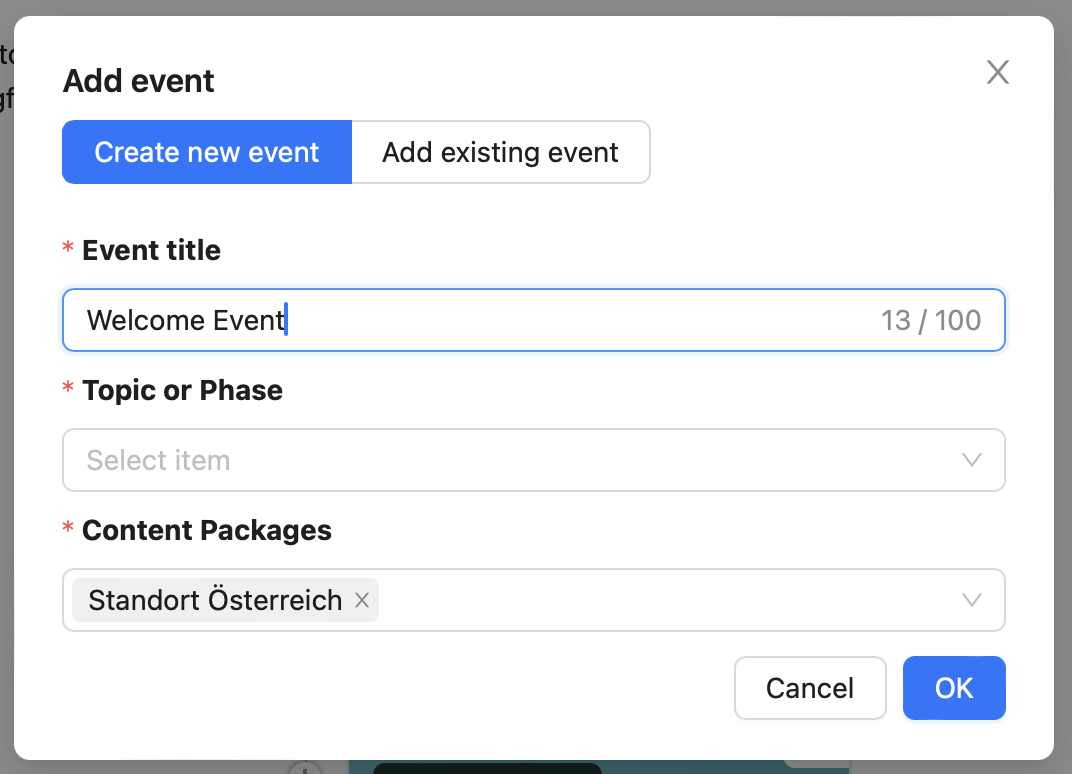
Note: Like decks, events can only be seen by users who have also assigned the content package. More information in the article How do I create a content package?
After creating the event, you can edit it further. To do this, click on the name of the library entry or on Edit event in the context menu.
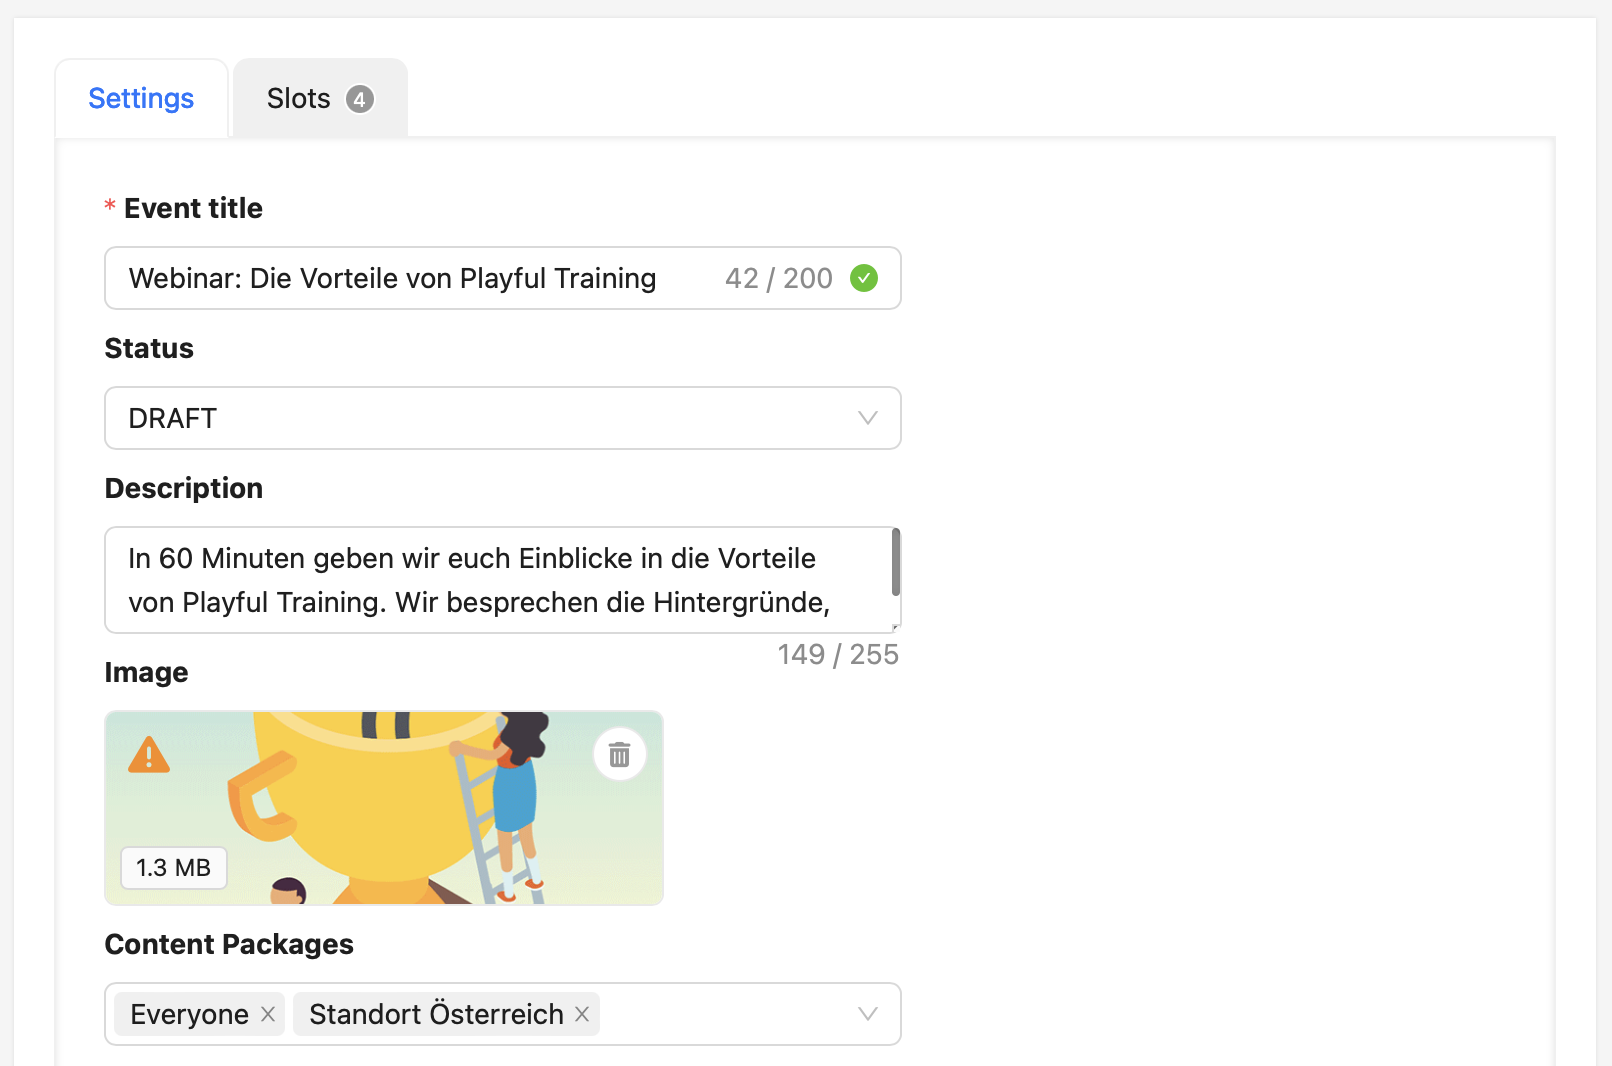
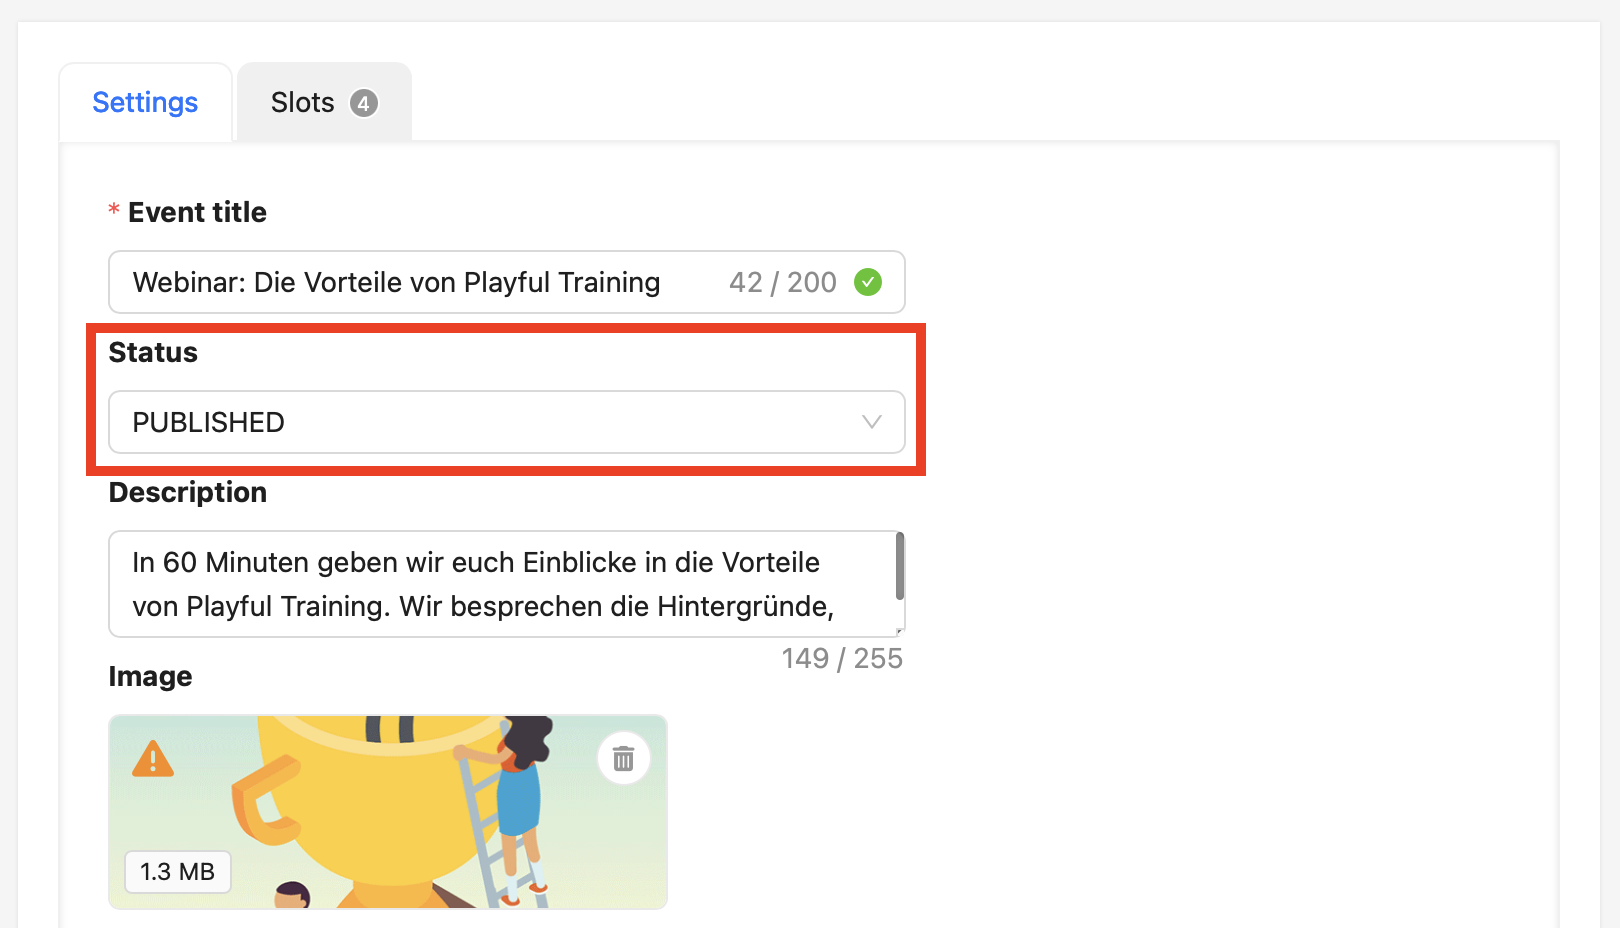
You can find the status of the event in the event editor. After creation, an event is initially in the "Draft" status and is therefore not visible in the app. Once you have added all the details and dates, you can make the event visible with the status "Published". You can also edit the title and add a description and image to the event.
As with decks, you can also add recommendations from the library or requirements for activation to events. Event recommendations are only displayed to users once they have registered for an event.
Each event can have one or more slots. To add appointments, switch to the Slots tab within the event editor.
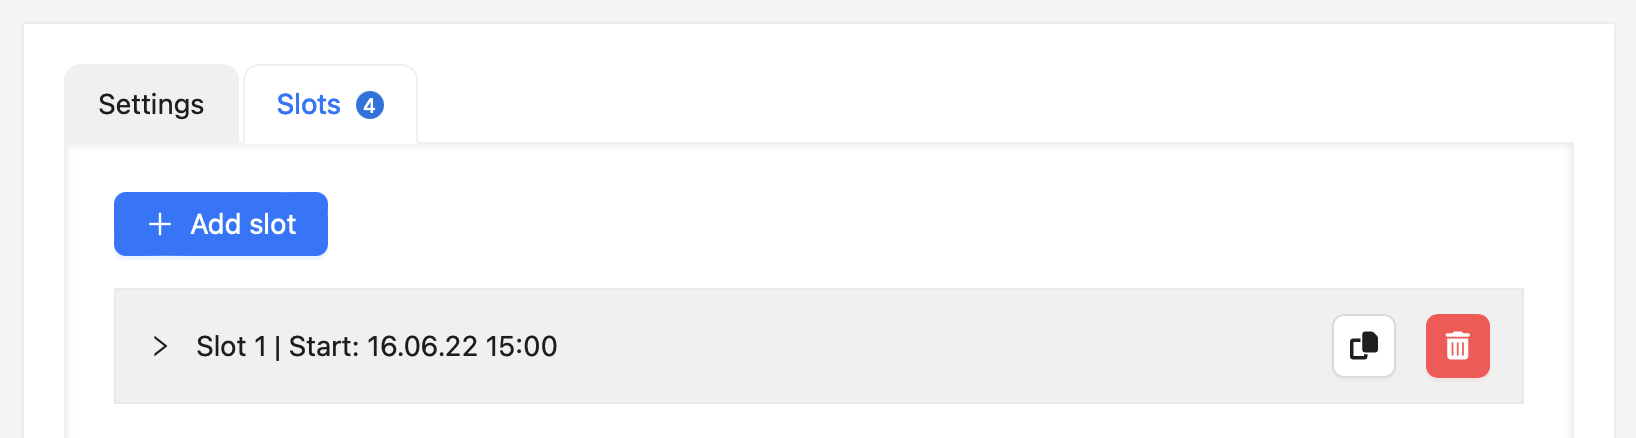
In the event overview, you will see all the events that have already been added. The list is initially empty. You can add a new slots using the Add slot button.
Slots are displayed in the overview immediately after they have been created. To edit the details of a slot, click on the desired slot to expand the slot editor.
After creating an slot, a start and end date as well as the registration start and end date are automatically set. The start and end dates indicate when the event starts and ends, the registration start and end dates indicate from and until when users can register for the event.
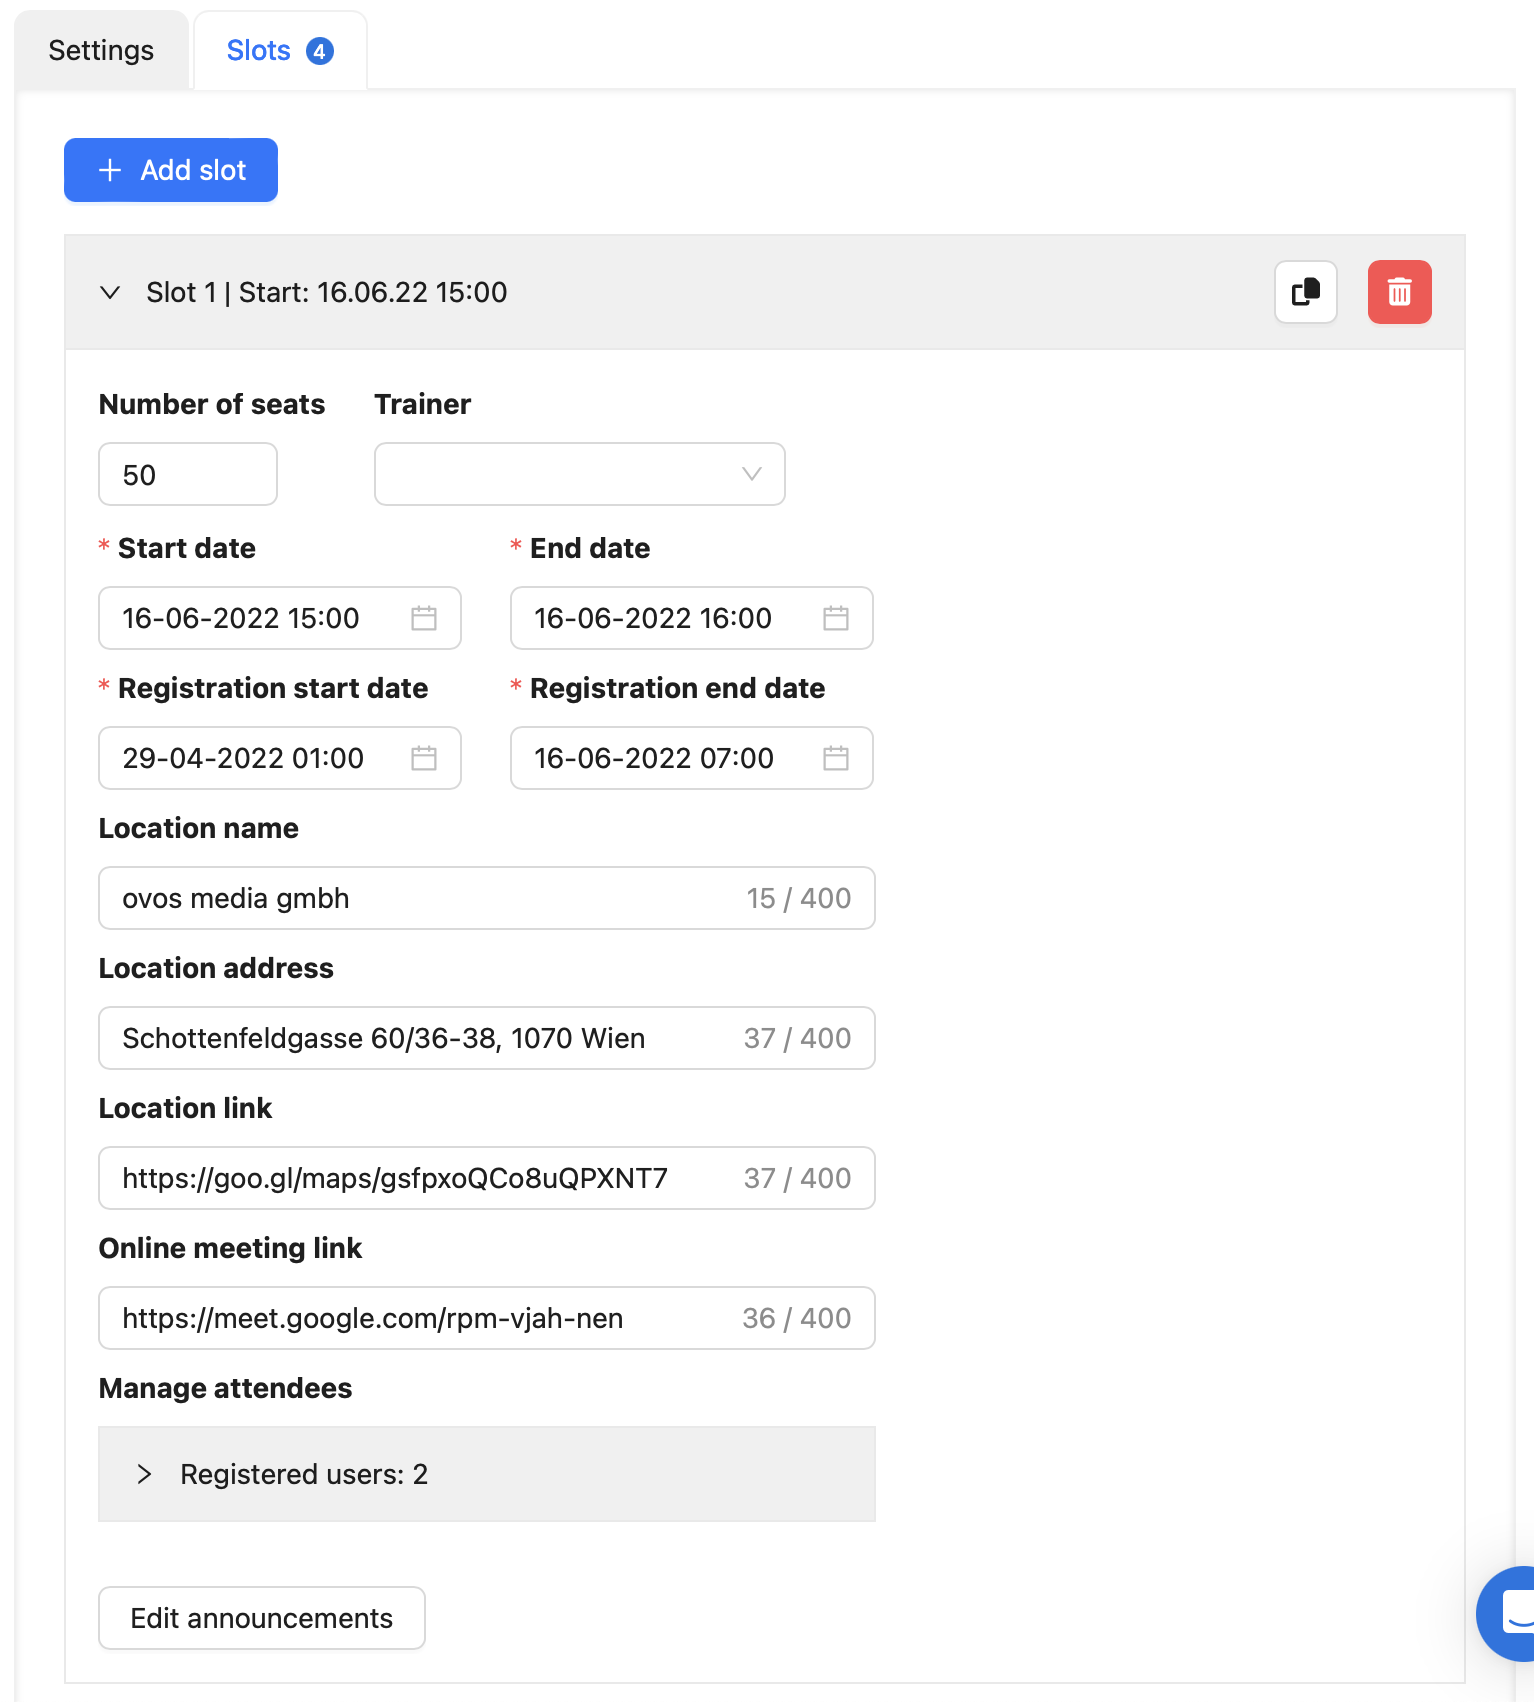
The number of seats indicates the maximum number of users who may register. Leave the field empty for unlimited registration. For the event location, you can enter the name, address and a link to the address (e.g. Google Maps). Each event that also takes place via an online meeting can also contain a link to this meeting.
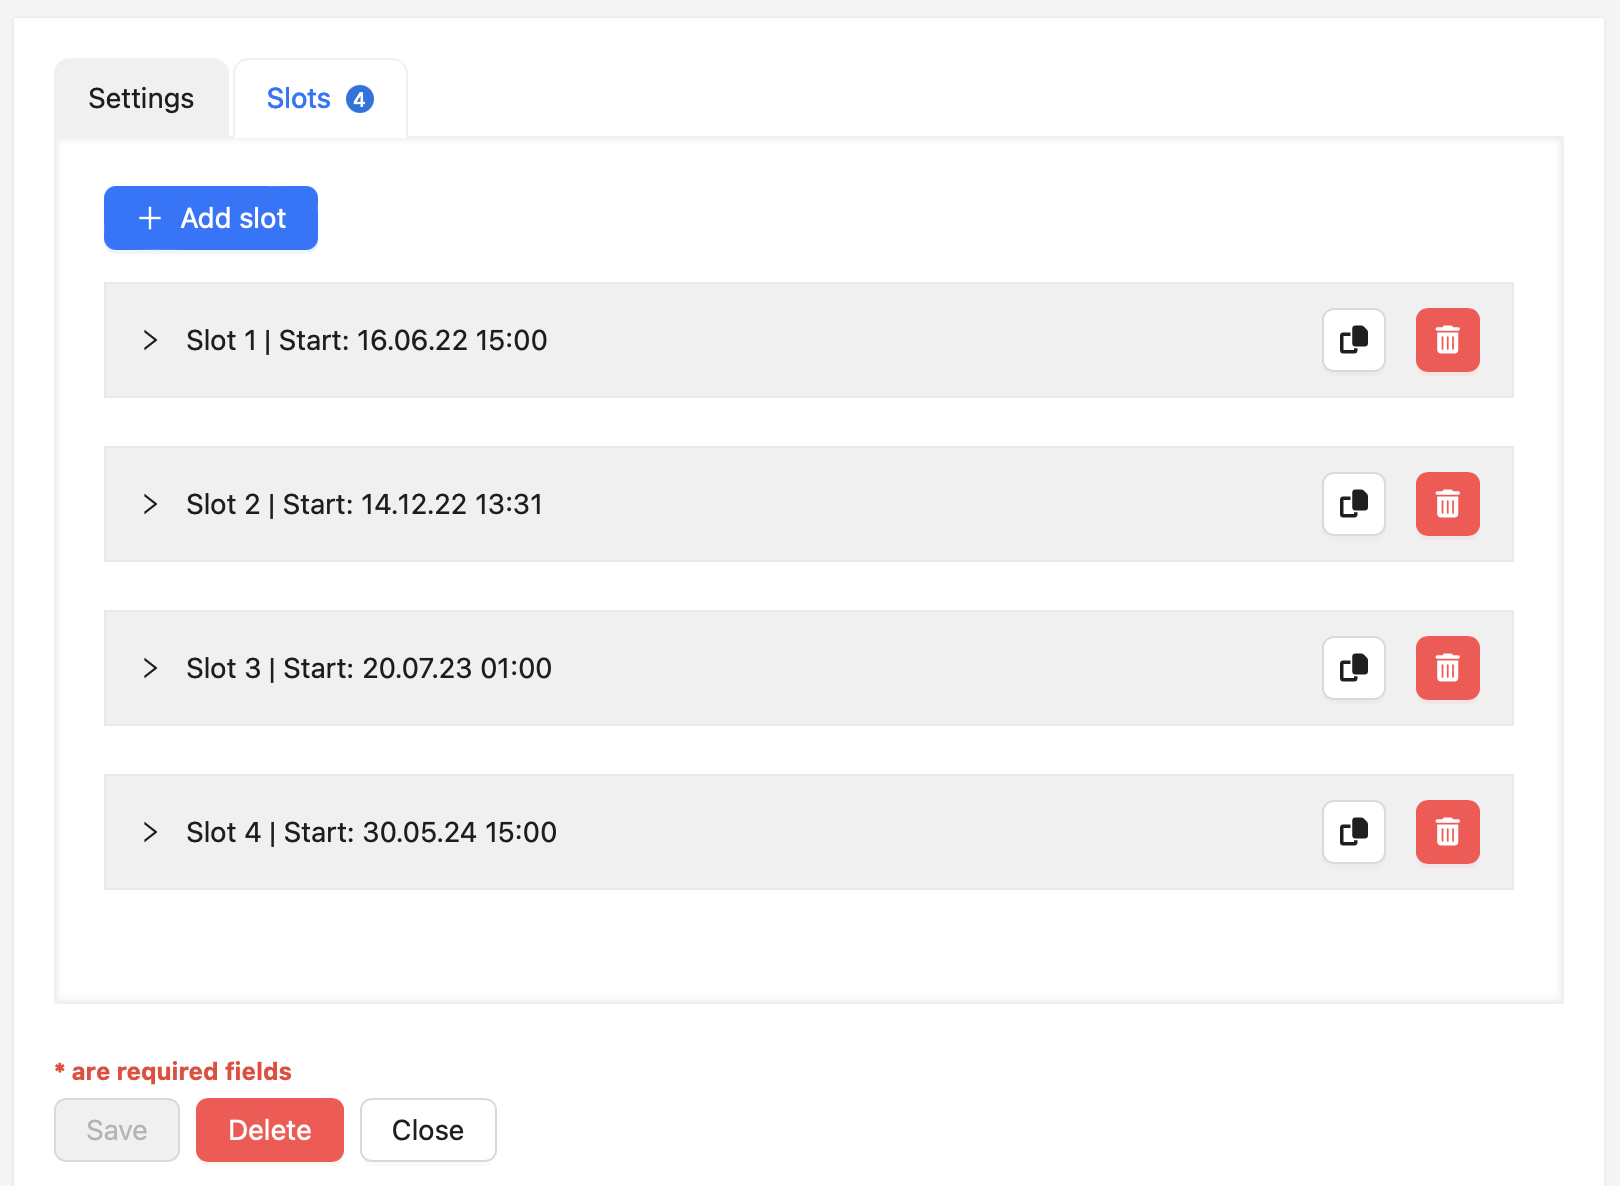
You can now proceed in this way and create several slots. New events are always added to the bottom of the list. Participants can only register for one slot at a time and can also cancel their registration at any time.
Once you have added all the dates and would like to activate the event for all users, don't forget to publish the event.
Users can now register for the event. From this point on, you can also see the registered users for each event date. You can find out more about this in the article Where can I see the list of participants for an event?