Groups control who can see which users in the Admin Dashboard and also determine which roles and which content packages are assigned to users.
To manage groups, navigate to Manage ➔ Groups.
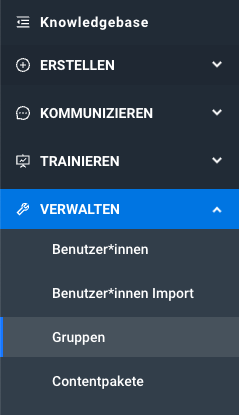
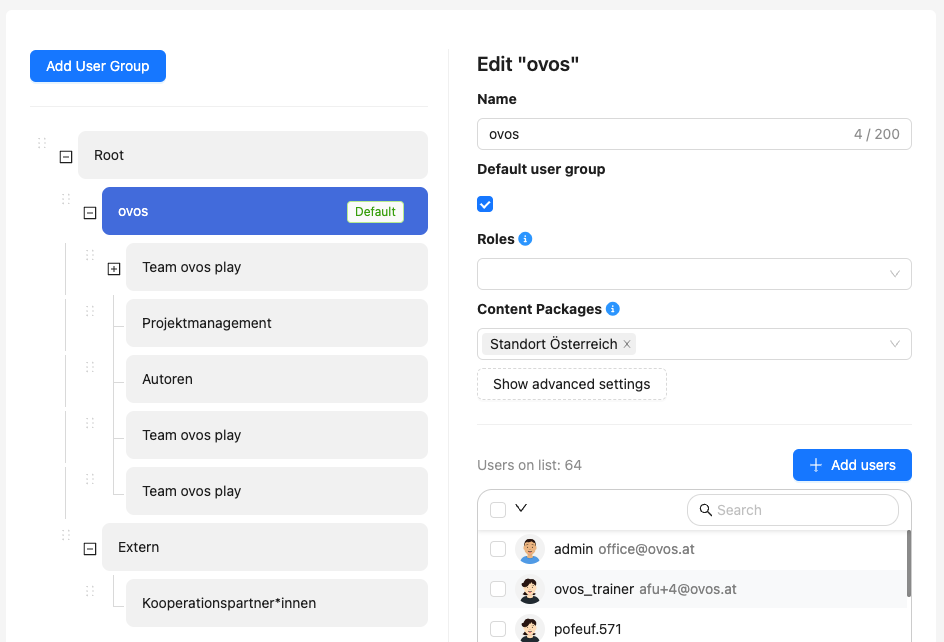
Under the menu item Groups you will find an overview of all existing groups. On the left side you will find the hierarchical structure of the groups.
Click on a group on the left and the editor opens on the right.
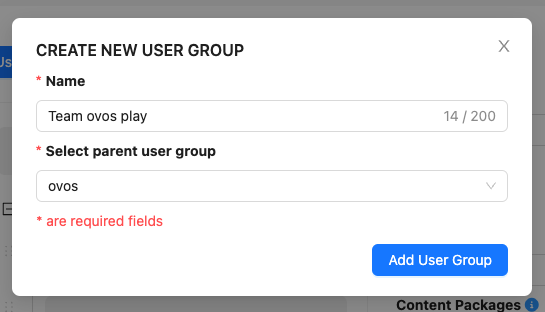
To add a new group, use the Add Group button. A creation screen opens where you have to enter a name and select the parent group.
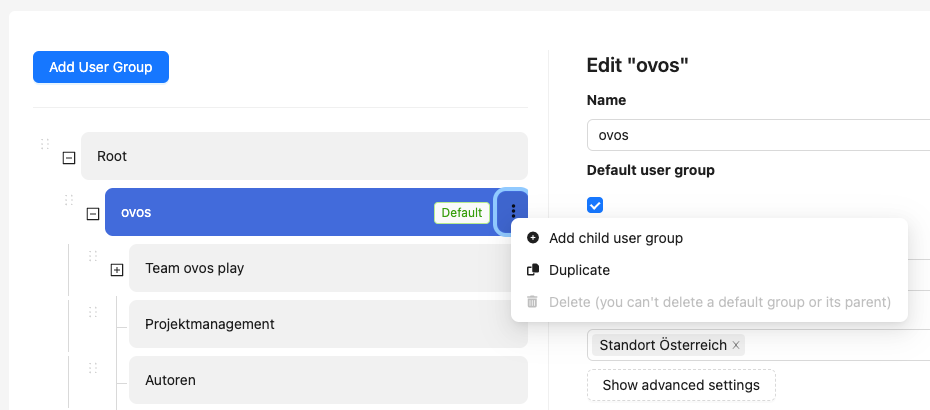
You can easily adjust and move the structure of the groups by drag & drop. If you want to add a child user group directly in the hierarchy, there are two possibilities:
Move one group under another using drag & drop.
Click on the context menu of a group and select "Add child user group".
A group determines which users can be "seen" by an admin or analyst.
"Seen" means that a user appears in the overview or in the statistics and may be edited. An admin or analyst may only see users who are in the same group or in a child user group. Multiple assignments to groups are possible.
In our example structure, this means that an admin in the "ovos" group sees all users who are included in "ovos" or are part of the groups "Autoren", "Projektmanagement" or "Team ovos play". However, users from the "Extern" group cannot be edited.
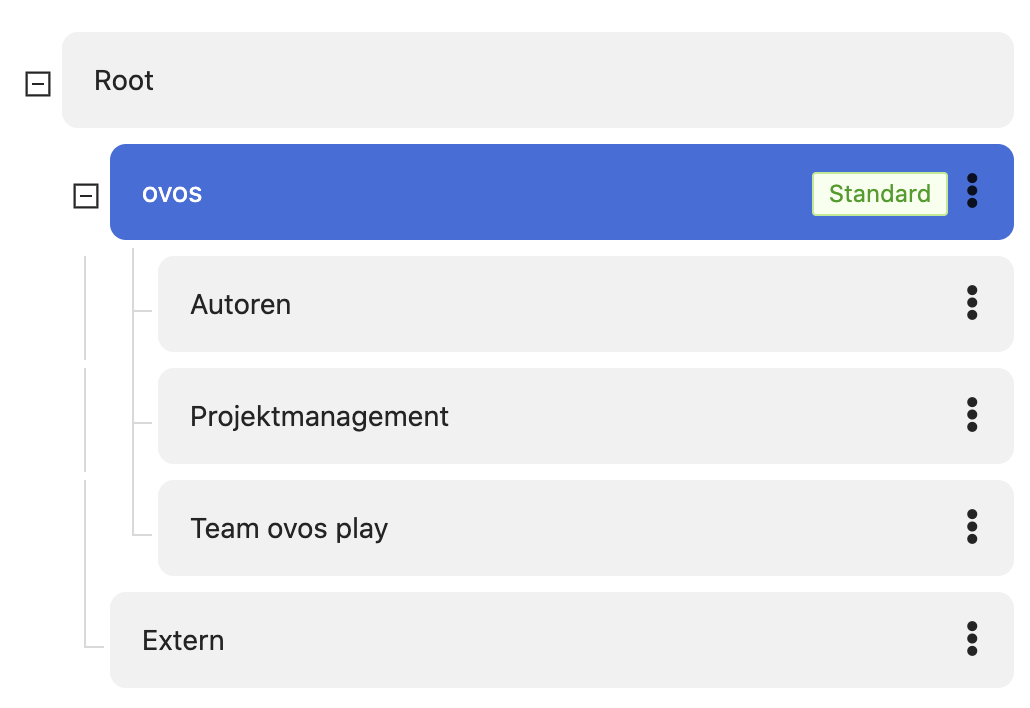
The same applies to statistics. Analysts of the ovos group may only view statistics of users of the "ovos" group, "Autoren", "Projektmanagement" or "Team ovos play".
Tip: It is best to structure your groups according to departments or functions, e.g. "HR managers".
A group can assign roles or content packages to the assigned users. To do this, select the desired group on the left-hand side and the editor opens on the right-hand side.
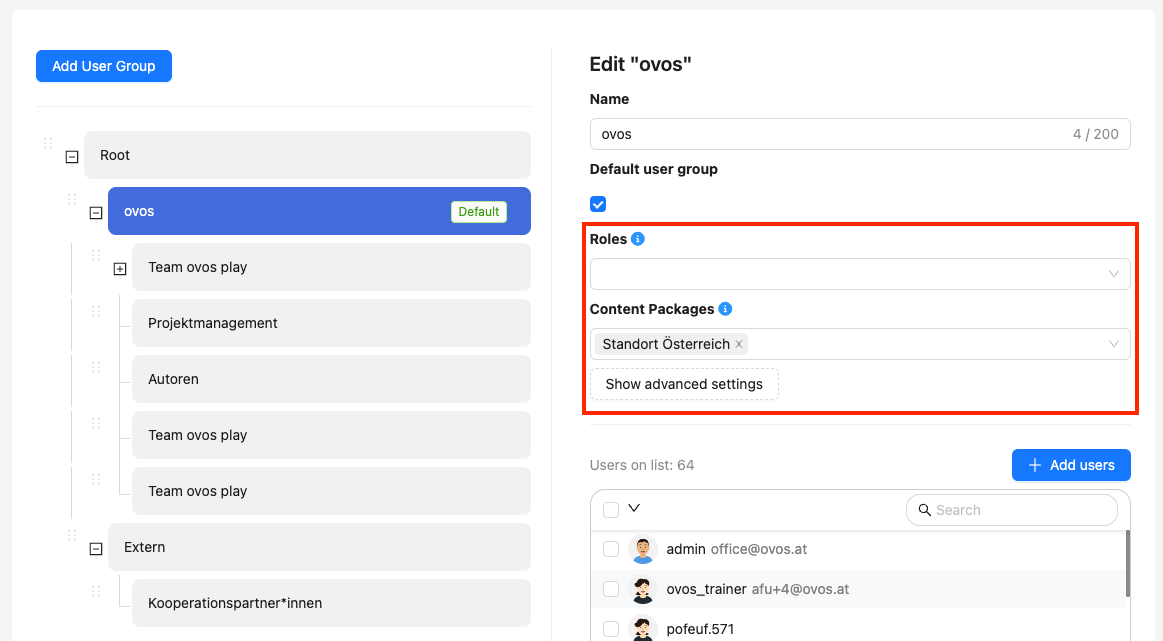
The default group determines to which group newly registered users are added. One group at a time can be marked as the "default". To mark a group as "default", activate the checkbox under "Default group".
Tip: When using voucher codes or the import function, the default group will be overwritten with your individual assignments.
You can assign one or more roles to a group. Each user in this group will be assigned the selected role. The role is not passed on to child user groups. For example, you can create a group for administrators or authors.
Tip: Roles can also be assigned individually or additionally for individual users in the editor.
Groups allow you to define the visibility of learning content for several users at the same time. To do this, select the desired content packages per group. (You can find out more about content packages here).
Users within the group will see the content assigned to the content package. Content package assignments are also passed on to child user groups.
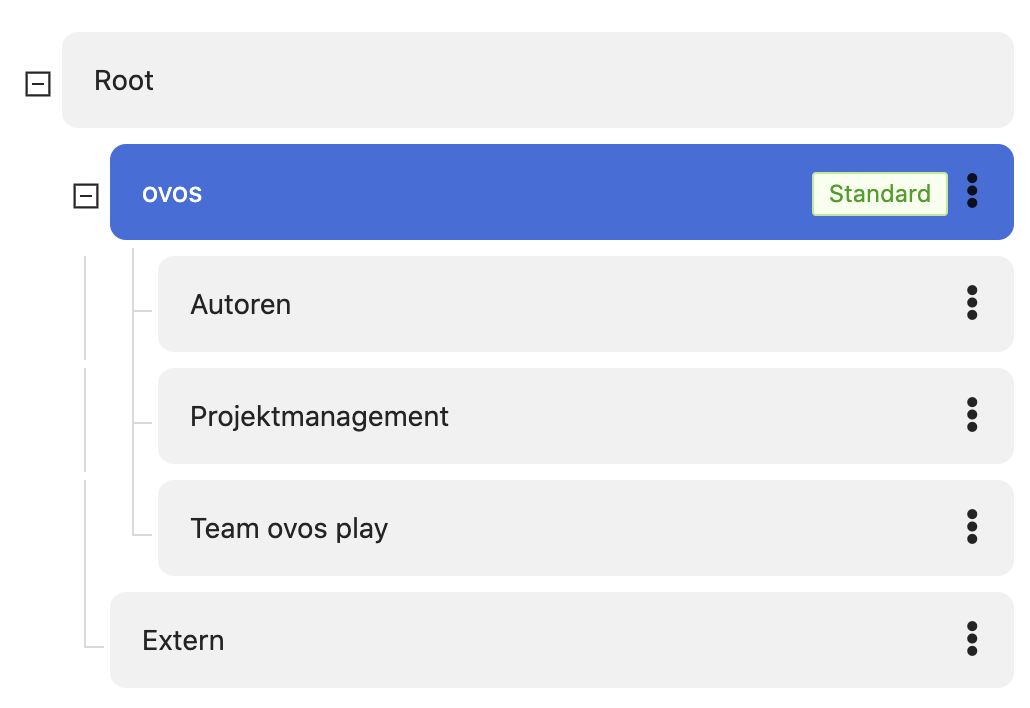
Using our example, you can pass on relevant content for "ovos" to the child groups "Autoren", "Projektmanagement", "Team ovos play". Users in the "Extern" group will not see content that is only relevant for "ovos".
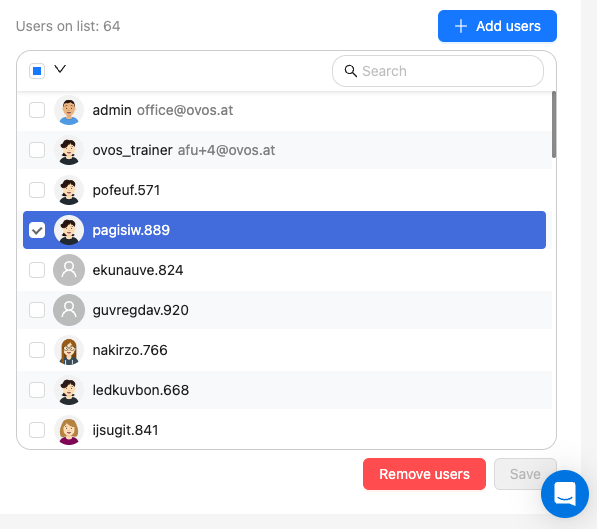
In the editor on the right-hand side, you will find a list of users already assigned to the group at the bottom. If you want to add new users, use the Add User button at the top right.
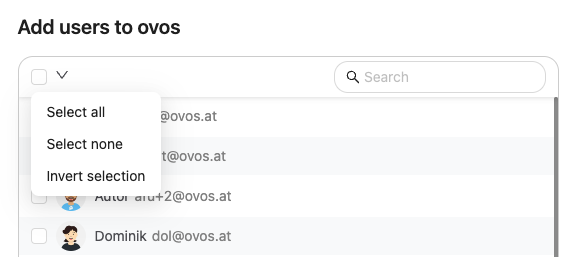
After clicking on the button, a list of all users you are allowed to see and edit opens. To add users to the group, select the checkbox of all users you want to be part of the group and click Add User. You can also search for individual users using the search bar in the top right-hand corner.
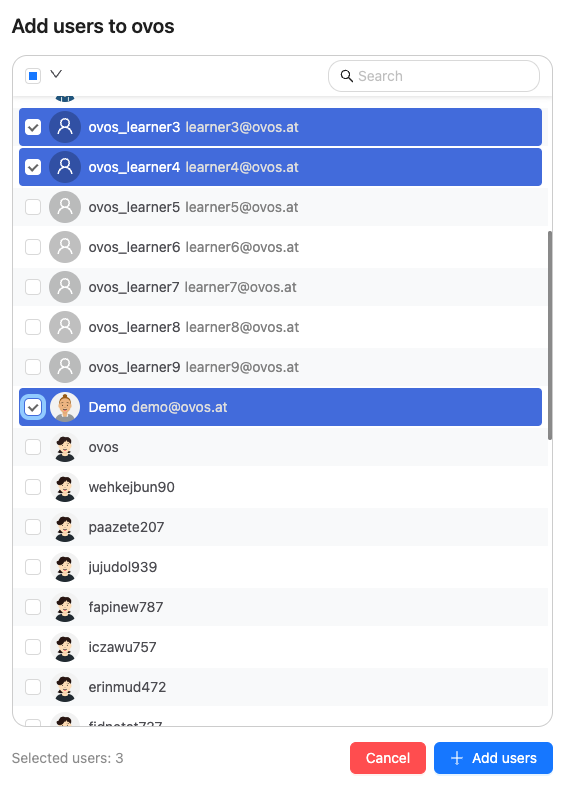
You can also use the checkbox at the top left to select, invert or deselect all users displayed.
Once you have added the desired users, they appear in the list of the selected group. You can remove the assignment of users at any time by selecting individual users with the checkbox and clicking on Remove User.
You can also add individual users to a group in the overview. To do this, navigate to the menu item Users. Search for the desired user and click on the nickname to open the editor.
Under the Content Packages field, you will now also find the selection for Groups. You can assign users to the groups that you are allowed to see yourself as an admin.
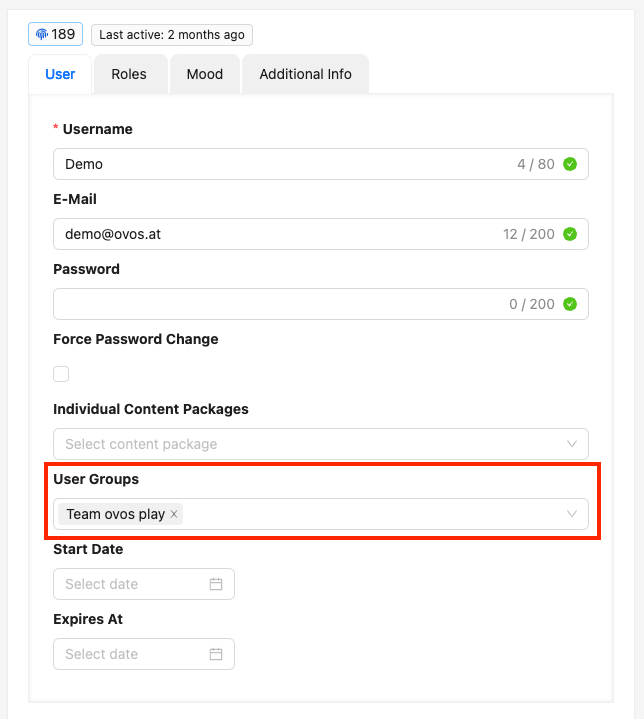
Tip: This allows you to give individual users additional content packages and also group assignments.
With the Admin role, you will find the Show Advanced Settings button. With this button you can show more settings.
The functions of the advanced settings are explained in more detail in the following articles: